")
Alpine stitches have been gaining a lot of popularity lately, and there are a few versions out there, which I’m sure you already know. But today I want to show my version that is easy to remember and adaptable for any project.
Alpine stitches are usually made out of 4 repeat rows. A Single Crochet row, a Half Double Crochet Stitch, and a Front post Double Crochet Stitch row.
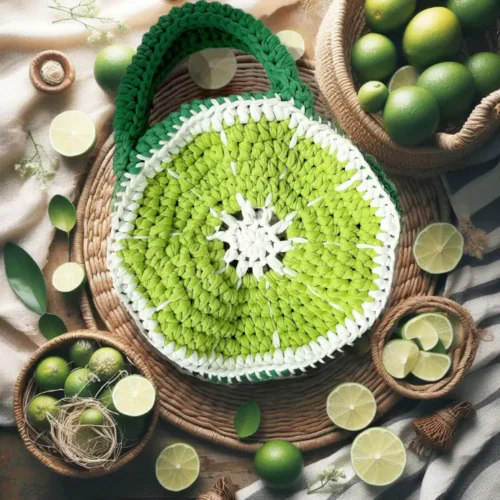
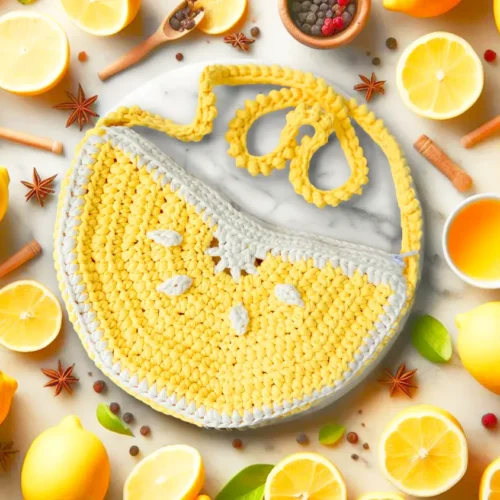
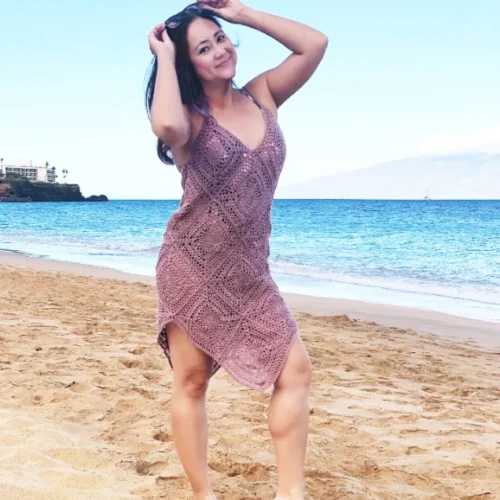
I’ve used this pattern quite a few times, such as in my recent Cafe Latte Crochet Dress or in the Soft & Drapey Button Up Cardigan. And don’t intend to stop here!
Now, before we dive in if you prefer to watch a video tutorial instead, skip these steps and jump right on down
")
Related Post:
Paddle Stitch Tutorial
Chainless Foundation Stitch
If you would like to receive free written patterns and video tutorials straight into your inbox, just Subscribe to get into our mailing list.
Alpine Stitch Tutorial + Video
")
This pattern works great for most projects that require texture. And because the increase and decrease rows are possible with this stitch, the possible project ideas are endless!
1. Go ahead and work any number of ODD chains. In order for this stitch to work, it should always end with an odd number. I am making 11 chains in the example below.
")
2. Chain 1 to start the next row, and on the second chain from your hook, you can choose between a half-double or double crochet stitch. I will be using the half-double crochet stitch (yarn over, insert hook, draw up a loop, Yarn over, pull through 3 loops). Half double crochet each stitch across until the end. Ch1 and turn
")
3. Single crochet (Insert hook, draw up a loop, yarn over, pull through both loop) each stitch across. This will be considered as our 1st-row repeat.
")
4. On the next row, we will be working half double crochet stitches and front post double crochet stitches in rotation. The first stitch will always be a Half double crochet stitch.
")
5. On the next stitch, insert your hook behind and through the next post stitch and work a front post double crochet stitch (yarn over, insert hook behind and through the post, draw up a loop, Yarn over, pull through 2 loops, yarn over, pull through 2 loops)
")
6. Repeat the Half double crochet stitch on the next stitch, and the front post double crochet stitch on the following stitch. Continue these 2 stitches until the end of the row. You should always end with a Half Double crochet stitch. This is what the finished row should look like. This is considered our 2nd-row repeat.
")
7. On the 3rd-row repeat, it will just be another set of single crochet stitches across.
")
8. On our last row repeat, we will be repeating what we did in row 2, but in the opposite order. Always refer to the stitch on the previous row. But always start your 1st stitch with a Half double. The 2nd stitch on the previous row is a front post stitch, which means our 2nd stitch should be another half double, followed by a front post stitch on the 3rd stitch. Rep these 2 stitches until the end. The last stitch should always be a Half double crochet stitch regardless of order.
")
9. Here is a complete 4-row repeat of the Alpine Stitch.
")
Increase Rows
For the increase row, if you intend to start from the beginning follow steps 1 – 3 above.
1. On the 2nd-row repeat, you will increase with 2 half double crochet stitches only on the 1st stitch followed by a front post double crochet stitch. Repeat 1 Half double and 1 Front post double across and finish the last stitch with 2 half double crochet stitches.
")
2. This increased row only has a 2-row repeat. So continue to single crochet across the next row, followed by the increased row in step 1 above.
")
Decrease Rows
For the decrease row, if you intend to start from the beginning follow steps 1 – 3 above.
1. On the 2nd-row repeat, you will decrease by working a half double crochet 2 together on the 1st and 2nd stitch. On the 3rd stitch, you will work a front post double crochet stitch. Repeat 1 Half double and 1 Front post double across and finish the last 2 stitches with a half double crochet 2 together
")
2. The next row should be a single crochet stitch across. On the last row repeat, and continue to decrease with 2 half double crochet stitches together. The next stitch should be a Half double, which is the opposite stitch from the 2nd-row repeat. Continue the Front post and Half double in opposite order referring to the 2nd-row repeat. Close the last 2 stitches with a half double crochet 2 together.
")
How to Prevent Curling
Alpine Stitches are notorious for curling. When working with Alpine Stitches, the edges of the fabric tend to curl inward which can be frustrating.
This curling effect can be attributed to the nature of the stitch itself, which creates a tighter tension and pulls the fabric inward. However, there are a few tips and tricks you can use to prevent this altogether.
From adjusting tension to choosing the right hook size, I’ve listed all the best ways to prevent curling here.
")
")
")