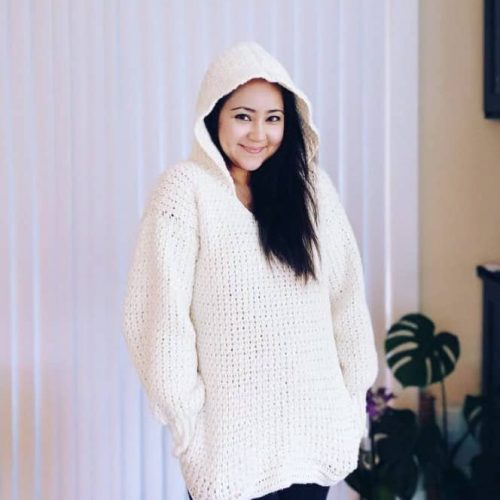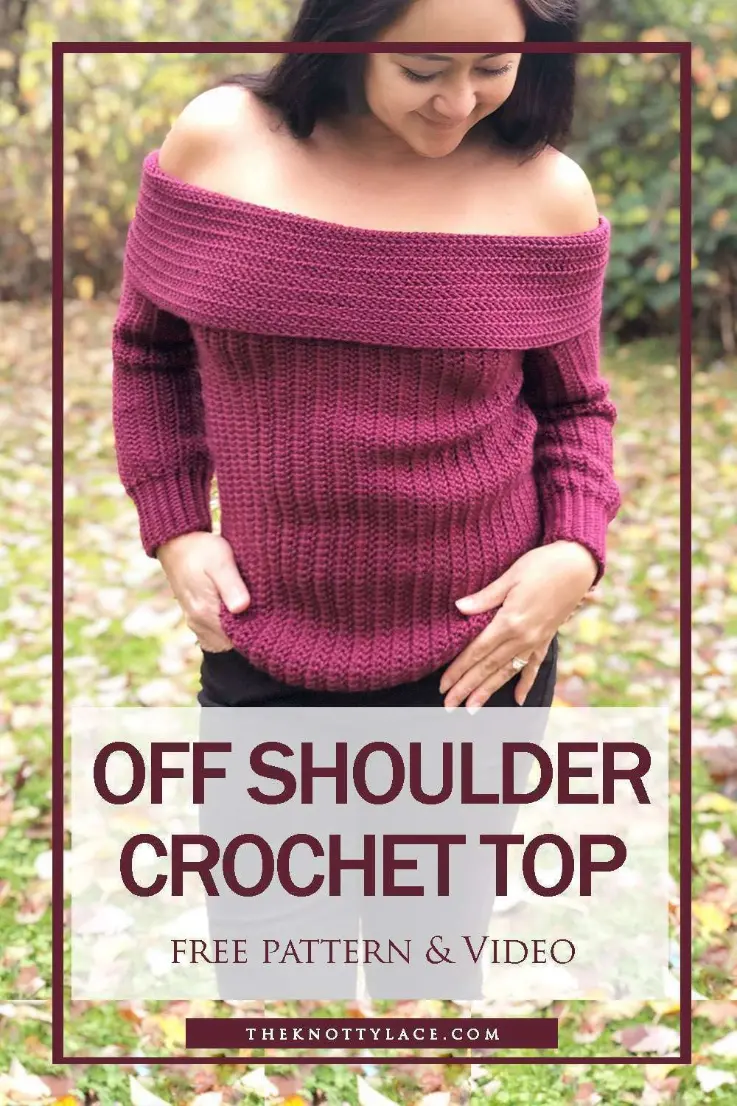
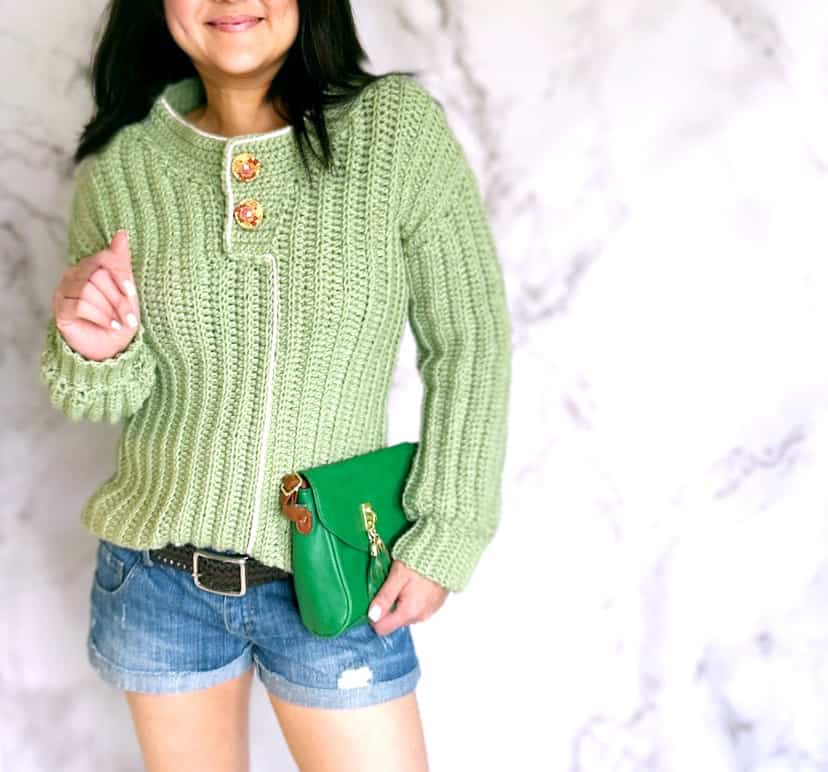
I don’t know about you but it’s getting pretty chilly over here. And I decided it was about time I put together an elegant top with a bit of a twist.
An off shoulder drape kind of twist. Introducing the Hug-Me Off the Shoulder Sweaters step-by-step free written pattern and video tutorial.
Yes, I’m calling it the Hug-Me Sweater because it is so cozy and warm, it gives me the feeling of being wrapped up like a burrito. Hmm, thinking of naming it the Burrito Sweater actually makes me kind of hungry! lol
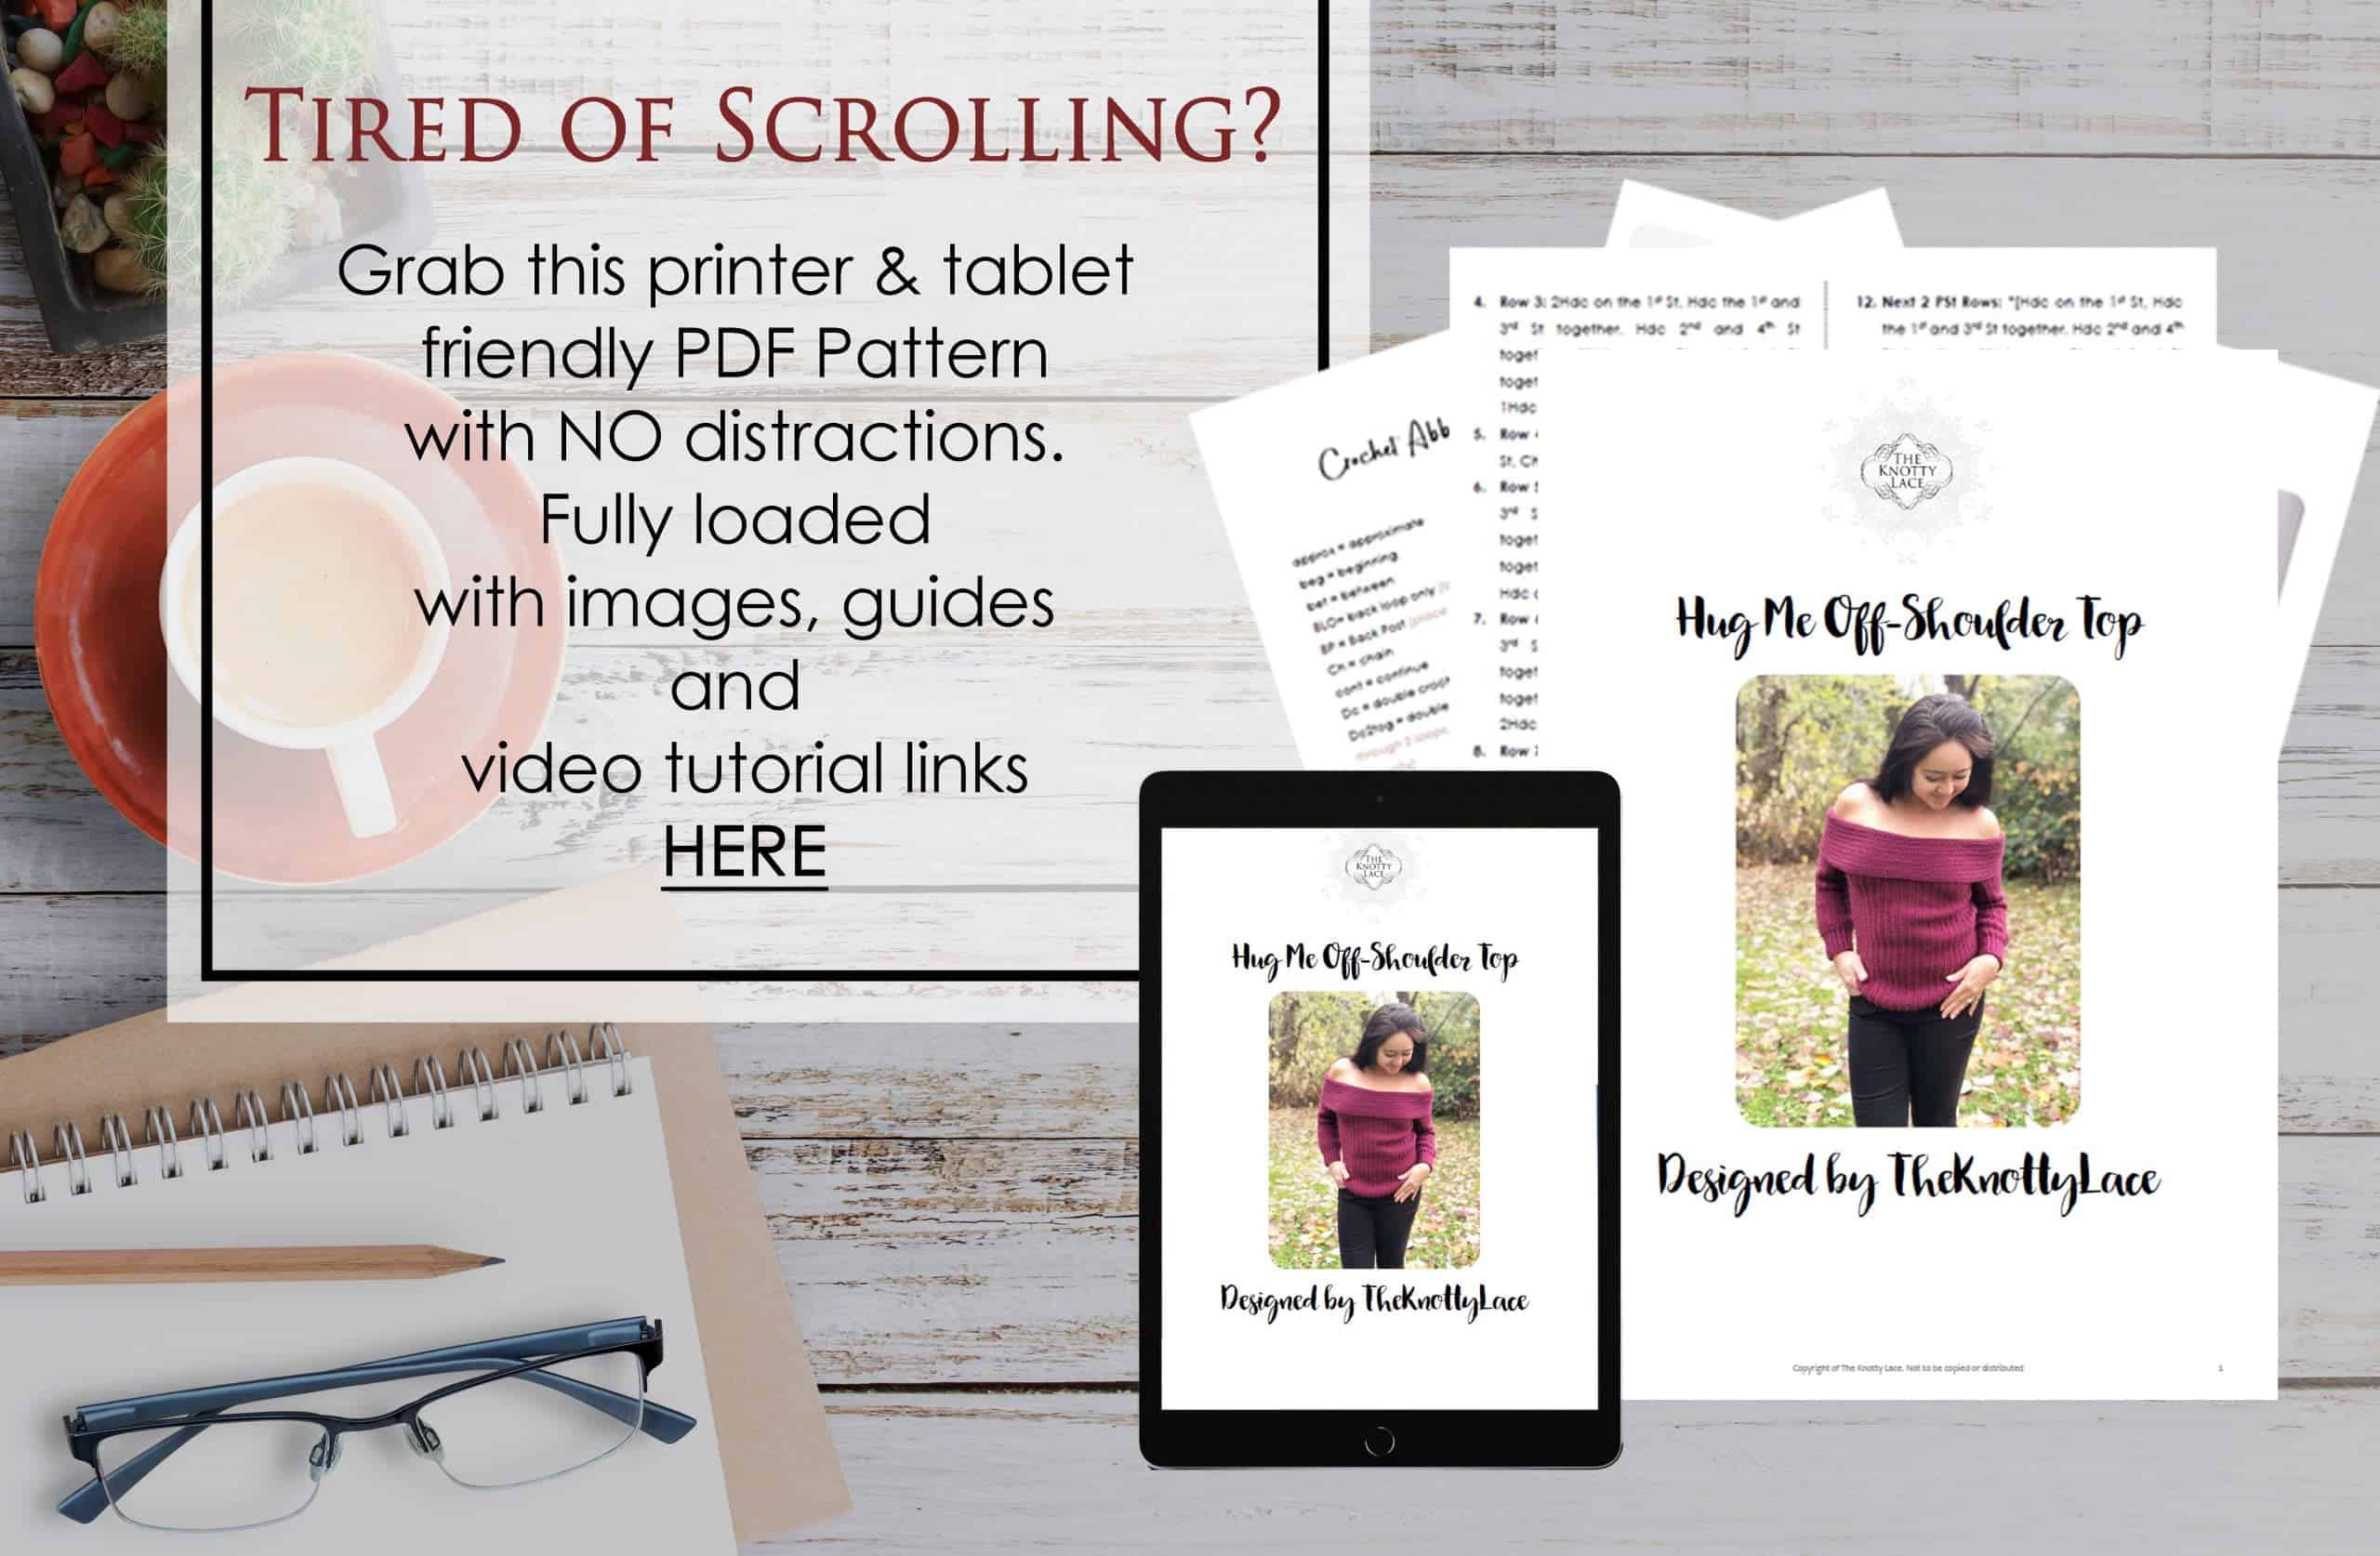
This pattern tutorial is also available on my YouTube channel where it is worked up in size M. However, If you would like a printable ad-free PDF copy of this pattern, it is available for purchase in my pattern store. Or just add this to your Ravelry queue here

DESIGN INSPIRATION
Sometimes when we work with sweaters or crochet and knitted tops it can sometimes feel… dare I say it – “old-ish”. Yup! I said it all right. And I didn’t want to make just another “old-ish” sweater or top.
I wanted to make something that would make me feel elegant wearing it, especially with the holidays ringing around the corner (hint hint).
Plus I wanted to make a crocheted top that could also go really well for a nice Thanksgiving dinner event or just for that special occasion.


If you would like to see more video tutorials like this you can check them out here on the blog or Subscribe to my Video Channel on YouTube.
This post contains affiliate links designed to provide a commission on purchases made at no cost to you. As an Amazon Associate, I earn from qualifying purchases which support my work in providing new content and information on this site.
Tools And Materials:
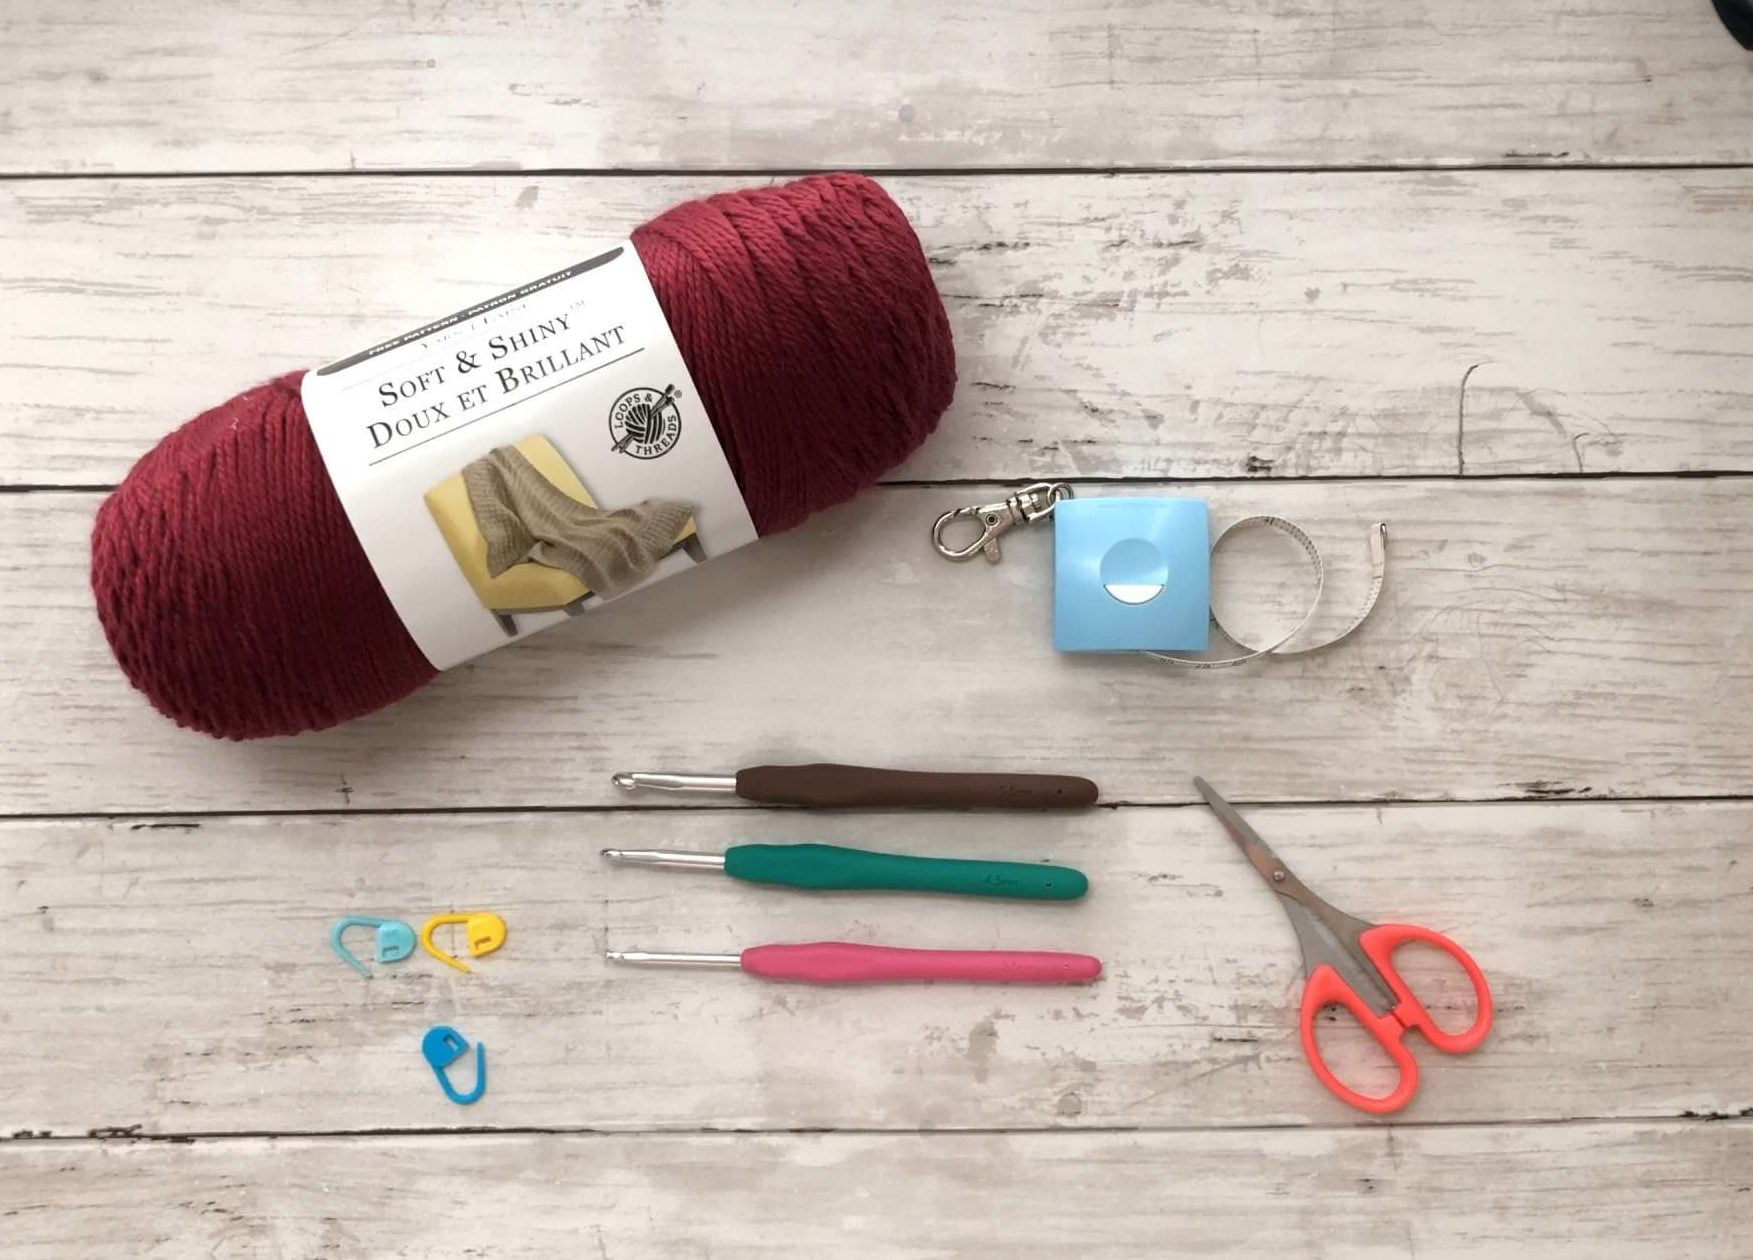
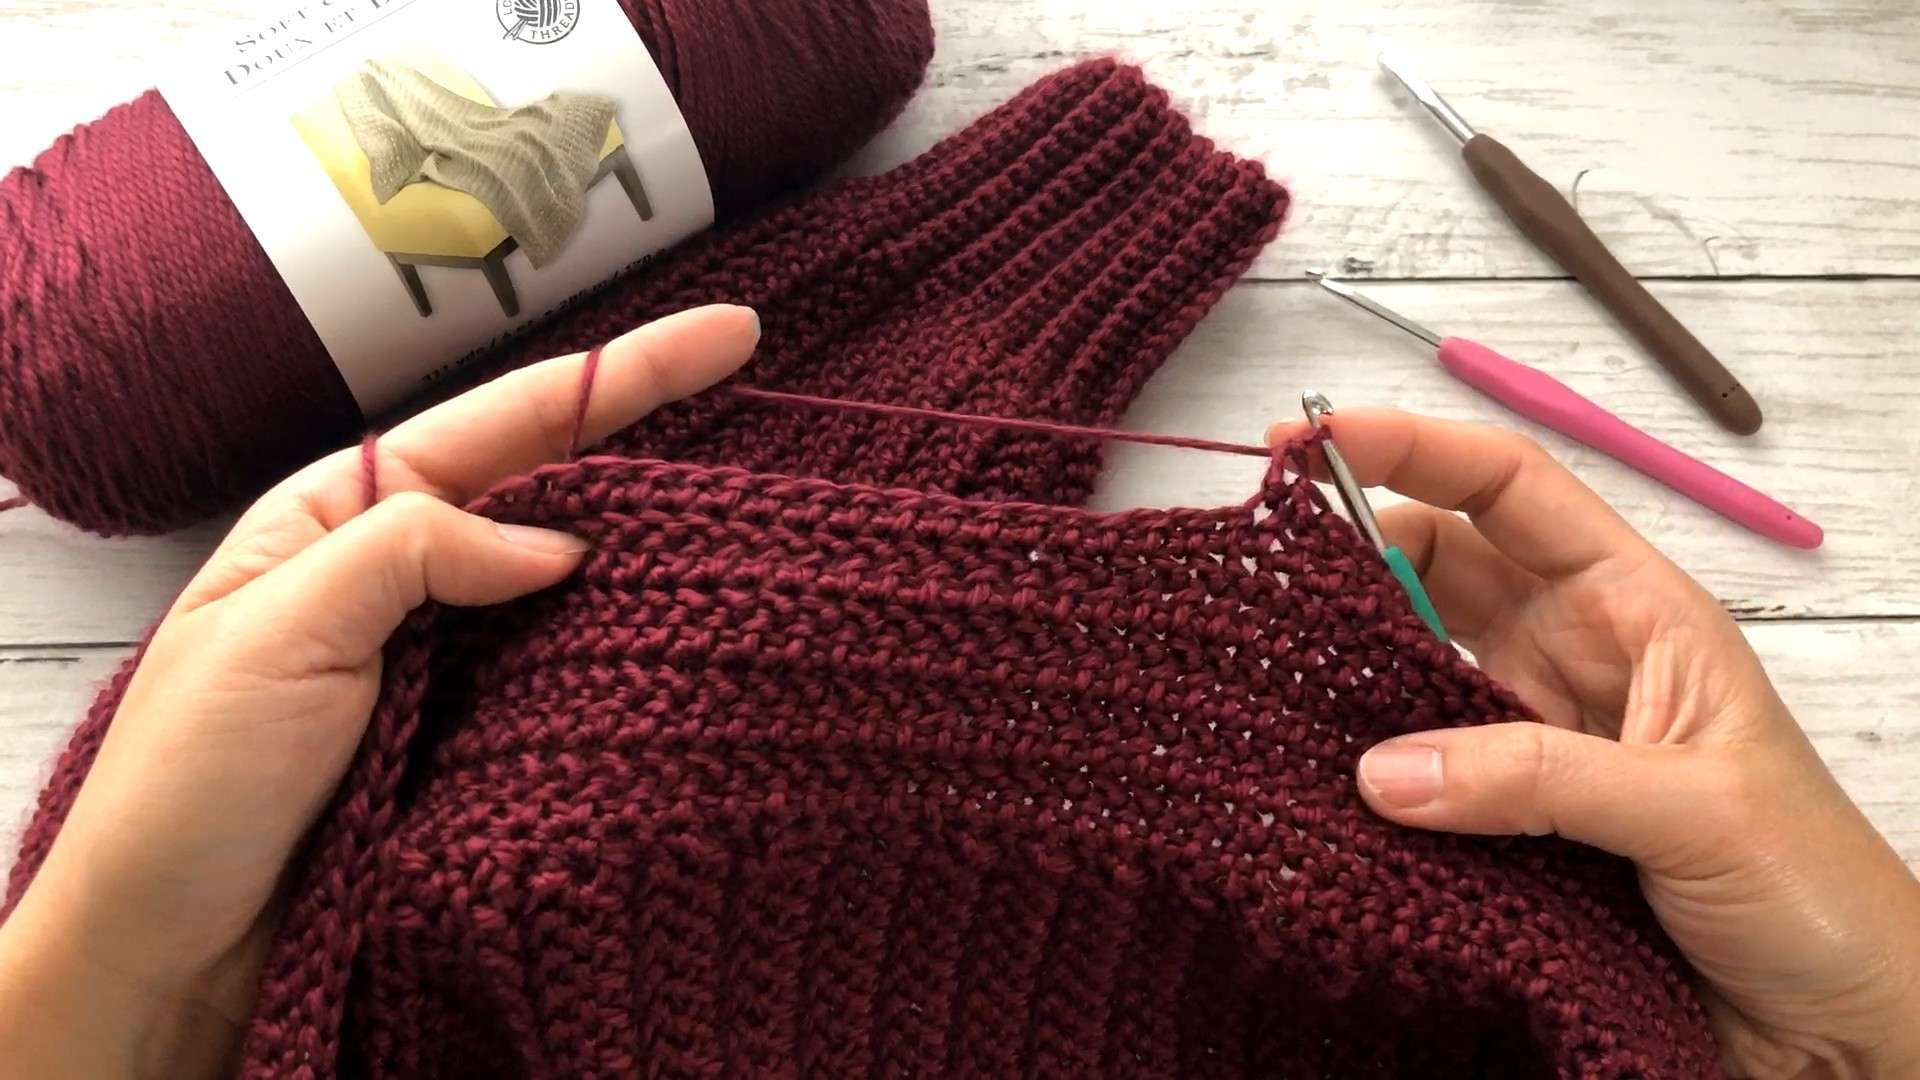
Yarn weight: Category 4 Medium
Brand: Loops & Threads
Color: Burgundy
Hook: 3.5mm, 4.5mm & 5.5mm
Gauge: 5.5mm hook: 11.2 Rows x 16 HB Sts = 4 x 4” / 10 x 10 cm
No. yarns (skeins): XS [S/ M/ L/ XL] [2XL/ 3XL/ 4XL/ 5XL] = 4[ 4/ 5/ 5/ 5] [5/ 6/ 6/ 6]
Tools: tapestry needle, measuring tape, scissors, stitch markers
Skill: Beginner – Easy

INSTRUCTIONS
PART 1: Body Panel
Working from the side in one single piece using the 5.5mm hook.
- Foundation: Ch 55[55 /60 /60 /65 ] [65 /65 /70 /70 ] + 1, turn.
You can also measure the height you’d pref from your underarms to your hip in inches. Then multiply by 4 sts.
ie: 15in x 4sts = 60 chains
- Row 1 Herringbone Stitch (HB St): From the 2nd Ch from hook, work a HB St (Yo, insert hook, draw up a loop and Pt 1st loop, Yo, Pt 2 loops) and on each Ch across. Ch 1 turn.
- Row 2: Rep Row 1 for 39 [45/ 50/ 56/ 62] [67/ 73/ 78/ 84] total rows or until you have reached desired size.
To get the best fit, measure around your bust, divide it into 2, minus 1 inch, multiply this number by 2.8 rows.
ie: 40 in /2 – 1 = 19 x 2.8 = 53 rows
- Once you have completed the 1st panel, Ch 1 turn and work HB Sts until the last 9th St (for all sizes) , Ch 8 + 1, turn
- Next Row: HB St on 8 Chs and on each St across for the same number of total rows in Step 3.
- Seam: Fold body panel in half along the “split” and, Sc both panels together across until the 9th last St.
- Bind off
PART 2: Sleeves
- Foundation Row: Ch 76 + 1, turn to start the next row
Or measure from your underarm to your wrist in inches and multiply by 4 Sts.
ie 19in x 4 = 76 chains
- Row 2: (Switch to 3.5mm hook), Sc 15, Place SM on last St, (switch to 5.5mm hook), HB St each chain across. Ch 1 turn.
- Row 3: HB St each St across until the SM, (switch to 3.5mm hook), Sc through the back loop (Sc BLO) 15, Ch 1 turn
- Row 4: Sc BLO 15, Place SM on last St, (switch to 5.5mm hook), HB St each St across. Ch 1 turn.
Tip: Always turn in one direction to get a clean/ consistent edge
- Row 5: Rep Rows 3 & 4 for a total of 42 [45/ 48/ 50/ 53] [56/ 59/ 62/ 64] rows or until you have reached your pref arm width.
Measure around your upper arm + 1 in/ 2.5 cm.
- Seam: Fold Sleeves in half lengthwise and Sc each St of both pieces together across.
- Bind off
- Make another Sleeve by repeating Steps 1 – 7
PART 3: Assembling
- Turn sleeve right side out and insert sleeve between (WS) body panel armhole
- Place SM to secure along the underarm, and Sc both pieces together.
- Bind off
- Rep Steps 1 – 3 on the other side.
PART 4: Shoulder Wrap
- Foundation Row: Place your 4.5mm hook along any sleeve join and Sc along the rows post loosely. Distribute your stitches evenly. Do this along the body panel and along the sleeves. Slst to join in the round, Ch up 1
- Row 2: HB St each St in the round, Slst to join. Ch 1 turn
- Next Rows: Rep Row 2 for 32 total rows or until you reach your pref length.
- Bind off and weave in all loose ends.
END
TIP: How to Join in the Round Correctly
1. Slst through that 1st “V” St to join in the round, Ch 1 turn workaround
2. Insert hook through the same last turning St, this will be your 1st St. Cont to HB St in the round until the last unworked St, rep Steps 1 and 2.
***

Voila! If you have any questions about this pattern, do check out the video tutorial or get in touch with me by dropping a comment below.
And don’t forget to tag me on Instagram and Facebook @theknottylace, I would love to see your work!
If you are looking for the entire tools used to make this HugMe Off Shoulder Sweater pattern, I’ve listed them all right here:
- 3.5 mm Clover Amour Crochet Hook
- 4.50 mm Clover Amour Crochet Hook
- 5.50 mm Clover Amour Crochet Hook
- Soft & Shiny by Loops & Threads (Burgundy)
- HugMe Off Shoulder Sweater Printable PDF
By the way, If you would like to receive free written patterns and video tutorials straight into your inbox, you can join our mailing list now.
Happy hooking,
Shaz 🌺