This post contains affiliate links. As an Amazon Associate I earn from qualifying purchases — at no extra cost to you. Thanks for supporting The Knotty Lace!
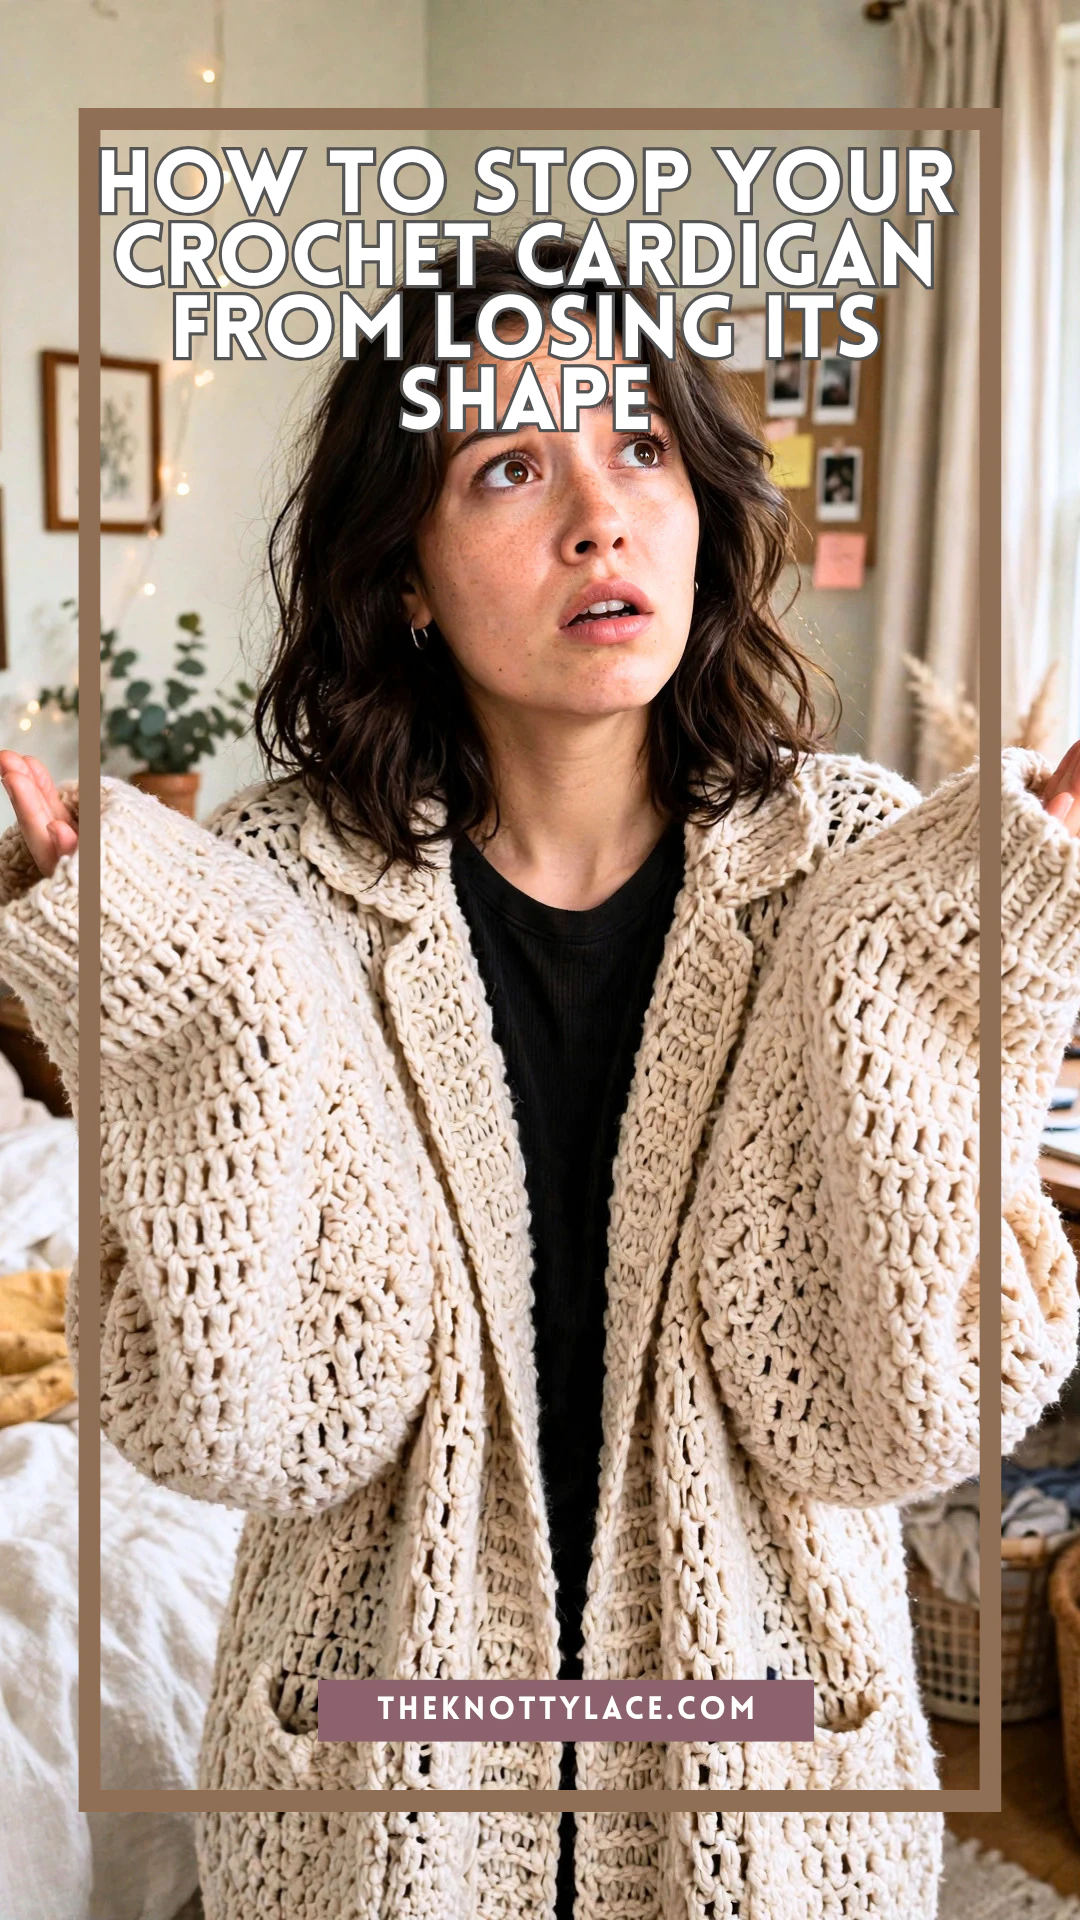
So there I was, pulling on my favorite chunky cardigan for the third cozy Sunday in a row. It fit like a dream the day I wove in the last strand. Hip-length, snug shoulders, button band sitting perfectly flat.
By week six? It was brushing my knees. The shoulders had slid halfway down my arms, the button band was waving hello like a curtain in a breeze, and the ribbing at the cuffs looked like it had given up on life.
If you’ve ever looked at a cardigan you poured 30+ hours into and thought “what happened to you?” , you’re not alone. And it’s not because you did anything wrong. Crochet fabric just behaves differently from store-bought knits, and nobody really tells you that part.
The good news: most stretched-out cardigans can be rescued, and the next one you make can hold its shape for years. Let’s get into why it happens, how to stop it, and how to bring your saggy favorites back to life — in every size from XS to 5XL, coz I’ve got you covered.
Why Crochet Cardigans & Sweaters Stretch Out
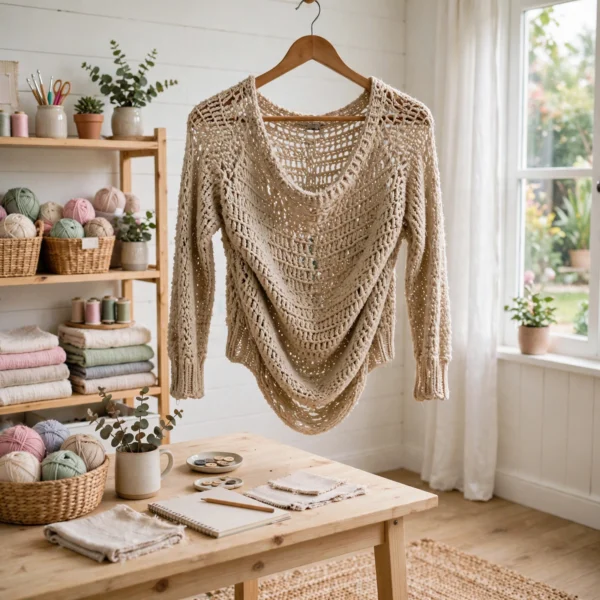
Three things team up against your crochet garment: gravity, fiber, and stitch structure.
- Gravity. Crochet fabric is heavier than knit fabric of the same size — it simply uses more yarn. A finished cardigan can weigh 1.3–2.2+ lbs (600g–1kg), and all that weight hangs from your shoulders and button band every time you wear it (or hang it up).
- Fiber with no memory. Plant fibers like cotton, bamboo and linen don’t spring back after stretching. Wool has natural crimp that acts like a tiny spring, so it bounces back. Cotton just… stays stretched.
- Open, drapey stitches. Lacy stitches, tall stitches (double and treble crochets) and loose tension all create fabric with lots of “give.” Beautiful drape, but that give only goes one way: down.
- Unstable edges. Button bands and front edges carry the most strain and usually have the least structure. When they stretch, the whole front sags and flares.
The bigger the garment, the more weight is pulling on it — which is why sizing up without adjusting fiber or structure can make the problem worse. The fixes below work for every size, with a few extra tips for larger sizes along the way.
What You’ll Need
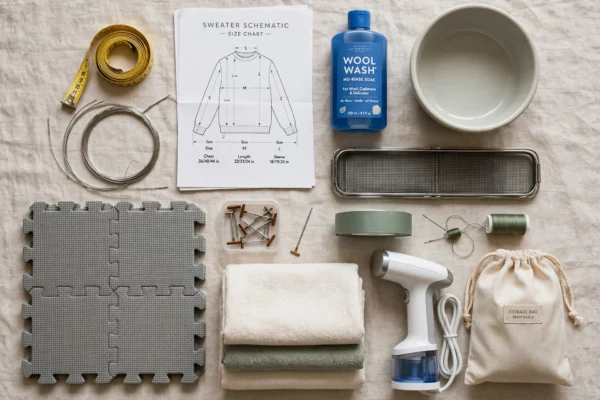
You probably have most of this already. Here’s the kit for both preventing and fixing stretch:
- Blocking mats (interlocking foam mats — get enough to lay your whole cardigan flat; larger sizes may need 9–12 tiles)
- Rust-proof pins (T-pins or blocking pins)
- Blocking wires (optional, but amazing for straight button bands and hems)
- Tape measure
- Your pattern’s schematic or size chart (so you know what measurements to block back to)
- Wool wash or gentle no-rinse soak (e.g. Eucalan, Soak, or a mild baby shampoo. Hair conditioner works great too!)
- Basin, sink or clean bathtub
- 2–3 clean towels
- Handheld steamer or steam iron (for steam blocking — never let the plate touch the fabric)
- Mesh drying rack (flat, over-the-bath or stackable sweater dryer)
- Grosgrain ribbon (optional, for stabilizing button bands)
- Sewing needle + matching thread
- Breathable storage — cotton sweater storage bags, a drawer or shelf space (no plastic tubs for long-term storage), plus cedar blocks for wool
Part 1: How to Stop Your Cardigan Stretching (Before It Happens)
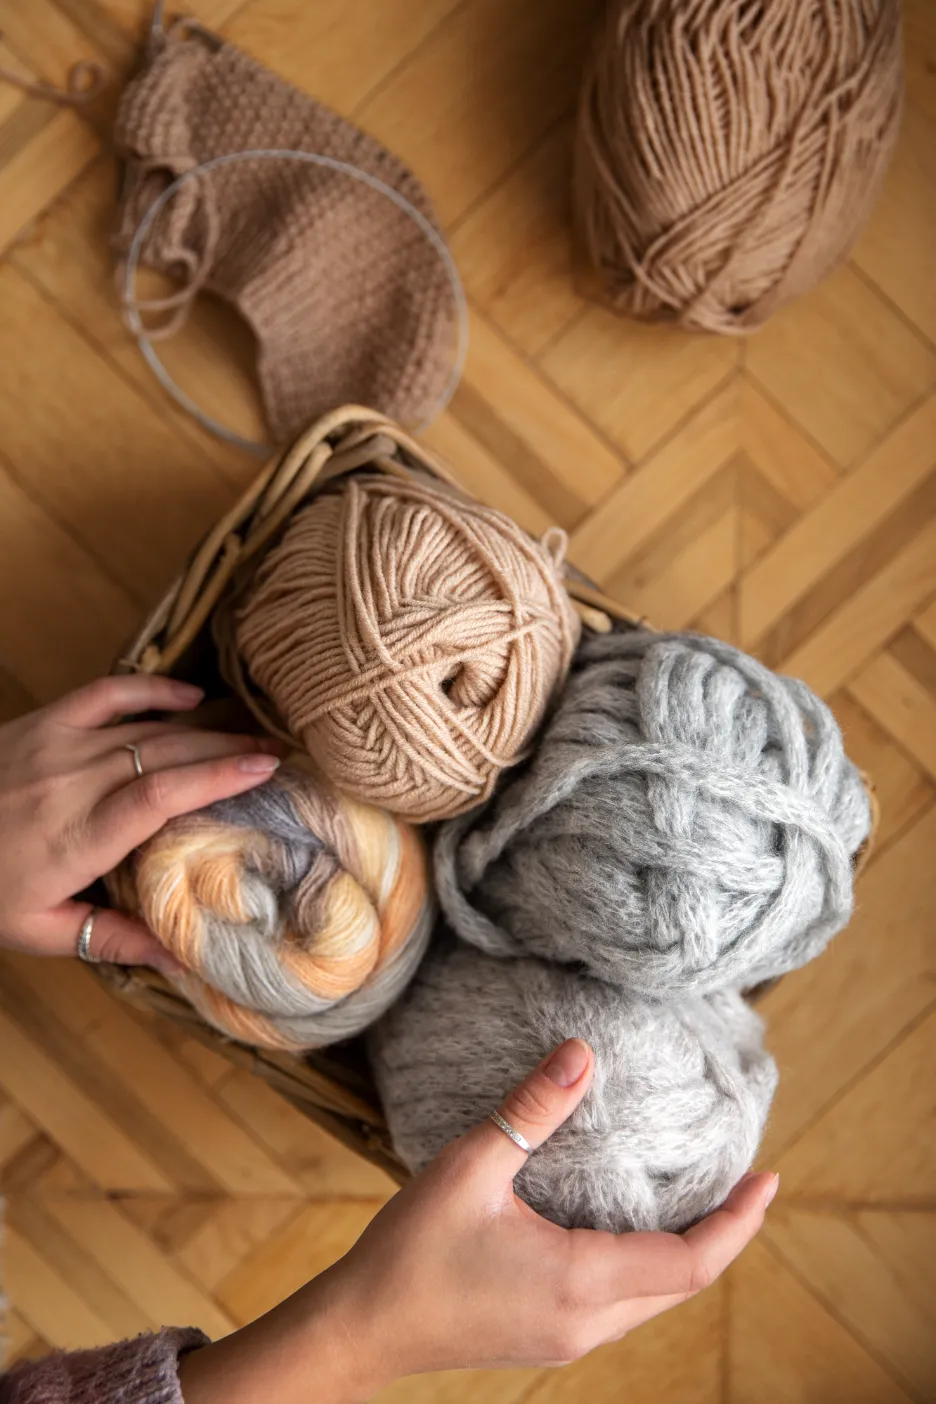
Prevention starts before your first stitch. Get these three things right and you’ll rarely need the rescue section.
1. Choose a fiber that bounces back
Fiber is the single biggest factor. Here’s the quick cheat sheet:
| Fiber | Shape memory | Stretch risk | Best for |
|---|---|---|---|
| 100% wool / merino | High | Low | Cozy, fitted cardigans |
| Wool-acrylic blend | Medium–high | Low | Everyday, machine-washable cardis |
| 100% acrylic | Medium | Medium (can “kill” with heat) | Budget-friendly, easy care |
| Cotton-wool or cotton-acrylic blend | Medium | Medium | Spring/summer layers |
| 100% cotton, bamboo, linen | Low | High | Short, cropped or lightweight styles |
My rule of thumb: if your cardigan is longer than hip-length or uses tall/lacy stitches, pick something with at least 20–30% wool or acrylic in it. Love cotton? Totally fine, just go for cropped or waist-length styles, a tighter gauge, and read the next two steps carefully.
Extra tips:
- Go down a hook size from what you’d use for a drapey shawl. Denser fabric = less sag.
- Swatch, wash and hang your swatch. Clip a clothespin to the bottom of a washed swatch and hang it overnight. If it grows, your cardigan will too so adjust your length or hook now.
- Plied yarns beat single-ply for stretch resistance.
2. Block it properly when you finish
Blocking isn’t just for lace. It sets your stitches, evens out tension, and tells the fabric what shape to “remember.”
- Soak the finished pieces (or whole cardigan) in lukewarm water with a little wool wash for 15–20 minutes.
- Gently press out the water — no wringing or twisting.
- Roll in a towel and press to remove more moisture.
- Lay flat on blocking mats and pin to your schematic measurements. Pin the button band and hem straight (blocking wires help here).
- Leave until completely dry — usually 24–48 hours.
Pro tip: block to the measurements you want, not bigger. Stretching a cardigan out during blocking to “gain” a size will just make it sag sooner.
3. Stabilize your button band and edges
The front edges carry the most weight, so give them backup:
- Crochet a firm band. Work the button band in single crochet or a tight rib (FPsc/BPsc or sc in back loop) with a hook one or two sizes smaller than the body.
- Pick up fewer stitches. Work about 3 stitches for every 4 rows along the front edge (adjust to your gauge). Too many stitches = a wavy, flared band.
- Add a slip stitch or reverse sc edge. A row of slip stitches along the front and neck edge stops them from stretching lengthwise.
- Sew in grosgrain ribbon. Hand-stitch a length of ribbon to the inside of the button band (cut to the band’s blocked length). It’s the trick ready-to-wear knits use — and it works wonders for heavy, longline and larger-size cardigans.
- Reinforce shoulders. Seamed shoulders hold shape far better than seamless top-down yokes. For extra support, slip stitch across the shoulder seam on the inside, or sew a strip of twill tape along it.
- Buttons matter too. Heavy buttons drag bands down. Choose lightweight ones, and sew a small flat button on the inside as an anchor behind each one.
Watch my Latest Video
Part 2: How to Fix a Cardigan That’s Already Stretched
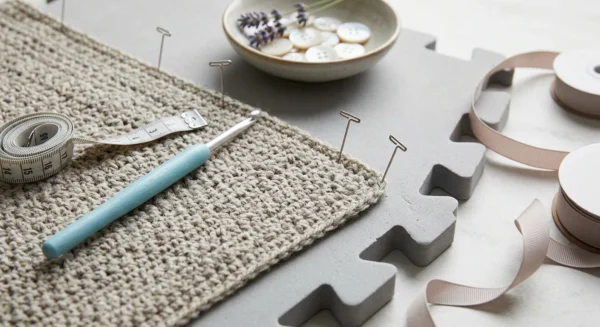
Already got a saggy cardi? Don’t frog it yet. Pick your method based on how bad the stretch is and what it’s made of.
| Situation | Best fix |
|---|---|
| Mild stretch, wool or wool blend | Steam blocking |
| Serious stretch, any natural fiber | Wet blocking + reshaping |
| Cotton that’s grown a lot | Wet block + tumble dry on low (not hot), then reshape |
| Acrylic that’s gone limp and shiny | Sadly, it’s usually “killed” — see FAQ |
Fix 1: Steam blocking (quick refresh)
Great for wool, wool blends and acrylic that’s just a little relaxed. Takes about 20 minutes.
- Lay the cardigan flat on blocking mats, right side up.
- Gently push the fabric back toward its original measurements (check your schematic) — scrunch the length up, nudge the shoulders in, straighten the button band.
- Pin the edges in place.
- Hover your steamer or steam iron ½–1 inch (1–2 cm) above the fabric. Never press down or let the plate touch — that flattens stitches and can melt acrylic.
- Steam section by section until the fabric is slightly damp and relaxed.
- Leave pinned until fully cool and dry (1–3 hours).
Acrylic warning: use steam very lightly. Too much heat permanently relaxes acrylic (“killing” it), which is the opposite of what we want here.
Fix 2: Wet blocking + reshaping (the full rescue)
For cardigans that have grown a size or more, or lost shape at the shoulders and bands.
- Soak the cardigan in cool to lukewarm water with wool wash for 20–30 minutes, so every fiber is fully saturated.
- Support it as you lift. Scoop it out with both hands underneath — a wet crochet cardigan is heavy and will stretch further if you let it dangle.
- Press out the water in the sink, then roll it in a towel and step on it (seriously, it works).
- Lay it flat and reshape. On your mats, gently push the fabric toward the center — shorten the body and sleeves, bring the shoulders in, and square up the hem. Crochet fabric can be coaxed back surprisingly far while wet.
- Pin to measurements. Pin the button band straight with wires if you have them, then pin shoulders, hem and cuffs.
- Dry completely, flipping once if it’s thick. See the drying section below.
For stretched ribbing (cuffs, hems, bands): after soaking, scrunch the ribbing tightly together and hold it for a few seconds, then pin it narrow. For cotton ribbing, a quick 10-minute tumble dry on low while damp can help it pull back in — check your yarn label first. For ribbing that’s totally gone, you can weave a length of clear elastic thread through the inside of the last round.
For stretched cotton: cotton responds to warmth. After wet blocking, a short tumble dry on low with a couple of towels can tighten the fibers. Take it out while still damp and finish drying flat. Only do this if the label allows it — and never on wool, which will felt.
Part 3: Drying and Storage (Where Most Stretch Actually Happens)
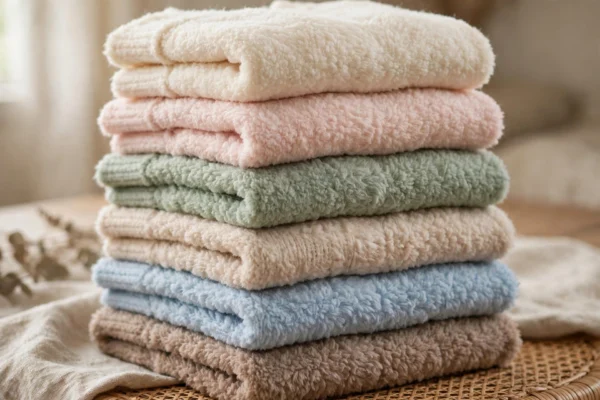
Here’s the plot twist: most cardigans don’t stretch while you wear them. They stretch on the hanger and on the clothesline.
Dry flat — always
- Best: a mesh drying rack. Air circulates above and below, so it dries faster and evenly, with no weight pulling on any one spot. Stackable sweater racks are a lifesaver if you’re short on space.
- Also good: flat on blocking mats or a dry towel, flipped halfway through.
- Never: on a hanger, over a door, or clipped to a clothesline. Wet crochet can weigh 2–3 times its dry weight, and all of it drags the fabric down.
Larger-size tip: if your cardigan hangs off the edges of one rack, use two racks side by side, or dry it on mats on a spare bed with a towel underneath. Every bit of the cardigan should be supported.
Fold, don’t hang
This is the big one. A hanger turns your shoulders into two little pressure points holding up the whole garment, 24/7.
How to fold a crochet cardigan:
- Button it up (or at least the top button) and lay it face down.
- Fold each sleeve across the back diagonally.
- Fold the sides in so the body is a neat rectangle.
- Fold in half (or thirds for longline styles) from the hem up.
- Store flat in a drawer or on a shelf, heaviest pieces at the bottom of the pile.
If you absolutely must hang it: fold it in half lengthwise and drape it over the bar of a hanger (like pants), so the weight is spread across the middle rather than the shoulders.
Long-term storage
- Store clean — moths love body oils and food spills.
- Use breathable cotton bags or pillowcases, not sealed plastic (traps moisture).
- Add cedar blocks or lavender sachets for wool.
- Give off-season cardigans a quick refold every few months so creases don’t set.
Between wears
- Let your cardigan rest a day between wears so the fibers can recover.
- Wash less often than you think. Airing it out flat is often enough.
- Avoid heavy stuff in the pockets — phones and keys are pocket-stretch villains.
If you would like to receive free written patterns and video tutorials straight into your inbox, just click Subscribe above to get into our mailing list.


Enjoying our content? Make us a preferred source on Google.
Add us as a Preferred Source on Google