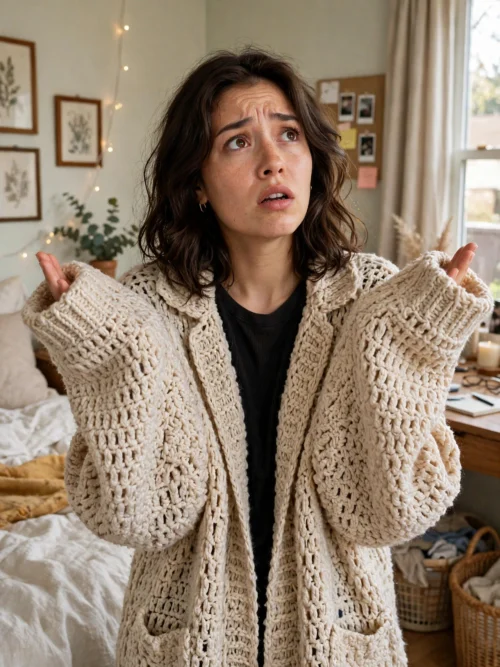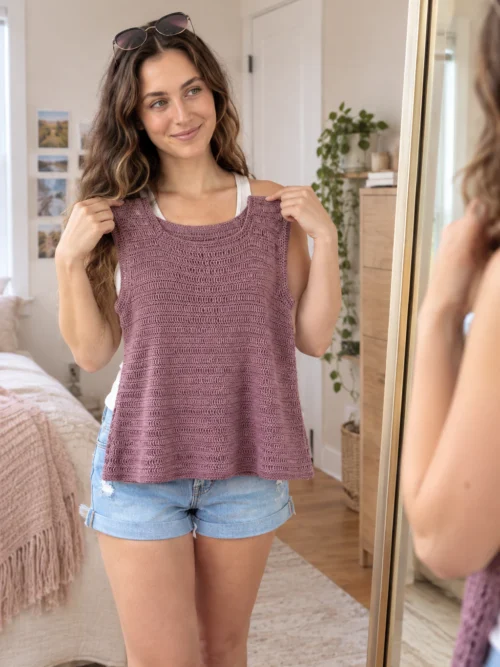
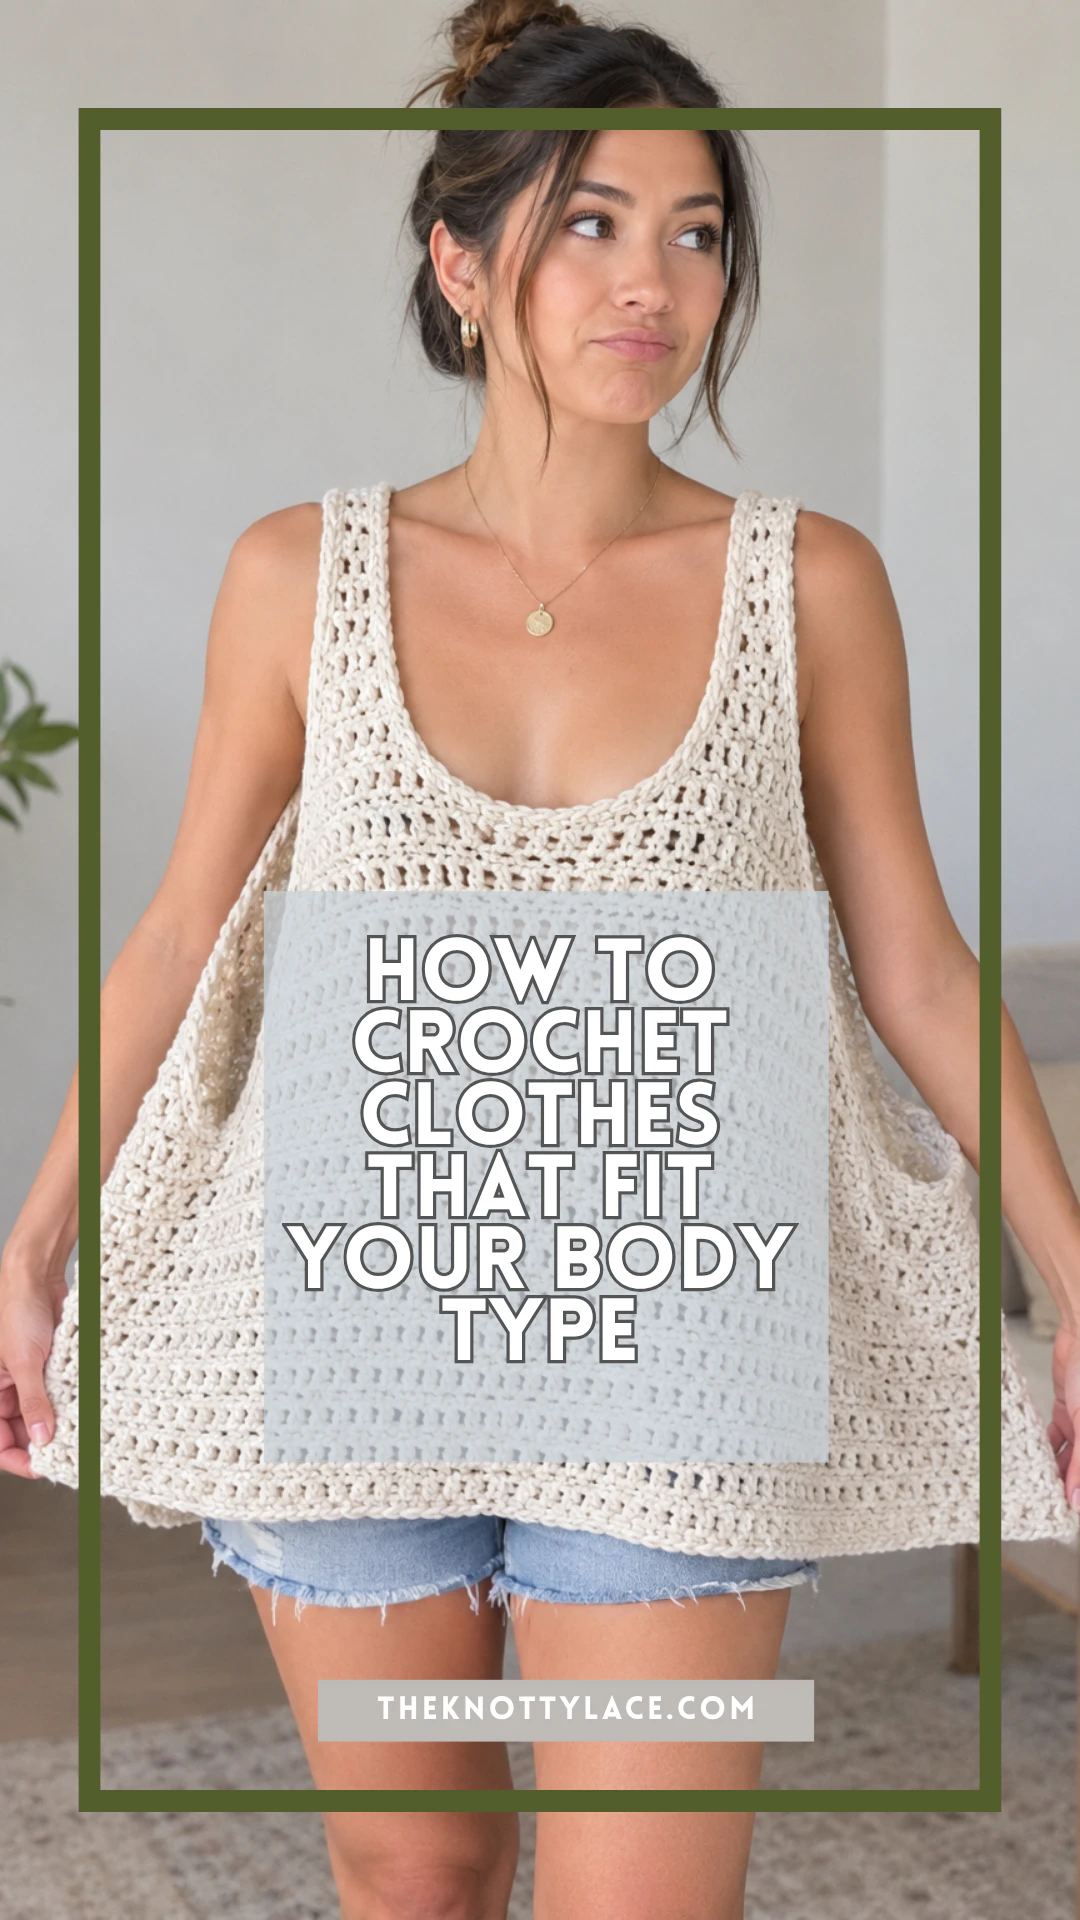
You followed the pattern perfectly. Your gauge matched. You picked the right size. And it still doesn’t fit right.
Maybe it fits your shoulders but pulls tight across your chest. Maybe it rides up over your tummy. Or it’s comfy on top but way too snug on your hips.
Here’s the secret nobody tells you: most patterns are made for one body shape. Usually a straight-up-and-down one. Real bodies have curves, and yours deserves clothes that fit every one of them. The good news? A few small changes fix almost everything. Let’s do this!
Quick version (TL;DR):
- Measure 5 spots: high bust, full bust, waist, hips, and upper arm.
- Pick your size by the spot that’s hardest to change (usually shoulders and high bust).
- Add extra stitches or rows only where you need them.
- Try it on as you go. Your body is the best pattern!
This post contains affiliate links designed to provide a commission on purchases made at no cost to you. As an Amazon Associate, I earn from qualifying purchases that support my work in providing new content and information on this site.
Your Fit Toolkit
- Soft tape measure: for measuring your 5 spots
- Locking stitch markers: to mark short rows and increases
- Digital row counter: so you never lose count
- Drapey cotton-blend yarn: soft fabric that moves with your curves
- Blocking mats and pins: to check your swatch and finished pieces
Step 1: Measure the 5 Spots That Matter
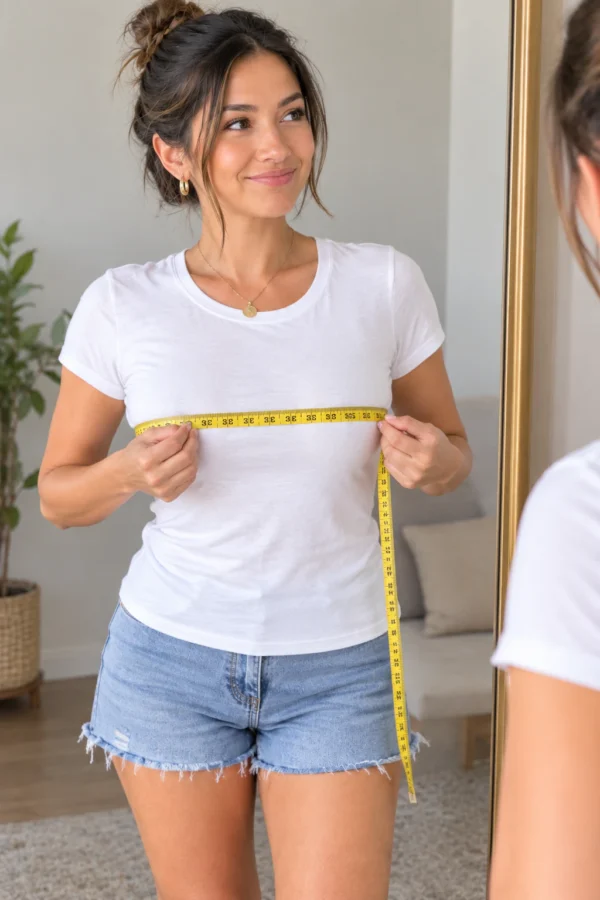
Most patterns only ask for one number: your bust. But your body is more than one number! Grab a soft tape measure and check these 5 spots:

- High bust: under your arms, above your chest. This tells you your shoulder and back size.
- Full bust: around the fullest part of your chest.
- Waist: around the narrowest part of your middle (or where your pants sit).
- Hips: around the fullest part of your hips and bottom.
- Upper arm: around the widest part of your arm.
Write them down next to the pattern’s size chart. Now you can see exactly where your body and the pattern don’t match. That’s where the magic happens.
Step 2: Pick the Right Starting Size
Here’s a pro trick. Shoulders and necklines are the hardest parts to change. Bust, belly, and hips are easy to adjust. So:
- If your full bust is more than 2 inches bigger than your high bust, pick your size using your high bust. Then add room for your chest (see below). This keeps the shoulders and neckline from being too big and floppy.
- For everyone else, pick the size closest to your full bust.
Not sure how many stitches a size needs? My guide on how to resize any crochet pattern walks you through the math.
Your Fit-Fix Cheat Sheet
Find your fit problem, then use the fix. Save this one for later!
| The problem | Why it happens | The fix |
|---|---|---|
| Pulls tight across the chest, or the front rides up | Not enough room or length for your bust | Add short rows or extra stitches at the bust (front only) |
| Rides up or clings over the tummy | The front needs more length and width than the back | Add front length and A-line shaping |
| Tight on the hips, loose at the waist | Your hips are wider than the pattern’s | Add increases between waist and hips |
| Sleeves squeeze your arms | Sleeves are drafted for slimmer arms | Use your upper arm measurement + 1 to 2 inches of ease |
| Too short or too long | Patterns assume an average height | Add or remove rows above the waist, not only at the hem |
How to Add Room for a Bigger Bust
If the front of your top pulls up or the hem lifts in front, your chest needs more fabric. The fix is called short rows.
Short rows are rows you only crochet partway across. You turn early, so the middle of the front gets extra height while the sides stay the same. It’s like adding a little pocket of space just where you need it.

- Work your short rows on the front panel only, across the bust area.
- Clip a locking stitch marker where each short row turns so you don’t lose your place.
- Start with about 1 to 2 inches of extra height, then try it on.
- Prefer an easier fix? Add a few extra stitches to the front panel only, and use a drapey stitch like double crochet or mesh.
How to Make Room for Your Tummy
When a top rides up or clings over your belly, it usually needs two things: a little more length in front and a little more width.
- Add front length: crochet 1 to 2 inches of extra rows (or short rows) on the front panel only.
- Try A-line shaping: instead of pulling in at the waist, slowly add stitches from the bust down. The top skims your body instead of gripping it.
- Choose drapey stitches: taller stitches like double crochet, V-stitch, and mesh hang softly. Tight, stiff stitches like single crochet hold their own shape more. Drapey yarn helps too, like a soft cotton blend.
How to Add Room for Your Hips
If the top or dress fits at the waist but squeezes your hips, add stitches gradually between the two. Here’s an easy way to do the math:
(Hips − waist) × stitches per inch = stitches to add
Say your waist is 40 inches, your hips are 48 inches, and your gauge is 4 stitches per inch. That’s 8 × 4 = 32 extra stitches. Spread them out evenly: add 4 stitches (2 at each side) every few rows, 8 times, and you go from 160 to 192 stitches. A row counter makes it easy to keep track of your increase rounds.

Spreading out your increases keeps the fabric smooth, with no lumps or bumps!
How to Make Sleeves That Fit Your Arms
Tight sleeves are one of the biggest complaints in crochet. The fix is easy:
- Measure around the widest part of your upper arm.
- Add 1 to 2 inches of ease so you can move.
- Multiply by your stitches per inch. That’s your sleeve stitch count.
Example: a 15-inch arm plus 2 inches of ease is 17 inches. At 4 stitches per inch, that’s 68 stitches. Also, try drop-shoulder styles. They’re simple rectangles, so they’re super easy to adjust.
Short or Tall? Adjust the Length
Patterns are made for an “average” height. If you’re petite or tall, change the number of rows. Here’s the trick: add or remove rows between the armpit and the waist, not only at the bottom. That way, the waist and bust shaping still land where your body actually is.
Want your perfect fit to last? Find out why crochet cardigans lose their shape (and how to stop it).
Common Mistakes to Avoid

- Picking a size by full bust when your high bust is much smaller (hello, gaping neckline).
- Adding width all the way around when you only need it in front.
- Doing all your increases in one row, which makes a lump.
- Skipping try-ons. Hold your piece up to your body every few inches!
FAQ: Crocheting for Your Body Type
What is a full bust adjustment in crochet?
It means adding extra room only across your chest, using short rows or a few extra stitches on the front panel. The back, shoulders, and neckline stay the same size.
What crochet stitches are best for curvy bodies?
Drapey stitches like double crochet, V-stitch, and mesh move with your curves. Use stiffer stitches like single crochet where you want structure, like straps and edges.
Can I adjust a pattern that only comes in one size?
Yes! Measure your 5 spots, check your gauge, and use the math above. My gauge guide and calculator makes it easy.
Should I size up if a pattern is tight in one spot?
Usually not. Sizing up makes everything bigger, including the shoulders. It’s better to start with your true size and add room only where you need it.
Crochet Patterns Made for Every Body
Every body is a good body, and every body deserves clothes that fit. That’s why my patterns come in sizes XS to 5XL, so you can spend less time on math and more time crocheting. Want to know why size-inclusive patterns matter so much to me? Read my story on supporting size-inclusive crochet for the curvier woman.
Enjoying our content? Make us a preferred source on Google.
Add us as a Preferred Source on Google