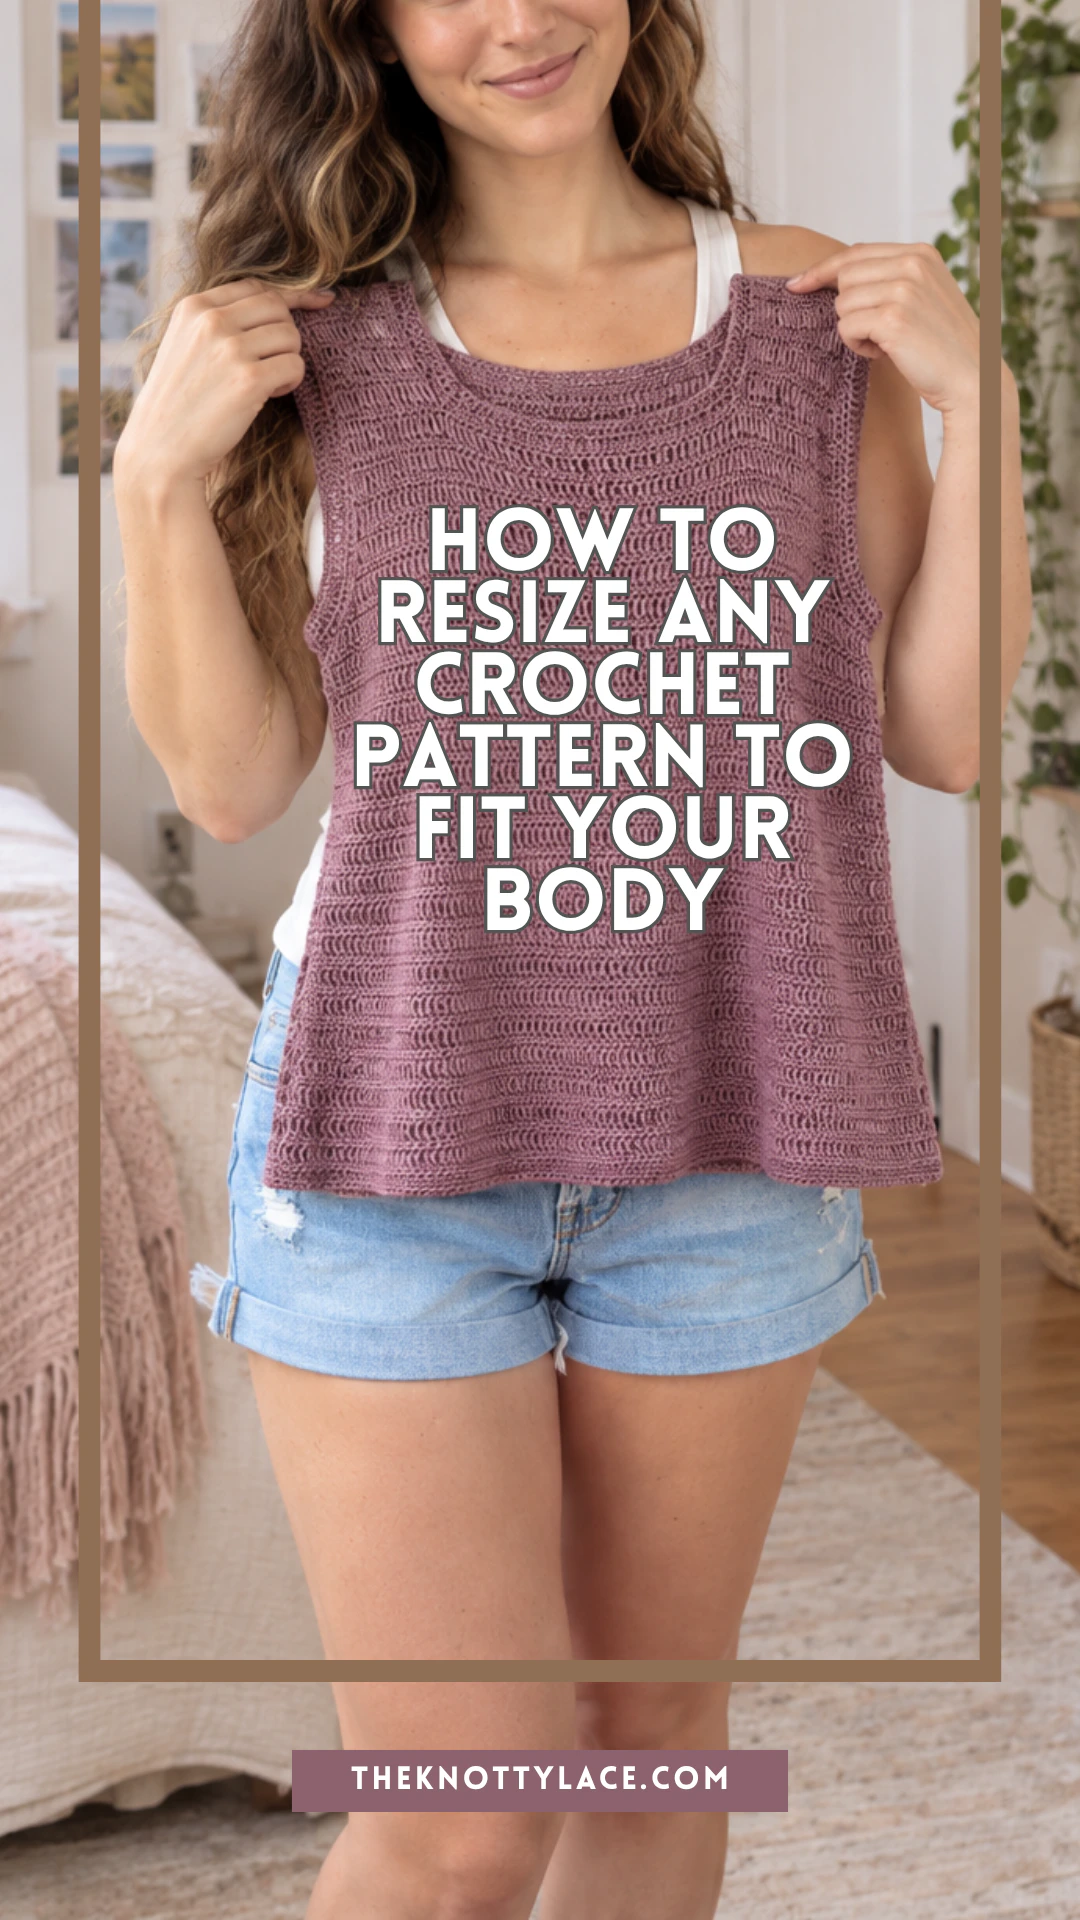
Ever fallen in love with a pattern that only goes up to a 2XL — or one whose size chart just doesn’t quite match your proportions? You are not alone, and here’s the good news: any crochet pattern can be resized to fit any body, once you know the trick. It’s not really about “hacking” the pattern — it’s just gauge math, a few measurements, and a little patience. Grab your hook (and maybe a cup of tea), and let’s get your fit exactly right.
What You’ll Need
- A gauge swatch (this is the whole trick, promise)
- A tape measure
- Your own body measurements (bust/chest, waist, hip, length — depending on what you’re making)
- A calculator (or our gauge & yarn calculator)
- Scrap paper to jot your numbers as you go
Step 1: Swatch and Find Your Real Gauge

Before you touch the pattern’s size chart, crochet a swatch in your actual yarn and hook.
Count how many stitches and rows you get per inch, that’s your real gauge, and it’s the number that actually matters, not the one printed in the pattern. Every calculation from here on is built on this.
Or you could easily learn how to correctly make a swatch with this swatch guide and calculator.
Step 2: Take Your Measurements
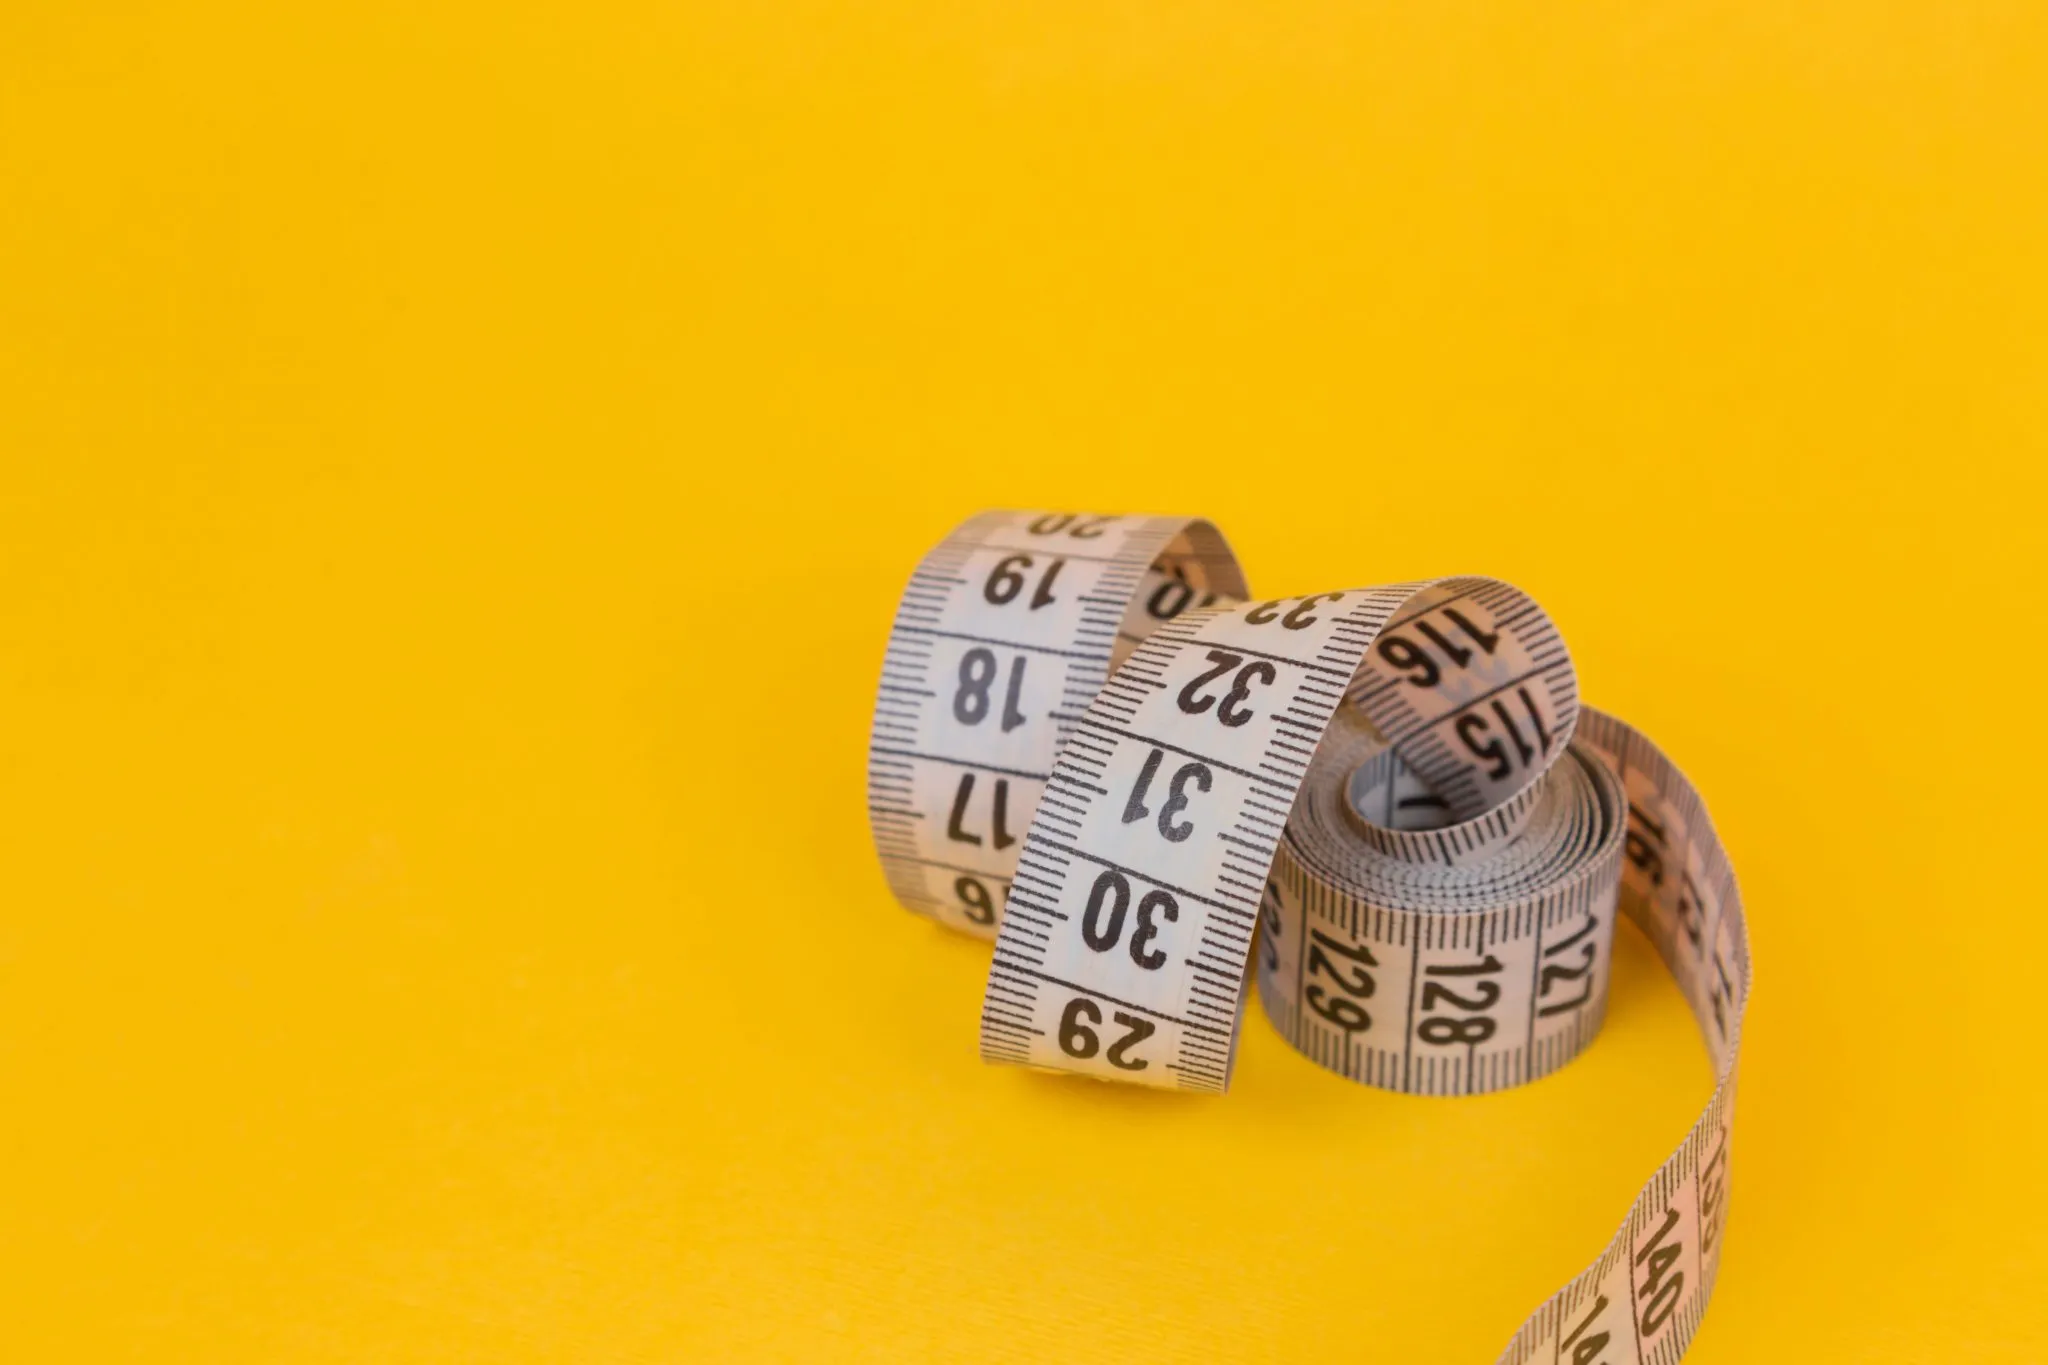
Grab your tape measure and note your bust or chest, waist, hip, and the garment length you want (plus sleeve length, for tops and cardigans).
Measure over the kind of clothing you’d actually wear underneath, and keep the tape snug but not tight.
Step 3: Compare Your Measurements to the Pattern’s Size Chart

Find the size on the pattern’s chart closest to your measurements. It doesn’t need to be a perfect match.
Write down the difference in inches between your measurement and that size’s measurement.
That difference is what you’ll adjust for in the next step.
Step 4: Do the Gauge Math

Here’s the formula: your measurement × your stitch gauge = the stitch count you need.
Say you want a 42-inch chest, and your gauge is 4 stitches per inch — that’s 42 × 4 = 168 stitches.
Compare that to the stitch count in the pattern’s closest size, and adjust up or down to hit your number, keeping stitch pattern repeats in mind (more on that below).
Pro tip: Use this free gauge calculator
Step 5: Adjust for Your Shape, Not Just Your Size
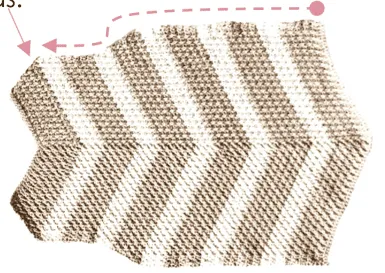
This is the step most resizing guides skip, and it’s the one that actually makes a garment fit well. Bodies aren’t cylinders.
Your bust, waist, and hip measurements are rarely the same difference from “average” in the same direction.
Add or subtract stitches independently at each of those points rather than scaling the whole garment by one number. Same goes for length: your torso and sleeve length can be adjusted separately from width, so don’t let one throw off the other.
Step 6: Test As You Go
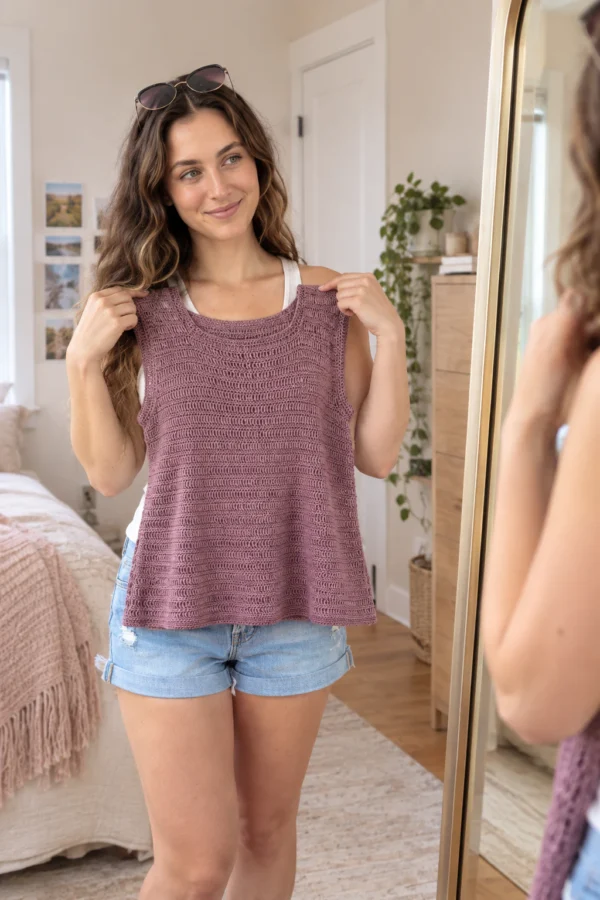
Try the piece on (or hold it against your body) at natural stopping points after the ribbing, before starting the sleeves, before the final rows.
It’s much easier to rip back a few rows than to discover a fit issue after binding off.
Watch my Latest Video
Common Mistakes to Avoid
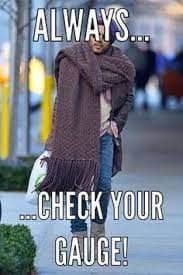
- Skipping the swatch and using the pattern’s stated gauge instead of your own
- Resizing width but forgetting to adjust length
- Changing stitch counts without accounting for a stitch pattern’s repeat (shells or clusters only work in multiples of a set number)
- Not accounting for ease. A fitted cardigan and an oversized one need very different amounts of “room” beyond your actual measurements
Frequently Asked Questions
Can you resize any crochet pattern, even if it only comes in one size?
Yes — the same gauge-and-measurement method works whether the pattern has one size or ten.
You’re just starting your calculations from scratch instead of adjusting from a chart.
What if my gauge doesn’t match the pattern’s gauge at all?
That’s completely normal, and actually expected — everyone crochets a little differently. As long as you use your own gauge consistently through the math, the pattern will still come out right for your body.
How do I resize a pattern that uses a stitch multiple, like shells or clusters?
Round your target stitch count up or down to the nearest multiple the stitch pattern needs, plus whatever edge stitches the pattern calls for. It’s a small trade-off in exact sizing for a pattern that still looks right.
Do I need to resize length and width separately?
Yes — they’re controlled by different numbers (stitch count for width, row count for length), so adjusting one doesn’t automatically fix the other.
What’s the easiest garment to practice resizing on first?
A simple top or tank with minimal shaping is the most forgiving place to start, before you try it on something with sleeves or more complex shaping, like a cardigan.
Ready to Put This Into Practice?
If you’d rather start from a pattern that’s already sized for you, every pattern here is graded XS–5XL from the start — browse the shop, or start with one of these free favorites.


Enjoying our content? Make us a preferred source on Google.
Add us as a Preferred Source on Google