 Pattern & Video Tutorial🎗️")
 Pattern & Video Tutorial🎗️")
 Pattern & Video Tutorial🎗️")
This pattern is written for 8 sizes – A to H Cup, however, it can be adjusted to your liking. (Like into a large Pillow perhaps!) Working in rounds, the nipple is constructed first using the magic ring foundation.
The nipple height can be adjusted to your liking or just have it flat if you prefer. Once the areolas width is met, a quick switch of yarn color and a continuous increase is worked up until the ideal size is achieved. This will be done while working in spiral rounds.
 Pattern & Video Tutorial🎗️")
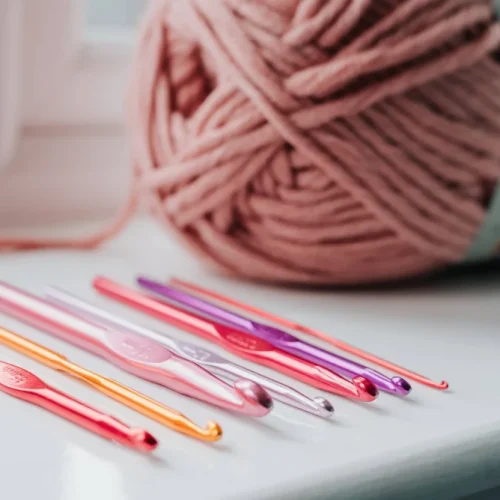
For the yarn, I am using Coboo yarn by Lion brand. They are the approved yarns used by the Knitted Knockers Organization which is a nonprofit group that supports, teaches, and donates crochet and knitted knockers to anyone that needs them. These yarns are made from a blend of cotton and bamboo which will give you a soft and smooth finish.
I am also using a 2.5mm crochet hook, which is a much smaller hook size recommended by the weight of the yarn but perfect for the entire pattern.
 Pattern & Video Tutorial🎗️")

PART 1: Nipple ( Watch Tutorial)
Start with Yarn A
1. Foundation Rnd: Work up a Magic Ring and Ch 10, Slst to close Rnd, Ch 1
 Pattern & Video Tutorial🎗️")
Tip: You can adjust the nipple tip to your liking. Go straight to Rnd 3 for a flat nipple or keep rep Rnd 1 for more protrusion.
2. Rnd 1: In the same Slst, Sc each St, Slst into the 1st St to join, Ch 1
3. Rnd 2: Rep Rnd 1. [10 Sts]
4. Rnd 3: From the Slst, *(Sc, 2Sc), Rep (*) in the round. Slst to join, Ch 1 [15 Sts]
5. Rnd 4: From the Slst, *(Sc2, 2Sc), Rep (*) in the round. Slst to join, Ch 1 [20 Sts]
6. Rnd 5: From the Slst, *(Sc3, 2Sc), Rep (*) in the round. Slst to join, Ch 1 [25 Sts]
7. Rnd 6: From the Slst, *(Sc4, 2Sc), Rep (*) in the round. Slst to join, Ch 1 [30 Sts]
8. Rnd 7: From the Slst, *(Sc5, 2Sc), Rep (*) in the round. Slst to join, (Switch to Yarn B at Slst) Ch 1 [35 Sts]
PART 2: Skin (Watch Tutorial)
1. Rnd 8: From the Slst, *(Sc6 2Sc), Place a SM in the 1st St, Rep (*) in the round until the SM [40 Sts]
We will be working in spirals from here
2. Rnd 9: From the 1st SM, *(Sc7, 2Sc, place a SM on the last inc St), Rep (*) in the round until the last St at the 1st SM [45 Sts]
3. Rnd 10: From the 1st SM *(Sc until the last St bfor the next SM, work 2Sc on SM, place SM back in the last inc St), Rep (*) in the round until the last St at the 1st SM
4. Next Rnd: Rep Rnd 10 until you have completed a total of [7/ 10/ 12/ 15] [17/ 20/ 22/ 25] Rounds or your pref width.
Place a new SM in the middle point from the 3rd and 4th SM. Then remove 3rd and 4th SM. Ref to Image 1
 Pattern & Video Tutorial🎗️")
5. 3rd Last Rnd: From the 1st SM, *(Sc until the last St bfor the next SM, work 3Sc, place SM back in the 2nd inc St), Rep (*) 2 more times. Sc until the 2nd last St bfor the 1st SM, work 2Sc.
6. Last 2 Rnds: Rep Step 13 for 2 more rounds. On the last St, Slst into the 1st SM to close. Ch 1. You should have a total width of [6/ 7/ 8/ 9] [10/ 11/ 12/ 13] in or [15.2/ 17.8/ 20.3/ 22.9] [25.4/ 27.9/ 30.5/ 33.0] cm when measured from the 2nd to 4th SM across (see image 2)
 Pattern & Video Tutorial🎗️")
Measure cup size from the 2nd to 4th SM across.
PART 3: Back Panel (Watch Tutorial)
1. Rnd 1: From the last Slst, *(Sc through the front post (FP) in each St across until the 2nd last St before the next SM, Sc3tog) (See how in video tutorial here), place SM back in the last dec St. Rep (*) for 2 more times. FP Sc across until the 1st SM, Slst to close, Ch 1
Round 1 will start to fold inwards
2. Rnd 2: Work a *(Sc BLO on each St across until the 2nd St bfor the next SM, Sc3tog), place SM back in last dec St. Rep (*) for 2 more times. Sc BLO across until the 2nd St bfor the 2nd SM
3. Next Rounds: Rep Rnd 2 for a total of [10/ 13/ 15/ 18] [20/ 23/ 25/ 27] Rounds or until you’ve reached the width that will fit approx 2 fingers.
You should be able to fit two fingers for stuffing.
4. To close: Work your last Sc3tog, Slst into the next St to close. Leave a long tail for weaving in the round and bind off.
PART 4: Stuffing (Watch Tutorial)
1. Take a handful of Fiber Filling and start stuffing them through the gap / space opening.
2. You may stuff as much or as little as you pref.
3. Thread the yarn tail through a tapestry needle and weave through each St in the round. Pull tightly to close the gap.
4. Weave the remaining yarn to secure tail and bind off.
 Pattern & Video Tutorial🎗️")
END
 Pattern & Video Tutorial🎗️")
 Pattern & Video Tutorial🎗️")
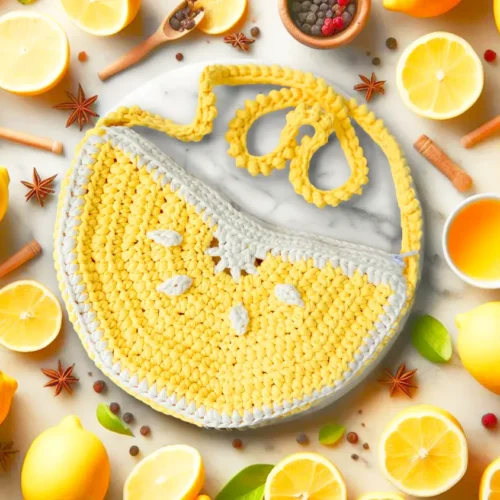
Handmade Crochet Knockers
When choosing yarn to make crocheted knockers, it is important to use a yarn that is approved by the Knitted Knockers organization.
This ensures that the yarn is soft and breathable and that it will not irritate the skin. Crochet knockers are often worn against sensitive skin, so it is important to use a yarn that is comfortable and safe like the yarns here.
Handmade knockers are a unique and personal gift for breast cancer survivors. They are a reminder that they are not alone, and that there is a community of people who care about them and want to support them.
 Pattern & Video Tutorial🎗️")
Handmade knockers are also a symbol of hope and resilience. They show survivors that there is life after breast cancer and that they can still be beautiful and feminine.
If you are interested in making your own crocheted knockers, just follow the pattern tutorial above or purchase the ad-free PDF pattern here, or follow along the video tutorial here.
By making crocheted knockers, you can show your support for breast cancer survivors and make a difference in their lives.
If you have any questions about this pattern, do check out the video tutorial or get in touch with me by dropping a comment below.
And don’t forget to tag me on Instagram and Facebook @theknottylace, I would love to see your work!
By the way, If you would like to receive free written patterns and video tutorials straight into your inbox, you can join our mailing list here.
Happy hooking,
Shaz 💗
 Pattern & Video Tutorial🎗️")
 Pattern & Video Tutorial🎗️")
 Pattern & Video Tutorial🎗️")


2 Responses
i’m happy ur doing well!! had my own case and and been making hats,scarves to take to my appts never made boobs,but sure am now!! thanks bonnie
Hi Bonnie, that’s great! I hope this pattern with keep you in uplift spirits towards your way to recovery. Hugs x – Shaz