If you would like to receive free written patterns and video tutorials straight into your inbox, just click Subscribe to get into our mailing list.
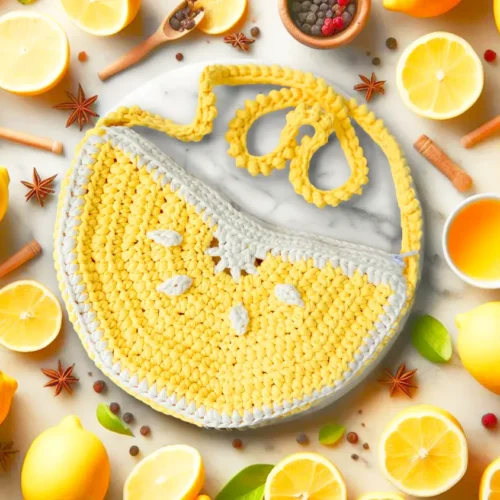
How to Crochet Ties – Easy Peasy

For most of my patterns, I like to incorporate the tie on to the last row that I am working on because I feel it is more secure that way.
So in this case, on the last working row, you will insert your hook through the stitch where you want your ties to be. ie: if you are working a half double crochet stitch, you will only Yarn Over, insert hook, Draw up a loop, and stop there.

Then, hold on to the unfinished stitch and with your other hand, pull two arms-length worth of yarn (60″ / 150 cm). See image below

- One arm’s length pulled
- Depending on how many times the pattern calls for, take the pulled yarn from the other hand
- Then, pull another arms-length worth of yarn

Next, fold the yarn by holding the tip and dragging another set of yarn along the earlier pulled yarn.

Once you have reached the end of the pulled yarn

Wrap the double yarn around your hand as you normally would and complete the last unfinished stitch by pulling through both yarns.

Now you will work chains with the double yarn until the end

Once you have completed your chain ties, pick up the working yarn from where it was left

Insert your hook through the last stitch and draw up a loop and continue to stitch the remaining stitches for that row.

That’s pretty much it. See what I mean about lengthy, LOL. I didn’t mean for it to be, I promise. And if that wasn’t detailed enough, you can also watch the video tutorial below. 😊
If you like this video you might also like my other video tutorials on YouTube or you can check them out here on the blog. And don’t forget to Subscribe to get the latest videos in your inbox.
I hope this tutorial was helpful! Let me know in the comments below if you have any other ideas you would like for me to share.
Happy Hooking
Shaz 🧶