No matter what type of project you choose, the slip knot method in crochet is the foundation when starting any crochet project.
If you are a beginner crocheter, the slip knot is the first stitch that you need to learn.
It is a simple and versatile stitch and with a little practice, you will be mastering the slip knot in no time!
What is a slip knot?
A slip knot is a simple knot that is easy to tie and untie. It is used in a variety of crafts, including crochet and macrame.
A slip knot is also sometimes used as a temporary knot, such as when tying up a rope or a grocery bag.
Why is it important to know how to make a slip knot?

A slip knot is important to know how to make because it is the first step in many crochet projects.
It is used to create a foundation chain, which is basically slip stitches or chains made after making a slip knot.
It is essentially the base for most if not all crochet patterns.
This post may contain affiliate links designed to provide a commission on purchases made at no cost to you. As an Amazon Associate, I earn from qualifying purchases that support my work in providing new content and information on this site.
Different methods for making a slip knot
There are several different ways to make a slip knot. However, one style may be easier than another for some people to learn.
This step-by-step tutorial below is shown for right-handed crocheters but I also have a left-handed video tutorial version on my YouTube channel.
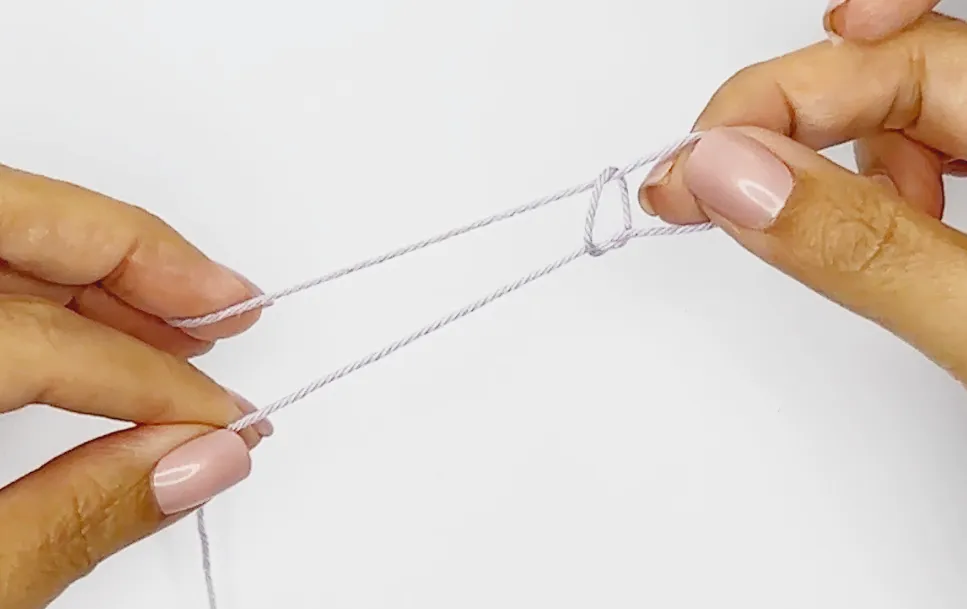
Method 1: The Two Finger Wrap Method
This starting method is very similar to how you would work a magic ring / magic circle.
- With the tail end of the yarn hanging down.
- Wrap the yarn around your index finger and middle finger crossing over the bottom yarn
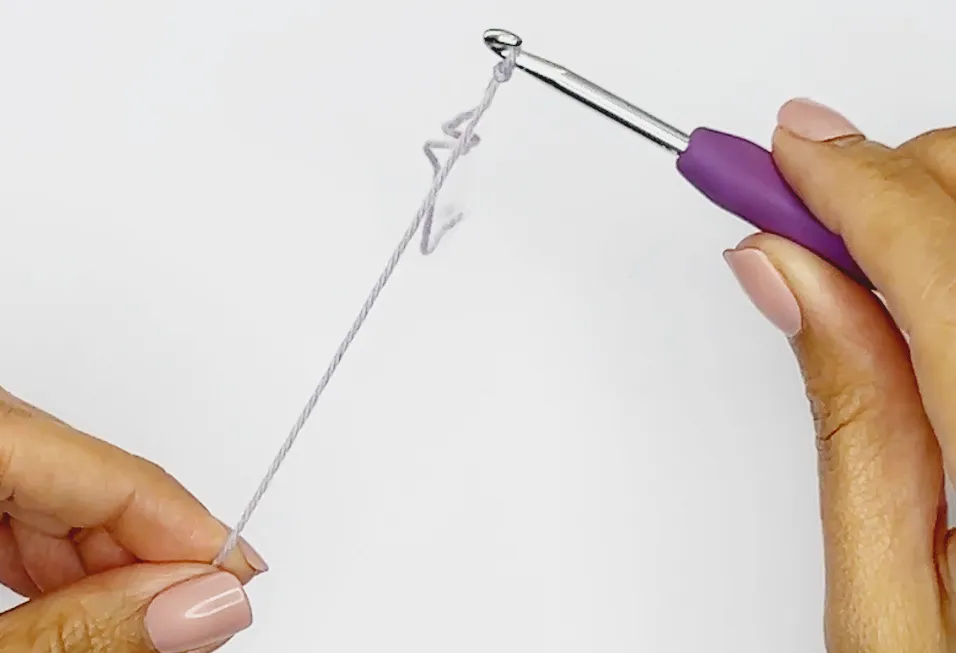
- Insert your crochet hook under the first loop and draw up the second loop which should be the working yarn
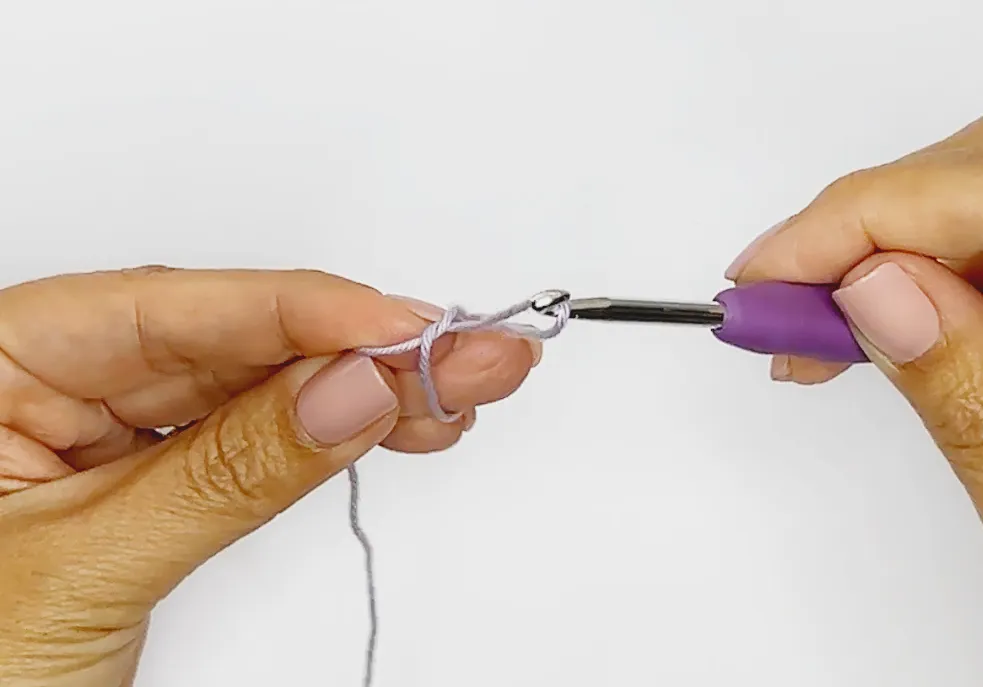
- Pull the yarn tail to close up the knot and pull the working yarn to decrease the size of the loop.
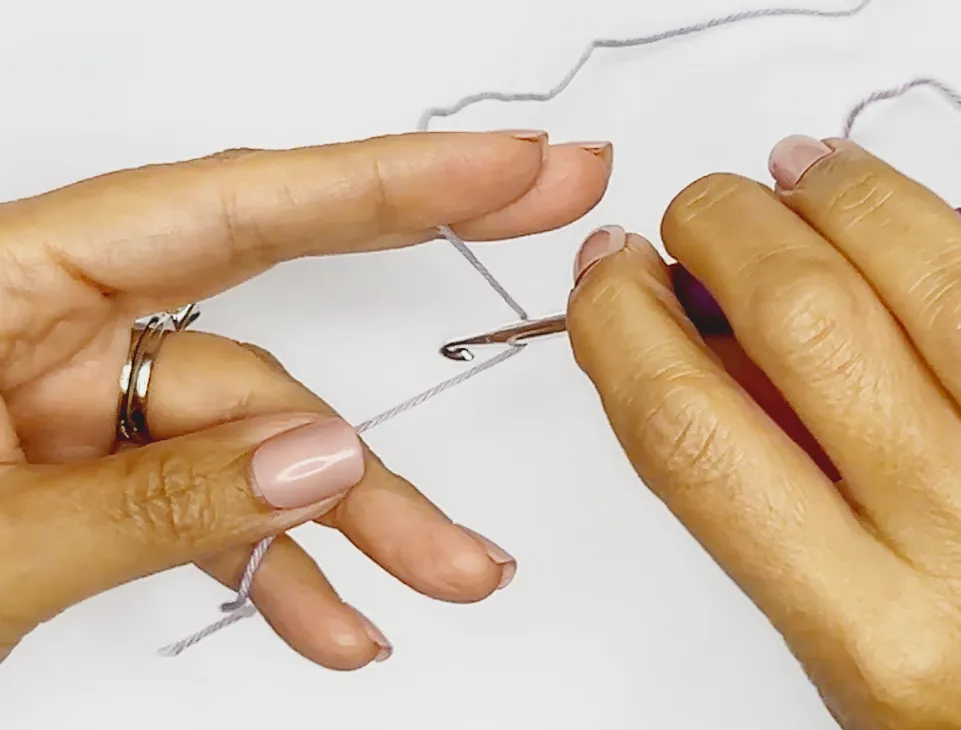
Method 2: The Two Finger Pull through Method
This method is the easiest way in my opinion and also my favorite method to work up the slip knot.
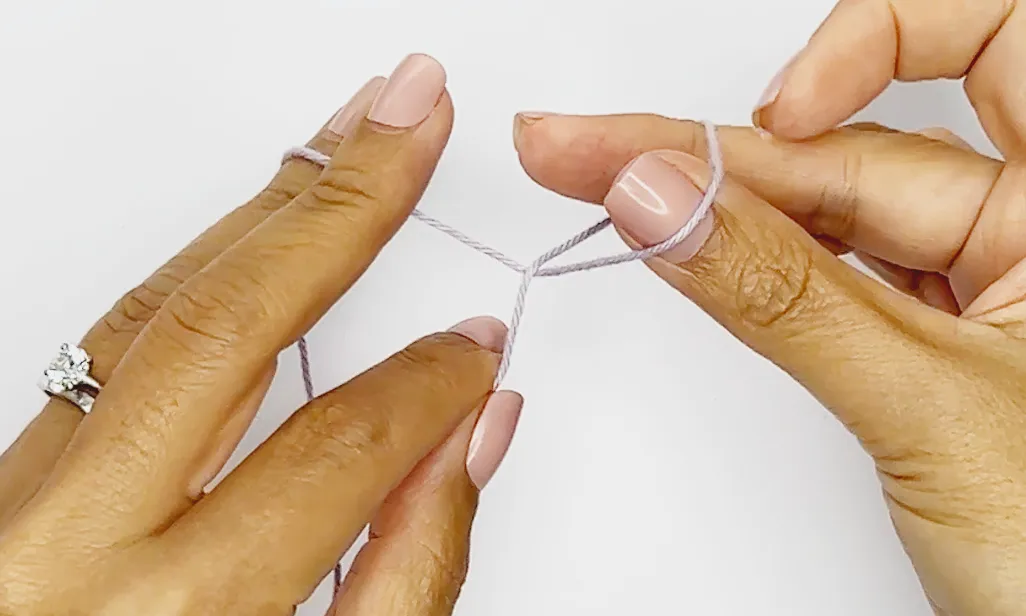
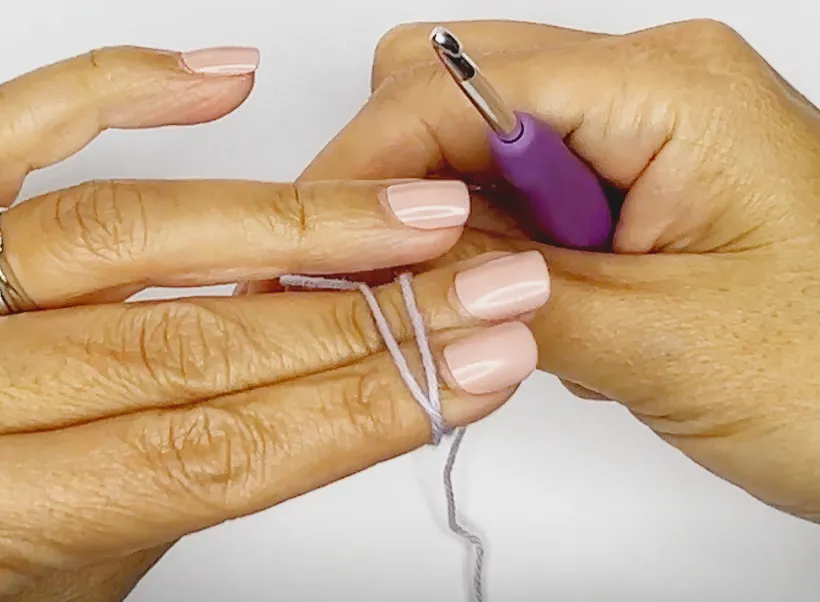
- Wrap the yarn around your dominant hand’s middle finger and thumb crossing over the tail end and working yarn
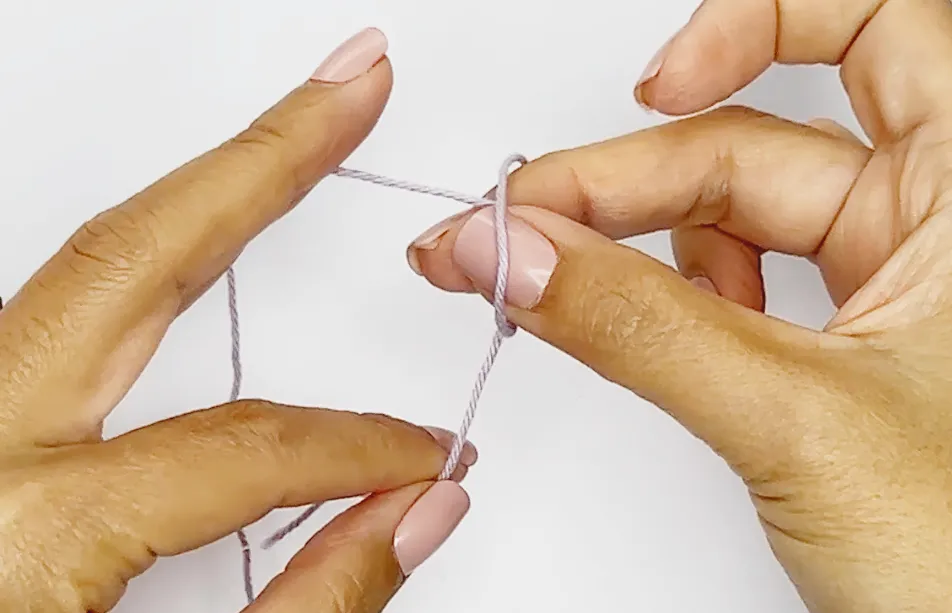
- With those wrapped fingers, pull through the working yarn tail through the loop
- Pull the yarn tail to close up the knot and pull the working end of the yarn to decrease the size of the loop.
- Insert crochet hook through loop and chain as usual.
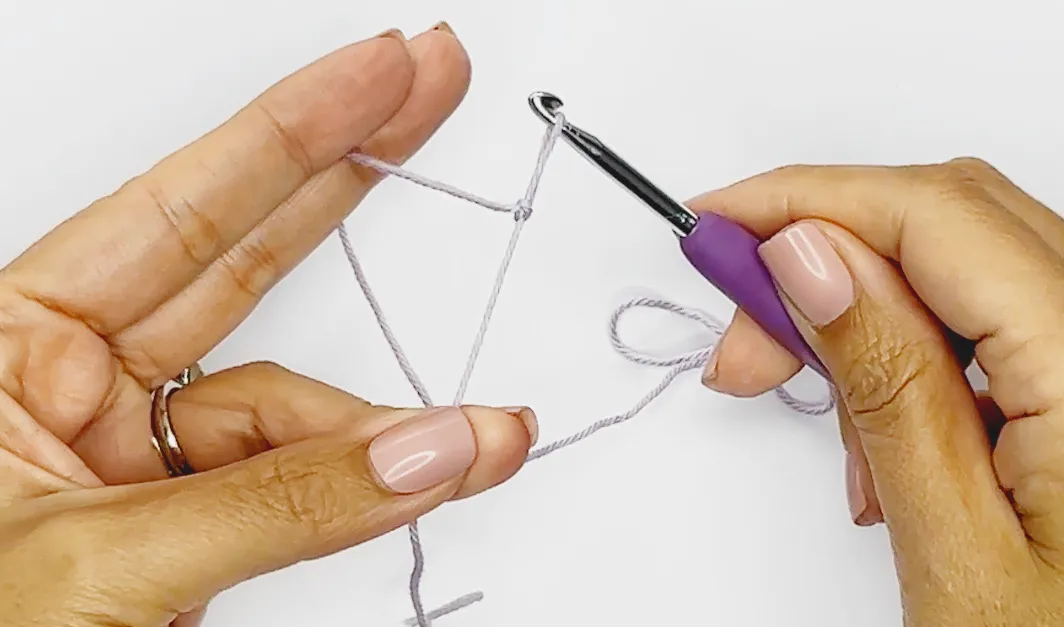
Method 3: The Yarn Over Method
This method is very similar to method 2 but uses your crochet hook instead.

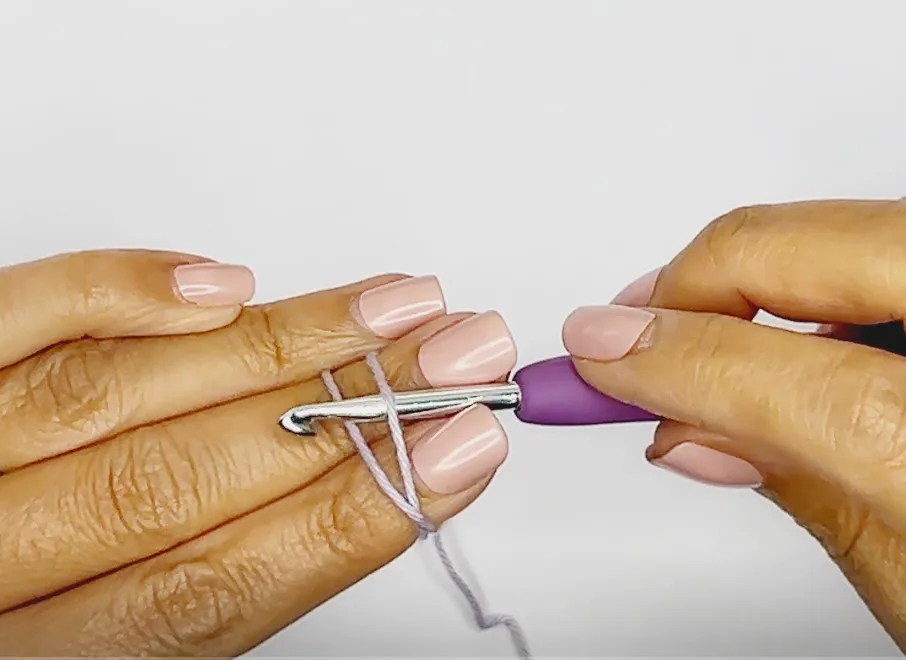
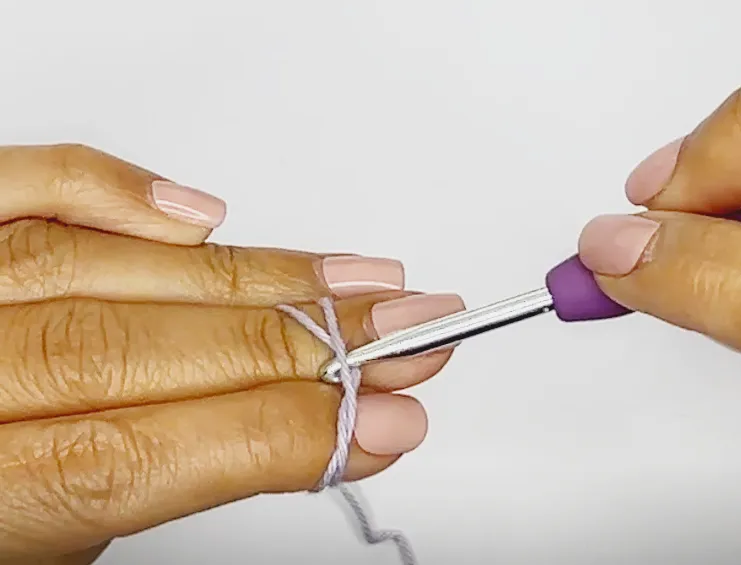
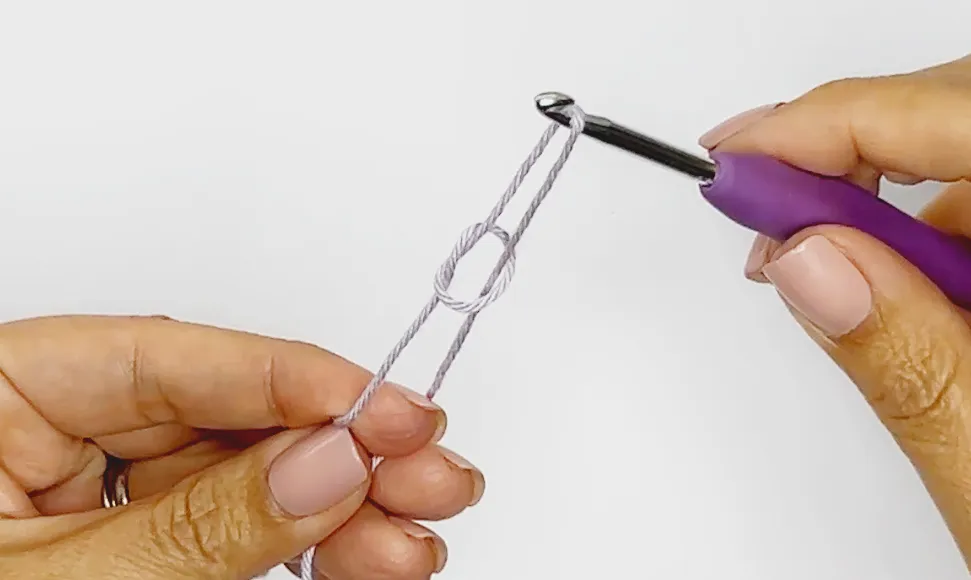
Wrap your crochet hook around yarn from top to bottom – working in a “J” form

You should have a loop formed on your crochet hook.
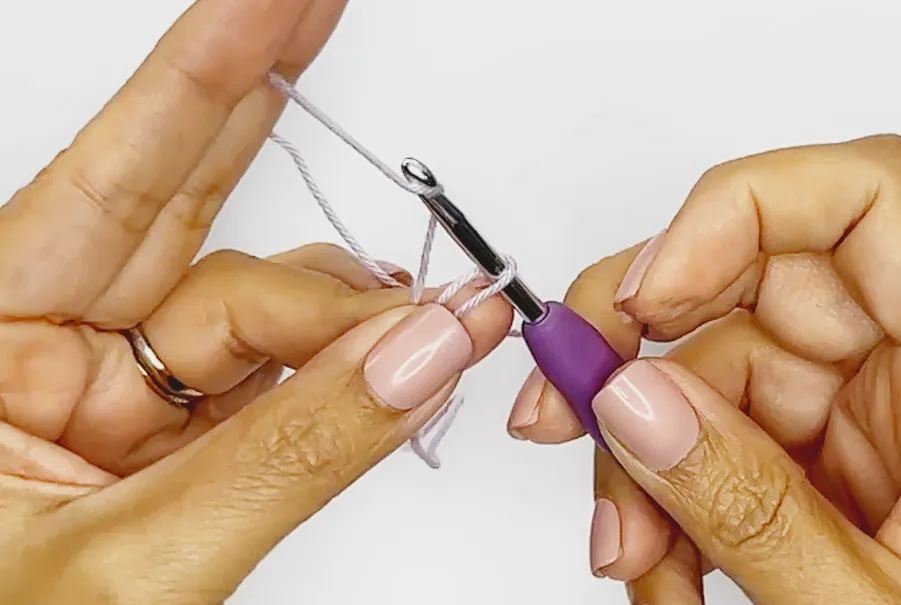
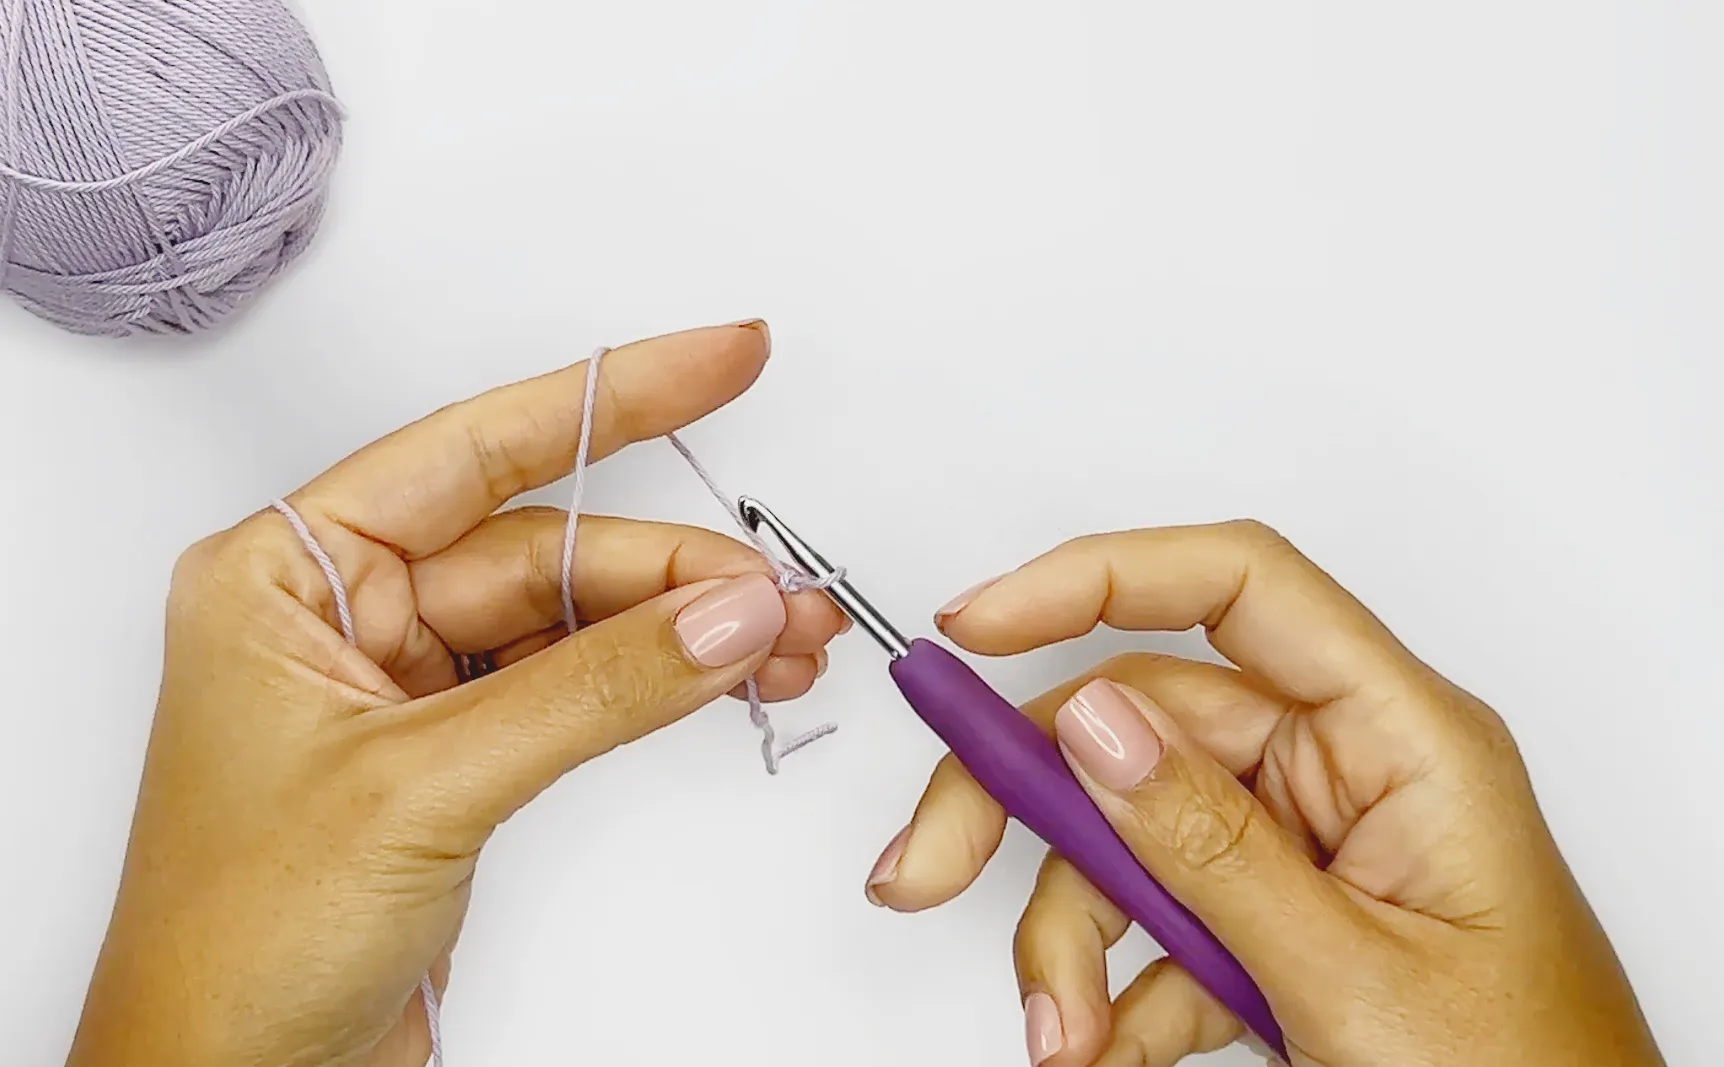
- Next, hold on to the bottom of that loop and “Yarn Over”, draw up a loop from the working yarn.
- Close up the knot and pull the working yarn to decrease the size of the loop.
For reference, I am using a 4.0mm crochet hook by Clover and 24/7 cotton yarn by Lion Brand in the color Desert Lily.
Tips for making a slip knot
Here are a few tips to know before making a slip knot:
- The first thing to check for a perfect slip knot is to ensure that the slip knot is snug but not too tight. You should have an adjustable loop and a loop that slips across easily on your crochet hook.
- If you are making a long foundation chain, you may want to use a stitch marker to mark the beginning of the chain. This will help you to keep track of where you are in the pattern.
- When making the first loop, always leave a long tail approximately 6 inches or 15 cms of the free end of the yarn for weaving in later on.
- When pulling up the loop to form your first knot, I strongly recommend pulling it from the working yarn and not the short end of the yarn
- If you are having trouble making the slip knot, try using a different method. Try various ways to make a slip knot and find the one that works for you.
Troubleshooting common problems
Here are a few common problems that people have when making a slip knot, and how to troubleshoot them:
- Problem: A loose slip knot. Solution: Make sure that the slip knot is snug but not too tight. You should be able to slide it easily up and down your crochet hook. If the slip knot is too loose, it may come undone while you are crocheting.
- Problem: The slip knot is too tight. Solution: Be careful not to pull the slip knot too tightly when you are making it. You may also want to use a larger hook size and it should loosen the knot.
- Problem: The slip knot keeps coming undone. Solution: Make sure that the slip knot is snug but not too tight. You should also make sure that the tail end of the yarn is long enough. If the tail end of your yarn is too short, the slip knot may come undone.
How to use a slip knot in crochet
The slip knot is used in many different crochet projects. Here are a few examples:
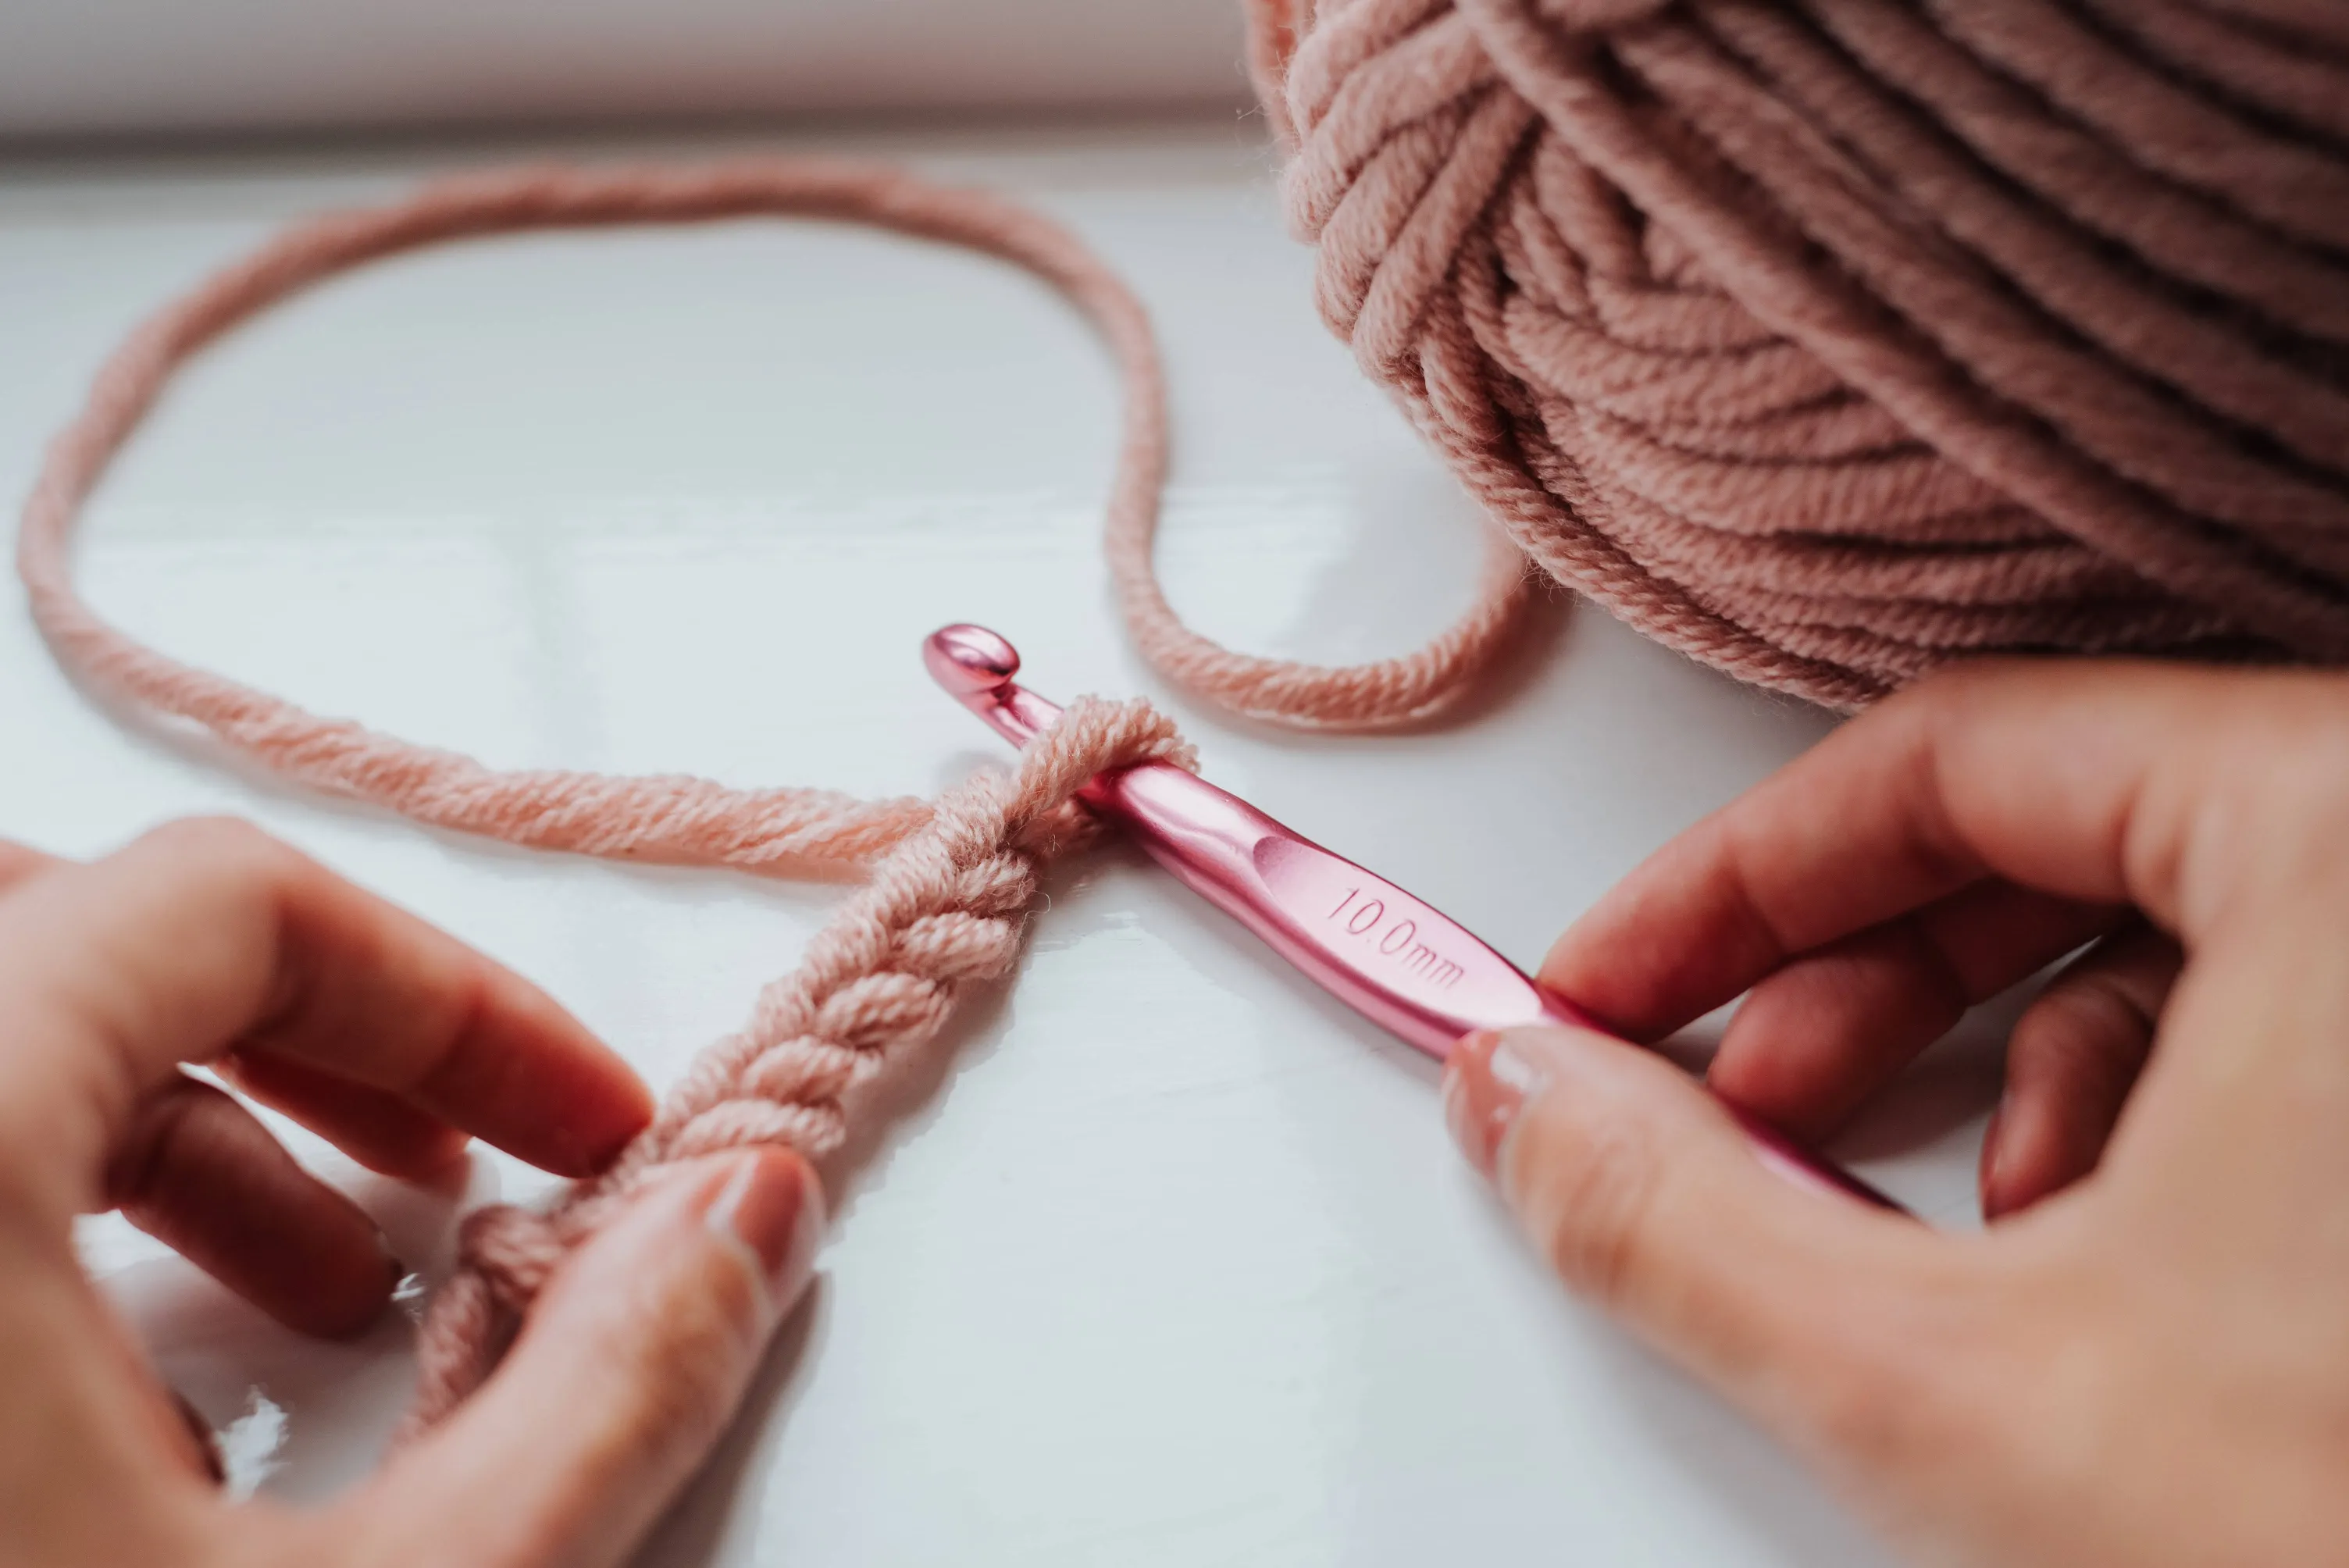
- Foundation chain: The slip knot is used to start a foundation chain or the first chain stitch for any crochet pattern, which is the base for all crochet stitches.

- Slip stitch: The slip stitch is a basic crochet stitch that is used to join two pieces of crochet together. It is also used to create a border around a crochet project.

- Magic Circle: The magic loop is a technique that can be used to start a crochet project in the round, without having to make a foundation chain.
Once you have made a foundation chain, you can start crocheting other stitches, such as the single crochet stitch or the double crochet stitch.
With a little practice, you will be mastering the slip knot and other crochet stitches in no time!


