The Magic Ring Foundation

A magic ring, also known as the magic circle or the magic loop, is the foundation for any circular stitch used to start crochet projects that are worked in the round.
It is a quick and easy way to create a sturdy and even stitch in the round which is essential for many crochet projects.
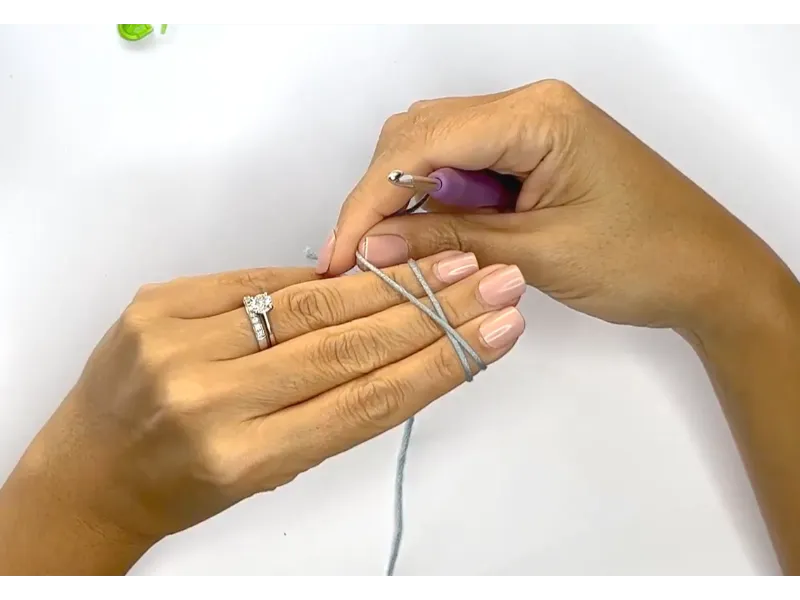
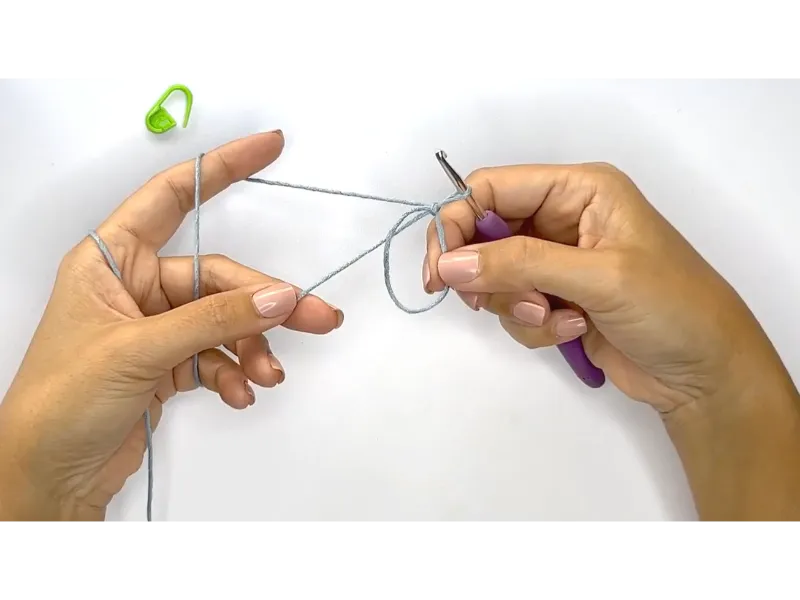
To make a foundation ring, you will first wrap the yarn around 3 fingers. Wrap the second round over and across the bottom yarn.
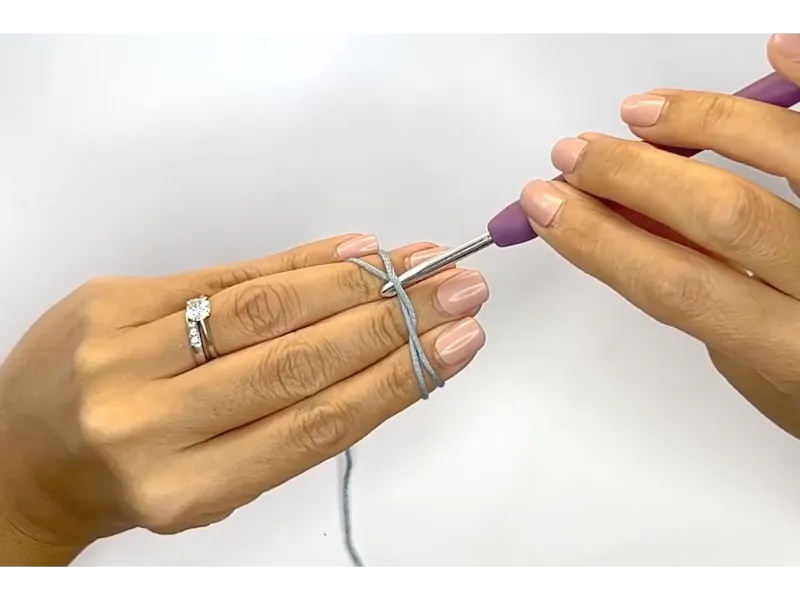
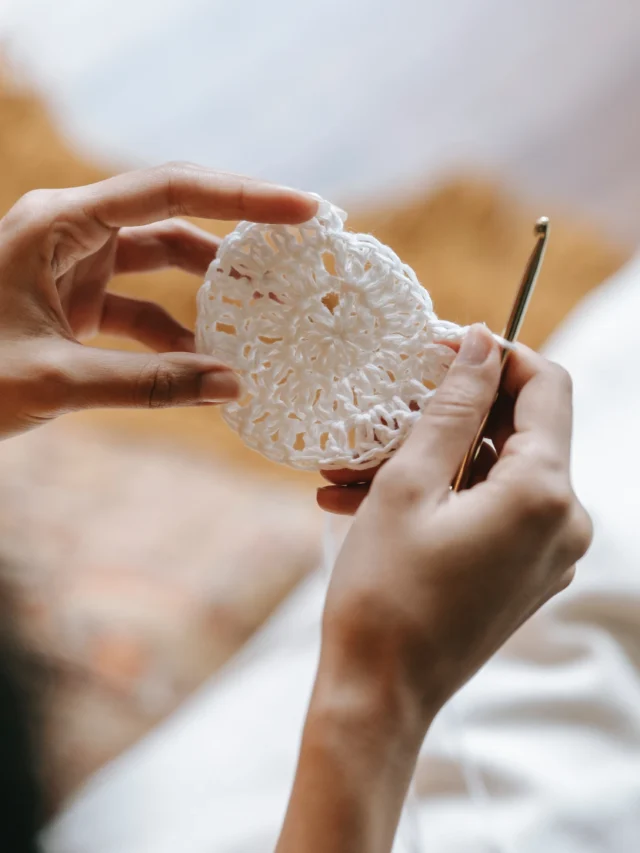
Next, insert your hook through the bottom yarn and over the top yarn and pull that loop through.
Release the loop around your fingers and hold on to the bottom of the loop with your dominant hand.
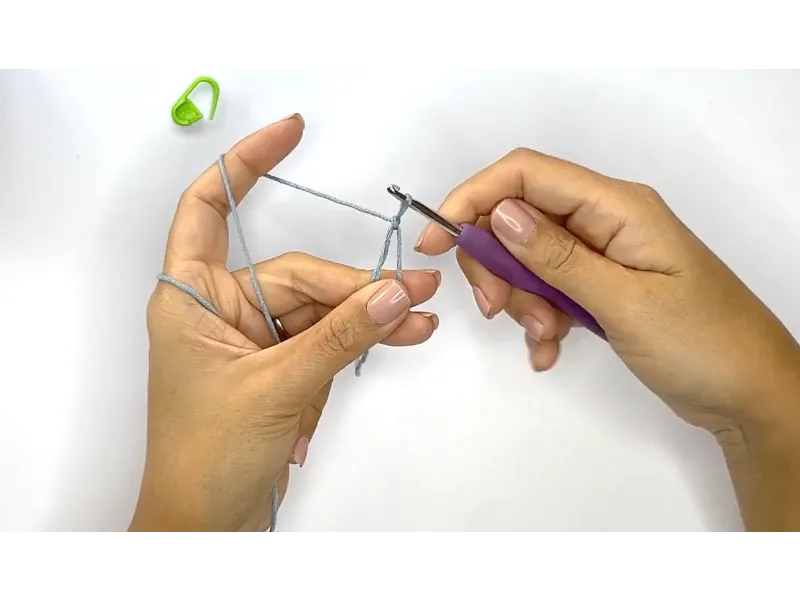 Yarn over and pull through a loop creating a slip knot.
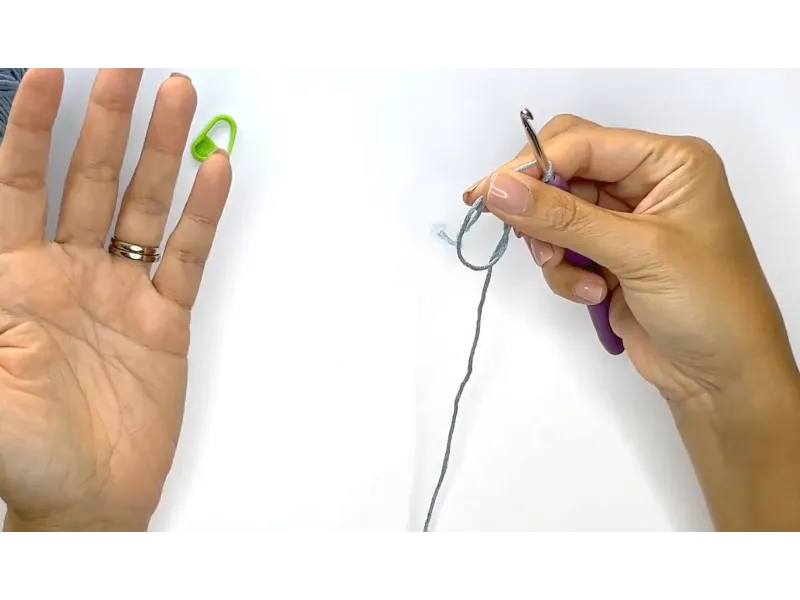
You should now have a secure loop around your newly created magic ring.
Here is another easy way to start the foundation magic ring.
Benefits of the magic ring method:
- It creates a neat and tight center of your work.
- It prevents the center of your work from puckering.
- It is a quick and easy way to start your project.
- It is suitable for all skill levels, from beginners to experienced crocheters.
Watch the Video Tutorial Here
If you would like to see more video tutorials like this you can check them out here on the blog or Subscribe to my Videos on my YouTube Channel.
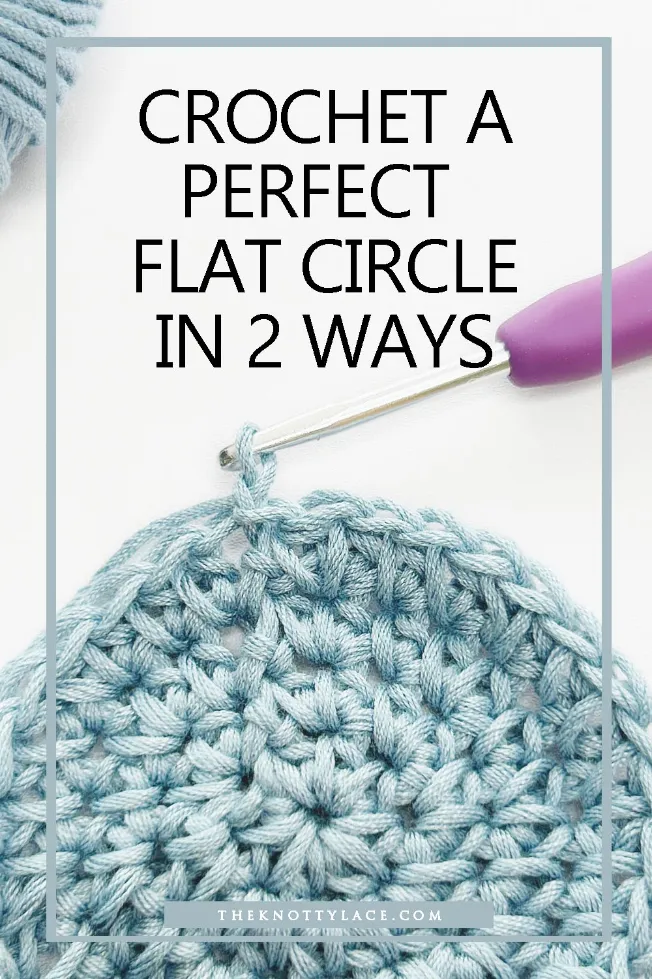
2 Ways to Crochet a Perfect Flat Circle
1st Method: Crochet in the Round
- Foundation Round: Work a magic ring / magic circle
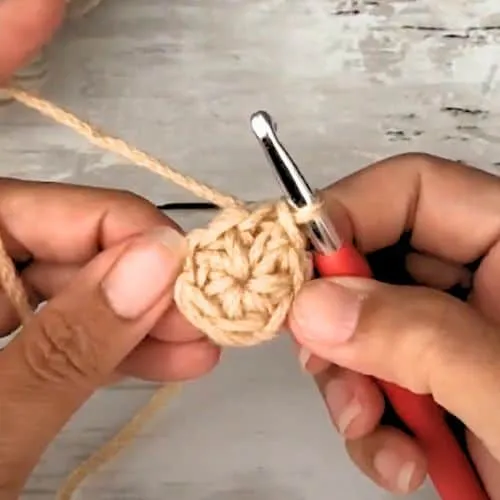
- Round 1: Work the number of stitches in the center of the ring. Depending on what the pattern calls for, you will work x number of stitches around the magic ring.
You can also work any basic crochet stitches like (Sc) single crochet stitches, (Hdc) half double crochet stitches, or even (Dc) double crochet stitches.
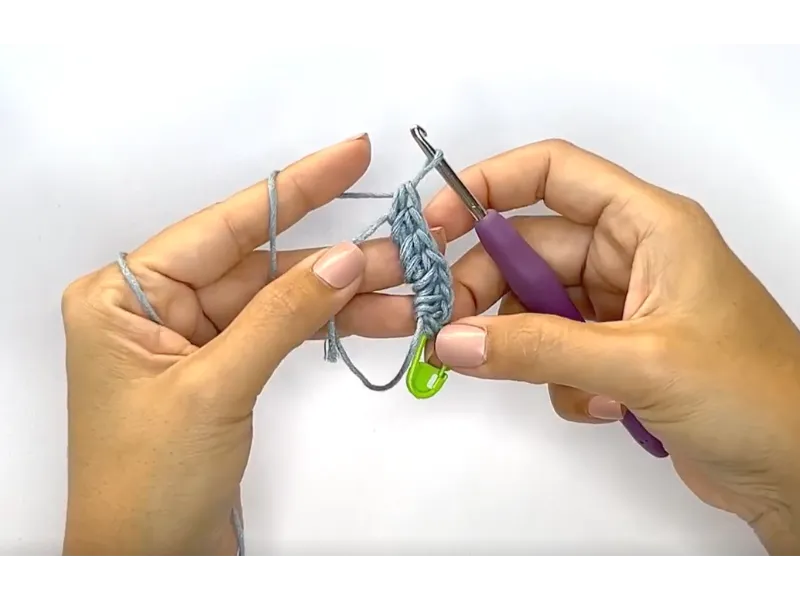
For demonstration purposes, we will be making 8 half double crochet stitches into the magic ring.

- Slip stitch to join the round. To (Sl St) slip stitch, insert the hook into the (1st St) first stitch of the round.
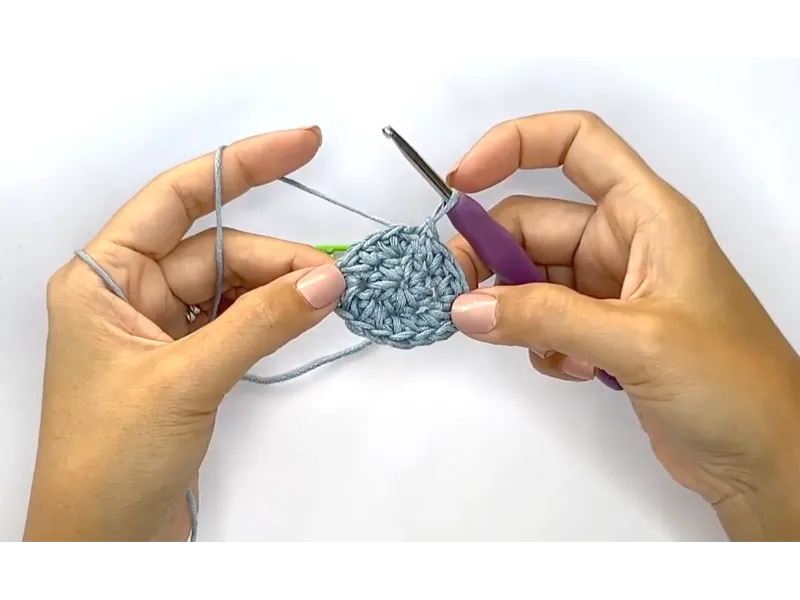
(Yo) Yarn over and pull through the stitch. You should now have one loop on the hook. Yarn over and pull through the loop on the hook. This completes the first round of your circle.
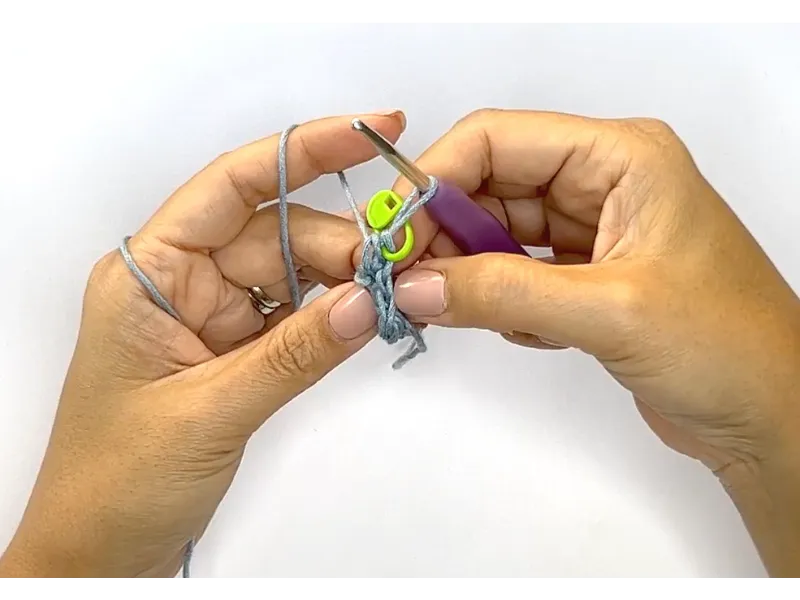
You can also place a (SM) Stitch marker on the (1st St) first stitch for reference later. And if you’re looking to do the invisible join in the round, this tutorial will show you every step of the way.
- Round 2: Work two stitches into each stitch on the previous round. To do this, yarn over and insert the hook into the first stitch of the previous round (don’t forget to place a stitch marker back in the first stitch of this row).
Yarn over and pull through the stitch. Yarn over and pull through both loops on the hook. Repeat this step in each stitch of the previous round.
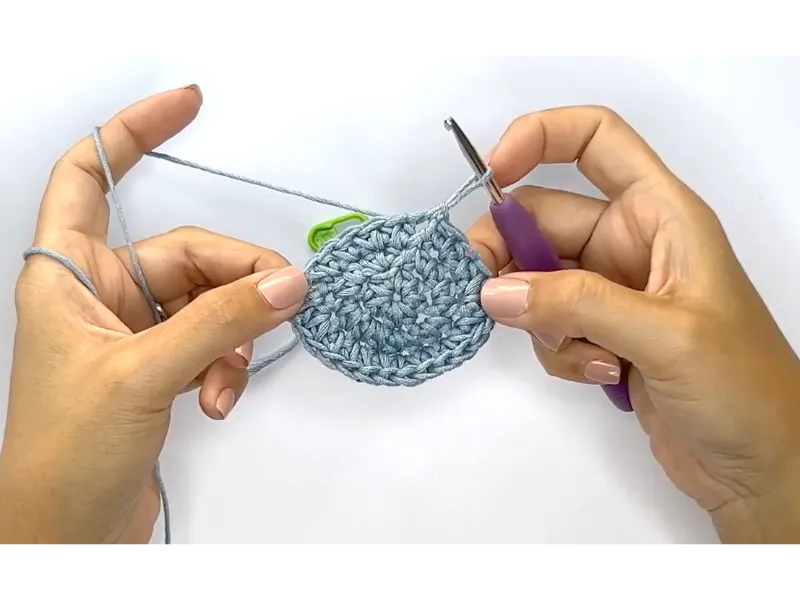
- Round 3: Increase into every 2nd Stitch. To increase the size of your circle, you will work your stitch into that first stitch.
Next, you will work an increase or 2 half double crochet stitches into the next stitch.
Repeat 1 stitch and 1 increased stitch into each following stitch in the round.
Your last stitch should be an increased stitch. Slip stitch into the first stitch to close up the round.
- Round 4: Increase into every 3rd Stitch. To continue to increase the size of your circle, you will work your stitch into the first and second stitch.
Then you will work an increase or 2 half double crochet stitches into the following stitch.
Repeat 2 stitches and 1 increased stitch into each following stitch in the round.
Your last stitch should be an increased stitch. Slip stitch into the first stitch to close up the round.
- Next Rounds: Continue to increase at every + 1 Stitch from the previous row. Another way to remember when to increase is to minus 1 stitch for the round that you are on.
For example in round 4, you will minus 1 and get #3. This means you will increase on every 3rd stitch.
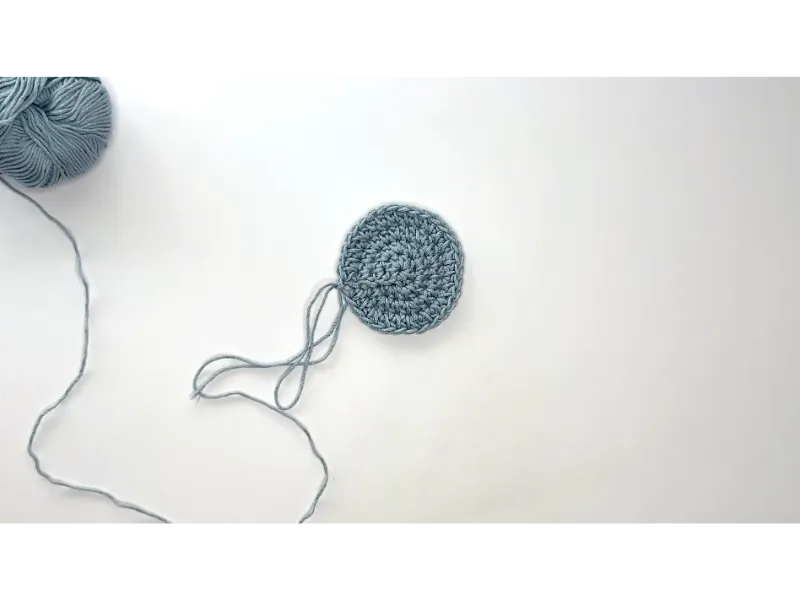
- Once you have reached the desired size of your circle, slip stitch to join the round and bind off.
This is what a written pattern should typically look like:
Abbreviations:
YO – yarn over
Sl St – slip stitch
Sc – single crochet
Hdc – half double crochet
Dc – double crochet
2Hdc – work 2 half double crochet stitches in the same stitch
inc – increase
SM – stitch marker
- Foundation Row: Work a Magic Ring
- Rnd 1: Work 10 Hdc Sts, Slst to close
- Rnd 2: 2Hdc into each St, Slst to close
- Rnd 3: *(Hdc, 2Hdc), Rep (*) in the round. Slst to close
- Rnd 4: *(Hdc 2, 2Hdc), Rep (*) in the round. Slst to close
- Rnd 5: *(Hdc 3, 2Hdc), Rep (*) in the round. Slst to close
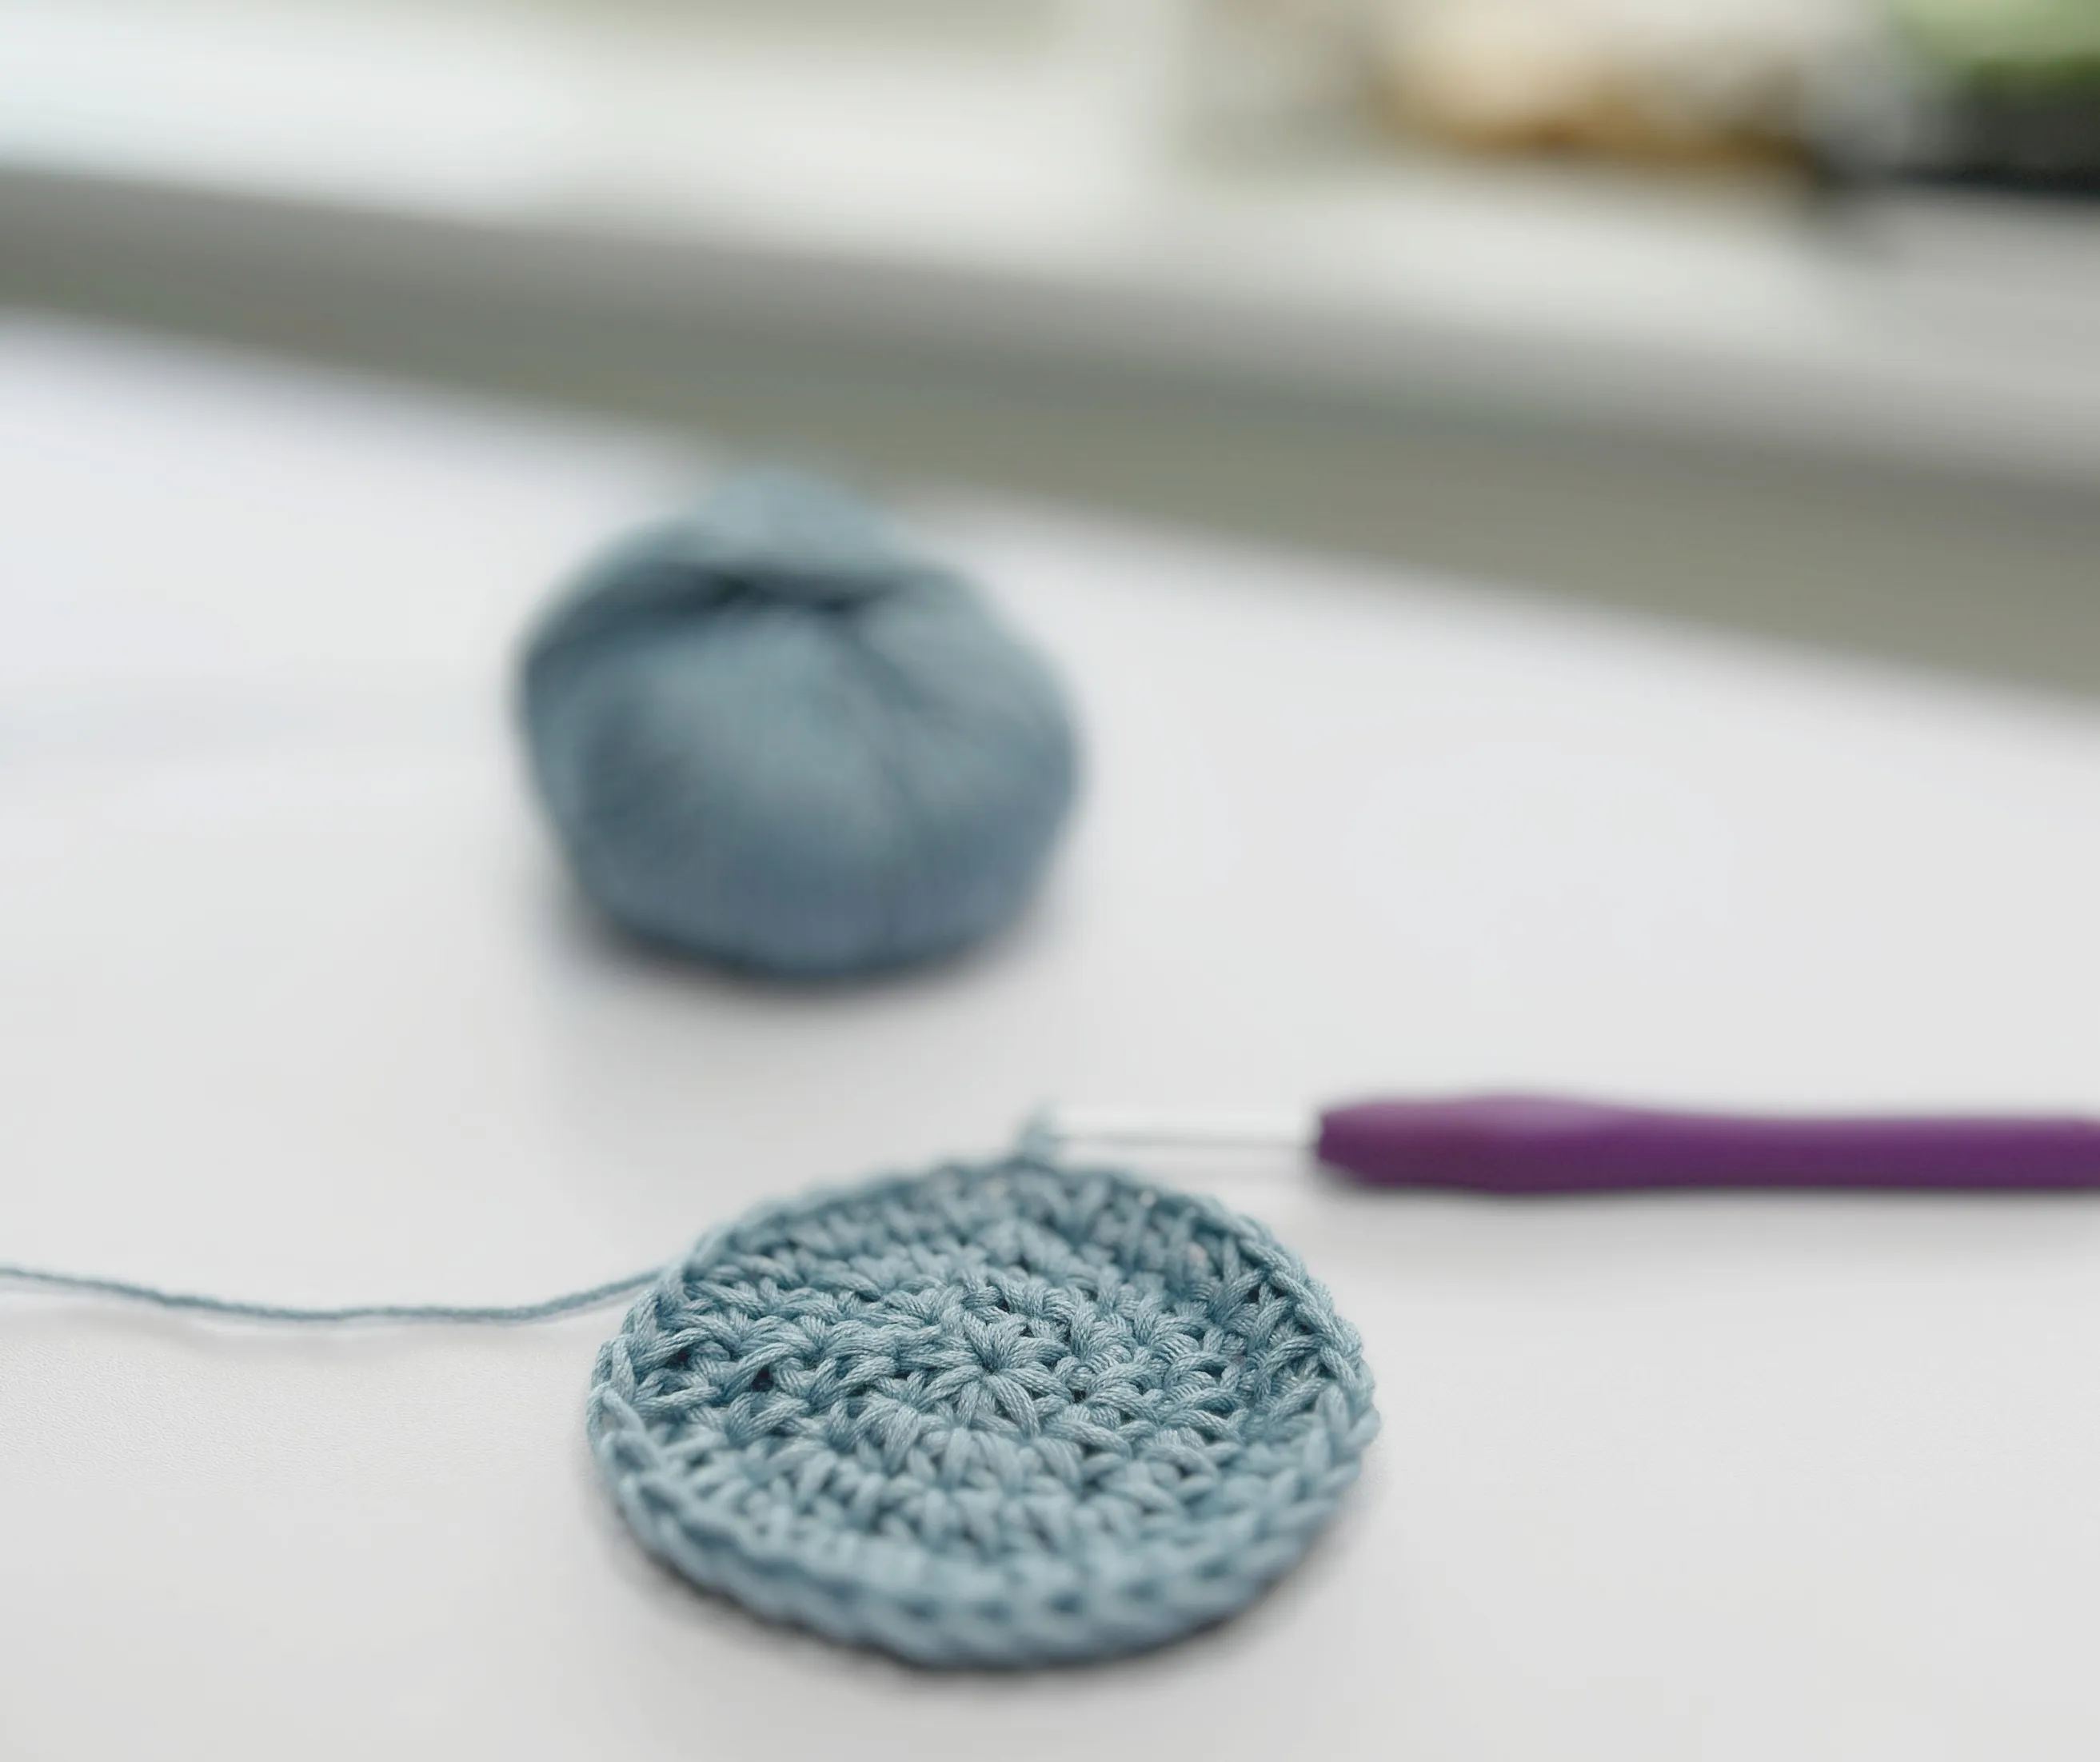
2nd Method: The Spiral Method
The crochet spiral method, also known as the continuous round method, is a way to join each round without a slip stitch.
Instead, you will simply crochet into the next stitch of the previous round, without stopping or chaining.
To crochet in the spiral method, here are the steps:
- Foundation Round: Start by making a magic ring.
- Round 1: Crochet the desired number of stitches into the magic loop. Place a SM in the 1st stitch made
- Round 2: On that last Stitch before the SM, you will work a 2 stitch increase in the 1st Stitch. (Return the SM in the 1st St).
Continue to increase in every stitch in the round.
* The increase method is the same as method 1.
- Round 3: In the 1st Stitch, Work 1 stitch and increase in the next. Continue to work 1 and increase 1 into the following stitches in the round.
Dont forget to replace the SM on the next round. You should be able to see a spiral beginning to form.
- Continue to increase on every round until you reach the desired size of your work.
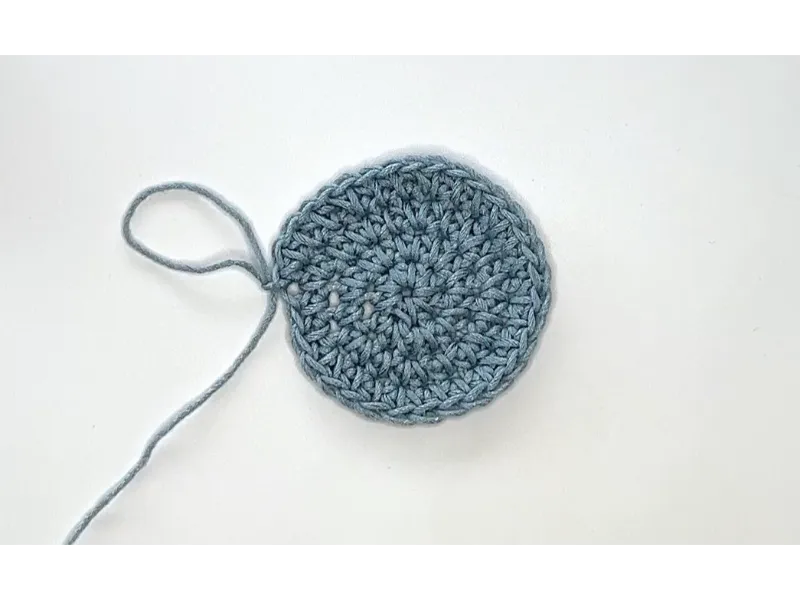
Slip stitch into that last stitch to close the round and Bind off.
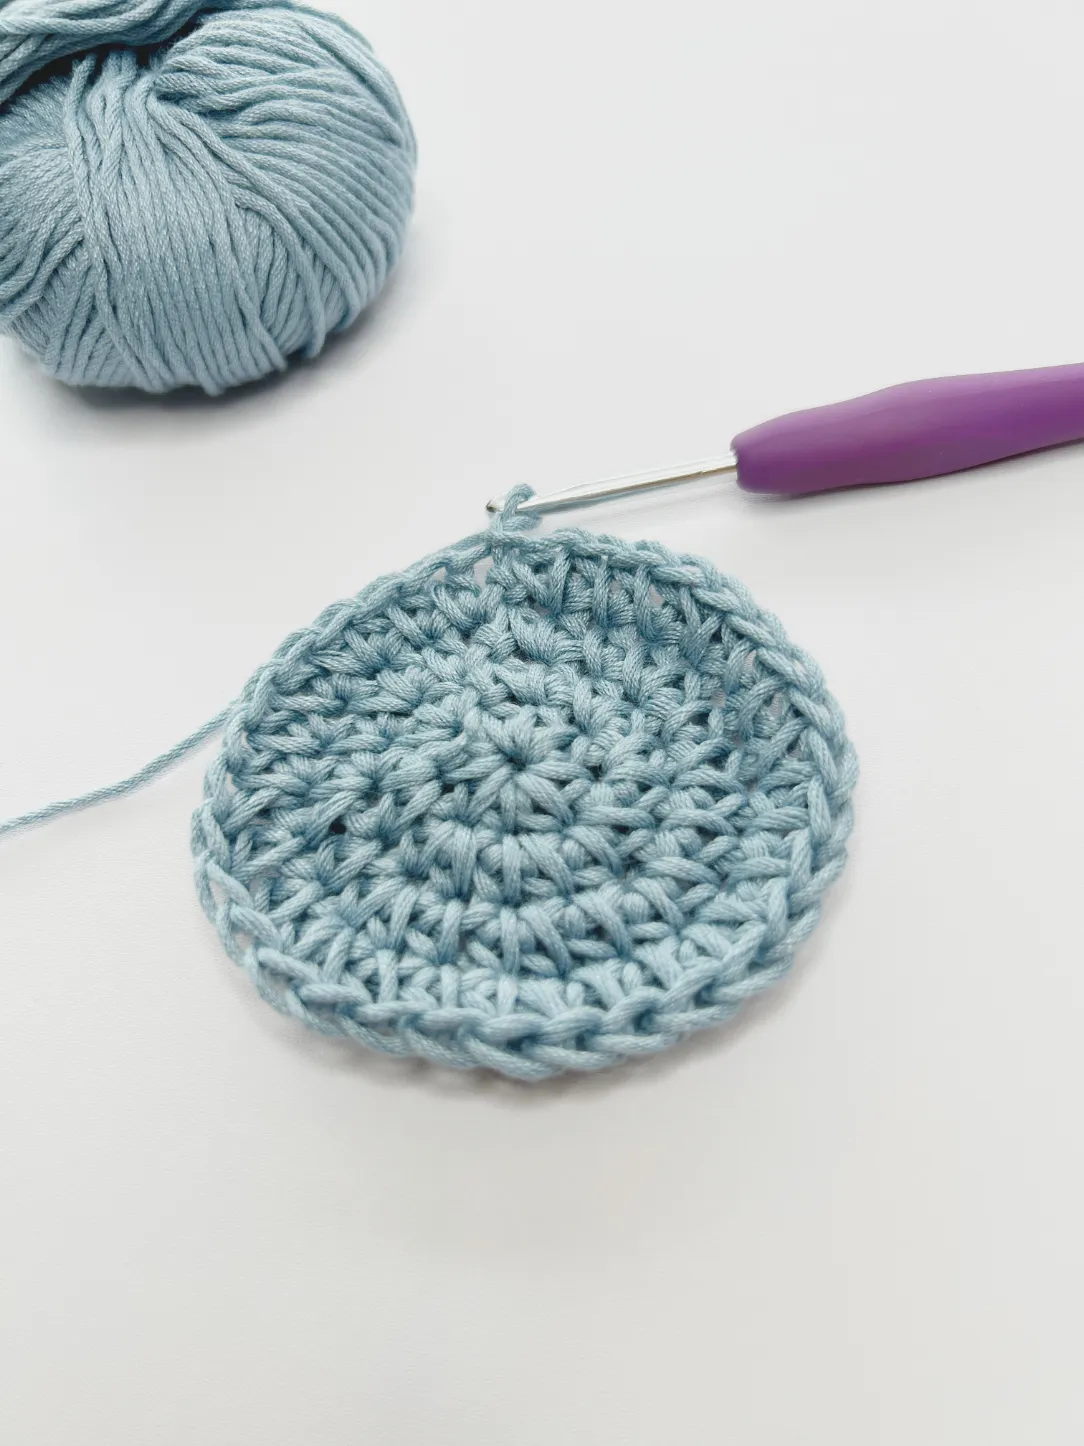
This method is another great way to create that perfect flat crochet circle, especially when you want to avoid any visible seams in your work.
For reference, I am using a mercerized cotton yarn by Lang Golf Yarns in the color 272 and a 4.0mm crochet hook.
Tips for Crocheting a Perfect Circle
- Be sure to keep your tension consistent throughout the project. This will help to prevent your circle from puckering or warping.
- Be sure to regularly check on your stitch count to make sure that you are increasing stitches correctly in each subsequent round.
- The first round of crochet stitches should ideally be in even numbers.
- If your circle starts to pucker, try adding fewer stitches or using a smaller hook size or tighter tension.
- If your circle starts to warp, try using enough stitches or use a larger crochet hook or looser tension.
- The best way to ensure you insert your hook into the correct 1st St is by placing a (SM) Stitch marker into that (1st St) first stitch that you just made.
- The invisible join in the round is another great way to join each round seamlessly.
- Practice makes perfect! The more you crochet, the easier it will become.