


If you would like to see more video tutorials like this you can check them out here on the blog or Subscribe to my Video Channel on YouTube.
This post contains affiliate links designed to provide a commission on purchases made at no cost to you. As an Amazon Associate, I earn from qualifying purchases that support my work in providing new content and information on this site.
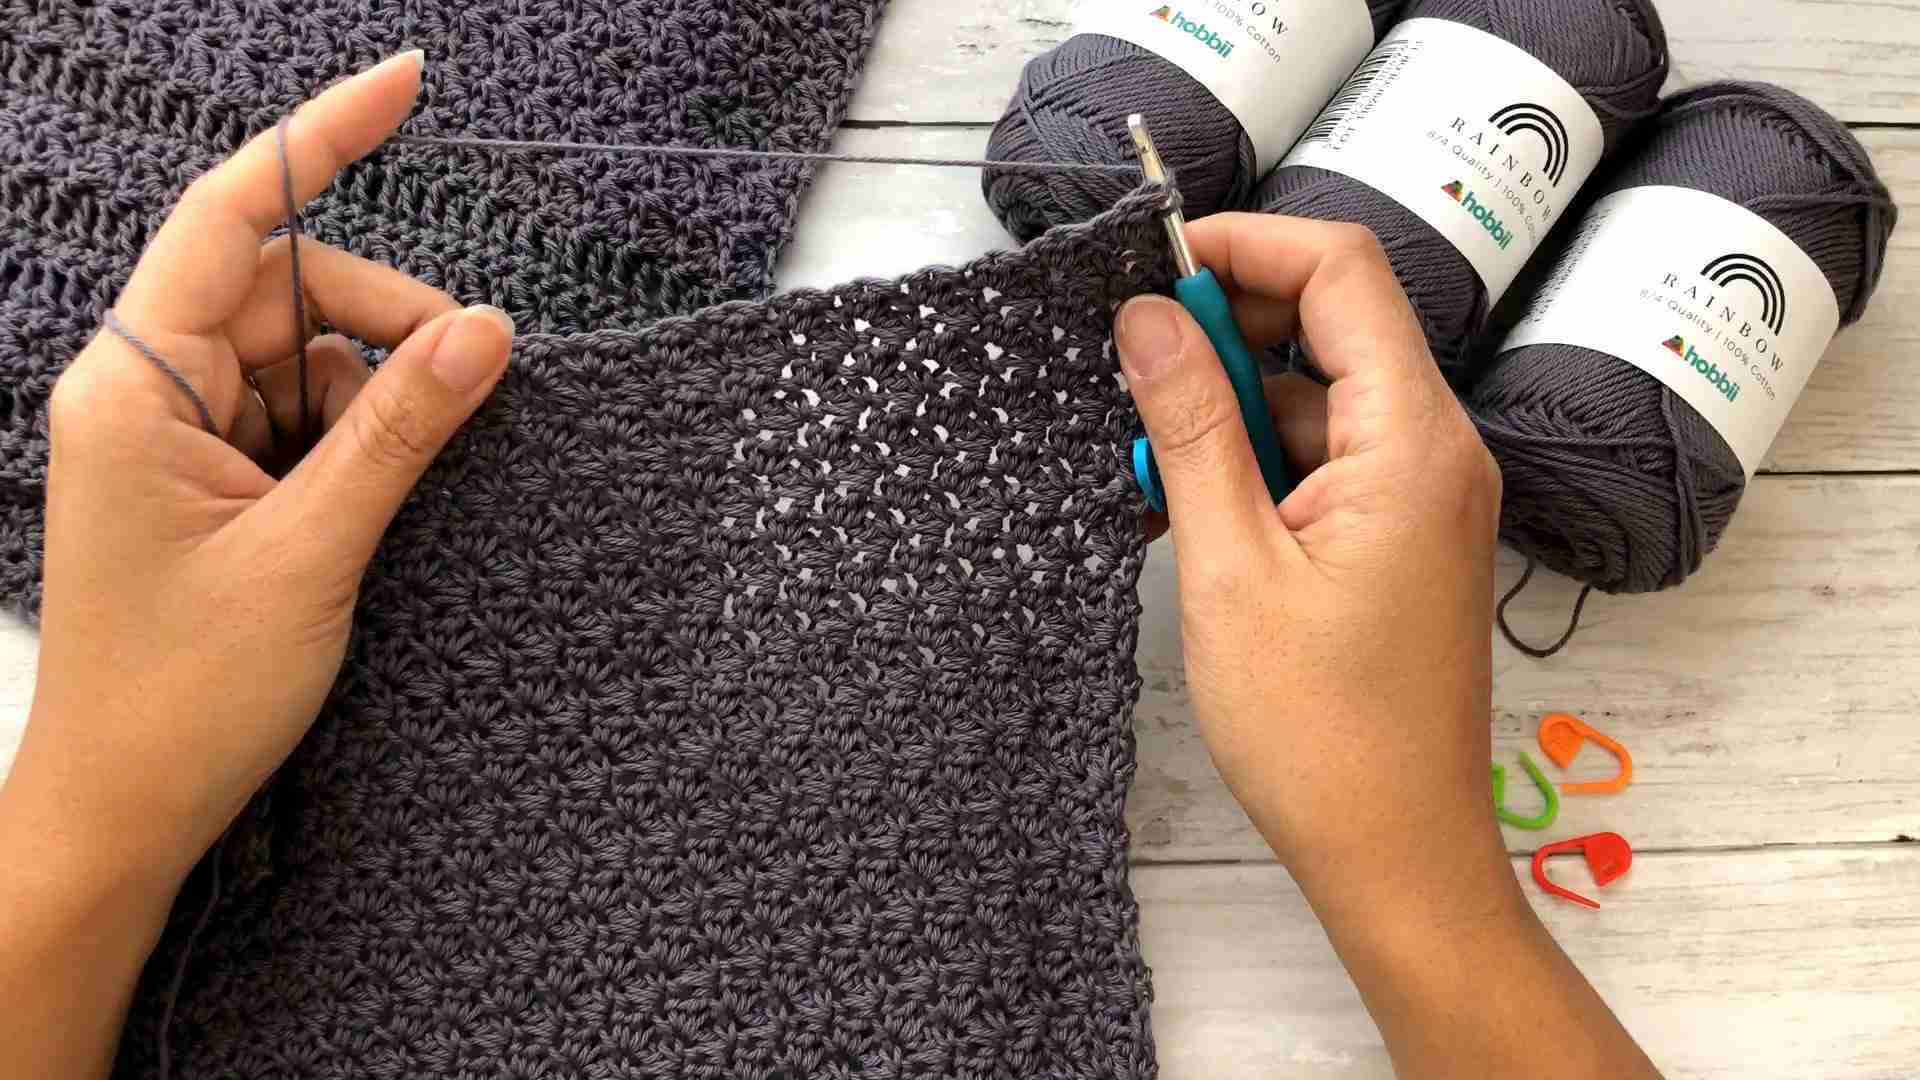
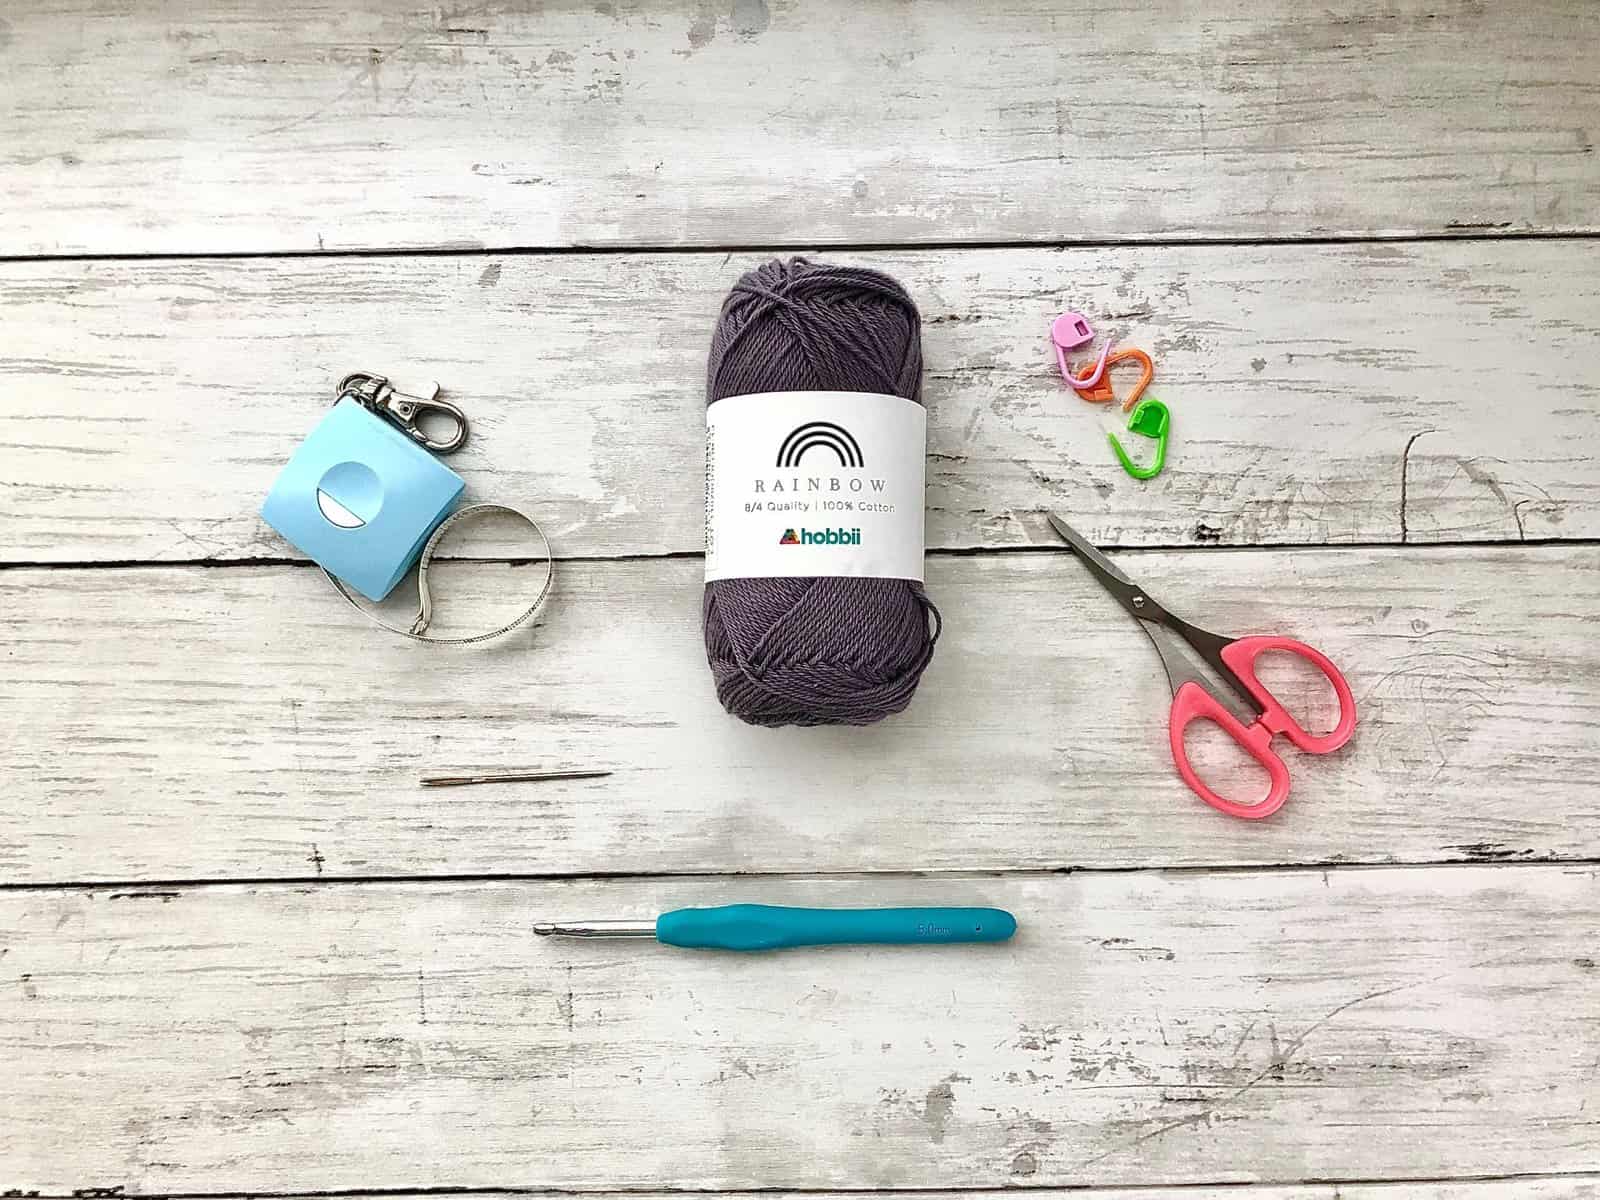
Tools and Materials:
Yarn weight: Fingering Category 1
Brand: Hobbii Rainbow 8/4
Color: Greyish Purple (013)
Hook: 3.5mm & 5.0mm
Gauge: 5.00 mm : 14 SZ Sts x 14.4 rows = 4 x 4” / 10 x 10 cm. / 3.5mm used only for seaming pockets
No. yarns (skeins): XS [S /M /L /XL ] [2XL / 3XL/ 4XL/ 5XL] = 9 [10/ 11/ 13/ 14] [15/ 16/ 17/ 18]
Total Yardage (Approx): 1575 [1750/ 1925/ 2275/ 2450] [2625/ 2800/ 2975/ 3150]
Tools: tapestry needle, measuring tape, scissors, stitch markers
Skill: Easy – Intermediate


If you would like to receive free written patterns and video tutorials straight into your inbox, just click Subscribe above to get into our mailing list.
Things to Note:
- Prepare a pattern gauge to get the right size. You may need to adjust your tension or change the hook size to achieve the same gauge.
- Turning chain does not count as a stitch unless mentioned otherwise
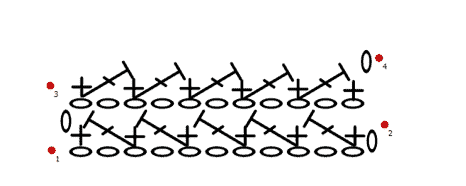
- Special stitch – Suzette Stitch (SZ St) : *[(Sc & Dc) into the same St, Sk 1], Rep[*]
- Step by step Video Tutorial available here
Measurement Chart:

-
- Pattern consists of 9 sizes.
- Measurements above are for the finished garment and not body size
- Body length/ width can be adjusted to your liking
- This cardi has a positive ease of 4 in/ 10cm. Increase or decrease according to your size/ preference.
- If you are in between sizes, size up or measure along
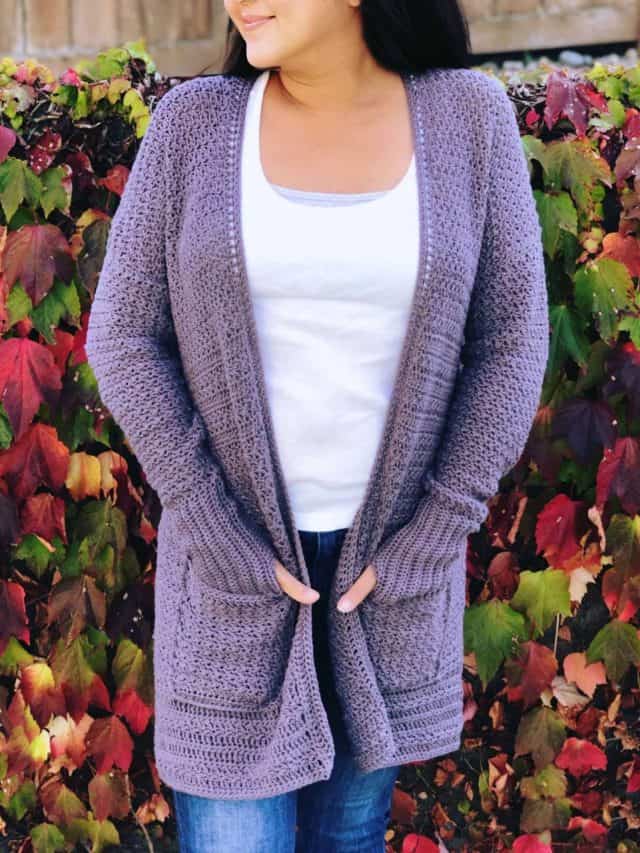
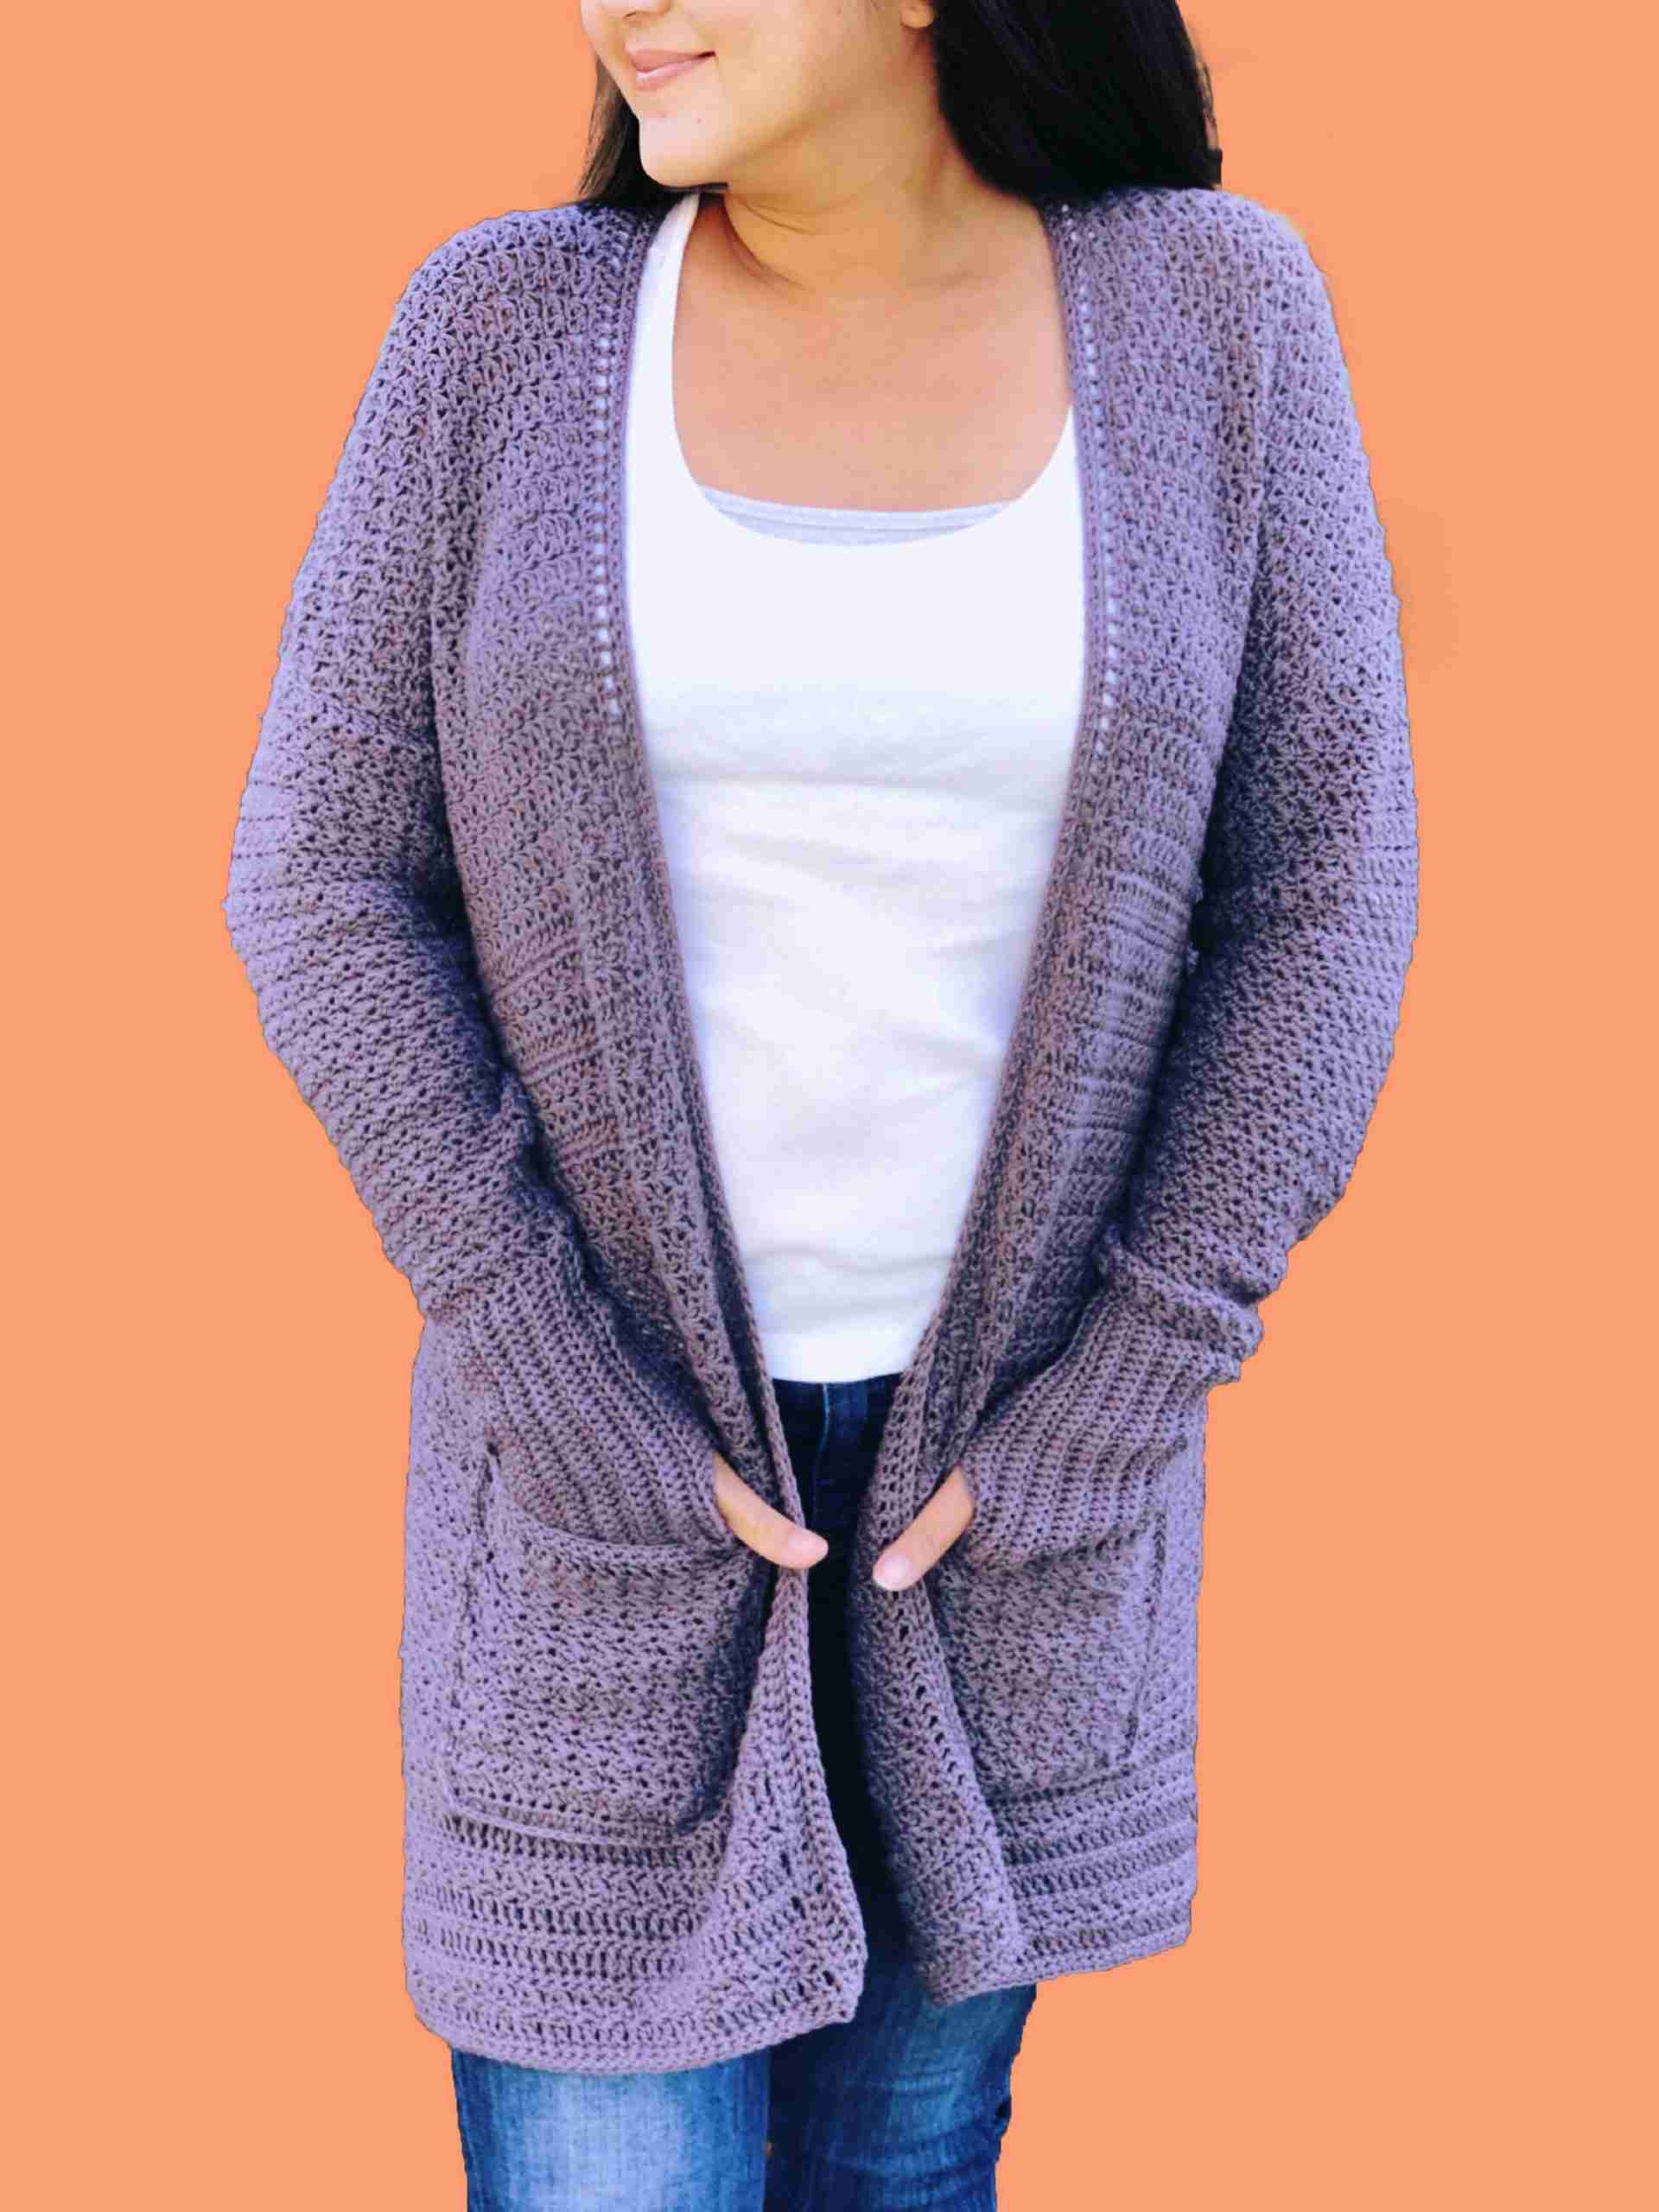
- Model is wearing size M and is 5’3” / 160cm in height for reference purposes.
- Cardigan reaches mid – thigh in these pictures.
- Abbreviation page available in English US format
Suzette Everyday Cardigan with pockets Free Crochet Pattern
Instructions
(Pattern has been updated to include all 9 sizes – 11/29/2024)
The Suzette Stitch Pattern: Work a *[(Sc & Dc St) together into the next St, Sk 1], Rep [*] until the 2nd last St, Sc, Ch 1 turn
PART 1: Pockets

Making the pockets first makes for a great swatch gauge (Measured after and before each HDC stitch)
With your 5.0mm hook
- Foundation Row: Ch 21 + 1, turn [All Sizes]
- Row 1: From the 2nd Ch from your hook, work a Hdc St and in each St across, Ch 1 turn [21 Sts]
- Row 2: Hdc, *[(Sc & Dc) into the next St, Sk 1], Rep [*] until the 3rd last St, Sc, Hdc, Ch 1 turn
- Row 3 – 20: Rep Row 2 to for 18 more rows, Ch 1 turn
- Row 21: Dc each St across, Ch 1 turn
- Row 22 – 23: Sc each St across, Ch 1 turn. Rep Row 22 for 1 more row
- Bind off and make a second piece.
PART 2: Back Panel
- This cardi has a positive ease of 4in/ 10cm. Increase or reduce according to your size.
- To get your own fit, measure around your largest body area ie Chest or Hips. Then add 8in/ 20cm.
- Divide that number by 2. This should be your back panels width.
- Or adjust ease to your pref.
- Foundation row: Ch 71 [77/ 85/ 91/ 99] [105/ 113/ 119/ 127] + 1.
- Row 1 (Suzette St): From the 2nd Ch from your hook, *[(Sc & Dc) into the same St, Sk 1], Rep [*] until the 2nd last St, Sc on the last St, Ch 1 turn
- Row 2: *[(Sc & Dc) into the same St, Sk 1], Rep [*] until the 2nd last St, Sc on the last St, Ch 1 turn
- Row 3: Rep Row 2 for 95 more rows or until you’ve reached your preferred length.
Reserve an additional 4in/ 9cm for the bottom border pattern. For ref I am 5’3” (160cm) and this cardigan reaches my mid thigh at 27in / 69cm
- Edging Row: Dc each St across, Ch 1 turn
- Next Row: Sc each St across, Ch 1 turn
- Next 2 rows: Work the SZ St across for 2 rows, Ch 1 turn
- Next 2 rows: Rep Steps 5 and 6
- Next 6 rows: Rep Steps 5 – 8
- Last row: Sc each St across
- Bind off
PART 3: Front Body Panel
If you made your own custom size, take the back panels width and minus your neck width and divide that into 2. This is the width of half a panel.
- Foundation row: Ch 25 [28/ 32/ 35/ 38] [41/ 44/ 47/ 50] + 1
- Row 1: Into the first St, *[(Sc & Dc) into the same St, Sk 1], Rep [*] until the 2nd last St, Sc into the last St, Ch 1 turn
- Row 2: Rep Row 1 for 31 more rows or until you’ve reached 1/3 of the total length.
- Next Row (Dc pattern) : Dc each St across, Ch 1 turn
- Next Row: Sc each St across, Ch 1 turn
- Next 2 rows: Work the SZ St across for 2 rows, Ch 1 turn
- Next rows: Rep Steps 4 – 6 for 2 more sets.
- Next Rows: SZ St across for 56 more rows or the remaining number of rows leaving 4in/ 9cm for the bottom border pattern.
- Edging Row: Dc each St across, Ch 1 turn
- Next Row: Sc each St across, Ch 1 turn
- Next 2 rows: Work the SZ St across for 2 rows, Ch 1 turn
- Next 2 rows: Rep Steps 9 and 10
- Next 6 rows: Rep Steps 9 – 12
- Last Row: Sc each St across
- Bind off and make a second panel by rep all steps in Part 3
PART 4: Sleeves + Cuffs
Cuffs:
- Foundation row: Ch 31 + 1, turn [All Sizes]
- Row 1: In the 2nd Ch from hook, Sc each Ch across, Ch 1 turn
- Row 2: Sc BLO in each St across until 2nd last St, Sc in the last St, Ch 1 turn
- Row 3: Rep Row 2 for 35 [35/ 37/ 39/ 49] [53/ 55/ 57/ 61] total rows. It should fit snug around your hand ending on an odd number. Ch 1 turn to the Row side
Sleeve
- Row 1: Sc each row across. Ch 1 turn
- Row 2 (Increase): (Sc and Dc) into the first 3 Sts, Sk 1, SZ St across until the last 4th St, (Sc and Dc) into the next 2 Sts, Sc into the last St, Ch 1 turn
- Next Rows: Rep Row 2 (Inc) for a total of 5 [6/ 7/ 8/ 5] [5/ 6/ 7/ 8] , Ch 1 turn
- Next 7 Rows (SZ St): Work the SZ St across for a total of 7 rows
- Next Row (Inc St): (Sc and Dc) into the first 3 Sts, Sk 1, SZ St across until the last 4th St, (Sc and Dc) into the next 2 Sts, Sc into the last St, Ch 1 turn
- Next Rows: Rep Steps 4 & 5 for a total of 7[7/ 7/ 7/ 7/ 7] [7 /6 /6/5] sets
- Final rows: Work the SZ St for another 4[ 3/ 2/ 1/ 0] [0/ 4/ 3/ 5] rows to complete the length.
- Fold sleeve in half lengthwise and place SM along the sides on both panels to align and secure.
- Place another SM on the 5th and 10th St from the bottom of the cuff for the thumb hole.
- Sc each St across down from the last SZ row until the first thumbhole SM. Slst into the next 5 Sts on the fold side closest to you. Then Sc both sides together across.
- Bind off and make a second sleeve
- Rep all steps in Part 4.
- Bind off
PART 5: Assembling
Seaming the Sides
- Align the front and back panels together, WS facing out, and Sc both panels across the top shoulder. Bind off and Rep on the other side.
- Turn to the side of the body panel and measure 8.0 [8.5/ 9.0/ 9.5 /10.0] [10.5/ 11/ 11.5/ 12] inches or 20 [22/ 23/ 24/ 25] [27/ 28/ 29/ 30] cm from the top down and place a SM to mark the bottom of the armhole.
- Sc each St across on both panels from the bottom up until you’ve reached the SM.
- Do not bind off
Attaching Sleeve
- Turn one sleeve right side out and place the opening inside through the body panel, and align the armholes together – Make sure the seams are align to the body’s seam.
- Place SM to secure in the round.
- Sc each St of both pcs together in the round. Slst to join.
- Bind off and rep steps 1 – 3 on the other side.
- Bind off
Pockets (Switch to 3.5mm hook)
- Place the pockets on top of the front panel, and mark where you would like to attach it.
- For ref, I measured the width of the front panel minus the width of the pockets and divide this into 2. This is my center. I have also placed my pockets on top of the first Dc St row.
- Place SM on each side to hold pockets in place.
- Fold the side and Sc both pieces together across on all 3 sides.
- Bind off and rep on the other pocket.
- Bind off
Part 6: Front Panel Border
- Row 1: On the front Panel (WS), insert your 5.0mm hook through the 1st St and Sc each St across the front panel, back neckline and down through the other front panel, Ch 1 turn
- Row 2: Dc each St across, Ch 1 turn
- Row 3 – 4: Sc each St across for 2 rows.
- Bind off, and weave in all loose ends.
END

If you are looking for the entire tool used to make this Suzette Oversized Crochet Cardigan pattern, check them out here below:
Suzette Crochet Oversized Cardigan Pattern
$5.99

If you would like to receive free written patterns and video tutorials straight into your inbox, join our mailing list now.
Don’t forget to tag me on Instagram and Facebook @theknottylace, I would love to see your work!
Happy hooking,
Shaz 🧶


4 Responses
So, if I made no adjustments for length, the back panel would have 122 rows and the front panel would have 126 rows. Am i correct?
Hi Doris, the front and back panels should be the same length with the same number of rows. Thanks!
Will this pattern, Suzette Everyday Cardigan, work with boucle yarn? I bought 7 hanks of 70/30% Silk Merino, fingering weight boucle, 100 grams, 463 yards. So, I have a little over 3200 yards. My intention is to crochet a jacket or jacket like cardigan. Your pattern just might be the one! Also, it uses a larger than suggested hook which is recommended when working with boucle.
Being a fingering yarn, theoretically it should be able to work. Best to make a gauge swatch and go from there. 🙂 – Fingers cross 🤞