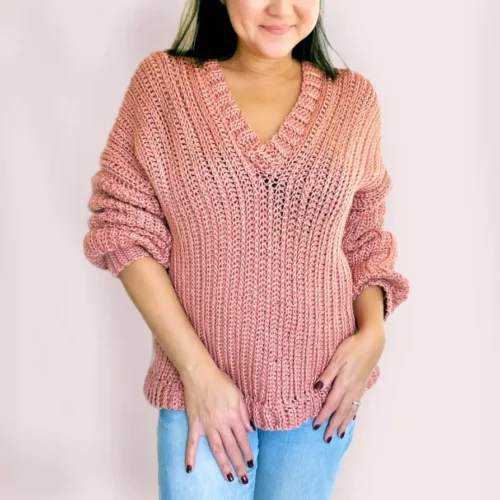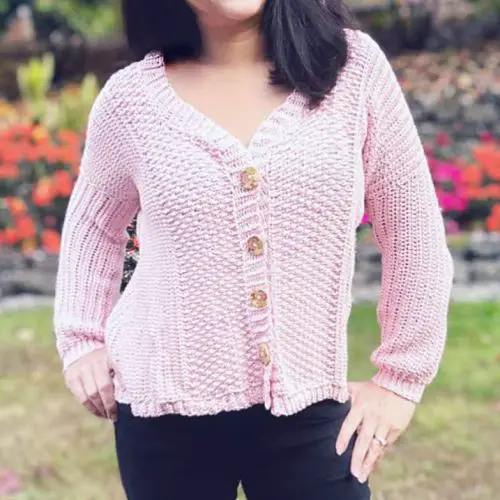
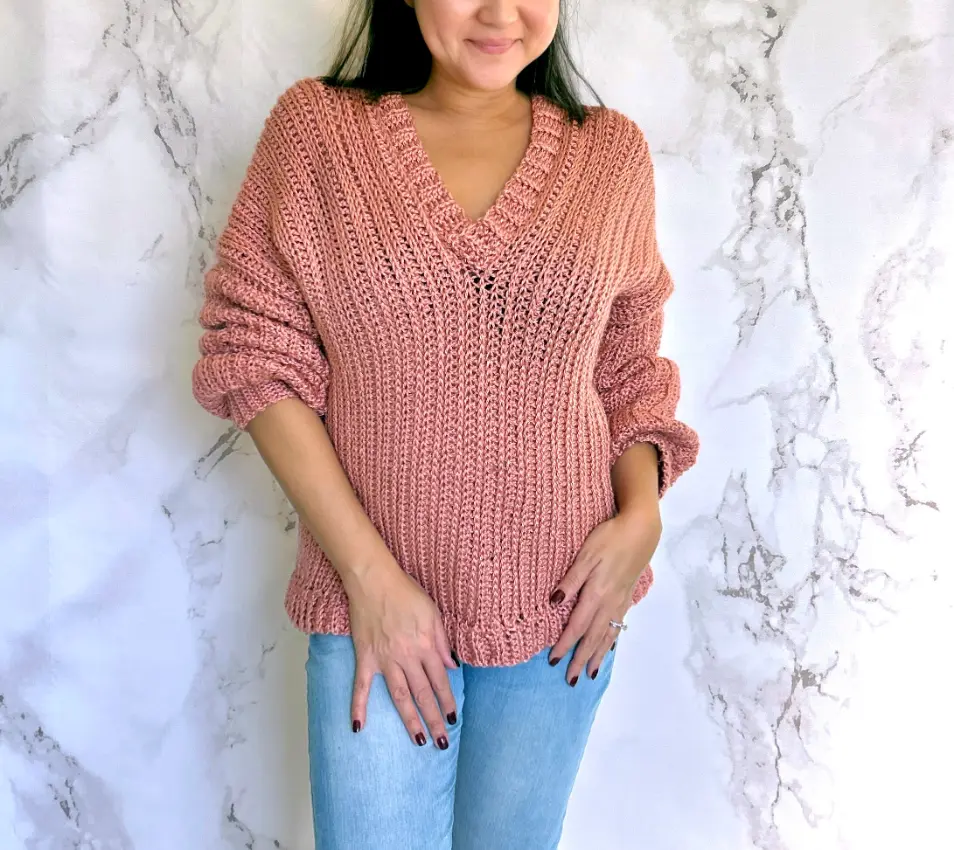
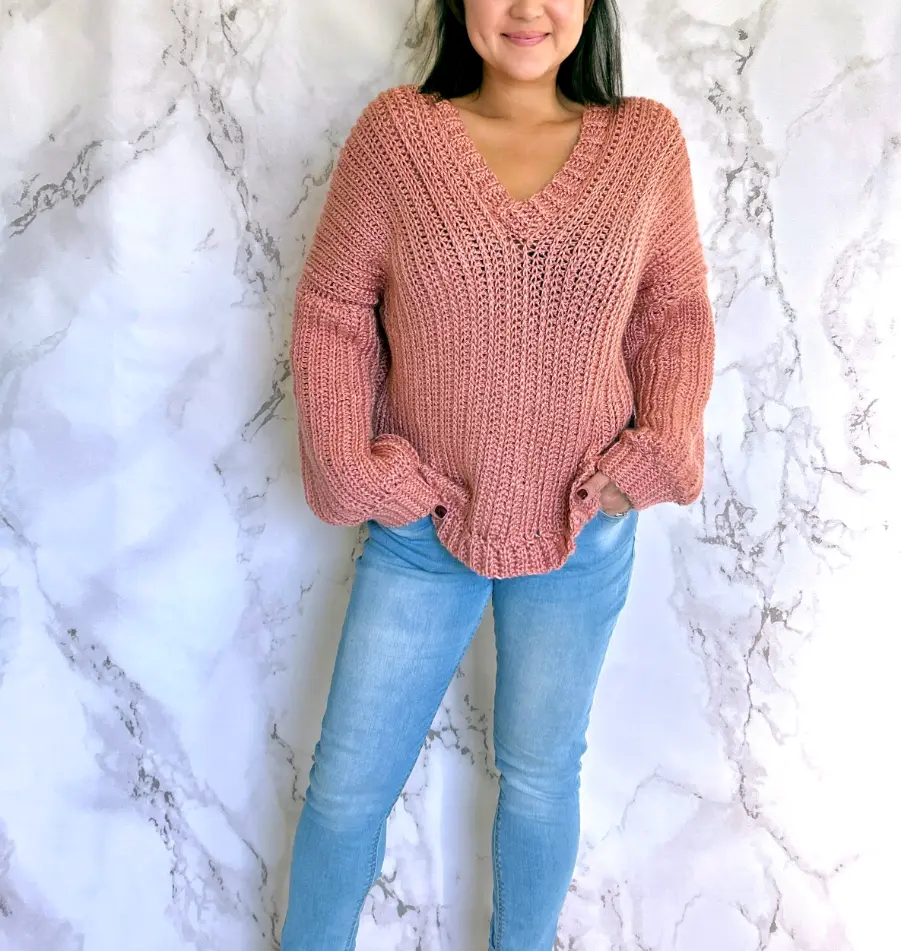
Crocheting your own cozy V neck sweater might seem like a daunting task at first, especially for beginners. However, this easy-to-follow tutorial will walk you through this crochet sweater pattern designed step by step.
Using basic stitches, simple construction, and a soft, cozy finish, this sweater is perfect for all-day wear, especially during warmer weather.
This free crochet pattern is designed to fit all nine sizes ranging from XS up to 5XL and can be adjusted to your preferred size.
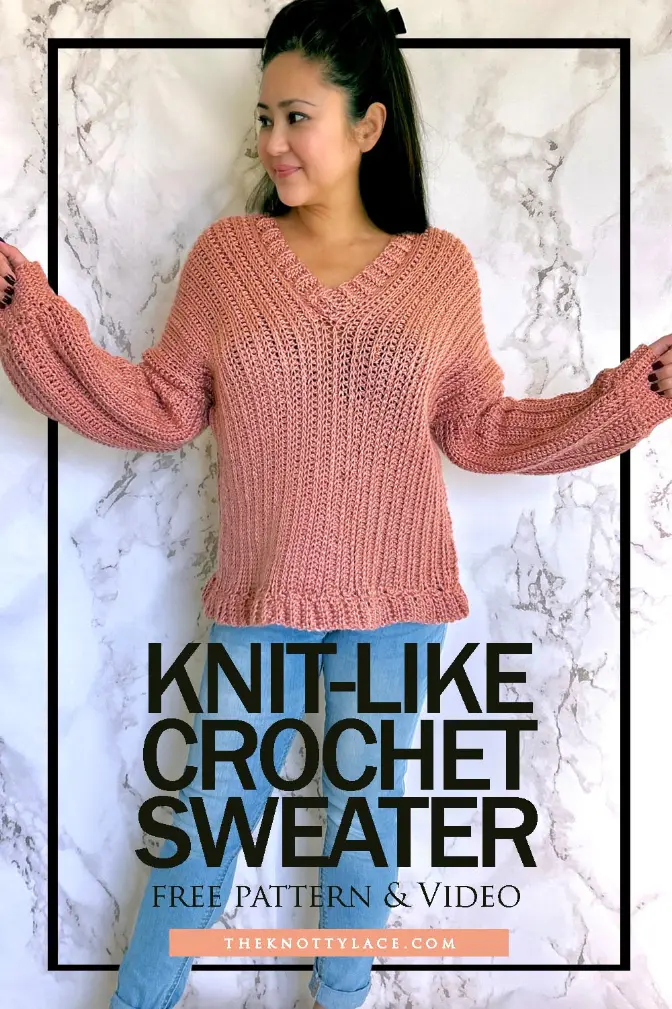
This pattern features a simple stitch pattern and a step-by-step video tutorial that is easy to follow, making it perfect for beginner crocheters or those looking for a quick and easy yet stylish project.

You can find the full Video tutorial on my YouTube channel where it is worked up in size Medium.
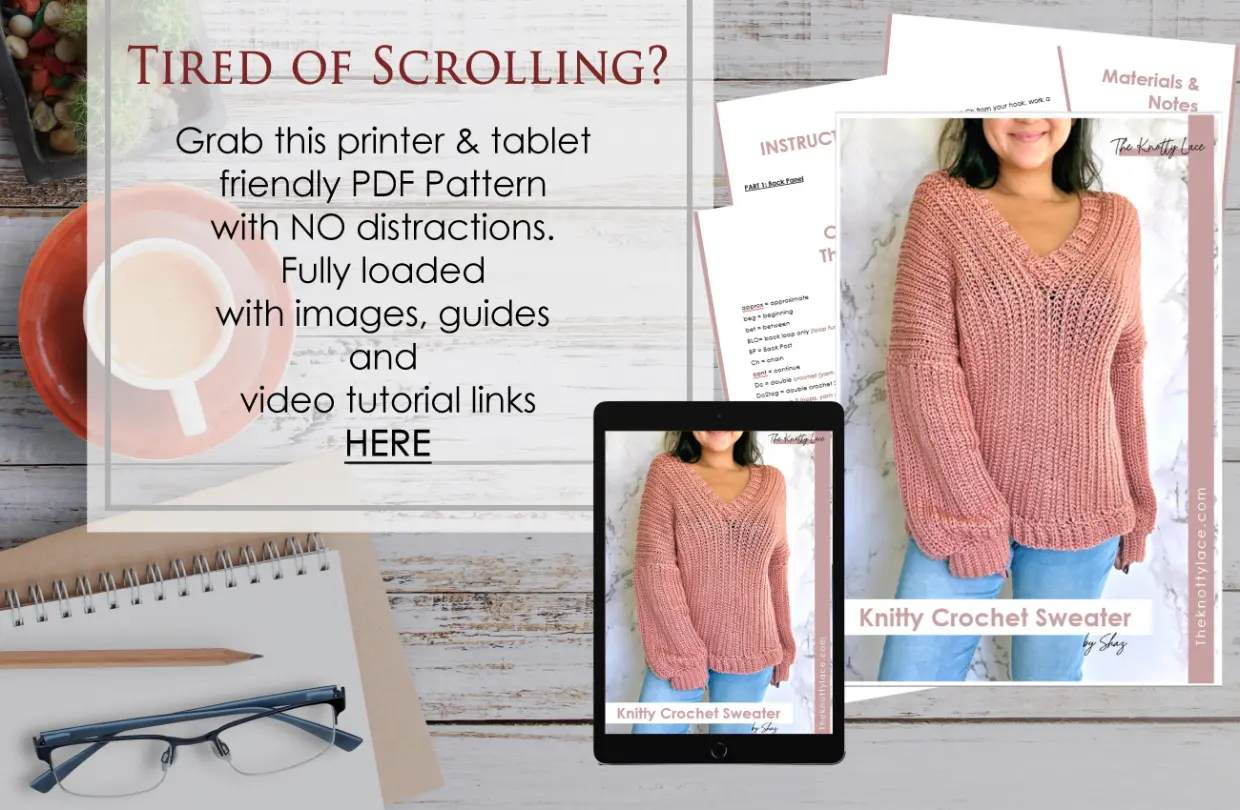
If you would like a printable PDF copy of this pattern with no distracting ads, and loads of guided images, it is available for purchase on my Pattern Store here. Or just add this to your Ravelry queue for later.
Related Post:
Calculate How Much Yarn You Actually Need
Get the Right Swatch for every Project
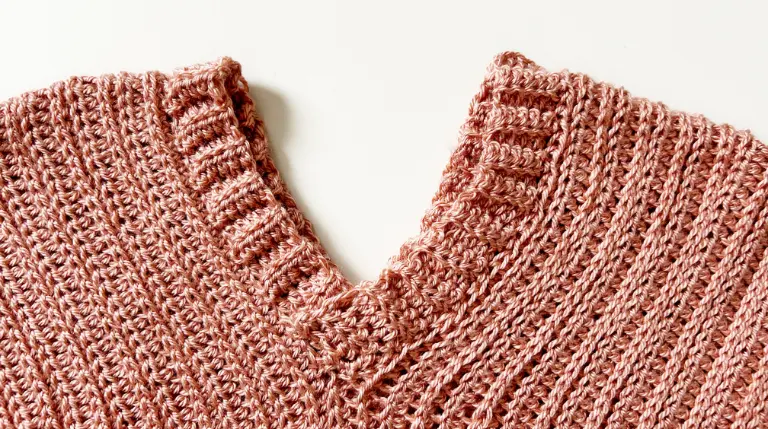
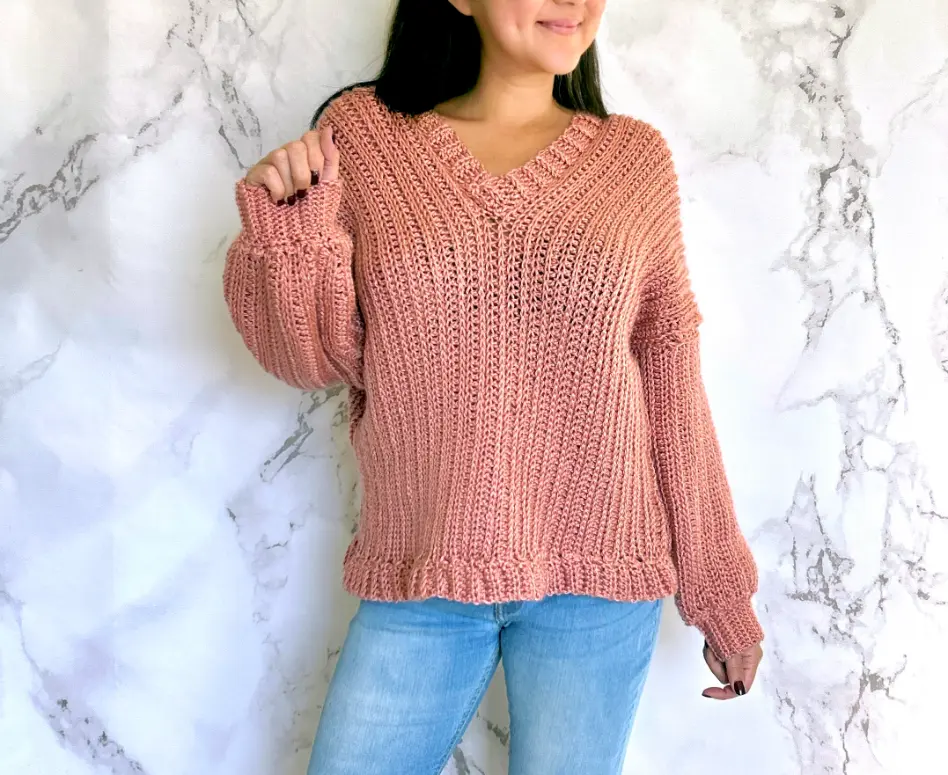
When crafting this crochet sweater, the heart of the construction lies in the straightforward use of the half-double crochet stitches and the one-piece body panel.
By focusing only on the back loops and the third loop stitch, I was able to achieve a knit-like texture that adds a subtle overall look. This approach not only contributes to the visual appeal of the sweater but also ensures a quick and easy-making process, perfect for beginners venturing into crocheted garments.
Now what exactly are the half double crochet stitches worked through the back loop and the third loop? Working through the back loop just means working through the loop stitch that is furthest away from you.
As for the third loop, this can sound confusing at first, but what this means in a half double crochet stitch is the diagonal line that comes across the post at the front.
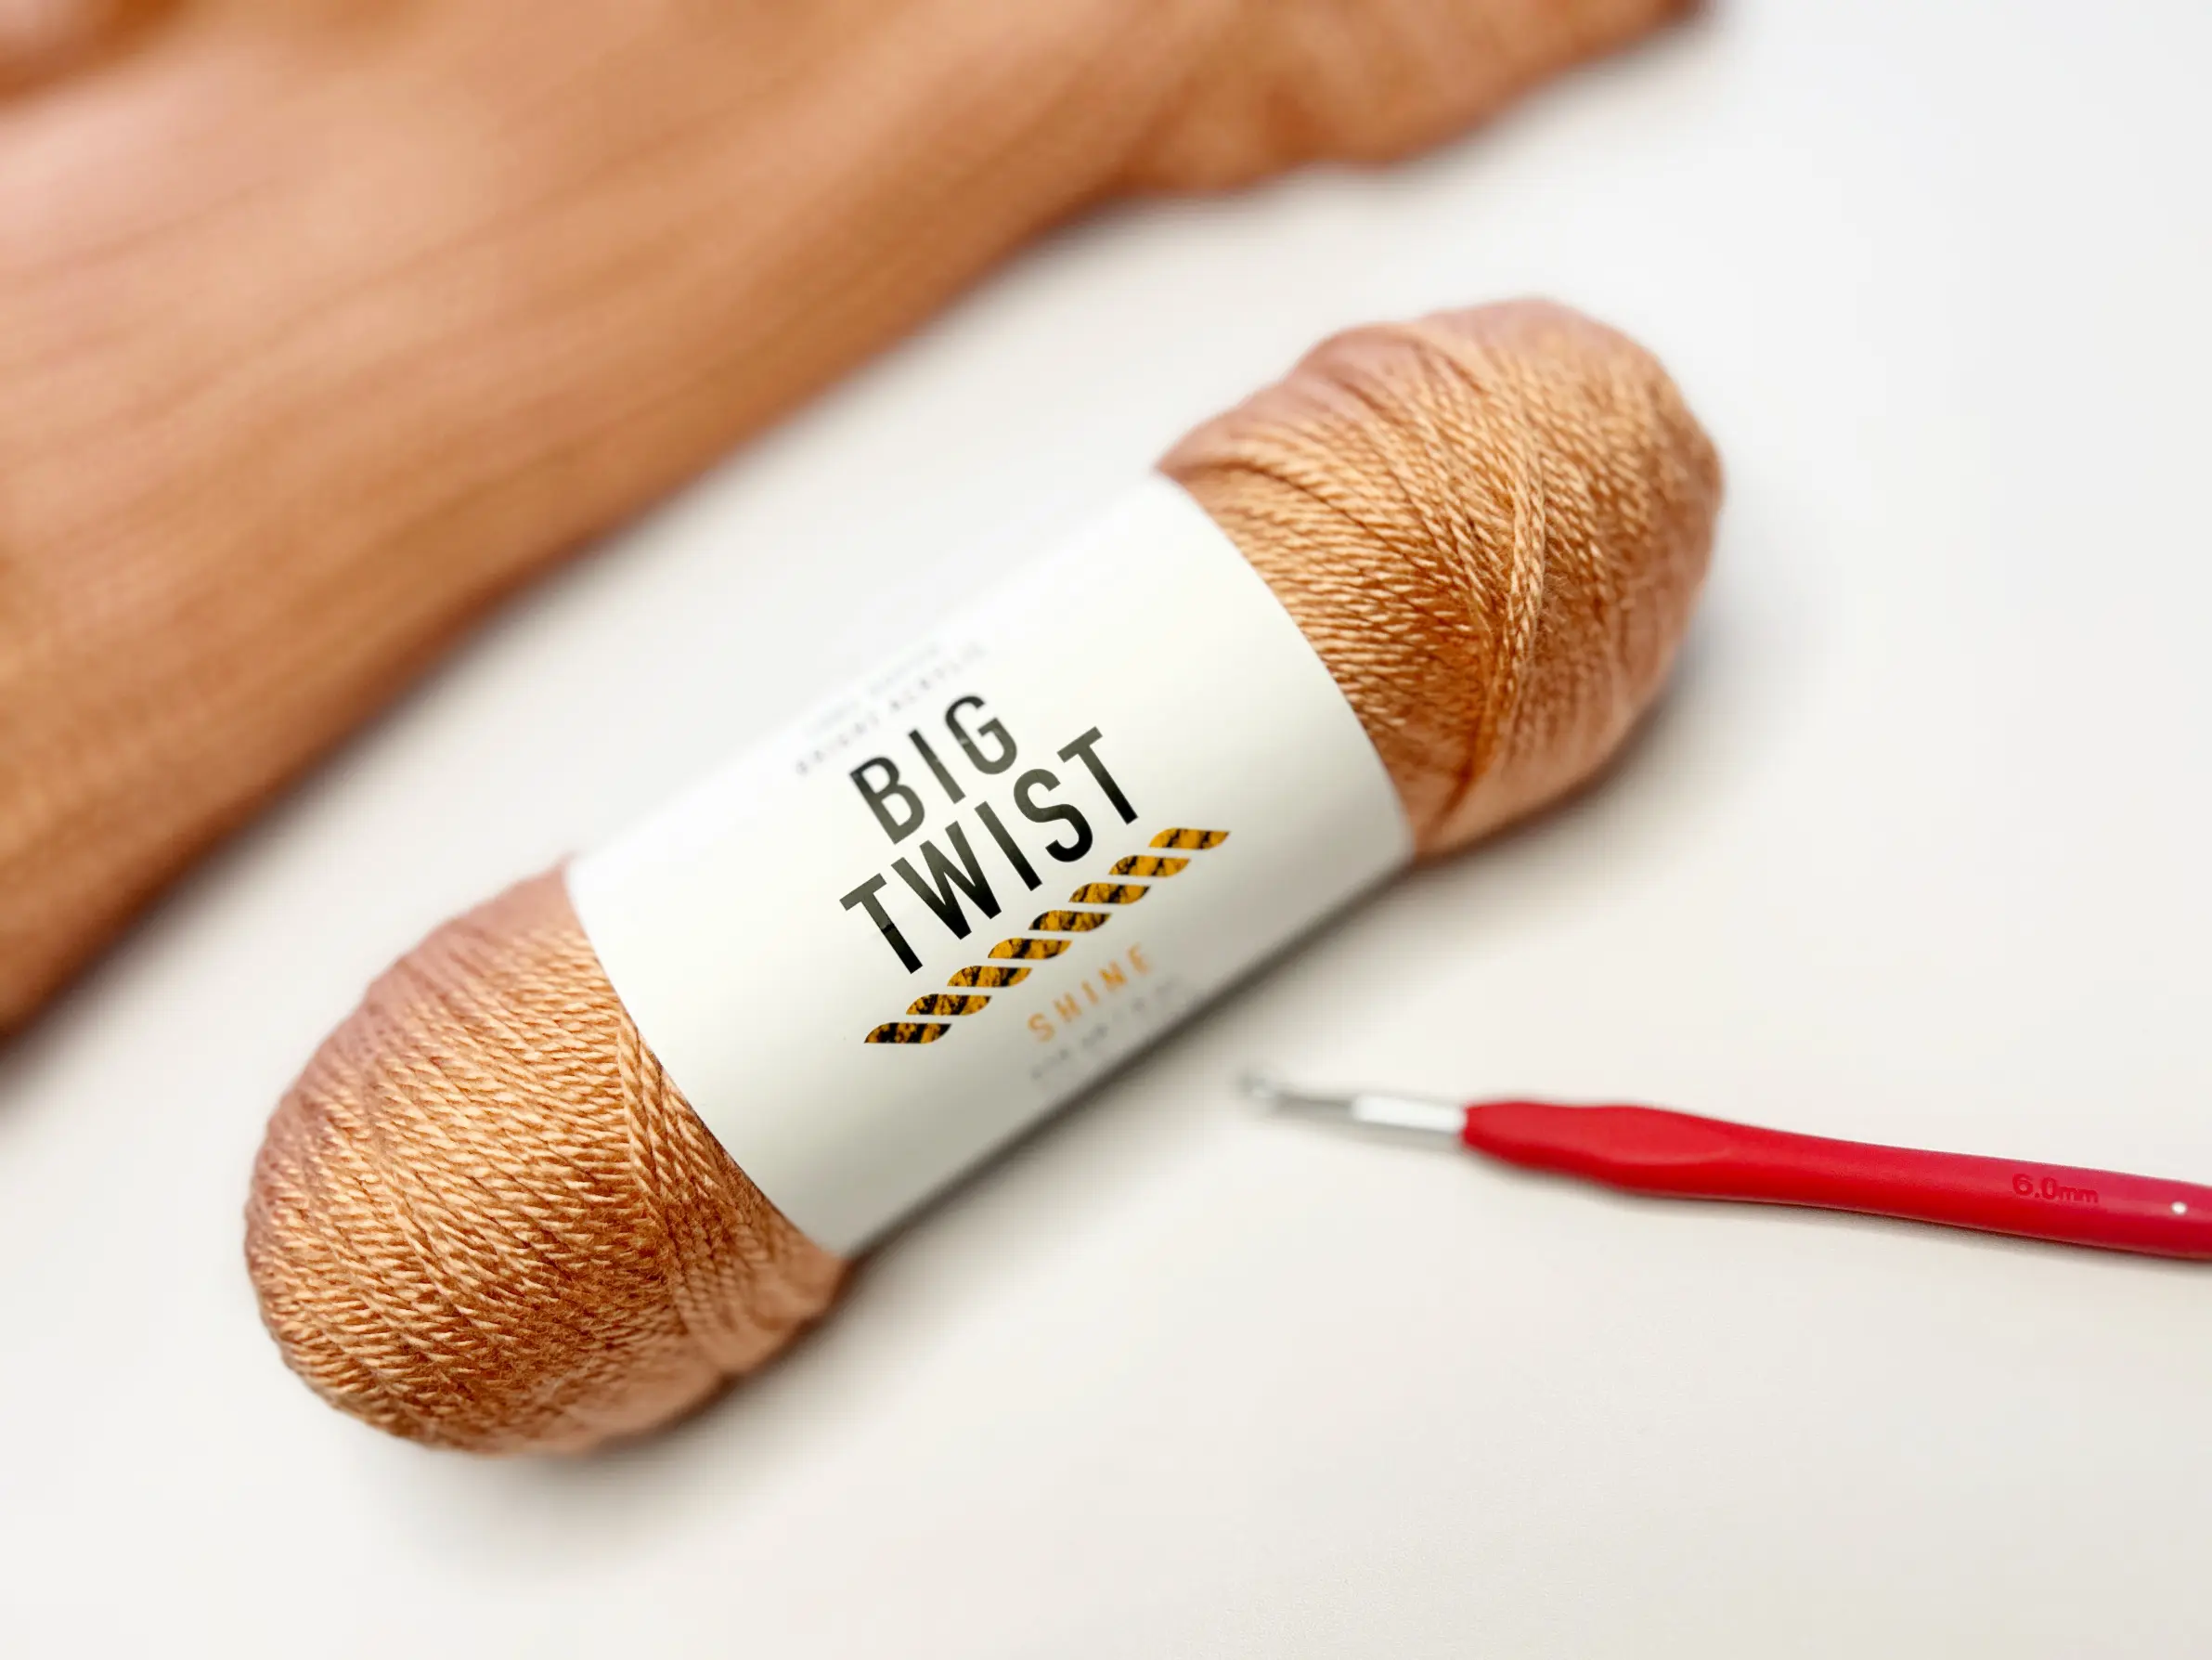
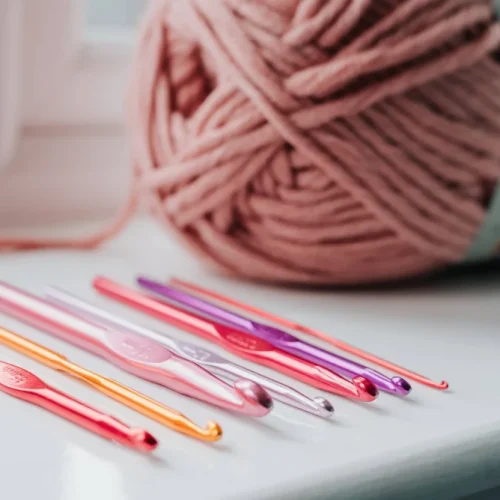
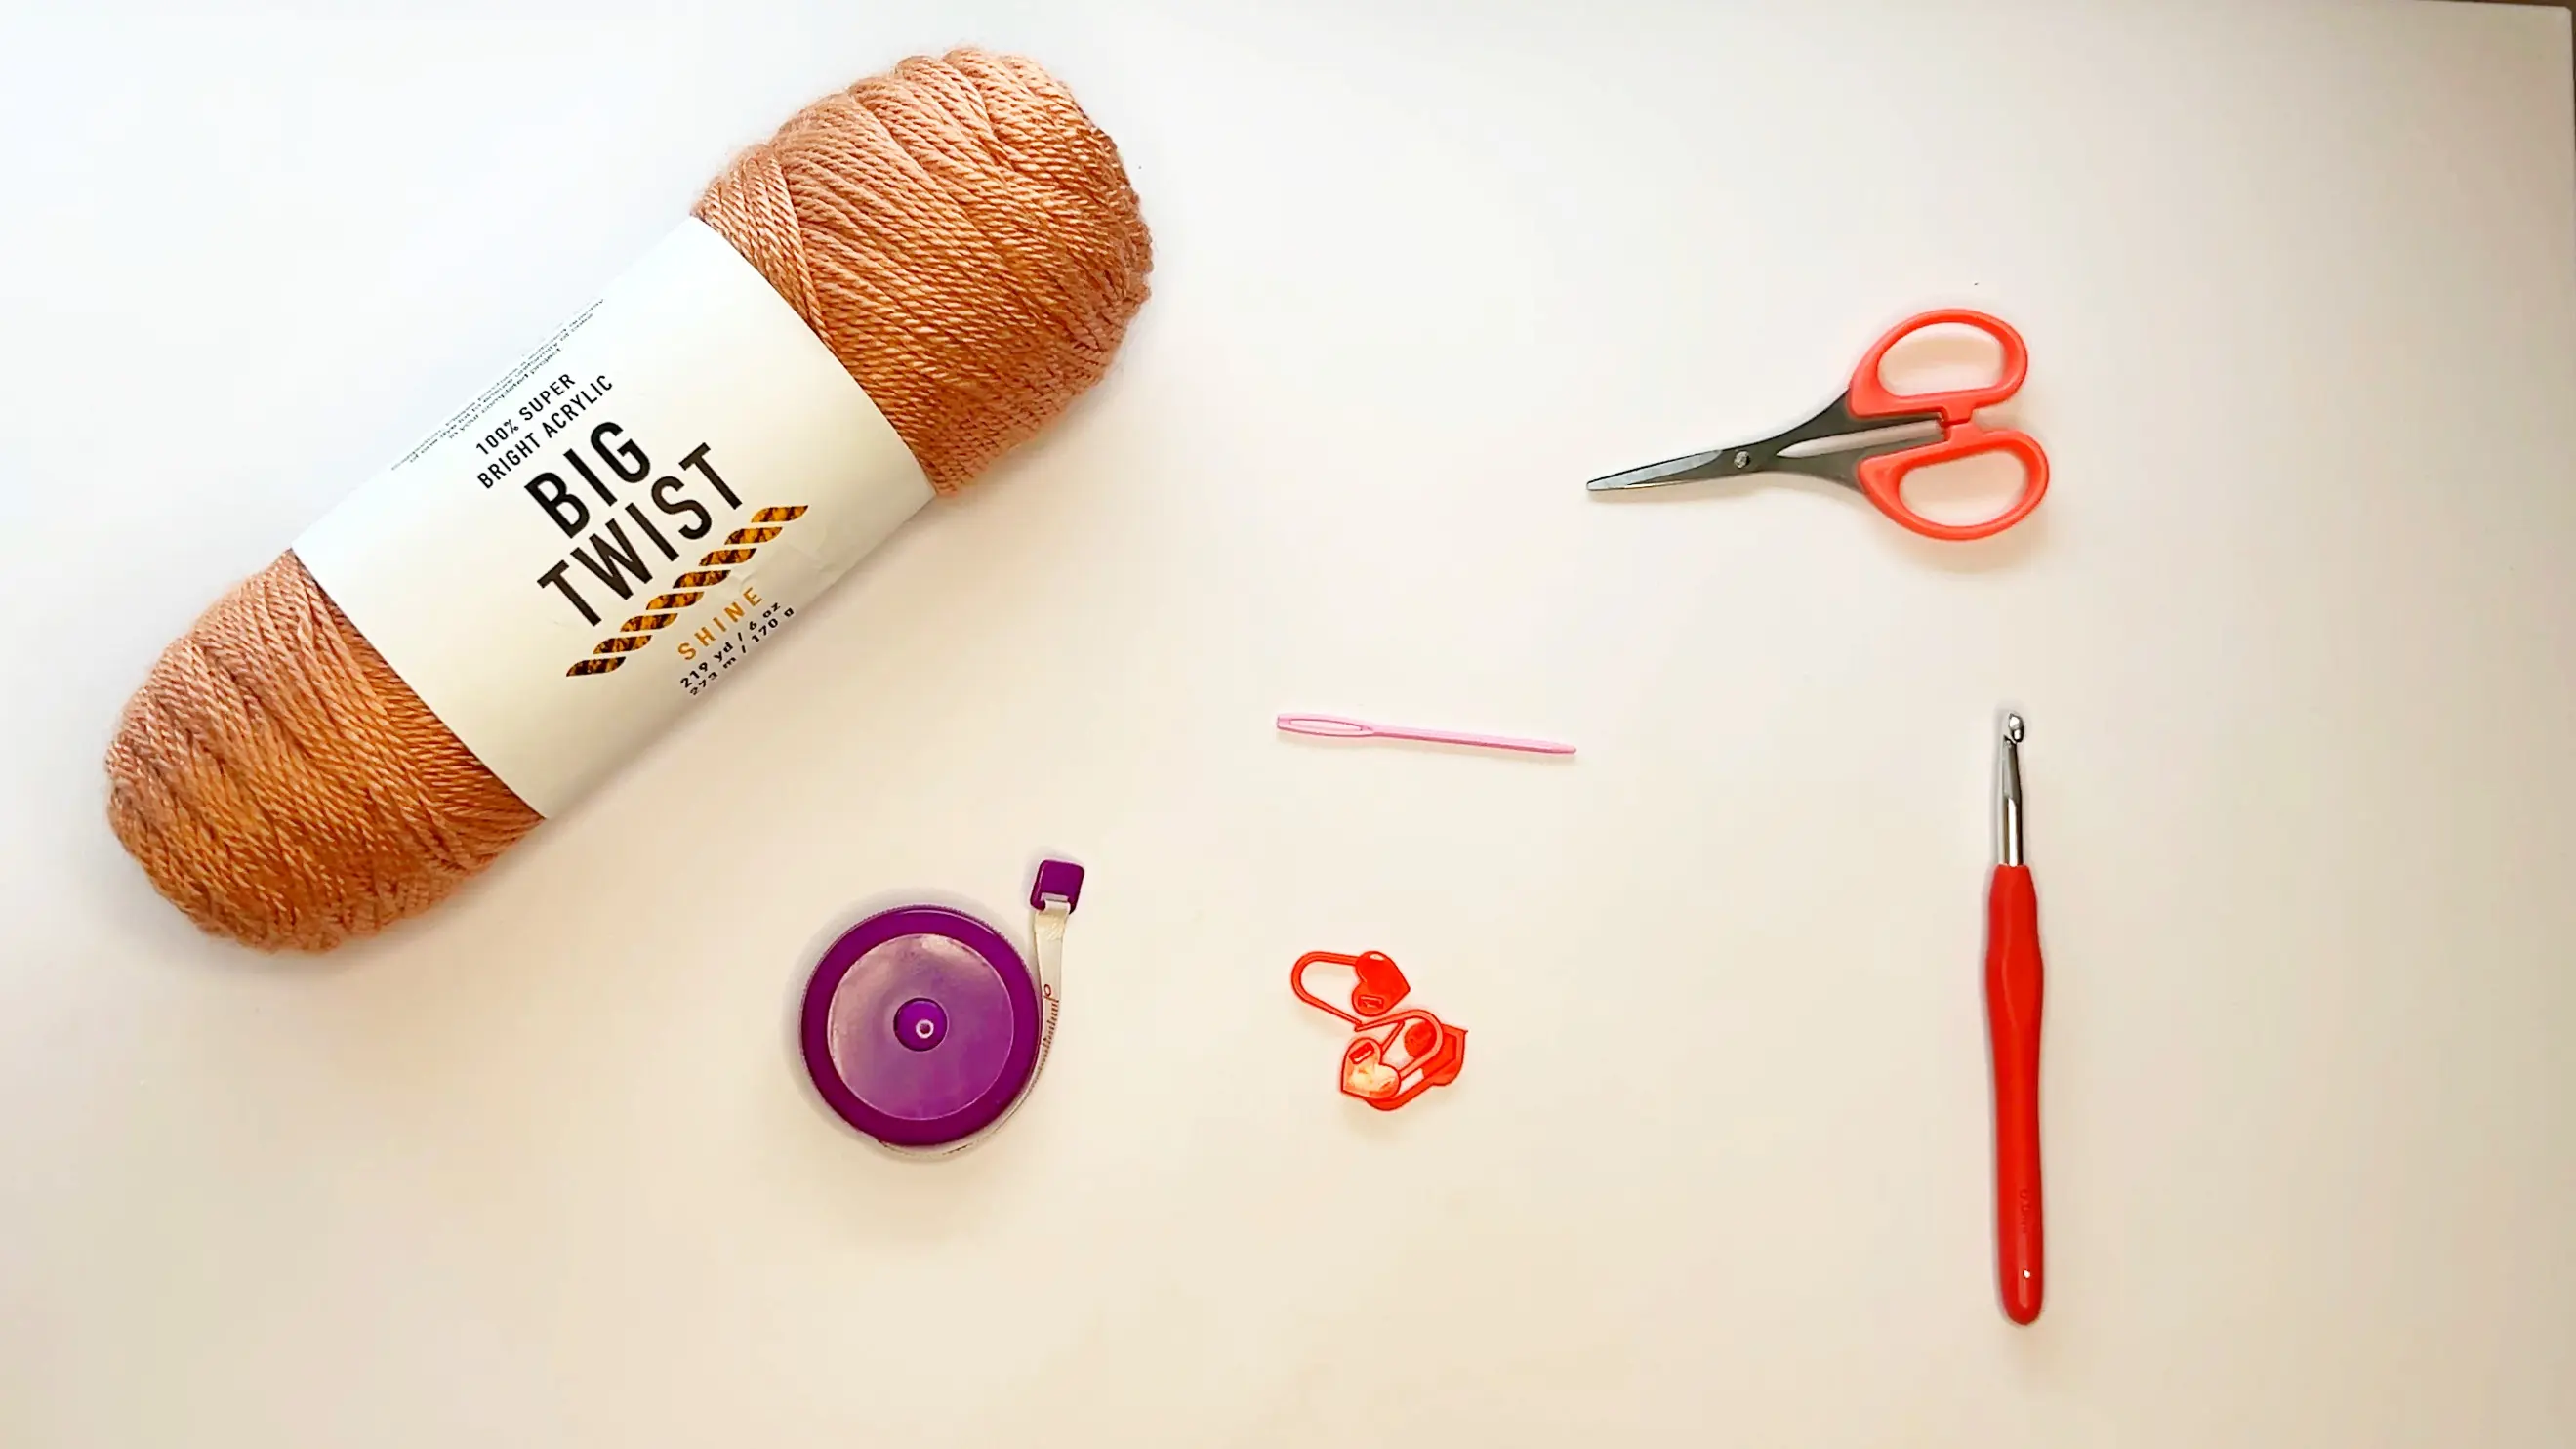
The choice of yarn that I used is the humble acrylic yarn from Big Twist Shine which is deliberate for its softness, affordability, and availability in a variety of colors.
This yarn not only provides a cozy finish but also makes the sweater accessible to a wide range of crafters. Paired with a 6.00 mm crochet hook, the larger hook size offers a wider and loser stitch.
Now, let’s talk about the body panel in one single piece. This technique eliminates the need for intricate shaping or joining separate pieces, making it the perfect pattern without the complexity of assembly.
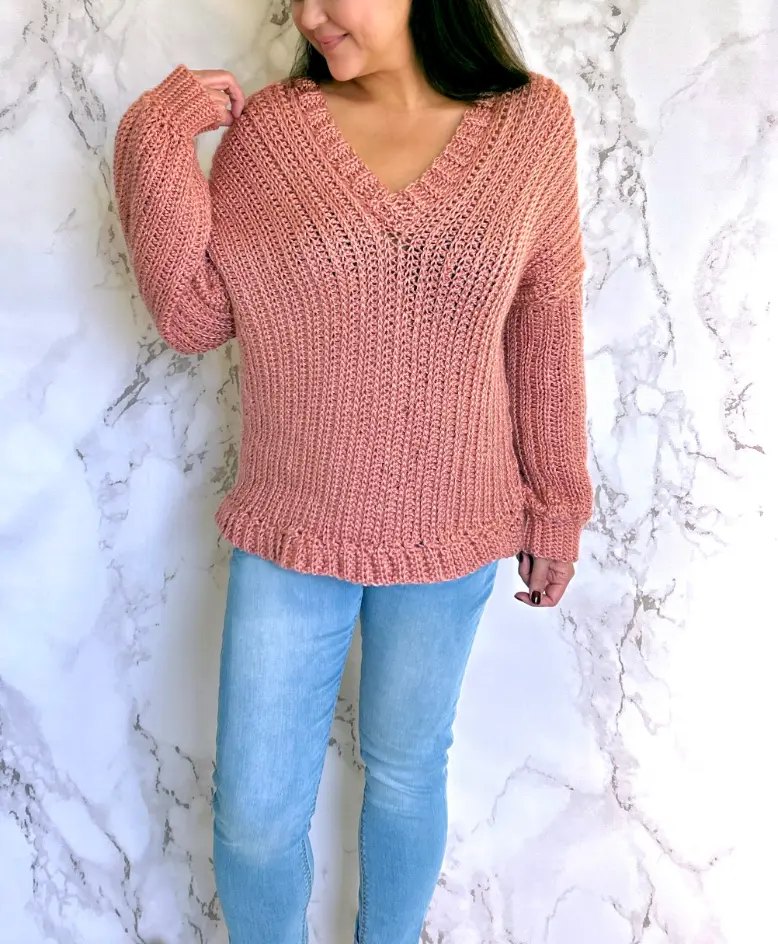
It also features an elegant V-neckline that was made without any shaping or reduced stitches.
With minimal seaming, the ease of working in one piece not only streamlines the construction process but also ensures a seamless, polished finish to the sweater.
Overall, this crochet sweater pattern is a versatile and stylish option that is perfect for any occasion. With the step-by-step video tutorial included, it’s a great project for crocheters of all skill levels.
This Crochet pattern also comes Ad Free with a fully picture-guided PDF file to guide you throughout the entire process.
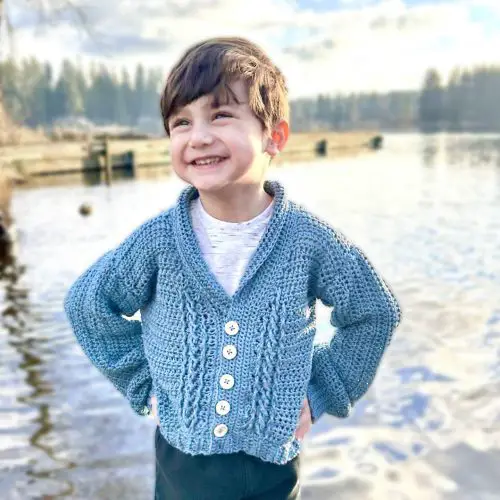
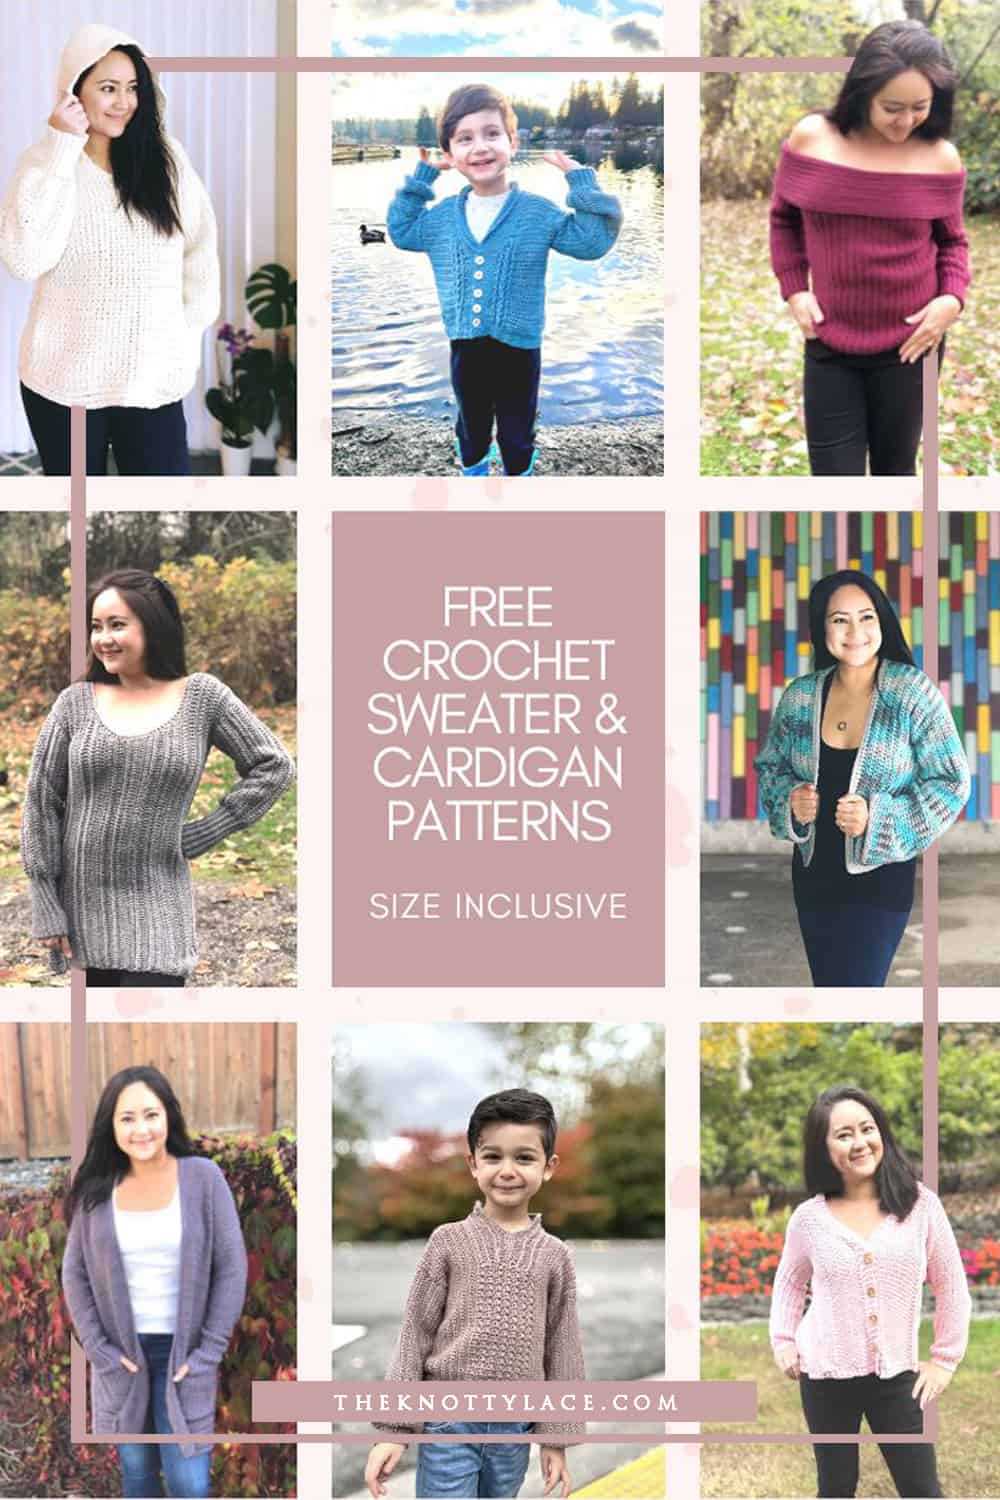
And if you like this style, then you might also like to check out these other free crochet sweater patterns here:


Things to Note:
- Prepare a pattern gauge to get the right size. You may need to adjust your tension or change the hook size to achieve the same gauge.
- Knit Like Pattern consists of one row Hdc BLO
and another Hdc 3rd Loop St. - This Pattern will curl slightly
- The abbreviation is available in English US format here.
Sweater Measurements:
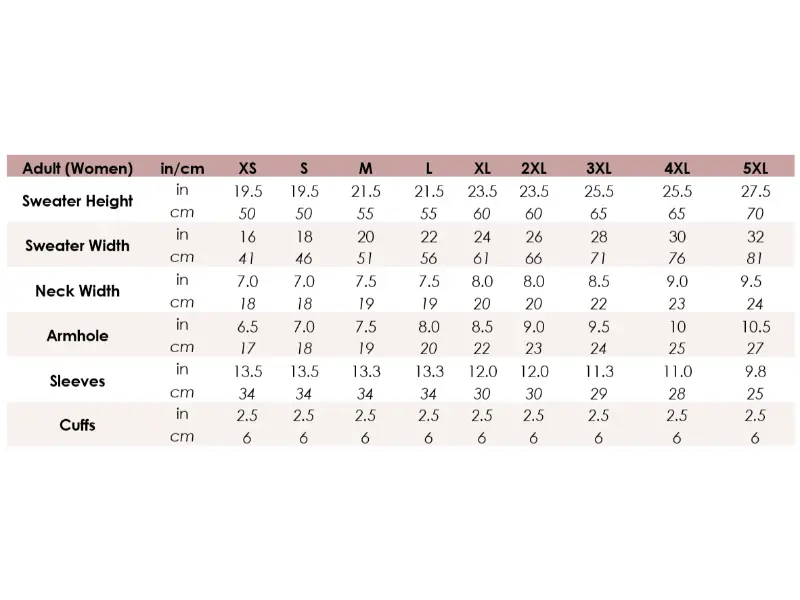
- Pattern consists of 9 sizes.
- Measurements above is for the finished garment and not body size
- Length and sleeve length can be adjusted to your liking
- This sweater has a positive ease of 2in/ 5cm. Increase or reduce according to your size/ preference.
- If you are in between sizes, size up or measure along
- Model is wearing size M is 5’3” / 160cm in height for reference purposes.
**
PART 1: Front and Back Body Panel
Left Panel
- Foundation Ch: Ch 234 [234/ 260/ 260/ 286] [286/ 312/ 312/ 338] , Ch 1 to start the next row
- Row 1: From the 2nd Ch from hook, work a Hdc St and across, Ch 1 turn
- Row 2: Hdc into the 3rd loop (ref image below) and across, Ch1 turn
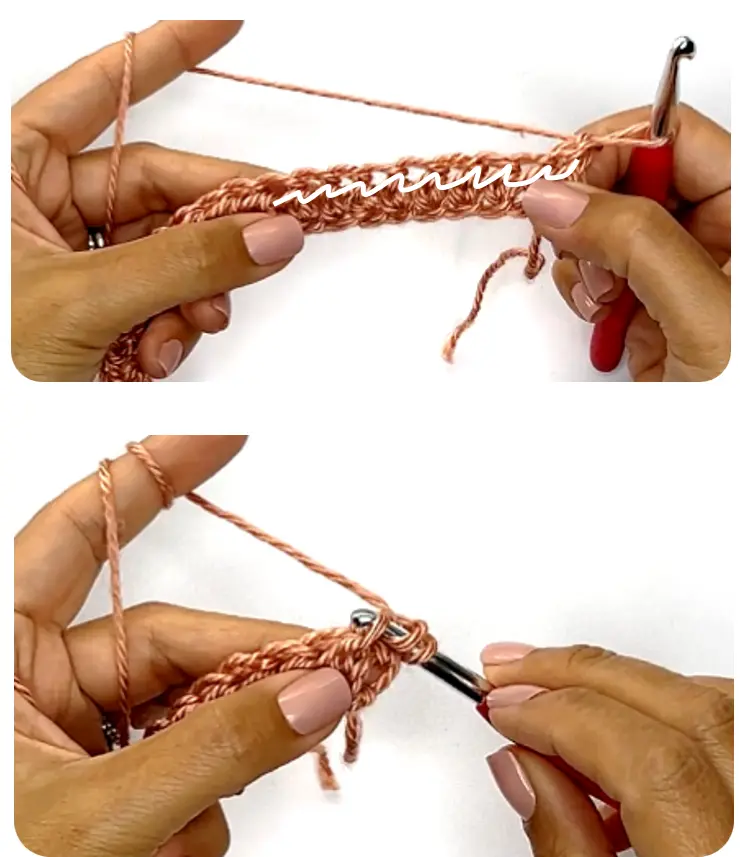
Crochet through the 3rd loop - Row 3: Hdc BLO into each St across, Ch 1 turn
- Next Rows: Rep Rows 2 & 3 for a total of 18 [20/ 23/ 25/ 27] [29/ 32/ 34/ 36] rows or until you’ve reached your pref width in half.
- Fold panel in half widthwise or measure out half of the total length and place a SM to mark the middle point.
- Neckline: Measure 7.0 [7.0/ 7.5/ 7.5/ 8.0] [8.0/ 8.5/ 9.0/ 9.5] inches or 18 [18/ 19/ 19/ 20] [20/ 22/ 23/ 24] cms from the SM and place one SM on each end.
- The SM should be aligned on both sides when folded in half.
Right Panel
Due to the nature of the stitch, your work WILL CURL slightly
- Next Row: Cont the next row with the next stitch type (ie Hdc BLO or Hdc 3rd Loop) into each St across until the 1st SM. Work 46 [46/ 49/ 49/ 52] [52/ 55/ 59/ 62] Chs. Cont to Hdc BLO or Hdc 3rd Loop after the 3rd SM and across, Ch1 turn
- Next Row: Hdc BLO or Hdc 3rd Loop across until the chains, Hdc each Ch across. Rep Hdc BLO or Hdc 3rd Loop on each St, Ch1 turn
- Next Rows: Rep Rows 2 and 3 for the same number of rows as you did on the other side.
- Bind off.
PART 2: Sleeves
- Foundation Row: Ch 34 [34/ 33/ 33/ 29] [29/ 27/ 26/ 22] , Ch 1 to start the next row
- Row 1: From the 2nd Ch from hook, work a Hdc St and across, Ch 1 turn
- Row 2: Hdc into the 3rd loop of each St across, Ch 1 turn
- Row 3: Hdc BLO on each St and across, Ch1 turn
- Next Rows: Rep Row 2 & 3 for a total of 29 [32/ 34/ 36/ 38] [41/ 43/ 45/ 47] or until you’ve reached your pref armhole width.
- Turn to the row side and Sc each rows post evenly and loosely across, Ch 11 and turn
Cuffs
- Row 1: Sc into the 2nd Ch from hook and across, you should have 10 Sc Sts. Slst 2 on the sleeve’s row and turn (Do not chain 1)
- Row 2: Sk prev 2 Slsts, Sc BLO across cuffs, Ch 1 turn.
Always turn in the same direction. This will ensure an even edge.
- Next Rows: Rep Rows 1 & 2 across the bottom of the sleeve.
- Fold sleeve in half lengthwise and place SM’s along the sides to secure.
- From your last St, facing the WS, Sc each Stitch of both sides together across.
- Bind off and make a second sleeve.
PART 3: Seaming Sides & Attaching Sleeves
- Place body panel WS out and fold in half widthwise. Measure 6.5 [7.0/ 7.5/ 8.0/ 8.5] [9.0/ 9.5/ 10/ 10.5] inches or 17 [18/ 19/ 20/ 22] [23/ 24/ 25/ 27] cms from the fold down. Place a SM to mark the spot as well as along the sides to secure both pieces together. From the bottom, Sc both panels together all the way up towards the underarm SM’s. (Do not bind off)
- Take Sleeve and turn RS out. Slip sleeve through the armhole with the cuffs facing the neckline.
Make sure the sleeve’s seam is aligned at the bottom.
- Now secure the sleeve piece and armhole with SM’s.
- From your last St, pick up the loop and Sc both sleeve and armhole together in the round. Slst into the 1st St to close.
- Bind off and rep on the other side.
PART 4: Neckline
- Arrange body panel RS up, and insert your hook into the 5th St from the bottom neckline on the Right and draw up a loop.
- Row 1: Hdc 5 along that row. Sk 1 on the Left neckline, Slst 2, turn
- Row 2: Sk prev 2 Slsts, Hdc BLO across, Ch 1 turn
Always turn in the same direction. This will ensure an even edge.
- Next Rows: Rep Rows 1 & 2 all around the neckline.
For the back neckline, treat the back middle row as a regular St and work the collar as usual.
- Once you are back at the front middle neckline, just cont to work another 2 more rows on the collar’s 1st row.
- Once completed, fold the right collar over the left and place a SM at the top to secure.
- Pull the loop enough to have along tail to sew the collar’s side (approx. 15in / 40cm) and bind off.
- Using a tapestry needle, sew along the sides of the last row.
- Bind off and weave in ends.
PART 5: Bottom Edging
- Turn sweater bottom side up (RS), along the sides, insert hook and chain 6 and turn
- Row 1: Hdc 5 along that row. Sk 1 on the body panel, Slst 2, turn
- Row 2: Sk prev 2 Slsts, Hdc BLO across, Ch 1 turn
Always turn in the same direction. This will ensure an even edge.
- Next Rows: Rep Rows 1 & 2 all around the bottom edging.
- On the last row, sandwich the 1st and last row together (WS) and Slst both piece together.
- Bind off and weave in all loose ends.
END