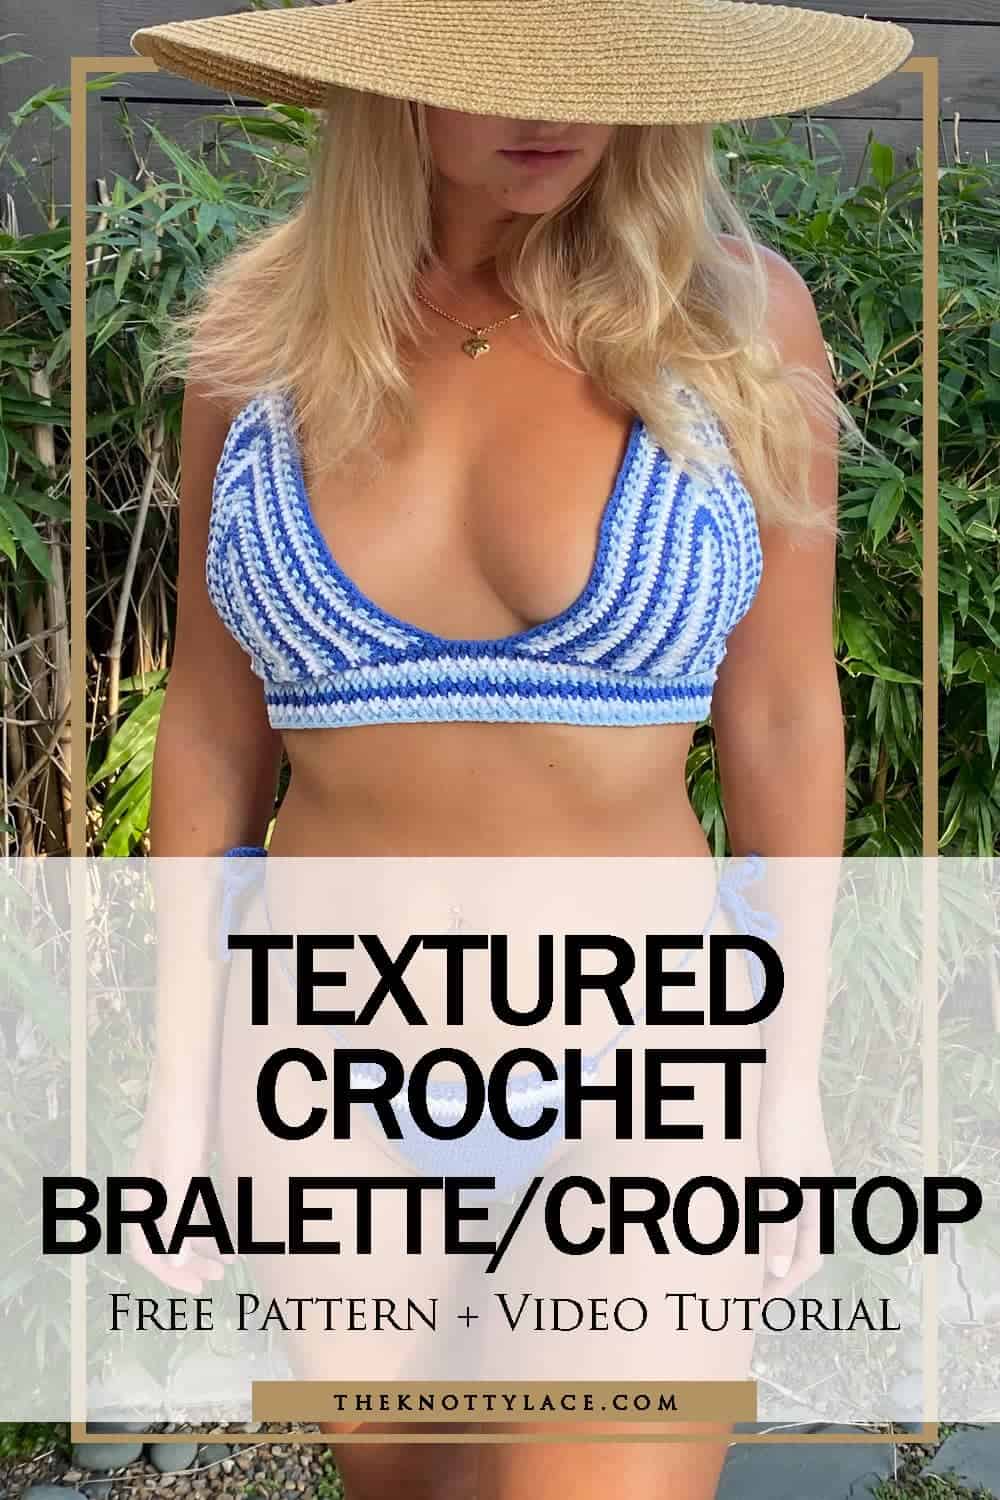
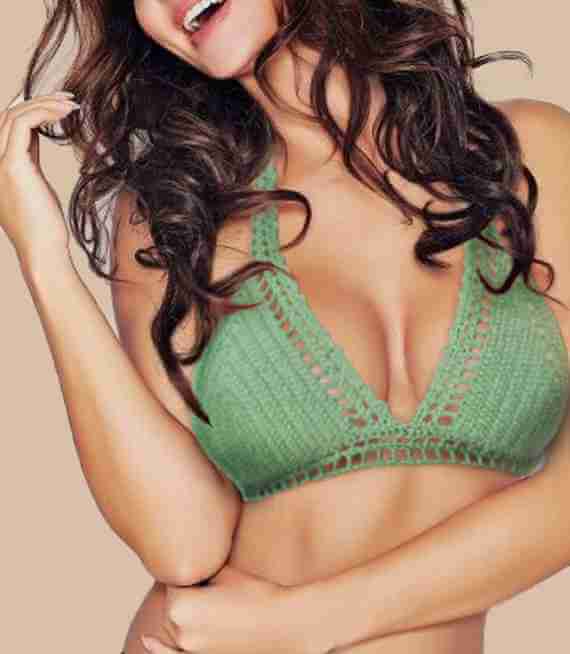
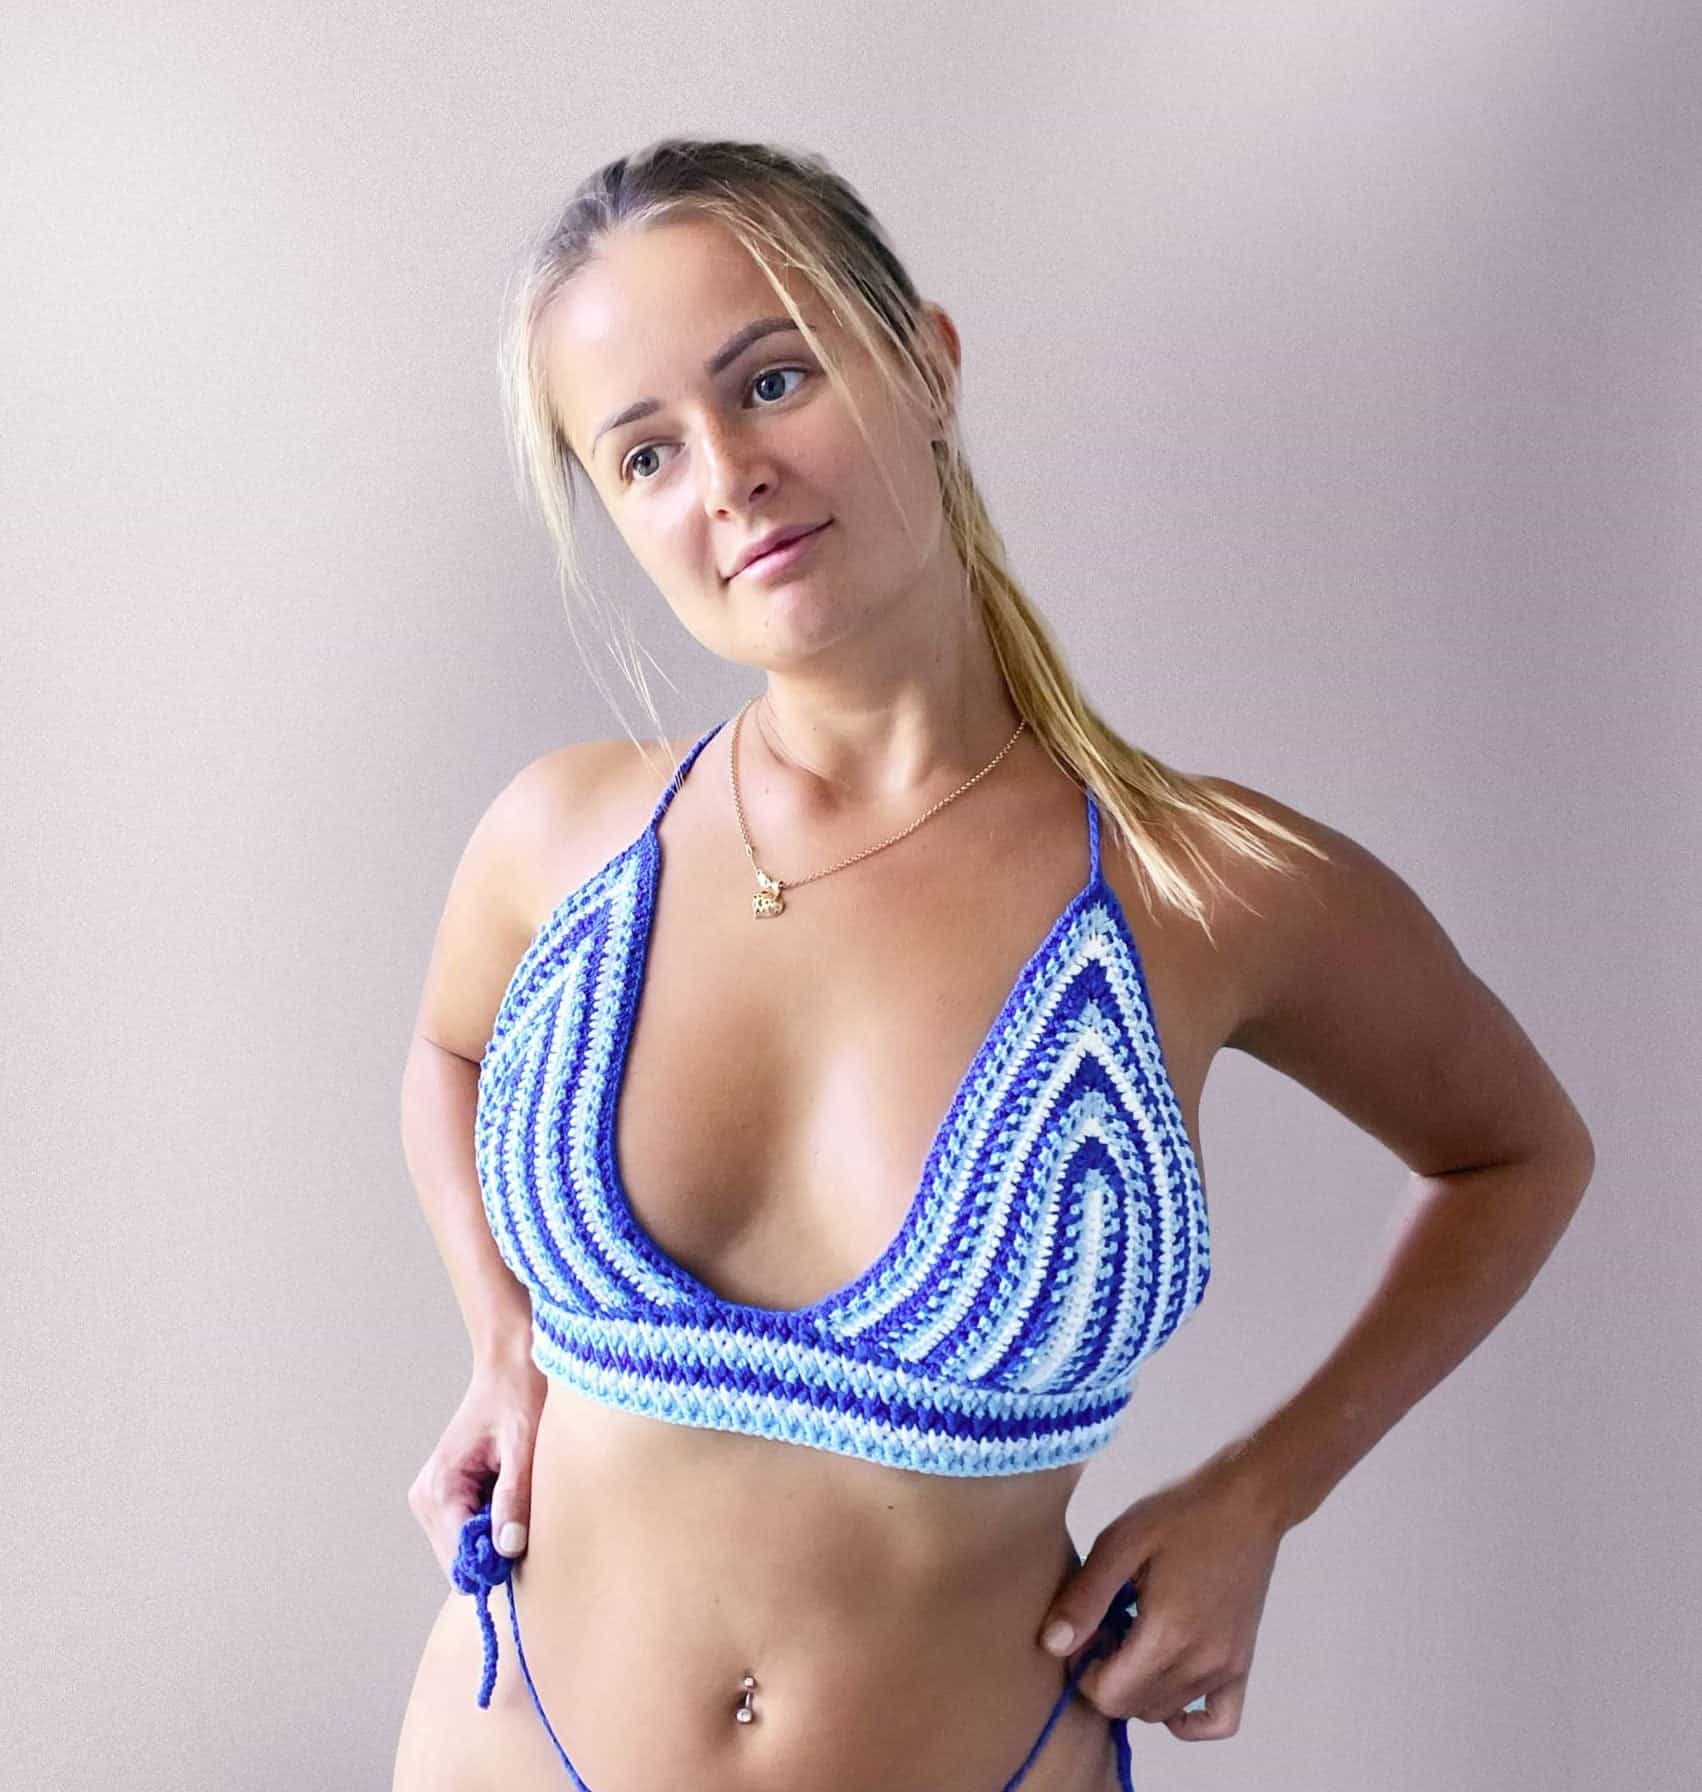
Is it too soon for Bikini Season? I think not! LOL. Here’s to a Greece-inspired crochet bralette slash crop top that is fun to make and fully textured!
It comes with easily adjustable cups, bands, and straps perfect for any size. But if you would like that extra lift, try adding these Shaper pad cups for that 100% support!
This pattern tutorial is also available on my YouTube channel where it is worked up in cup size C. However, If you would like a printable ad-free PDF copy of this pattern which comes with fully guided images, it is available for purchase in my shop, or add this to your Ravelry queue for later.
DESIGN INSPIRATION
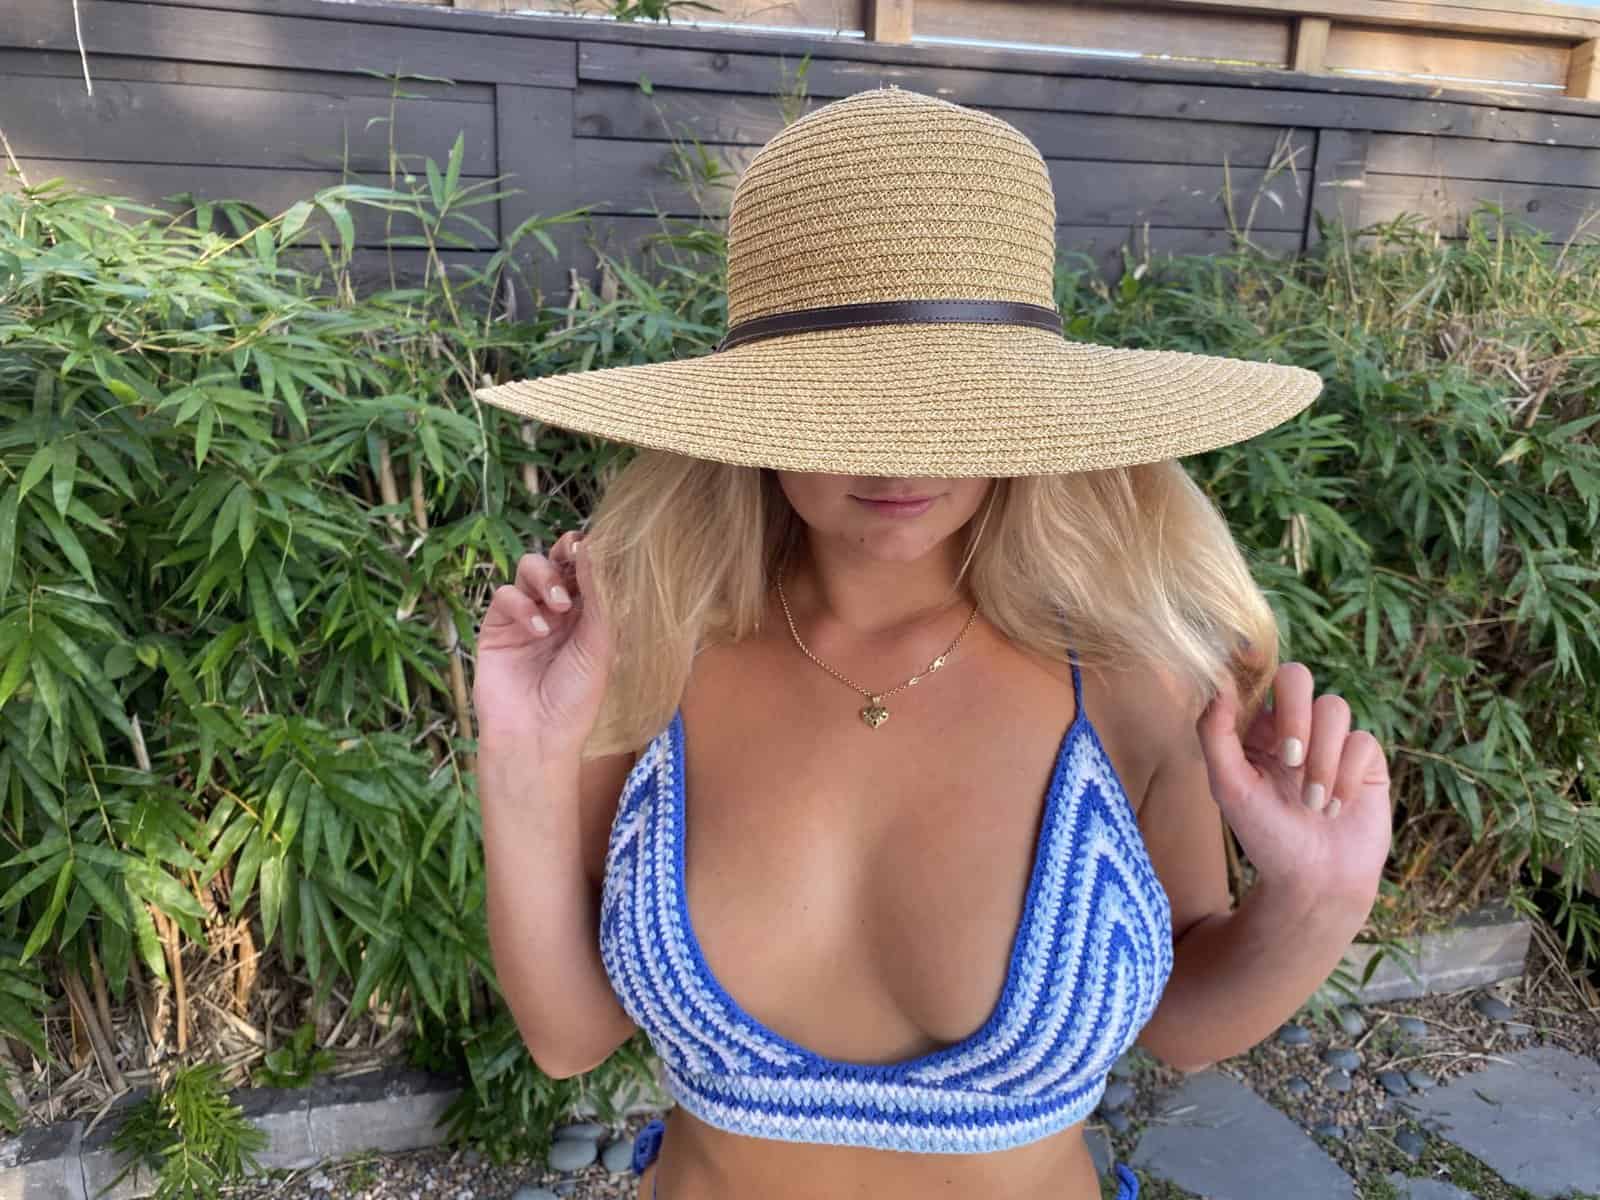
Missing my travels to Greece and its beautiful coastal views inspired me to make this combo! Yes, it does come with a matching bottom, check it out here. And if you’ve ever been to Mykonos, you will know that it is all shades of blue and white! So crips!
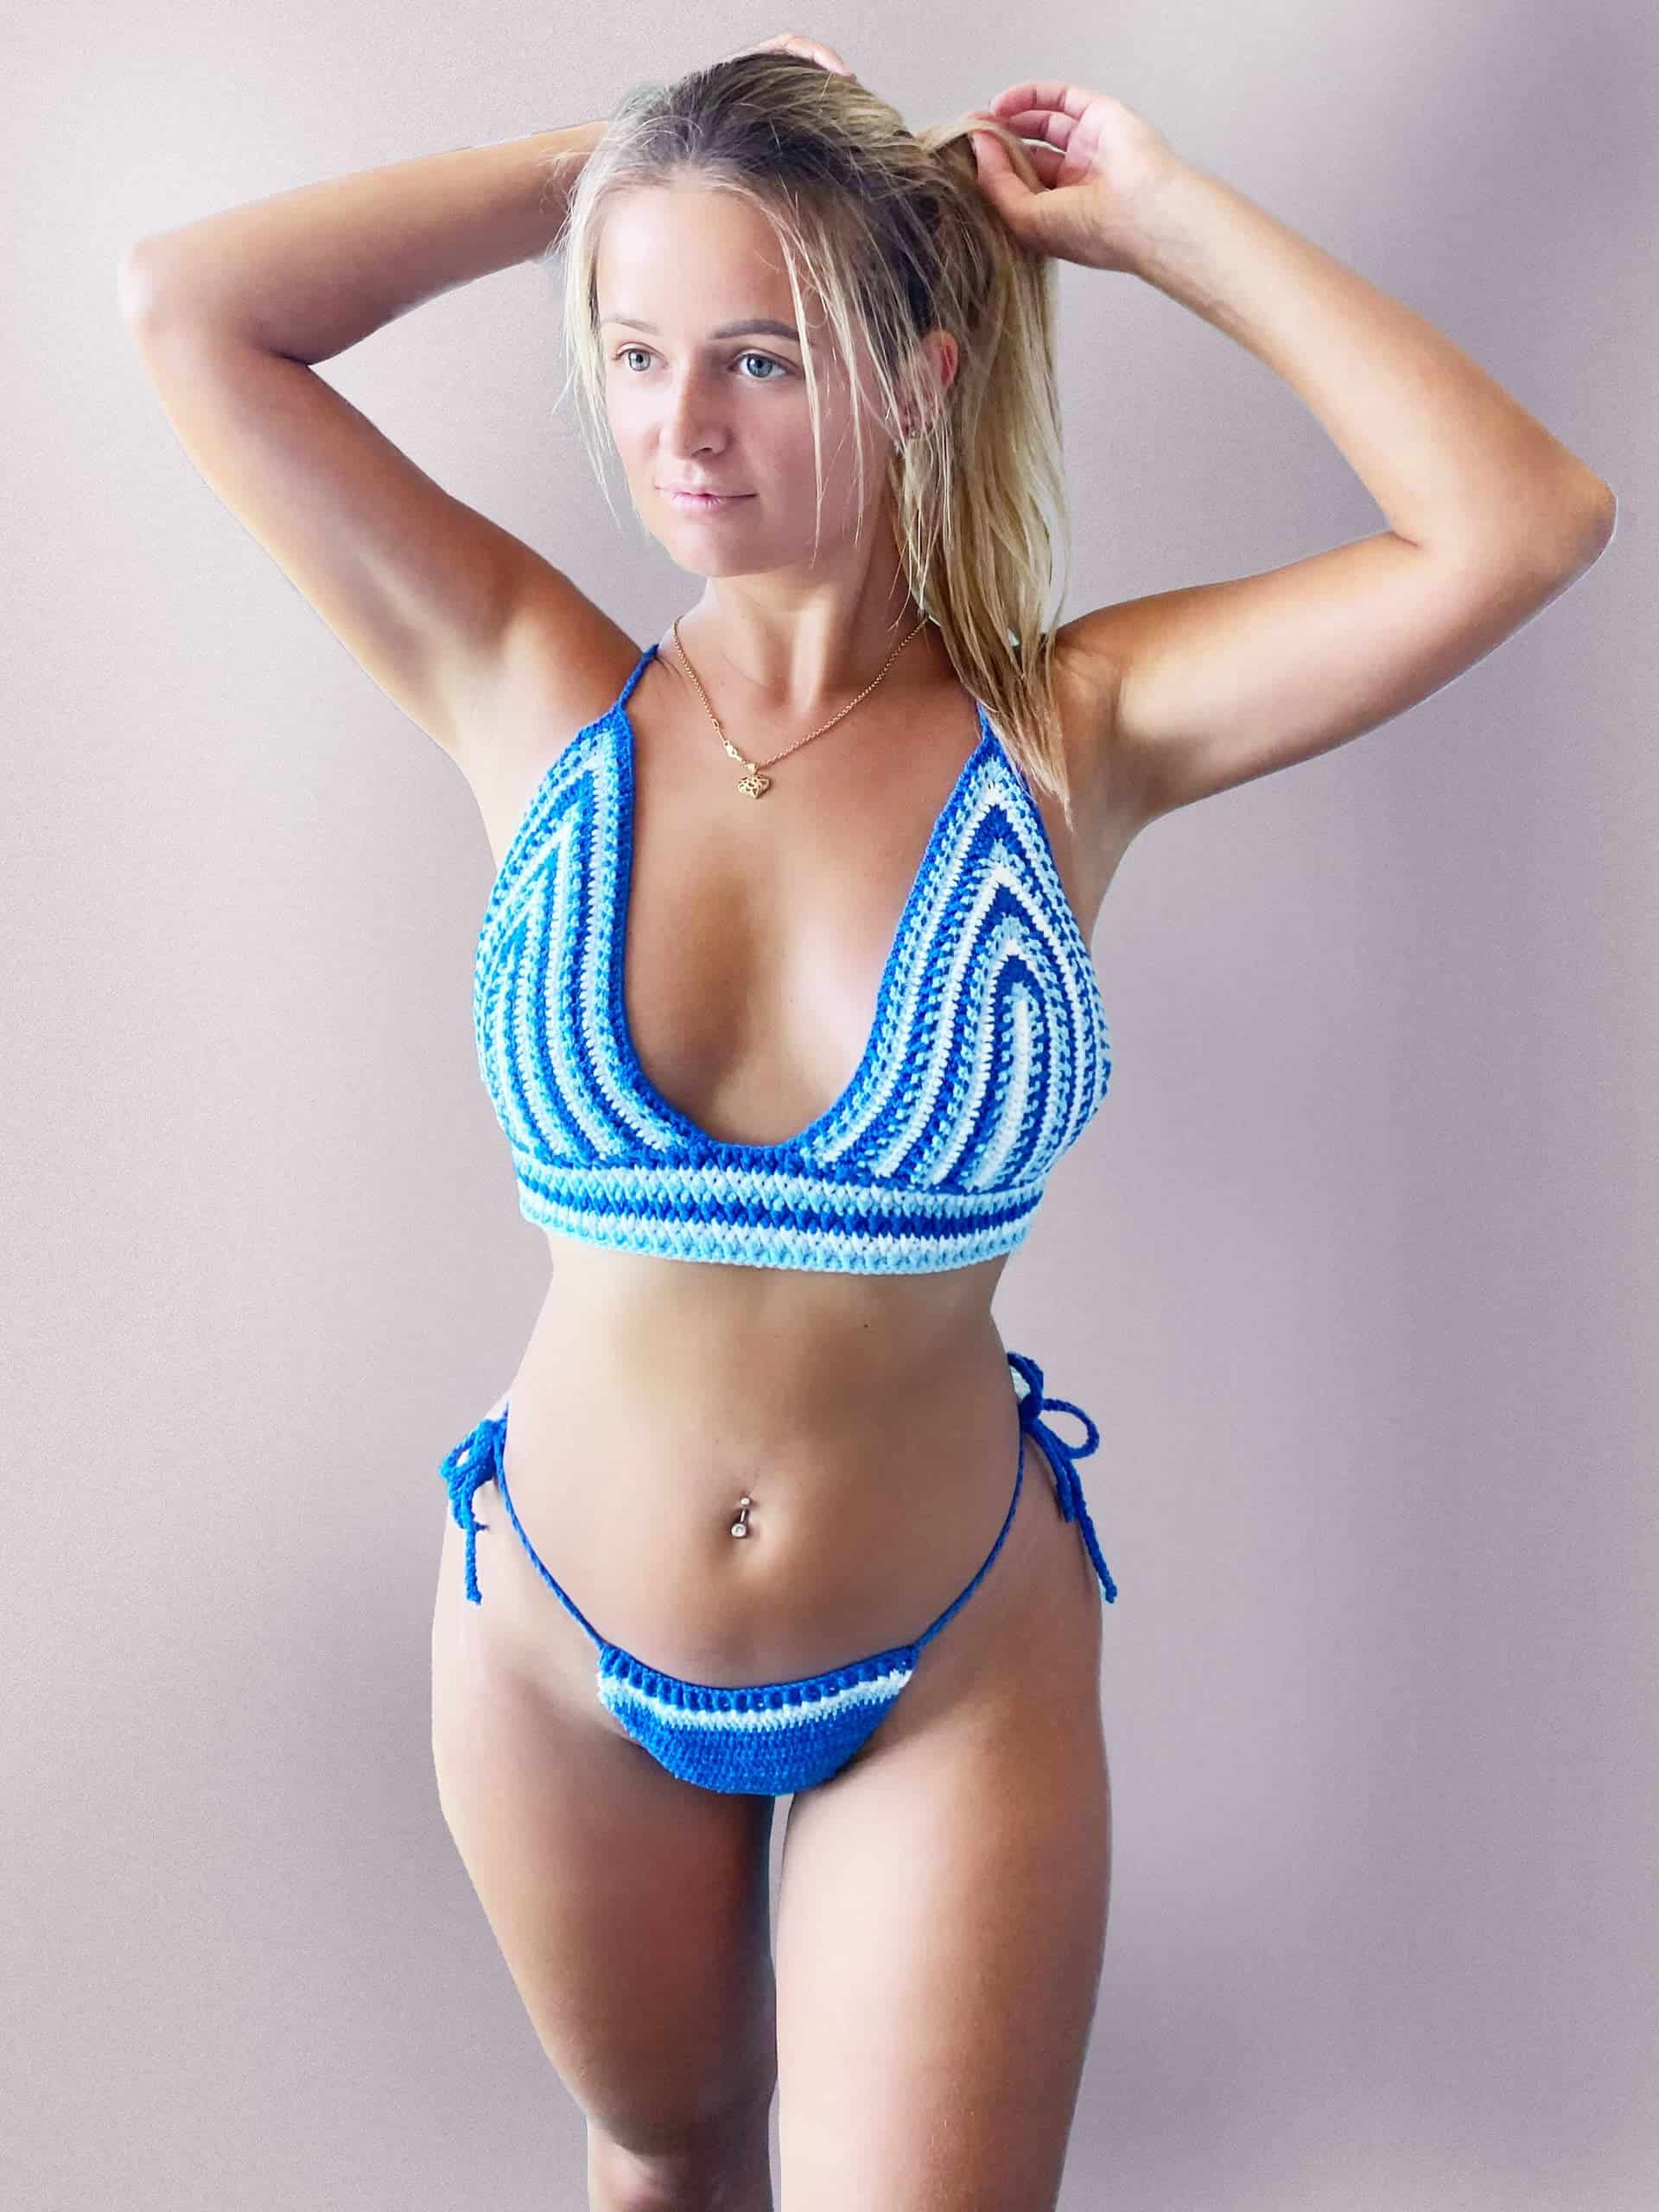
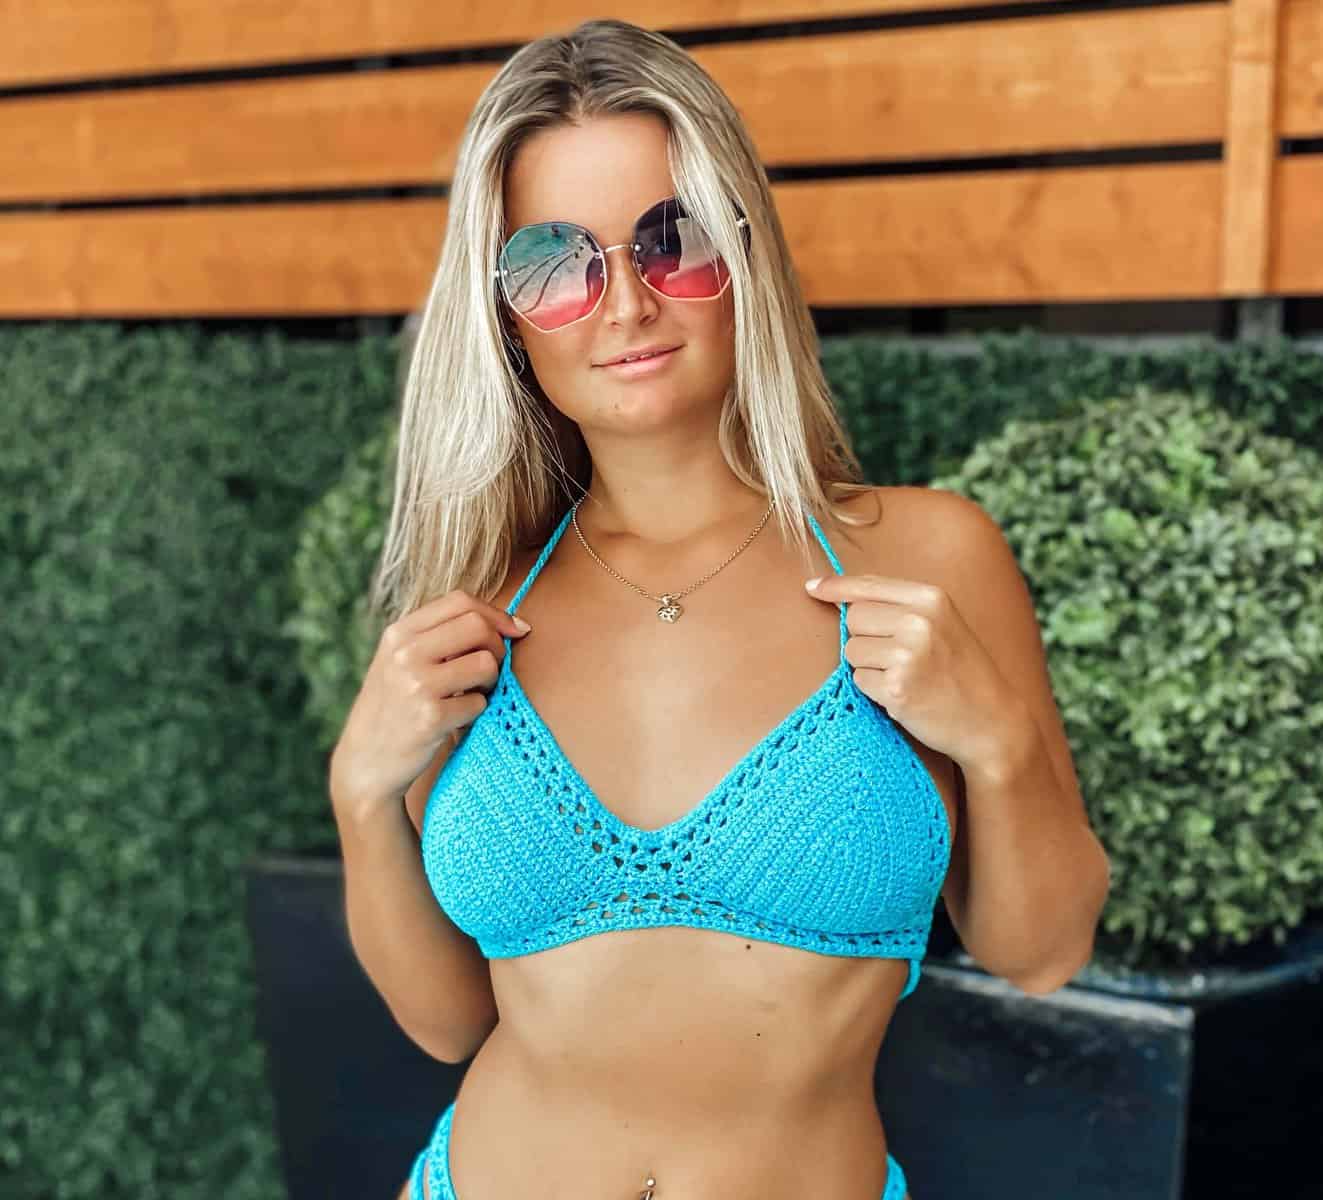
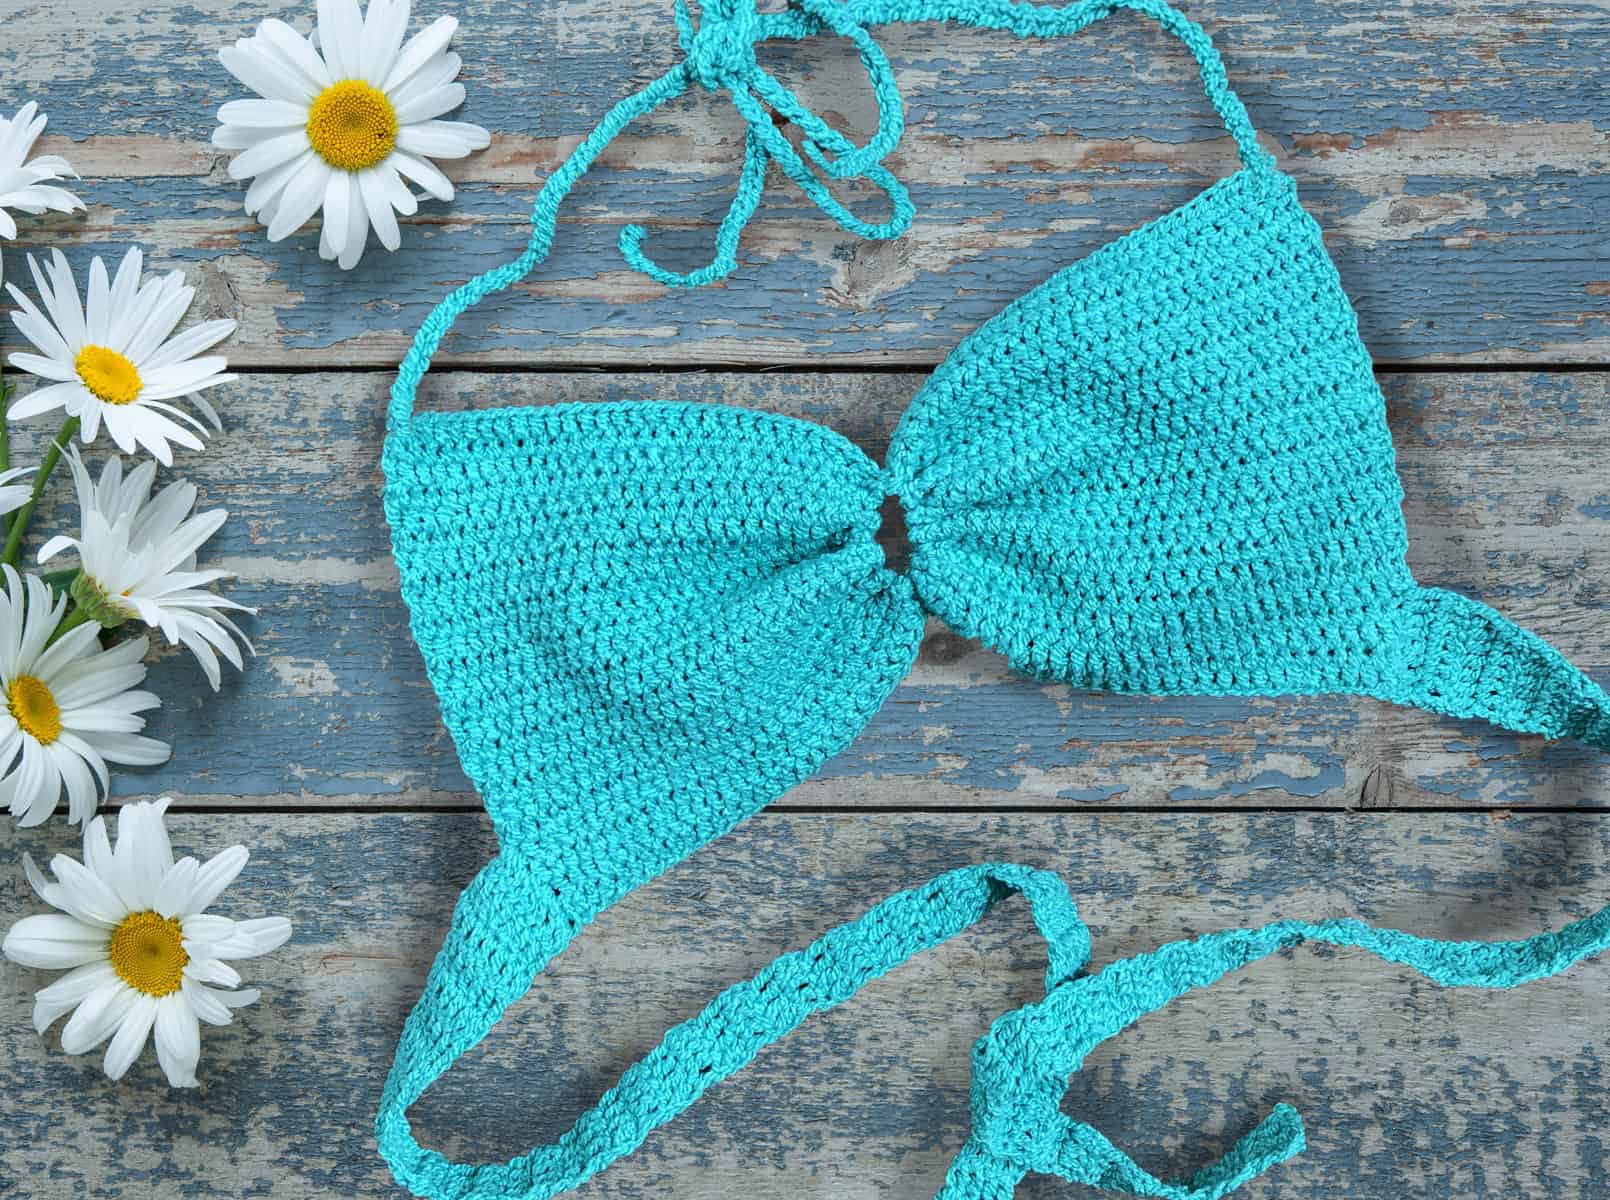
So here is another great bikini top that can also be worn inside out and transformed into a stunning crop top.
And remember to always use the right type of yarn for swimwear to extend the comfort of wear and most importantly so that it does not sag or carry water weight.
Related Post:
CROCHET BRALETTE DESCRIPTION
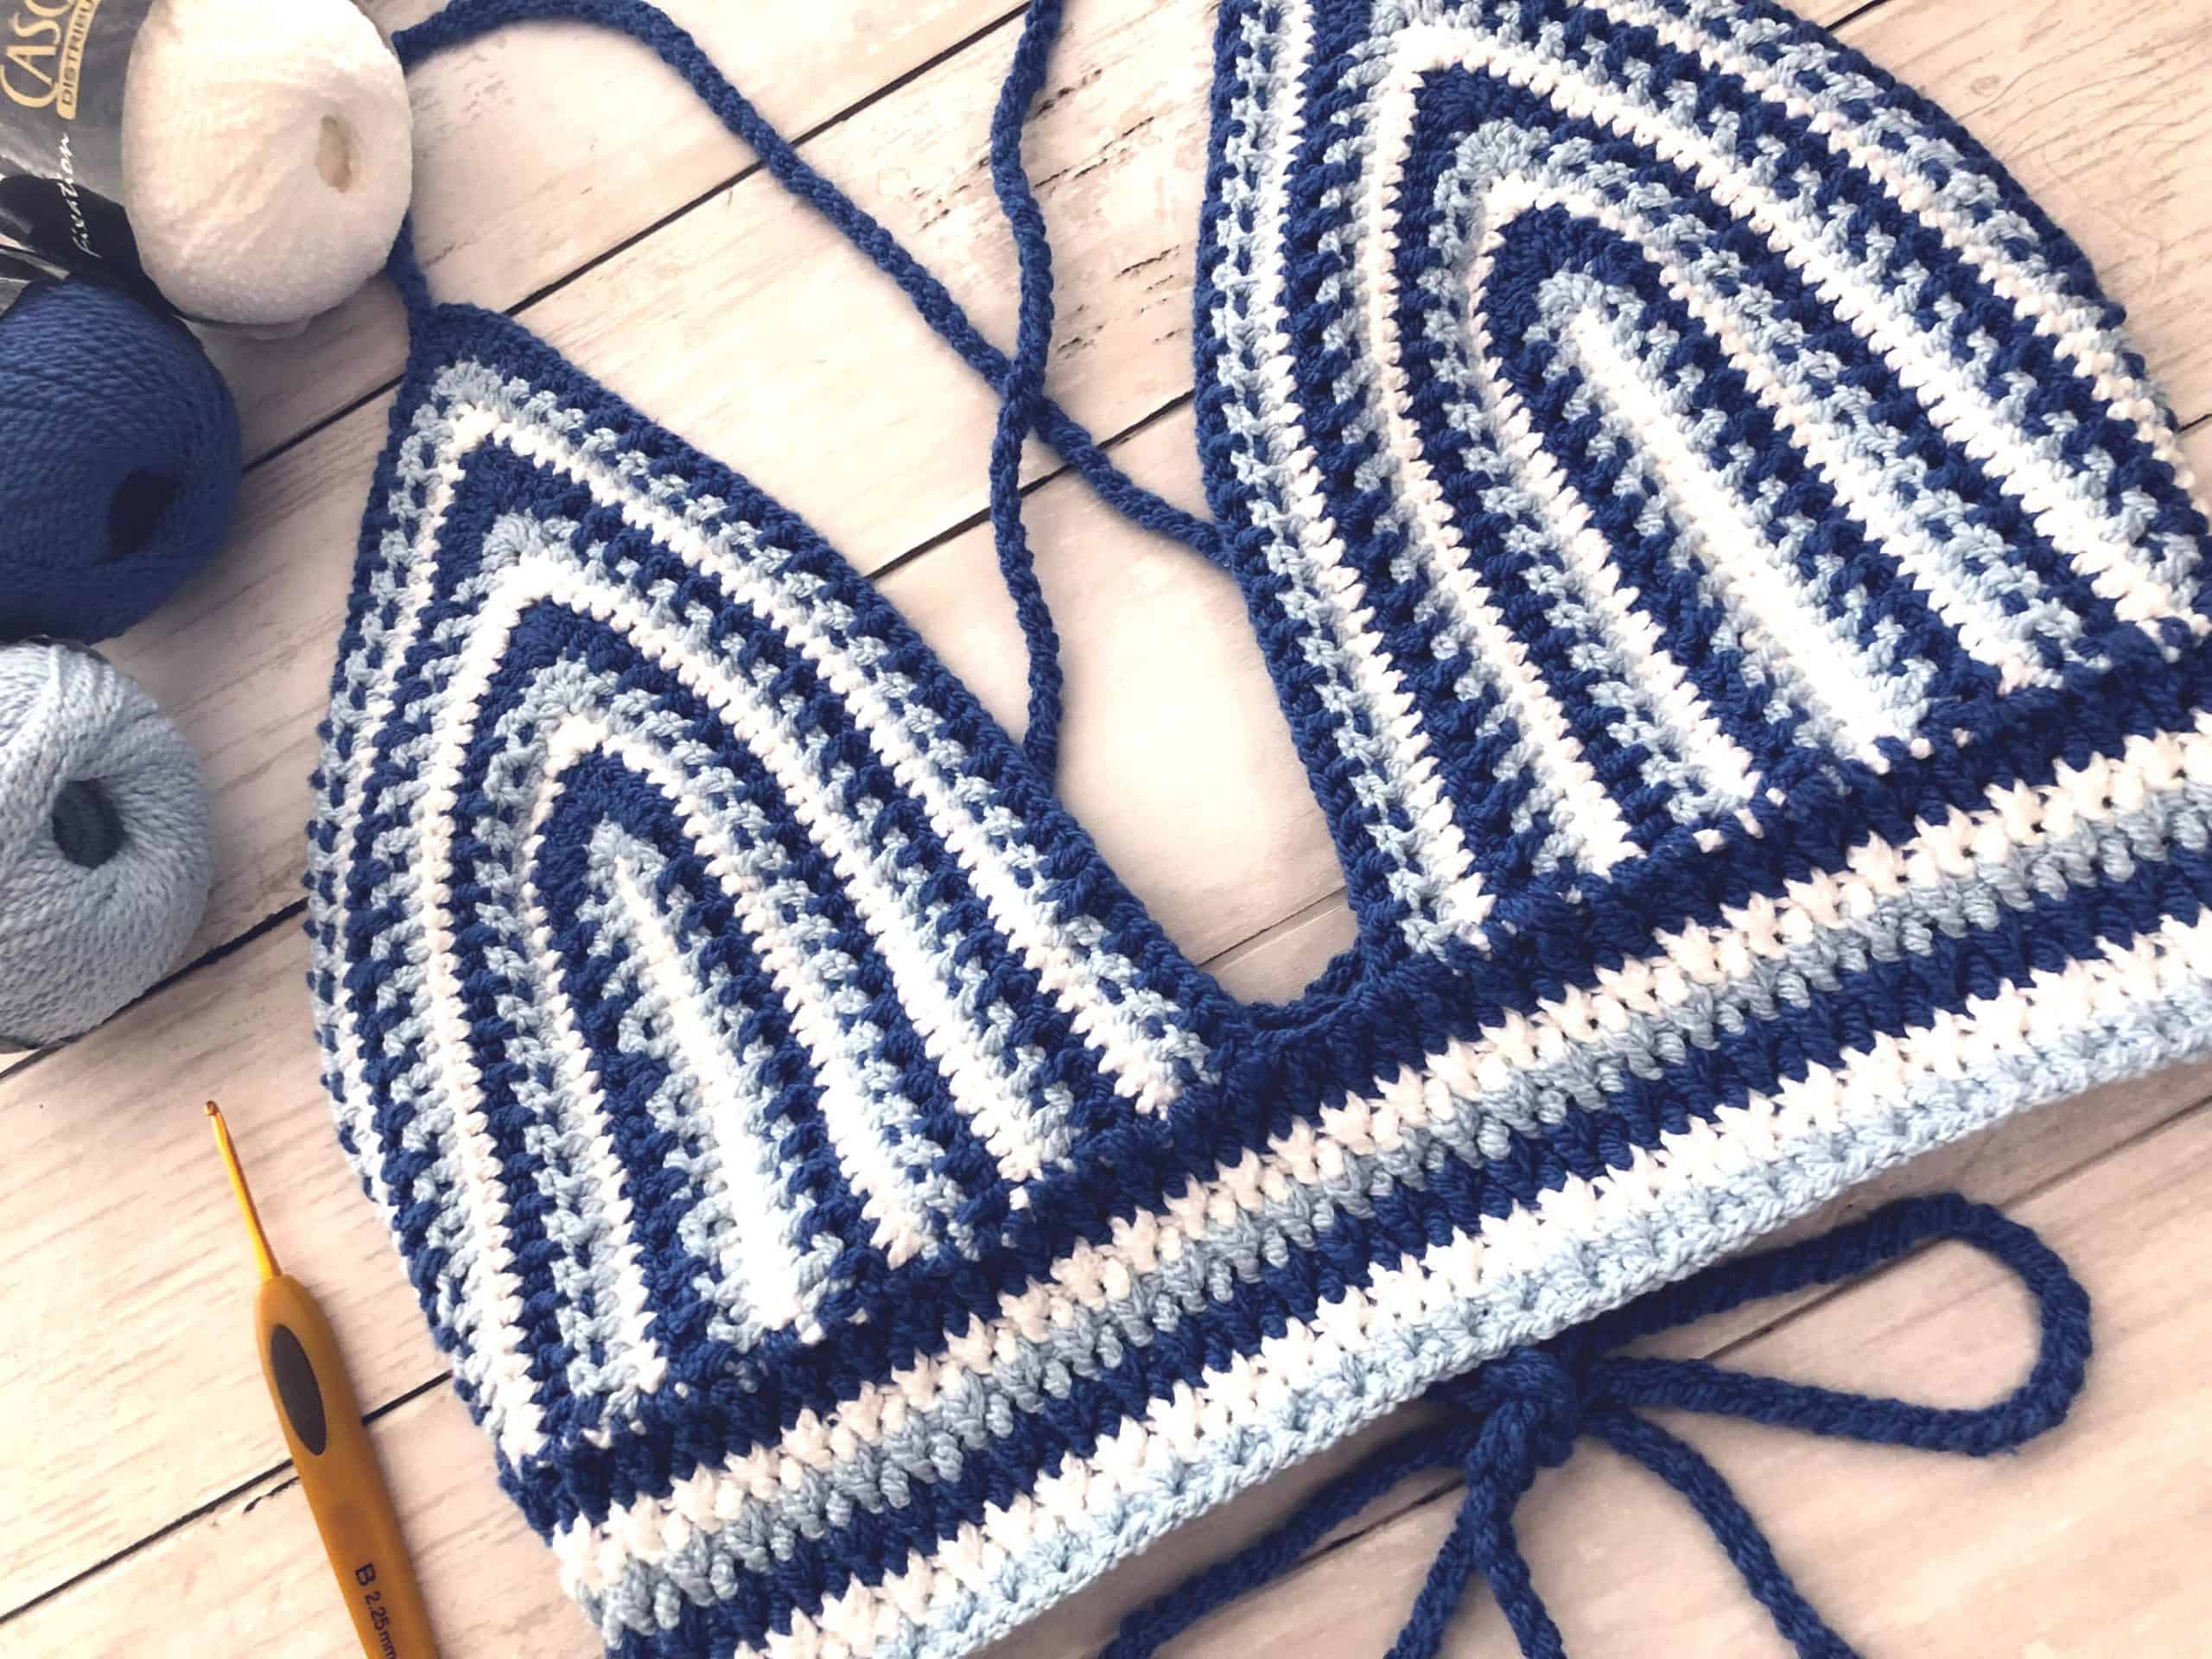
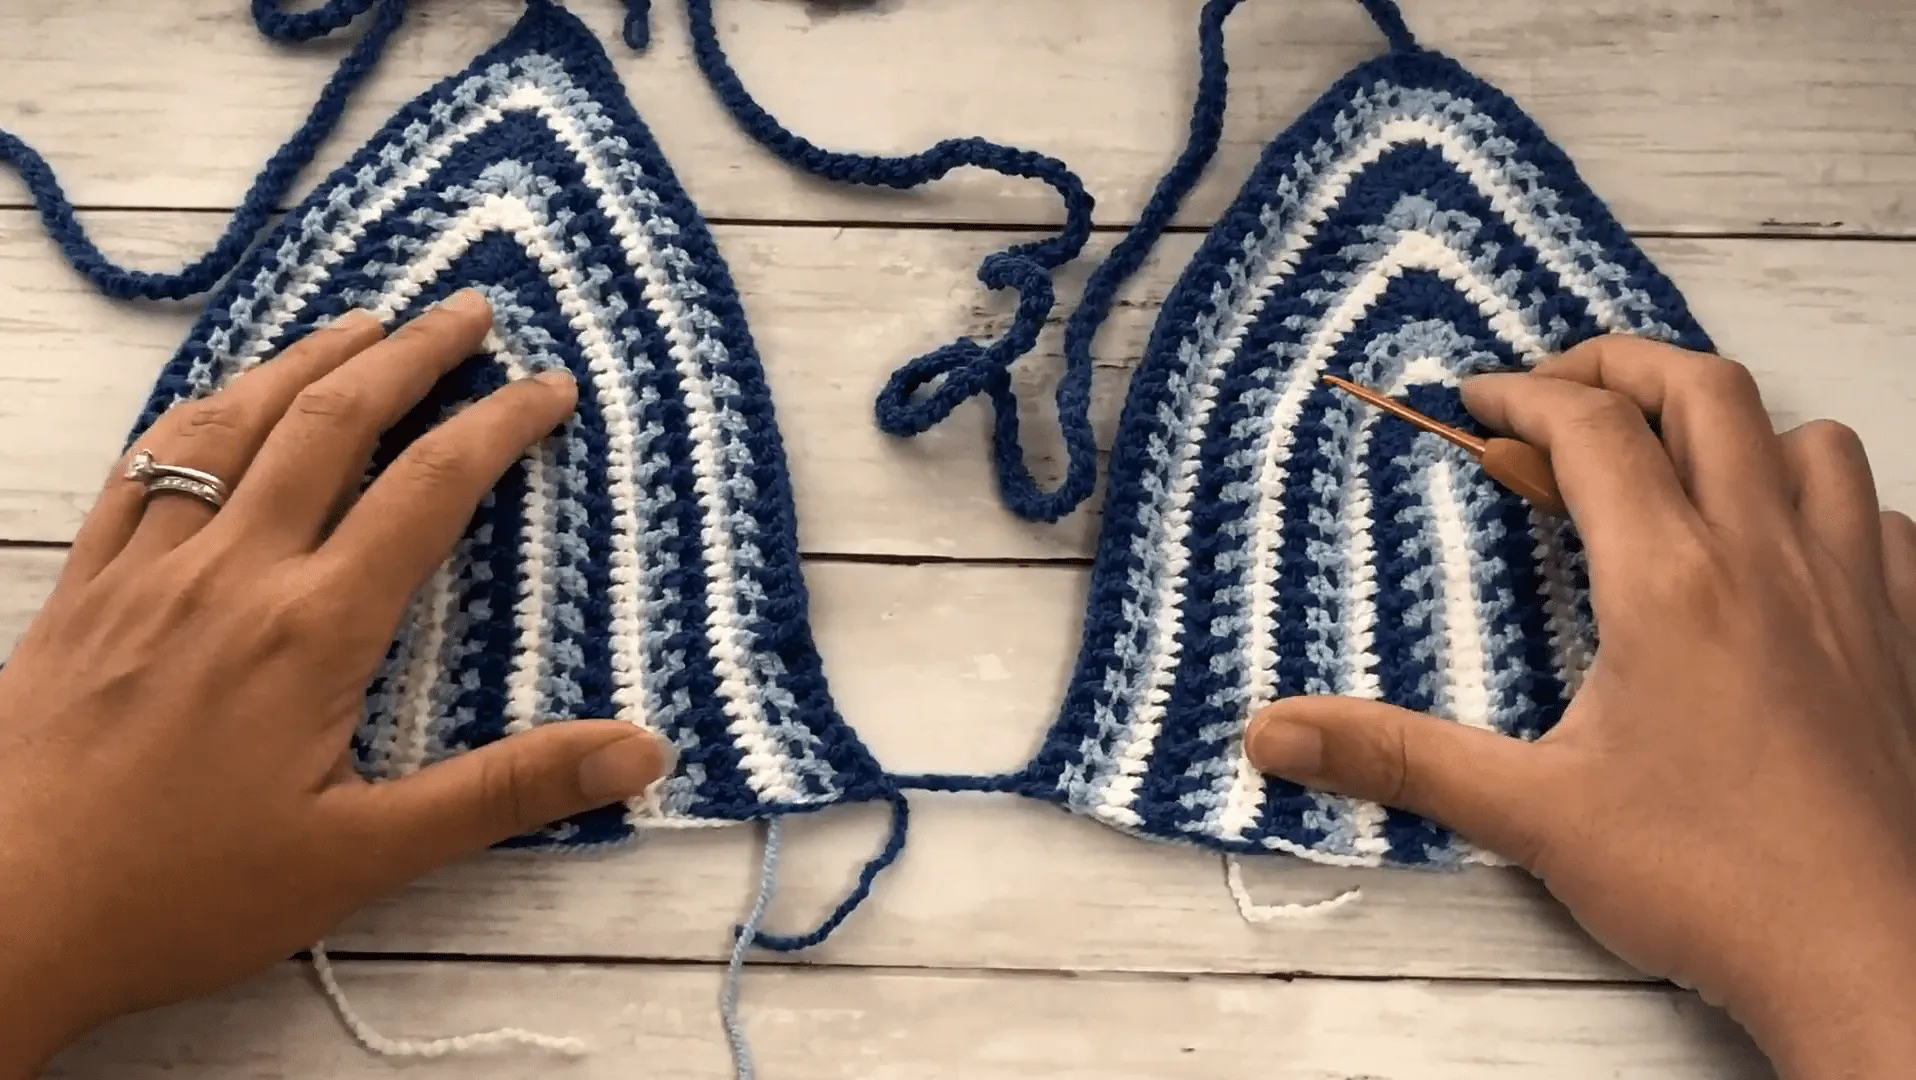
This bralette is worked up on each cup individually using half double, double, and front and back post double crochet stitches while adding ties to the last row. Then joined in the middle and wrapped with pretty alpine stitches.
Cup sizes and body lengths are easily adjustable to fit perfectly when measured along. And if you ARE measuring along, see how much yarn you actually need with our yarn calculator here.
Or check out more Crochet Tops here.
Things to Note:

- Prepare gauge to get the right size.
- Do note this top is stretchable when using mentioned yarn
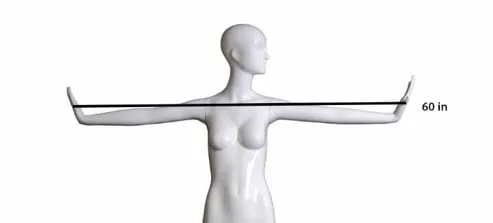
- There is a negative ease of 2 in/ 5cm when using the recommended yarn
- Measurements above are for the finished bralette and not the actual body size
- Adjust to your size accordingly.
- Always prepare a gauge to get the best fit.
- Model is wearing Cup size C
- Yarn color reference: W for White, LB for Light Blue, DB for Dark Blue
- Pattern consist of the Alpine and Shell Stitch
- Refer to the measurement chart here
- Abbreviation page available in English US format
- If you would like extra support for bigger cups, you can add an elastic rubber band around the bottom band and paddings like these
If you would like to receive free written patterns and video tutorials straight into your inbox, just click Subscribe above to get into our mailing list.
Mykonos Bralette Crop Top Pattern
Instructions
PART 1: Cups
1. Foundation: With the W yarn, Ch 24+ 1 for all sizes
2. Row 1: From the 2nd Ch from hook, work 1 Hdc and cont to Hdc across the chain. On the last St, drop W yarn and switch to LB yarn. See Video on how to switch yarn colors. Ch 1, turn [24 sts]. (Do not bind off)
3. Row 2: Work 24 Hdc Sts, turn to the post side and work 5 Hdc group St (Shell Stitch) on the last Hdc post, Cont to work 24 Hdc Sts on the chain side. On the last St, drop LB yarn and switch to DB yarn. Ch 1 turn
4. Row 3: Dc on the 1st St, *(FP Dc, Dc next St). Ref image 1 below. Rep (*) until the last St before the Shell St, work 2Dc, Dc, Shell St, Dc, 2Dc, rep (*) until the 2nd last St, Dc on the last St and switch to W yarn to close. Ch 1 turn
5. Row 4: Hdc until the last St before the Shell St, work 2 Hdc, Hdc, Shell St, Hdc, 2 Hdc, Hdc remaining Sts. On the last St, drop W yarn and switch to LB yarn. Ch 1, turn.
Note: When picking up yarn, draw up loosely from the last drop point.
6. Row 5: Hdc until the last St before the Shell St, work 2 Hdc, Hdc, Shell St, Hdc, 2 Hdc, Hdc remaining Sts. On the last St, drop LB yarn and switch to DB yarn. Ch 1, turn
7. Row 6: Dc on the 1st St, *(BP Dc, Dc next St). Rep (*) until the last St before the Shell St, work 2Dc, Dc, Shell St, Dc, 2Dc, rep (*) until the 2nd last St, Dc on the last St and switch to W yarn to close. Ch 1 turn
8. Row 7 – 8: Rep Rows 4 – 5. Cup A may proceed to Step 11.
9. Next Rows: Rep Row 3. B Cup may proceed to Step 11
10.Next Row: For the rest of the Cup sizes, cont to increase A/B/C/D/E/F : 0/0/1/2/3/4 more rows following the sequence ie Row 4, 5, 6, 4, or until you reach your preferred size. (Taking into account that we will be adding ties to the last row)
11.Last row: Complete the last row until just before the Shell St, work 2 Sts, 1 St, next we will add ties. (Sts refer to Hdc or Dc depending on which row you are on)
12.For the next St, Yo, insert hook and with the other hand, Pull 2 arm’s length worth of yarn starting from the tip of the cup 4 times.
13.Fold by dragging more yarn along the pulled yarn. Next insert your hook through the next St, draw up the double yarn, Ch 1
14.Cont to work up double yarn chains until the end.
15.Insert hook through the last St at the end of the tie and draw up a loop
16.Cont to (Hdc each St) or (Dc 2, Dc FP) across each St.
17.Bind off
18.Rep Part 1 Step 1 – 16 to make a second cup.
19.On the last St of Step 16, Ch 5
20.Slst onto the first St/ Corner side of the first cup (RS).
21.Bind off
PART 2: Bottom Band
1. Foundation row: Turn work upside down, and insert hook through the corner side of the cup. With the last yarn color, chain the total length of half the cup.
Note: Count the number of rows on half a cup. Work 1 chain for every Hdc row and 2 chains for every Dc FP row. For Cup C, I have made 16 chains.
2. Bind off and rep on the other side, + 1 for the turning chain.
Alpine Stitches starts here
3. Row 1: Hdc each Ch across. Cont to work 2Hdc sts on each Dc row, and 1 Hdc on each Hdc row. Ch 1 turn
4. Row 2: Dc on the first St, *(Dc FP, Dc on the next St). rep (*) across. The last St should be a Dc St, switch yarn to close. Ch 1 turn
5. Row 3: Sc each St across. Ch 1 turn
6. Row 4: Dc on the next 2 Sts, *(Dc FP, Dc on the next St). rep (*) across until the 3rd last St. Dc 2, switch yarn to close. Ch 1 turn
7. Row 5: Sc each St across. Ch 1 turn
8. Row 6: Rep Rows 2 – 5 for as many rows preferred. The image shows 6 Alpine rows total. (6 FP Dc & 6 Sc Sts)
9. Bind off
PART 3: Side Loops
1. Turn your work to the (RS) side of the bottom band and with the last yarn color, insert hook through the 1st St at the top corner and Sc
2. Work 2 Sc on each Dc row and 1 Sc on each Hdc row. Ch 1 turn
3. Sc, Ch 3, Sk 1, Sc 3. (or Cont to Sc until the middle of the band), Ch 3, Sk 1, Sc 3. (or Cont to Sc until the last row), Ch 3, Sk 1, Sc, Bind off (You can make as many loops as you pref)
4. Rep on the other side.
5. Bind off and weave in all loose ends.
PART 4: Weave in ties
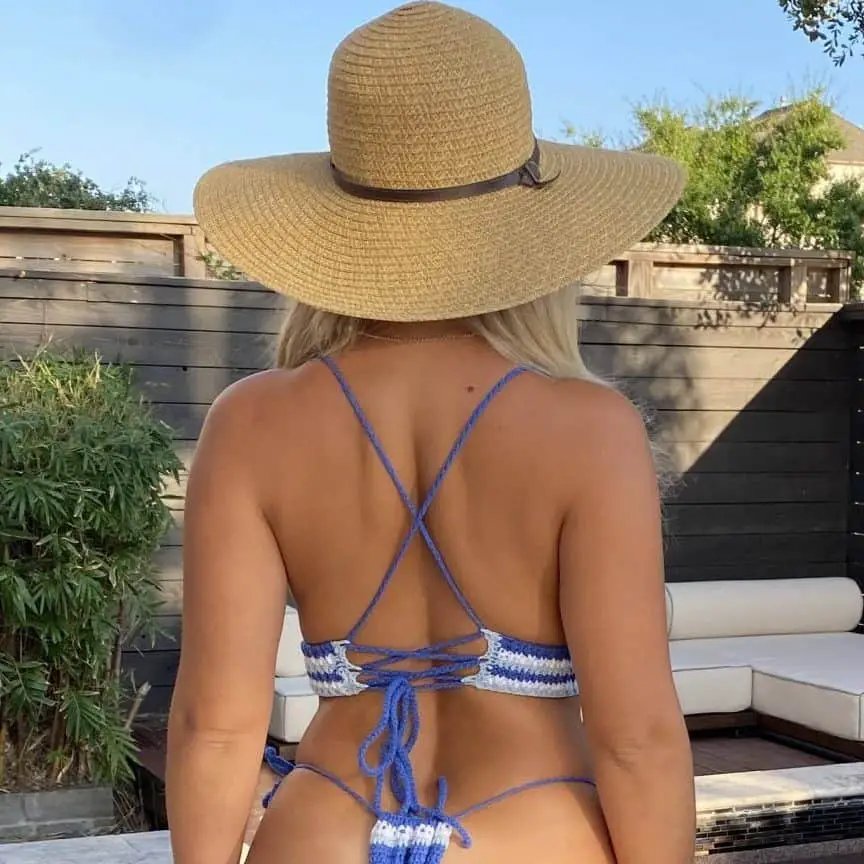
Weave in ties by inserting the ties through the loops from the inside out, starting from the top, then across to the middle, and back again working your way down.
END
If you are looking for the entire tool used to make this Mykonos Crochet Bralette Bikini pattern, check them out here below:
♥ 2.25 mm Clover Amour Crochet Hook
♥ Cascade Fixation Yarn
♥ Mykonos Bralette Crop top Pdf Pattern file (Filled with guided pictures)
Optional:
♥ Elastic rubber band
♥ Shaper Paddings
If you would like to receive free written patterns and video tutorials straight into your inbox, join our mailing list now.
Don’t forget to tag me on Instagram and Facebook @theknottylace, I would love to see your work!
Happy hooking
Shaz 🧶


