
Things to Note
· Prepare gauge to get the right size.
· Do note this top is stretchable when using mentioned yarn
· The turning chain does NOT count as a stitch unless mentioned otherwise.
· Refer to the measurement chart here
· Abbreviation page available in English US format
· If you would like extra support for bigger cups, you can add an elastic rubber band around the bottom band and paddings like these
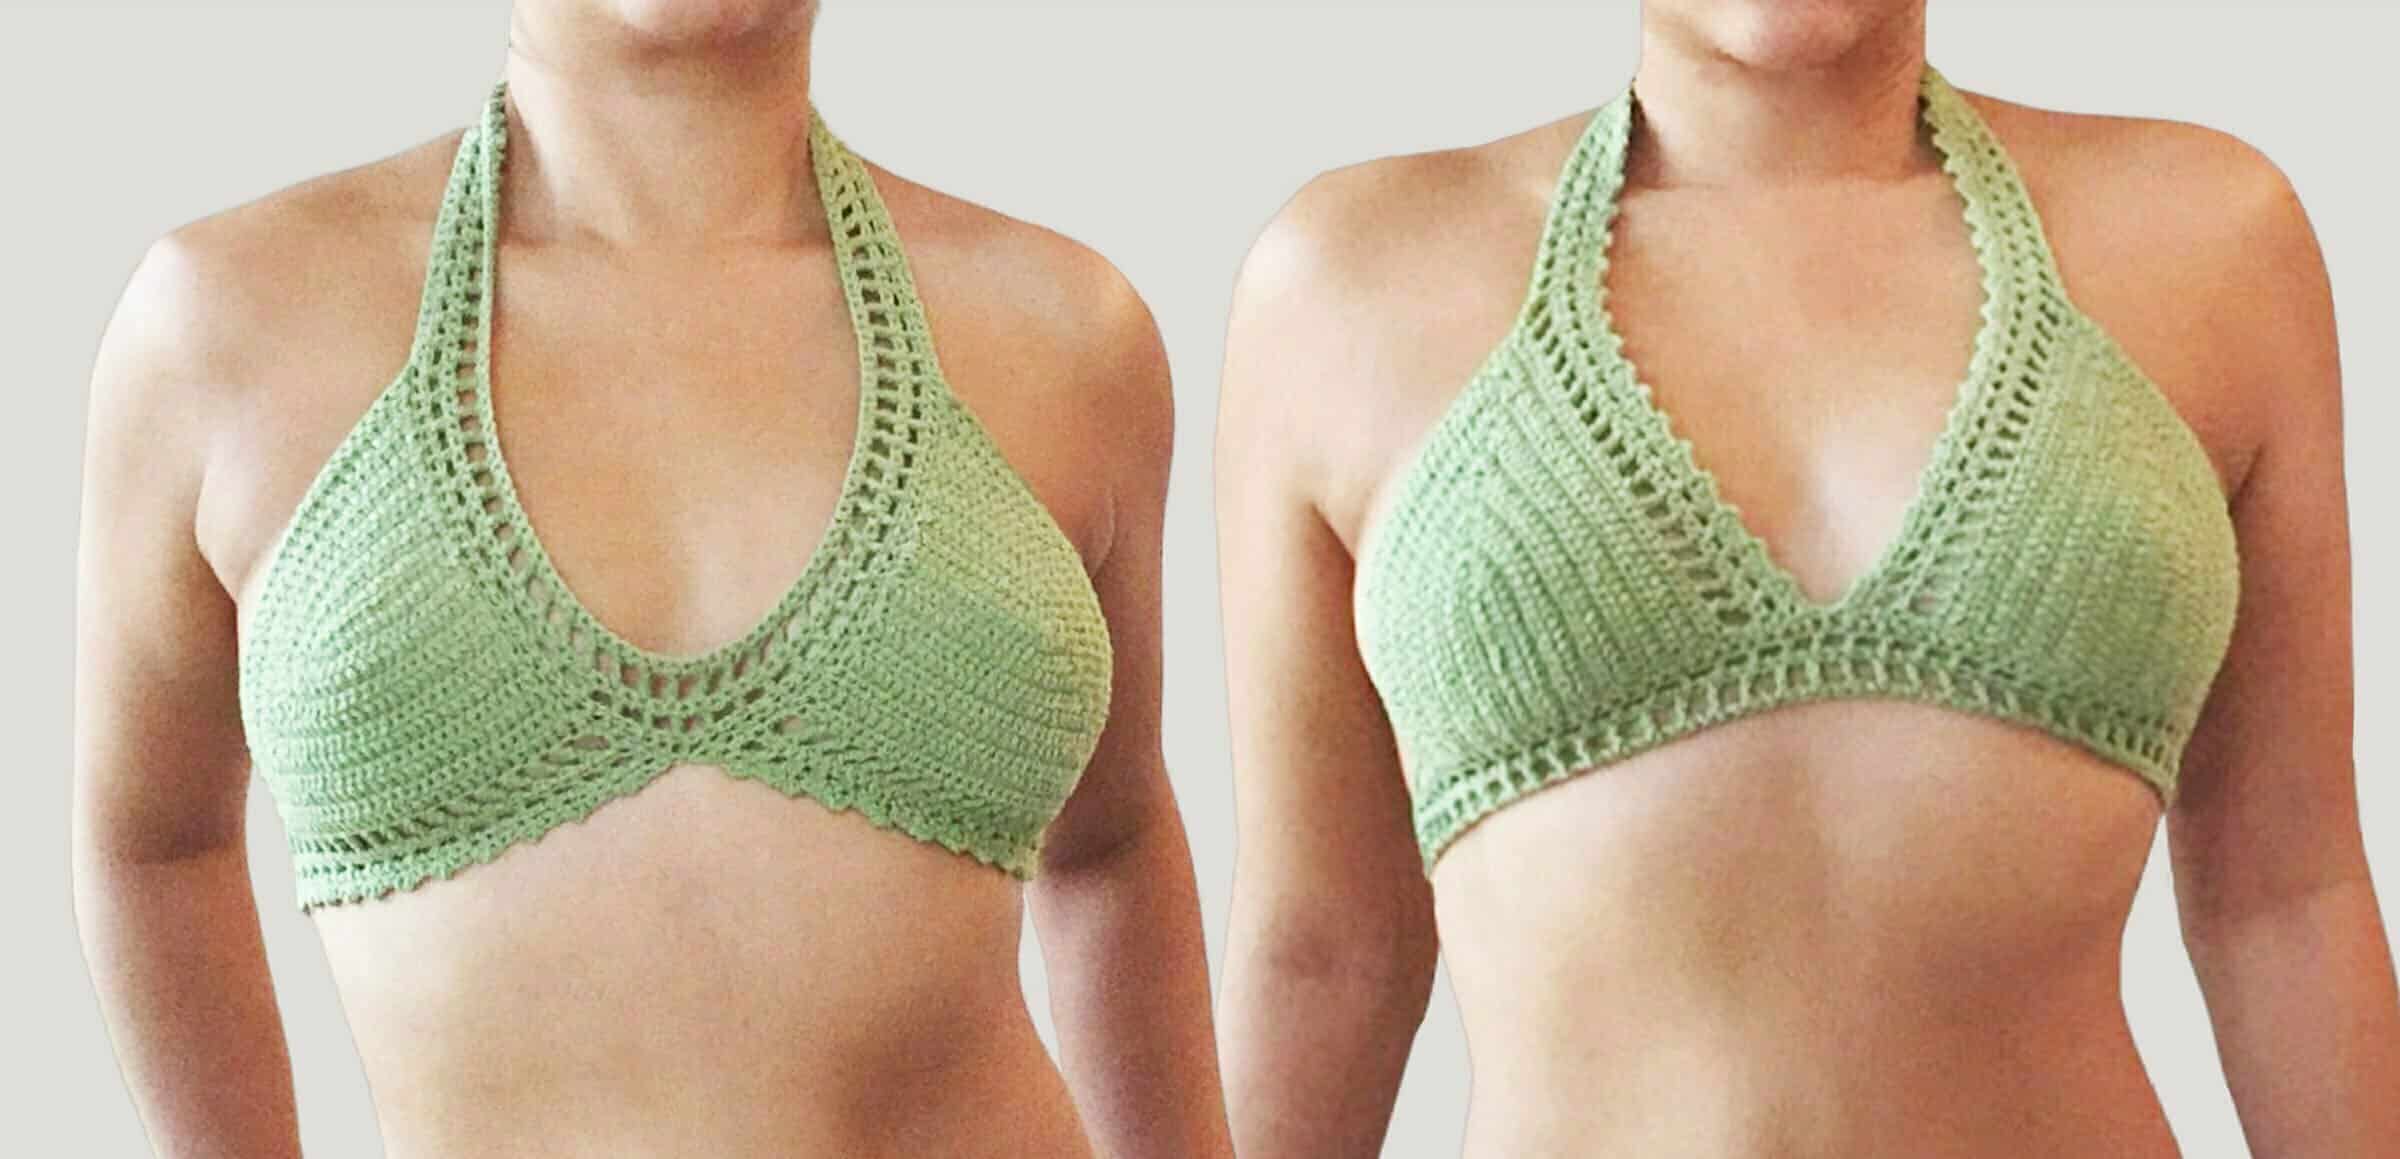
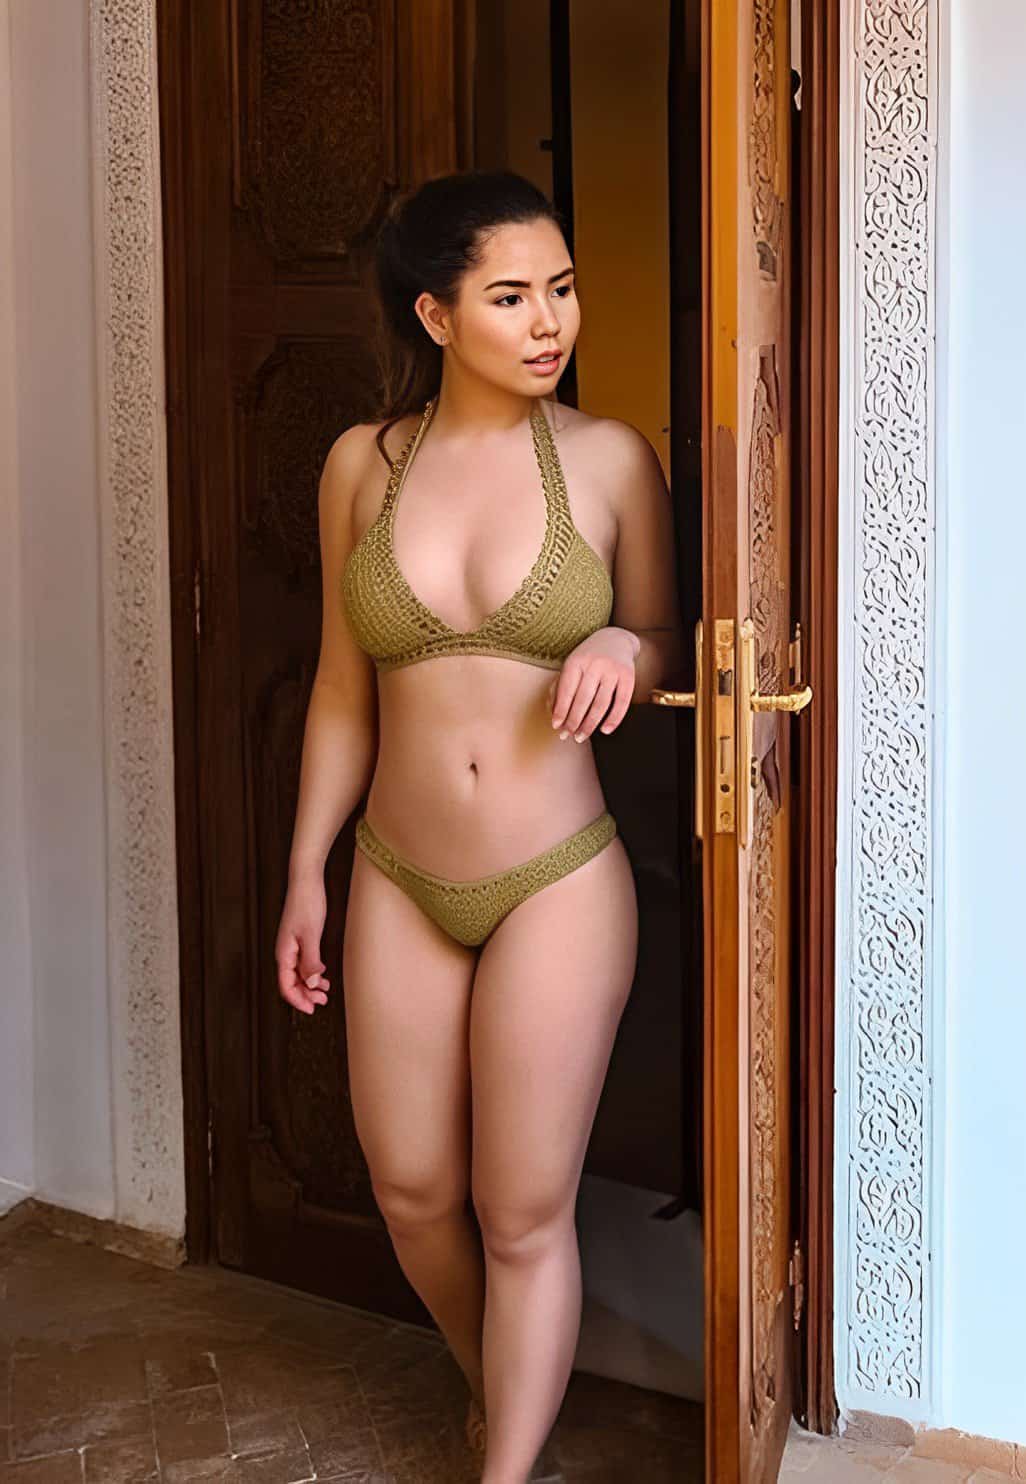
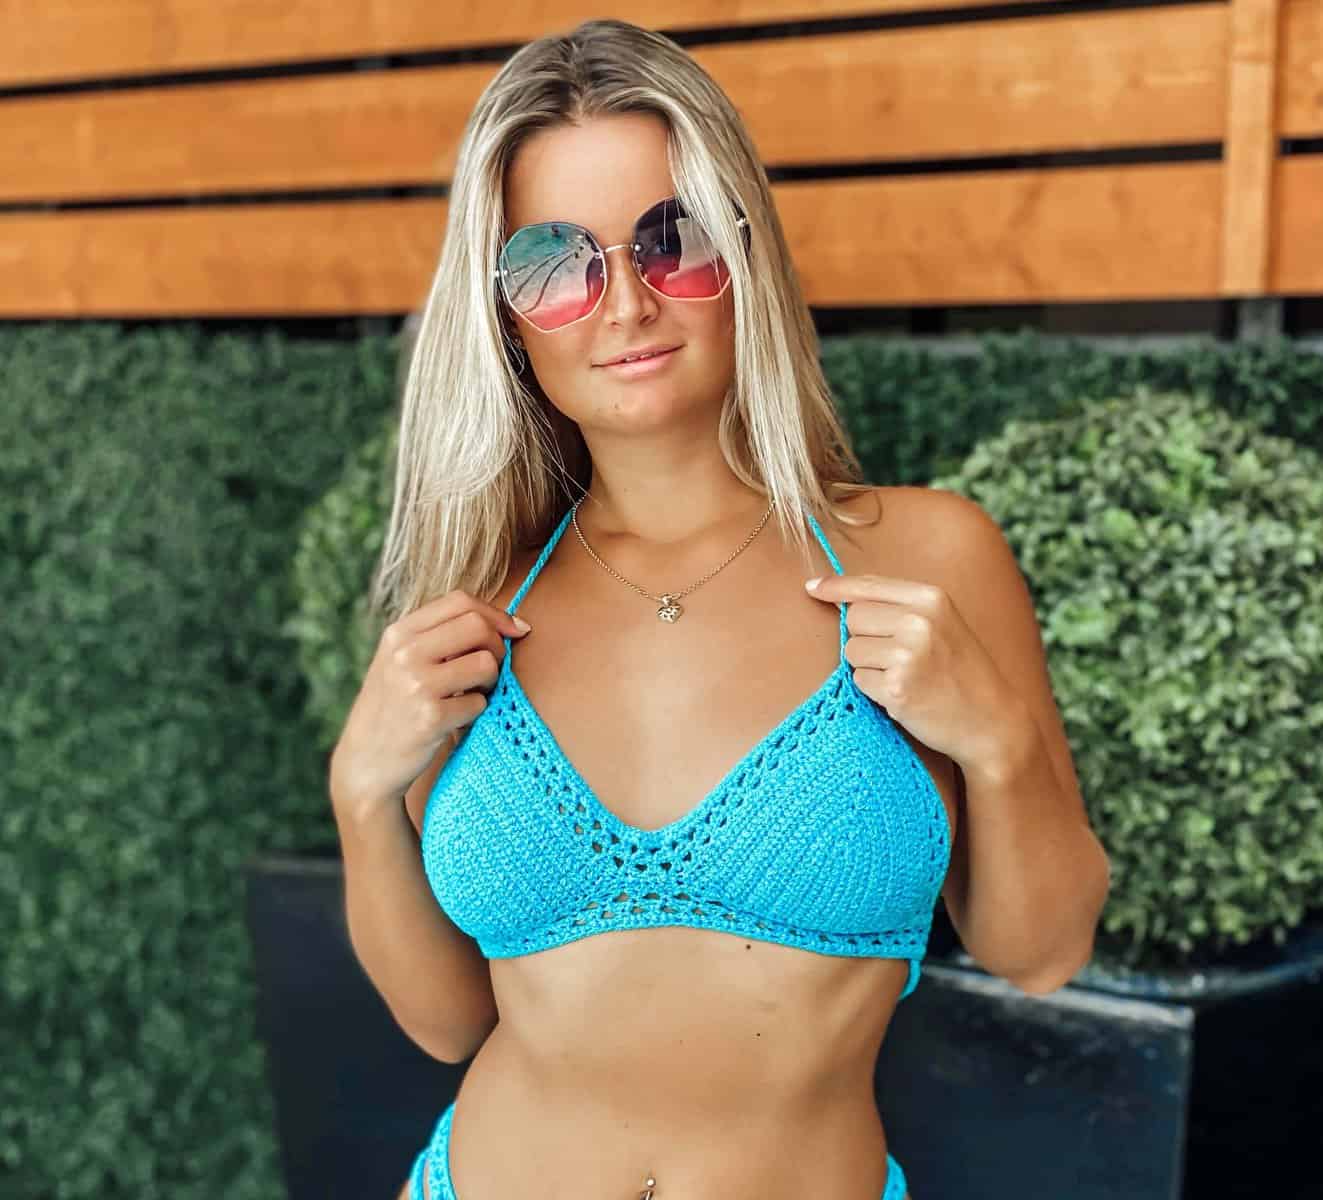
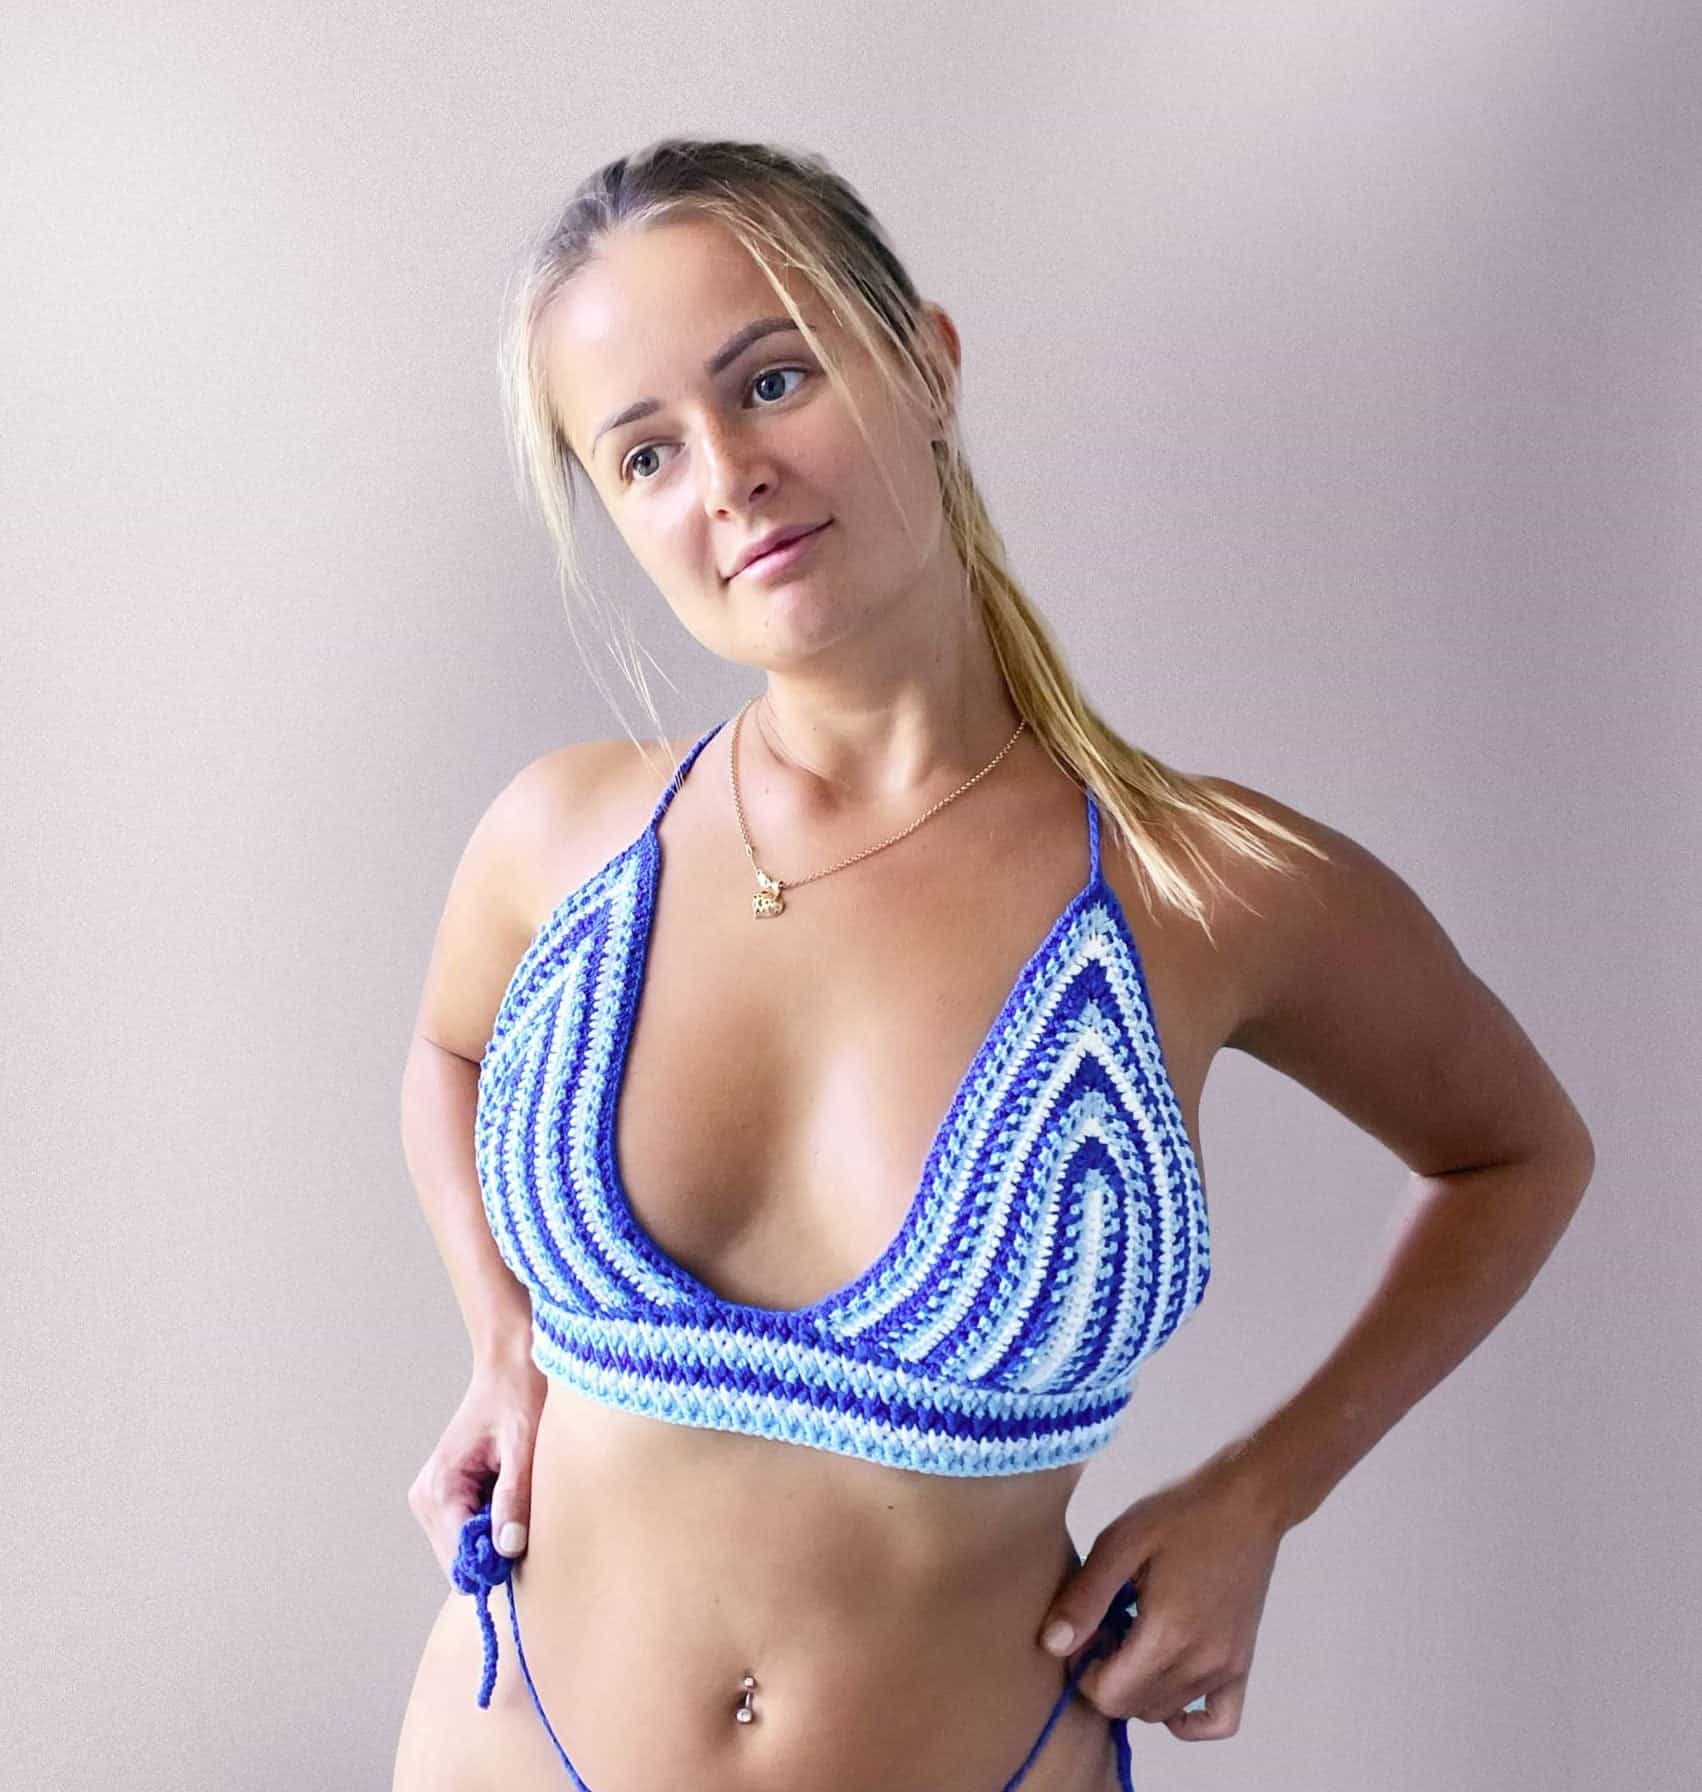
Sienna Bralette Crochet Bikini Top Pattern

Part 1: Making the Cups (see Video tutorial)
1. Foundation row: Chain 15 for all sizes
2. Row 1: On the 2nd Ch from hook, work a Hdc and Cont 13 more Hdc Sts on Ch, Ch 1, turn (14 Sts)
3. Row 2: Work 14 Hdc Sts, turn to the rows post and work 5Hdc group St on the last Hdc post, cont to work 14 Hdc Sts on the chain side, Ch 1 turn
4. Row 3: Hdc 16 Sts, work 5Hdc in the next st, Hdc 16 Sts, Ch 1, turn
5. Row 4: Hdc 18 Sts, work 5Hdc on next St, Hdc 18 Sts, Ch 1, turn
6. Row 5: Hdc 20 Sts, work 5Hdc on next St, Hdc 20 Sts, Ch 1, turn
7. Row 6: Hdc 22 Sts, on the next St, work 3Hdc in next st, Hdc till the end, Ch 1 turn.
8. Row 7: *(Cont to Hdc until the 1st St of the 3hdc group Sts, on the next St, work 3Hdcst, then Hdc till the end). Cont (*) for 1 [3/ 5/ 7/ 9/ 11] more rows. If you need a bigger size, cont to add as many rows needed but remember to reserve at least 1 in or 2.5 cm for the pattern rows.
9. Row 8: Once size is achieved Ch 1 turn, work Hdc Sts across until the 1st St of the 3Hdc grouped Sts, prepare to make ties.
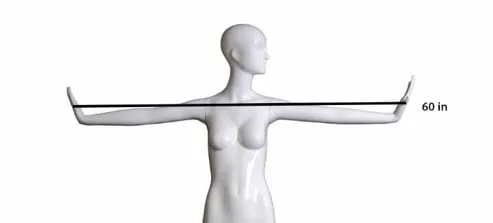
10. Make tie string here. On the next step, measure about 2 arm’s length of yarn (approx 60”) and pull another 60”. Fold in half
11. Insert hook through the next St , and draw up both yarns and Ch 1. Work 1 Hdc in the same St. Next work up chains with both yarns till the end.
12. Insert hook through the 2nd chain from work and draw up a loop, work a Hdc on the next St on the cup row and across the row. Ch 1 turn
Part 2: Cup Pattern
1. Row 1: Work 1 Tr St on the first St, *(Ch 1 , Sk 1 St, Tr St) rep(*) until you have reached the top of the cup. Cont (Ch 1 , Sk 1, Tr St) for another 10[ 10/ 10/ 12/ 12/ 12] more sets.
2. Next, Ch 1, Sk 1 Ch, Dc, Ch 1, Sk 1 Ch, Hdc, Ch 1, Sk 1 Ch, Sc, Ch 1, Sk 1 Ch, Sl St, Ch 1 turn
3. Row 2: Sc each St down, Ch 1 turn
4. Row 3: Work 1 Hdc St on the first St, *(Ch 1, Sk 1 St, Hdc) rep (*) until you have reached the last 5 Sts. Next Ch 1, Sk 1 St, Sc, Ch1, Sk1 St, Sl St, Ch1, turn
5. Row 4: Sc each St down, Ch 1 turn
6. Row 5: Picot stitch row. Work *(3 Sl Sts, Ch 5 Sl st on 5th Ch from hook) repeat(*) until the last St. Bind off
Repeat Part 1 and 2 to make a second cup.
PART 3: Connecting Cups
Turn to the bottom corner of the cup with no pattern, Make bottom tie string
1. Prepare yarn and pull two arms length worth of yarn (see image 1) or approx. 60” of yarn 4 times. Fold in half you should have 120” of double yarn. Insert hook through the last St (see image 3 marked x) and Pt both yarn end and Ch 1. Complete a double yarn chain until the end. Finished length about approx. 28 in / 71 cm. You can make the ties longer if you pref. (See Video: How to make ties)
2. Row 1: Insert hook through the first rows post (image 3 marked x) and pick up yarn and work 2 Sc under the cups on each rows post.
3. At the end of the Hdc row, cont to work 3 Sc on the Tr St post, 1 Sc, 2 Sc, Sc 2. Join second cup by working Sc 2 into the first picot St and next Sc st, 2 Sc, 1 Sc, 3 Sc, and cont to work 2 Sc Sts in each rows post until the end of second cup.
4. Pull two arms length worth of yarn (see image 1) or approx. 60” of yarn 4 times. Fold in half you should have 120” of double yarn. Insert hook through the last rows post and Pt both yarn end and complete double yarn chain till the end.
5. Row 2: Measure approx. 6 [7/ 8/ 9/ 10/ 10] in or 15 [18/ 20/ 22/ 24/ 24] cm of un-stretched bottom ties and insert hook through the chain and Ch 1. Working towards the cups, work 1 Hdc through the same St, *(Ch 1, Sk 1 , Hdc), repeat(*) across the entire until you have reached the last St on the second cup. Measure approx. 6 [7/ 8/ 9/ 10/ 10] in or 15 [18/ 20/ 22/ 24/ 24] cm of un-stretched tie from the cup and place a SM. Rep (*) until SM, Ch 1 turn
6. Row 3: Sc each St, Ch 1 turn 6. (if you would like to add an elastic band at the bottom, this will be the time to do so)
7. Row 4: Work Tr St on the first St,*( Ch 1, Sk 1 St, Tr St) repeat* until the last St, Ch 1, turn
8. Row 5: Sc each St, bind off
9. Weave in all loose ends.

END
If you are looking for the entire tool used to make this Sienna Two Way Bralette crochet pattern, check them out here below:
· 2.25 mm Clover Amour Crochet Hook
· Cascade Fixation Yarn in Fern
· Sienna Two Way Bralette Pdf Pattern file with image-guided instructions
If you would like to receive free written patterns and video tutorials straight into your inbox, just click Subscribe to get into our mailing list.
And don’t forget to tag me on Instagram and Facebook @theknottylace, I would love to see your work!
Happy hooking
Shaz 


