If you would like to receive more stitch pattern tutorials just like this straight into your inbox, just Subscribe to get into our mailing list.
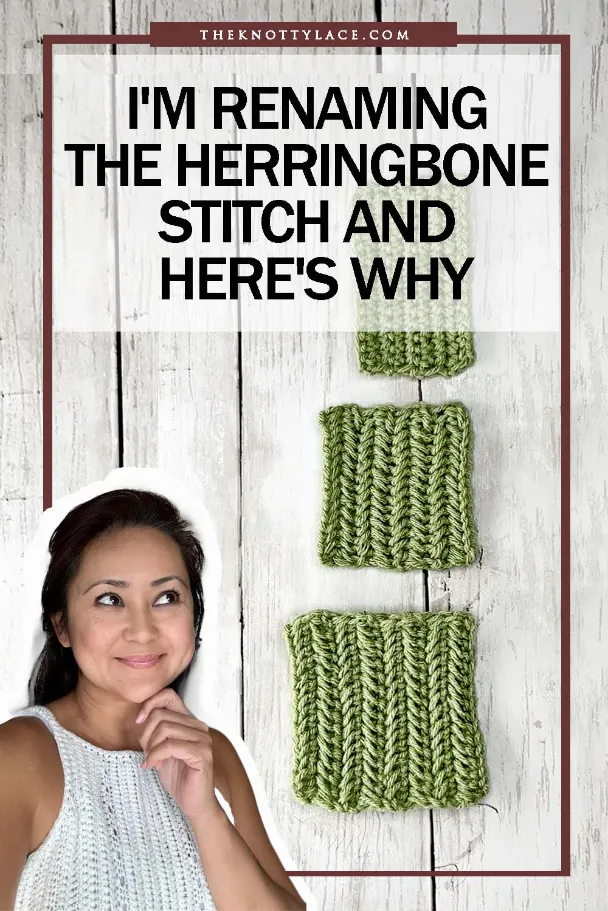
Herringbone comes in many variations

There are many different versions of the herringbone crochet stitch, but the two most common ones are the herringbone single crochet and herringbone half double crochet stitches.
Now, before we get into the stitch details, let me first share with you my two sense on what I think about this pattern’s variation.
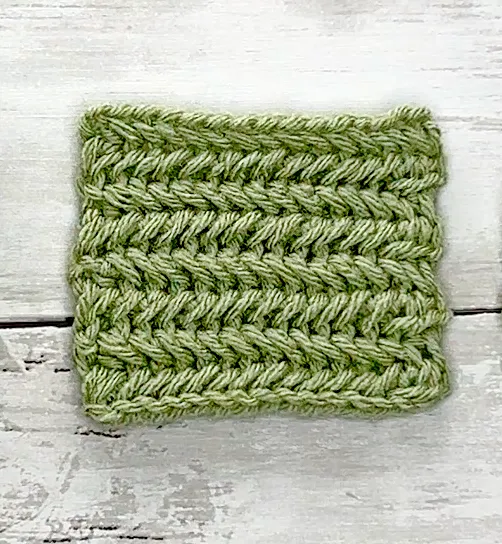
The herringbone single crochet stitch (according to most tutorials online) to me is the only one that truly resembles the V shape pattern.
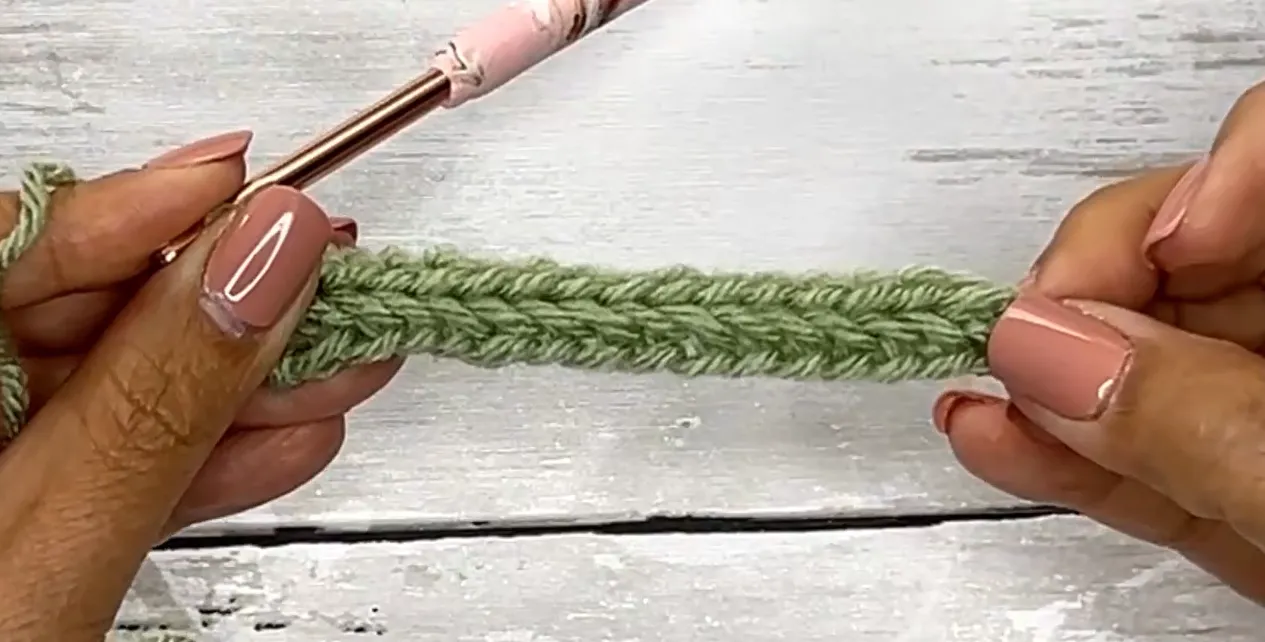
It is worked using three loops on the hook, which are then closed by one loop just like how you would work a regular half double crochet.
Having said that, I feel this should be called the herringbone half double crochet stitch instead due to the nature of the 3 loops on hook and the height.

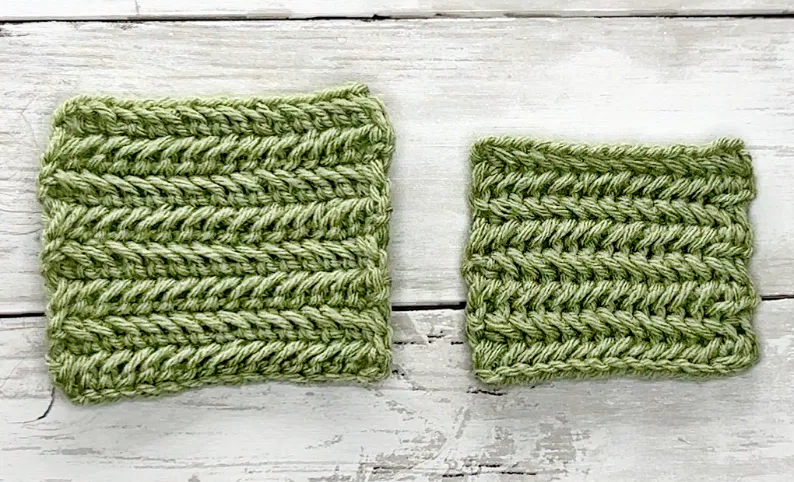
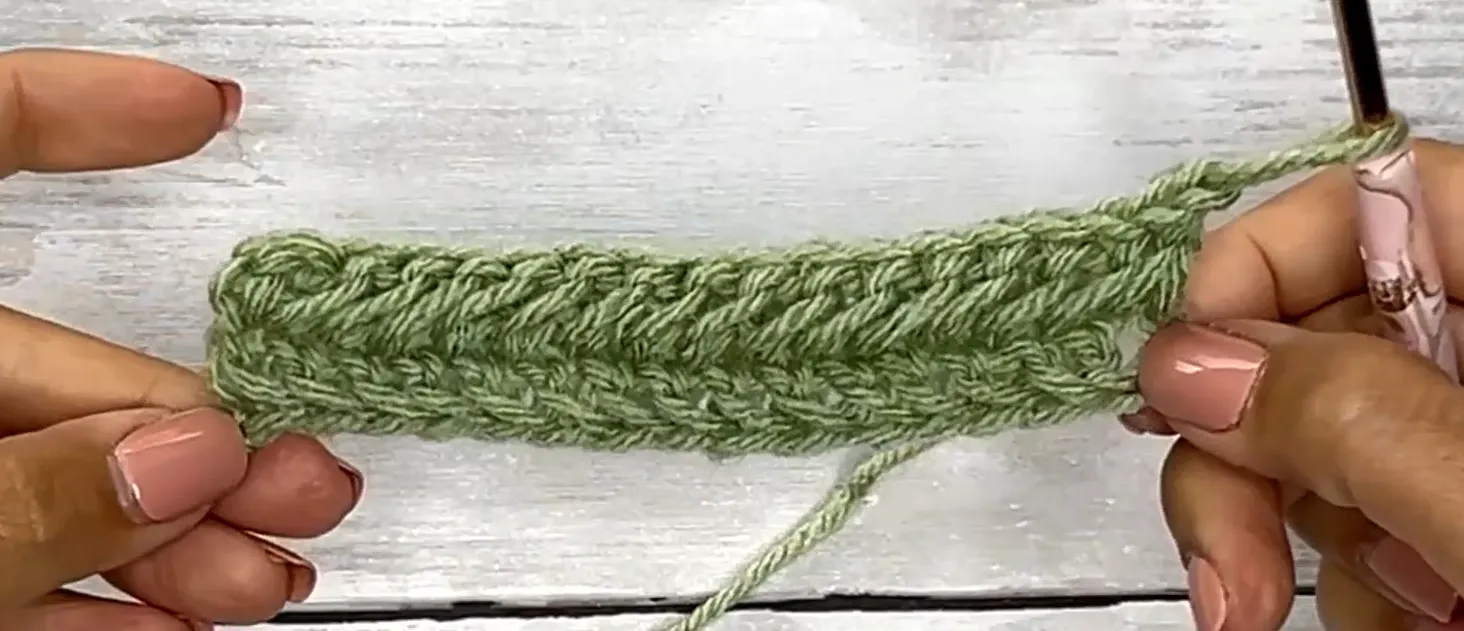
When I work a regular single crochet with the same number of rows, and the same hook size and yarn weight, it definitely works out much shorter as you can see in the image above.
Now I tried to work my version of the double crochet herringbone stitch pattern and what do you know, it worked out great! It gives a much taller stitch and is completed with 2 loops pulled through twice on the hook as you would a regular double crochet stitch.
My conclusion is, that this 3 loops on hook Herringbone Stitch pattern should be called the half double crochet version and not the Herringbone Sc St as commonly known.
Have a look at this off-shoulder sweater crochet pattern using the herringbone Hdc St (popular online version).
This version is done by slip stitching the first loop followed by a yarn over and pulling through 2 loops. Here is the video tutorial for a better understanding.
I think this is equally a beautiful stitch just not exactly herringbone if you know what I mean.
This stitch pattern was also used to make the Hug Me off-shoulder sweater that comes as a free pattern and a video tutorial made in all sizes. You can learn more here.

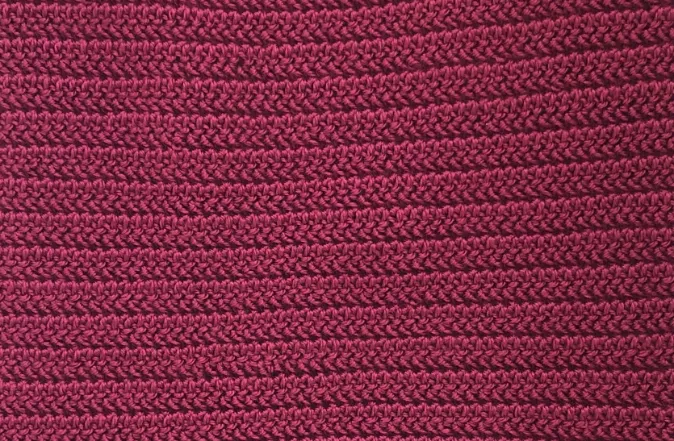
Another zig-zag pattern some crocheters refer to as the Half Double Crochet Herringbone Stitch like this one up here is what I call the Paddle Stitch pattern.
It does have those lovely diagonal stitches but did you know it is a lot poufier? It uses up more yarn per stitch than my version of the Hdc Herringbone Stitch.
If you like this stitch style, you can check out the step-by-step tutorial and what I made with it here.
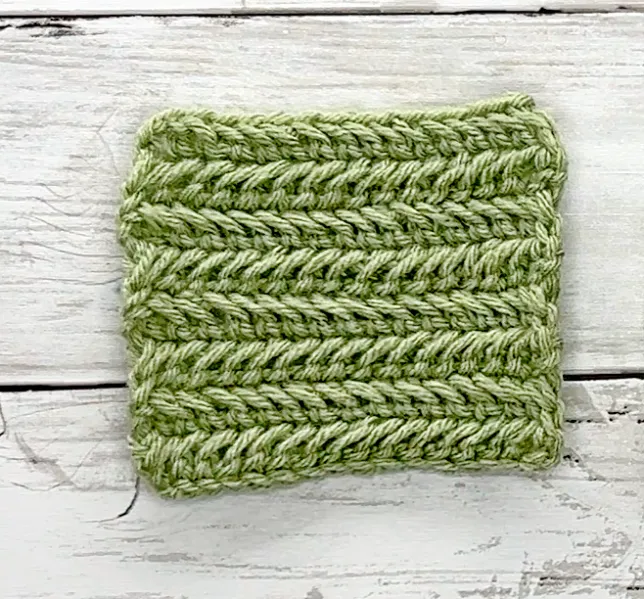
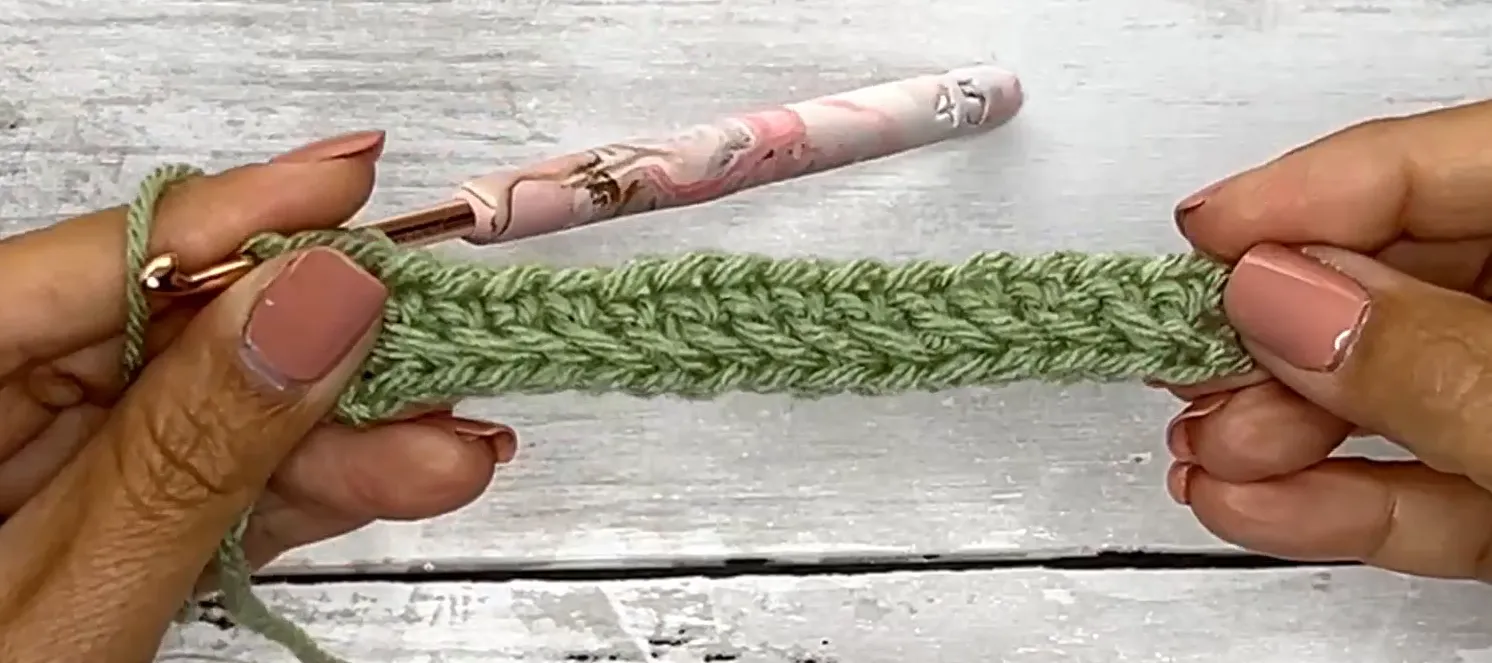
Herringbone crochet stitch Step-by-Step Tutorial
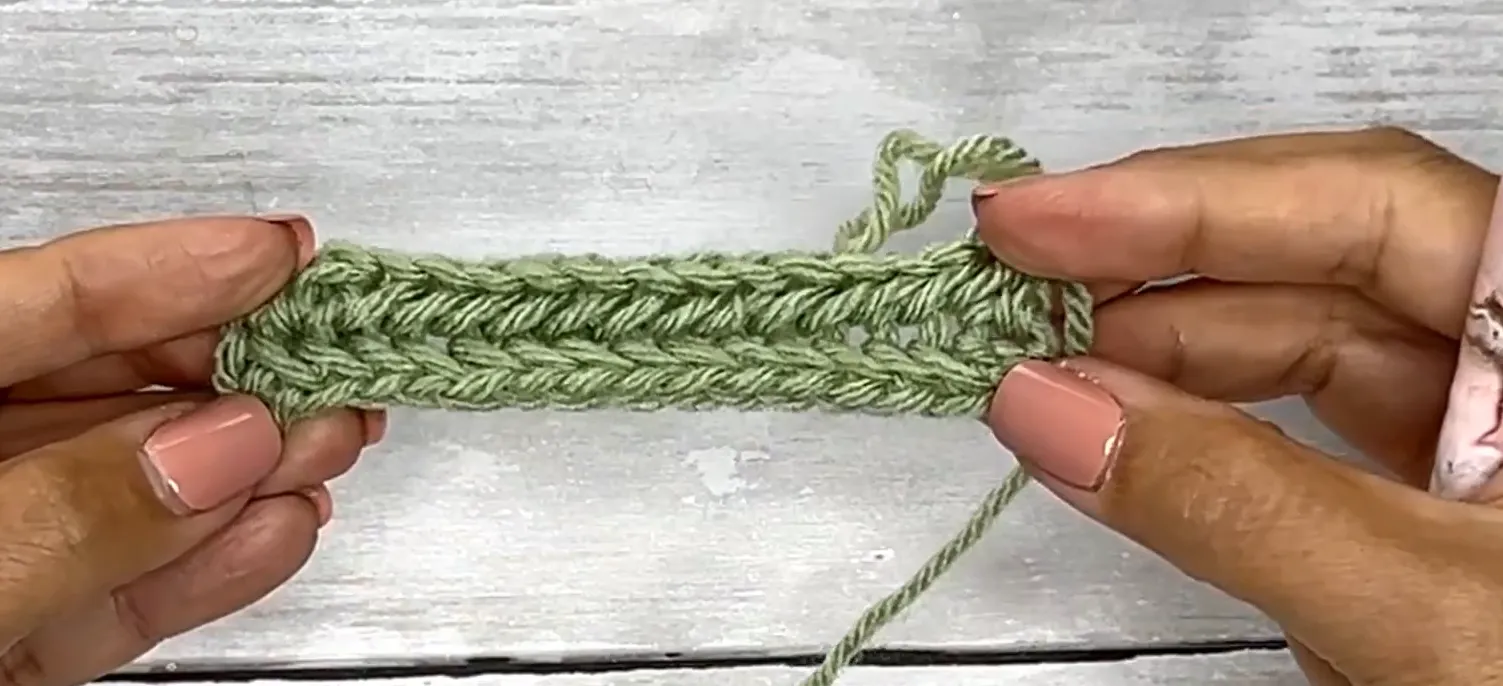
The Herringbone Stitch Pattern is worked in 2 repeat rows. The second row is worked in the back direction of the row and the first row will always be the right side or the front of your work when working the pattern.
Abbreviations and Written instructions in US terminology.
Basic Crochet Stitches
ch – chain
sl st – slip stitch
sc – single crochet stitches
hdc – half double crochet stitch
dc – double crochet stitch
yo – yarn over
hdc2tog – half double crochet two stitches together
dc2tog – double crochet two stitches together
Herringbone Abbrev
❌ HbSc – Herringbone Single crochet stitch – I will omit this
✔️HbHdc – Herringbone Half Double crochet stitch (My version)
✔️HbDc – Herringbone Double crochet stitch (My version)
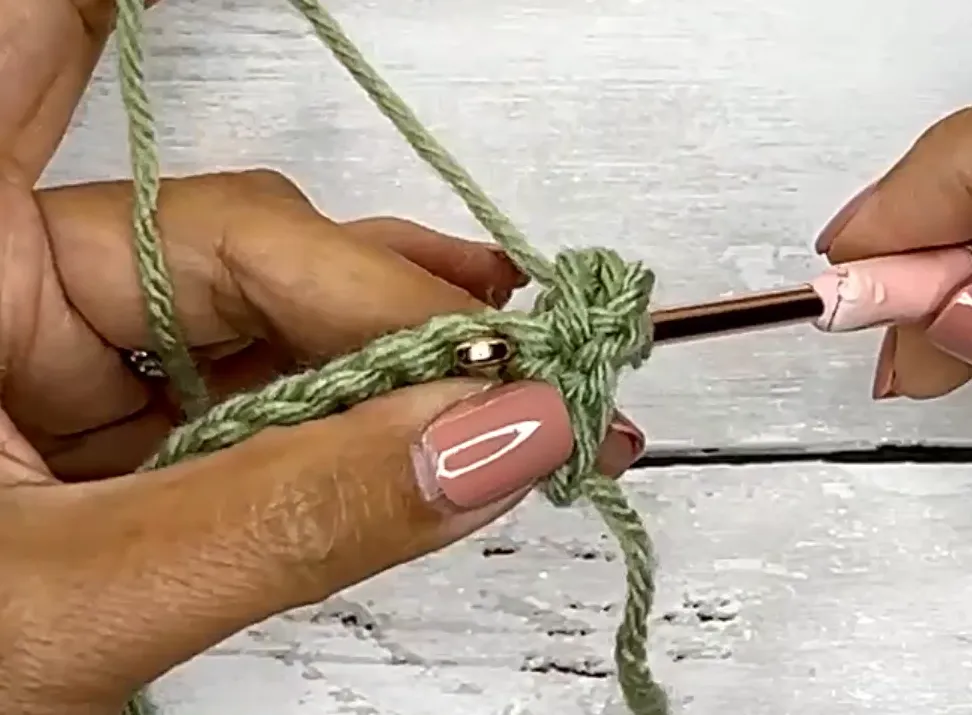
How To Crochet a Herringbone Crochet Stitch (Hb Hdc St)
Foundation chain + Row 1:
- Chain any number of stitches. Ch 1 to start the next row
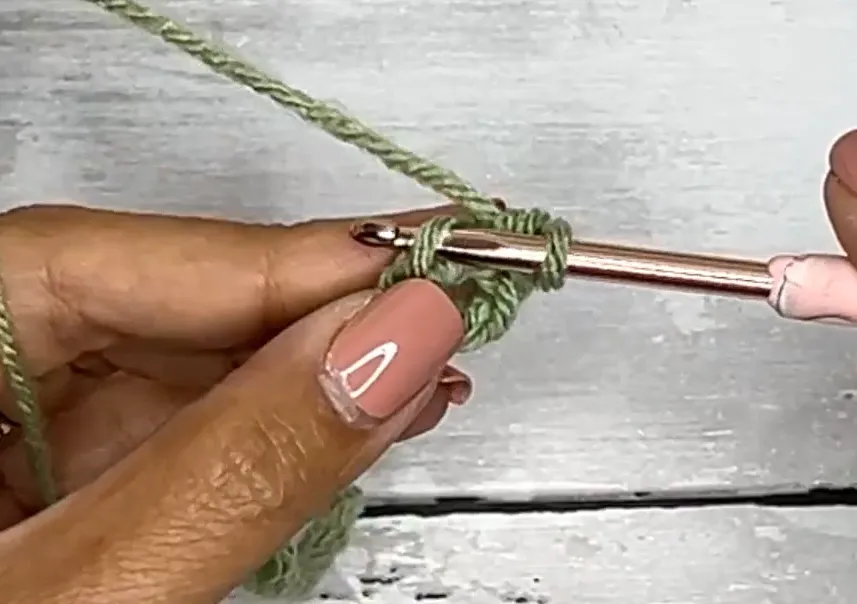
- The turning chain does not count as a stitch. Work a Hdc into the 2nd Ch or bump from your hook.
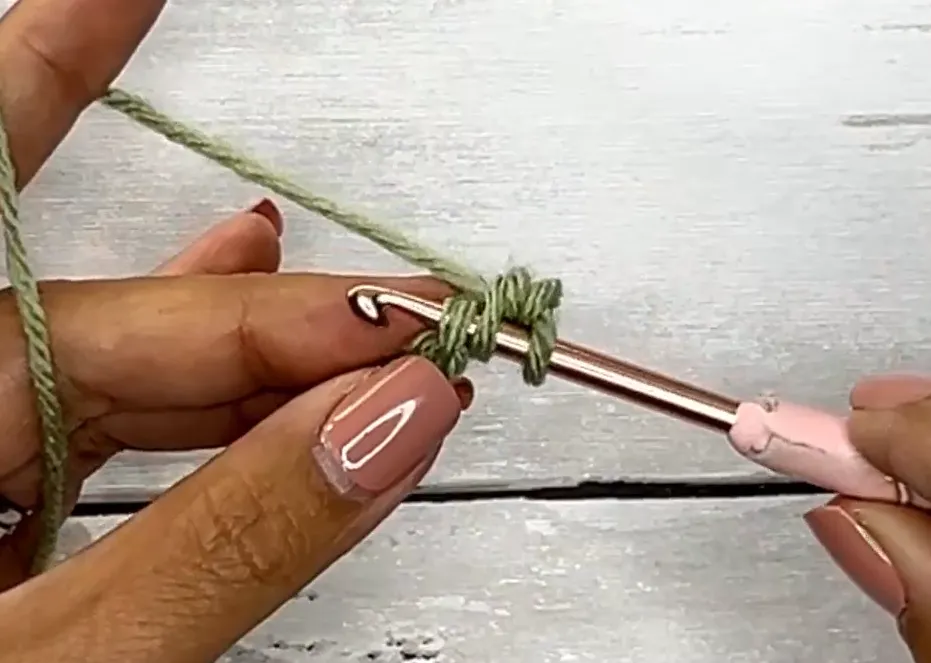
- Insert your hook into the diagonal leg or loop from the earlier stitch and through the next bump/chain, from the front to back.
- Draw up a loop, YO, and pull through all 3 loops.
- Repeat across, on the last st Ch 1 turn
Row 2:
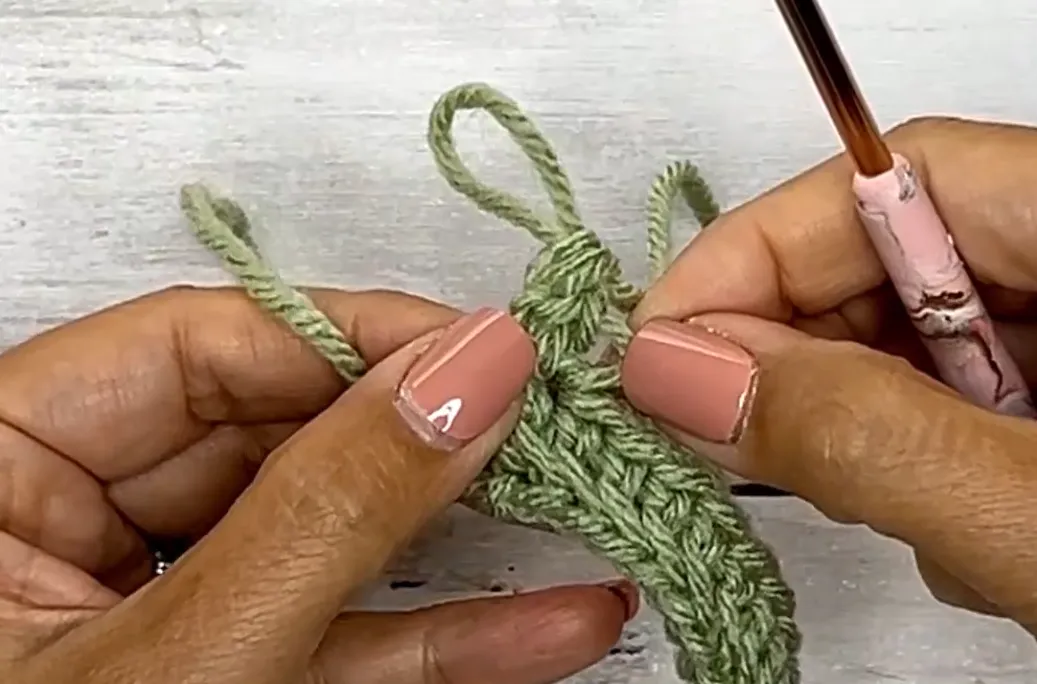
- Work a Hdc into the 1st St

- Insert your hook through the diagonal loop of the previous stitch from the back.
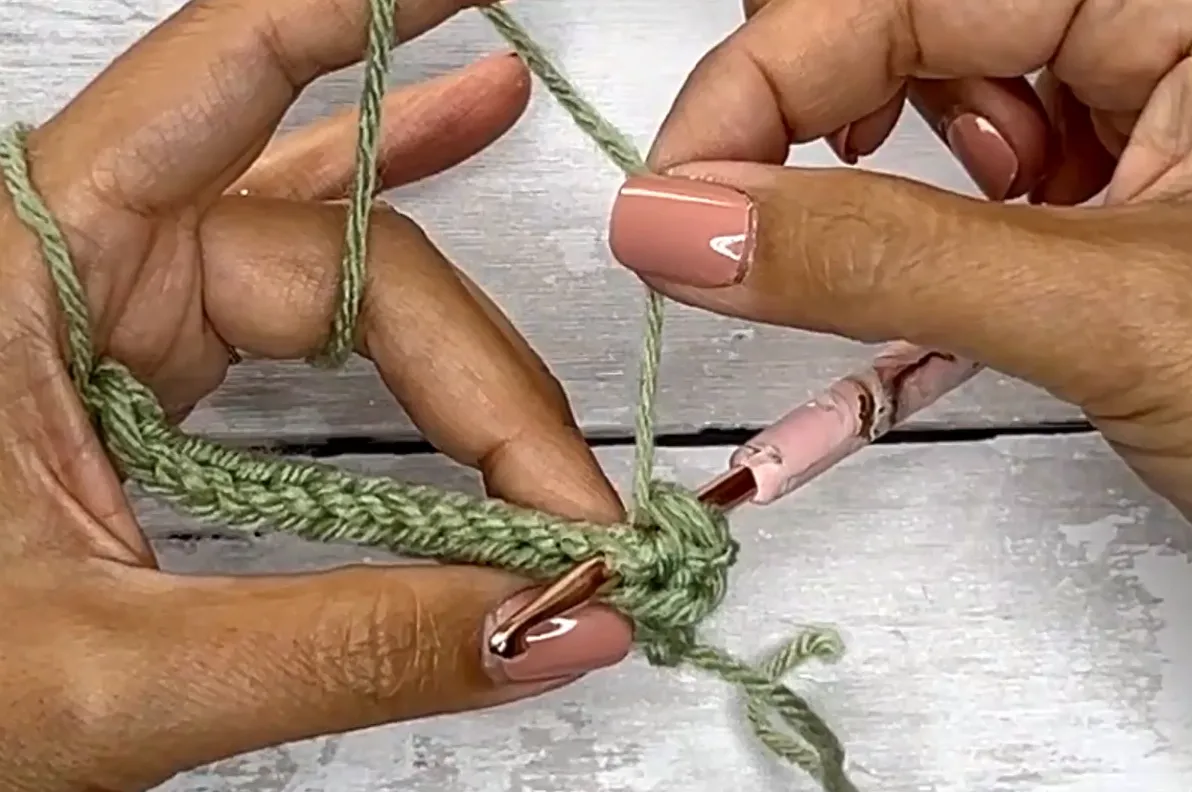
- Insert hook into the next stitch in the opposite direction, from the back to front. Make sure your working yarn is above the hook.
- Draw up a loop, YO and pull through all 3 loops.
- Repeat this pattern until the end of the row, Ch 1 turn
Repeat Rows 1 and 2. Watch the video tutorial here.
Herringbone Double Crochet Stitch (Hb Dc St)
Foundation chain + Row 1:
- Chain any number of stitches. Ch 2 to start the next row
- The turning chain does count as a stitch. Work a Dc into the 3rd Ch or bump from your hook
- Insert hook through the diagonal loop of the previous stitch.
- Insert hook into the next chain or bump, from the front to back.
- Draw up a loop, YO pull through 2, YO pull through all 2 loops.
- Repeat across, Ch 2 turn
Row 2:
- Work a Dc into the 2nd St
- Insert hook through the first loop on the left leg of the previous stitch from the back.
- Insert hook into the next stitch in the opposite direction, from the back to front. Make sure your working yarn is above the hook.
-
Draw up a loop, YO, pull through 2, YO pull through all 2 loops.
-
Repeat this pattern until the end of the row, Ch 2 turn
Repeat Rows 1 and 2. Watch the video tutorial here.


