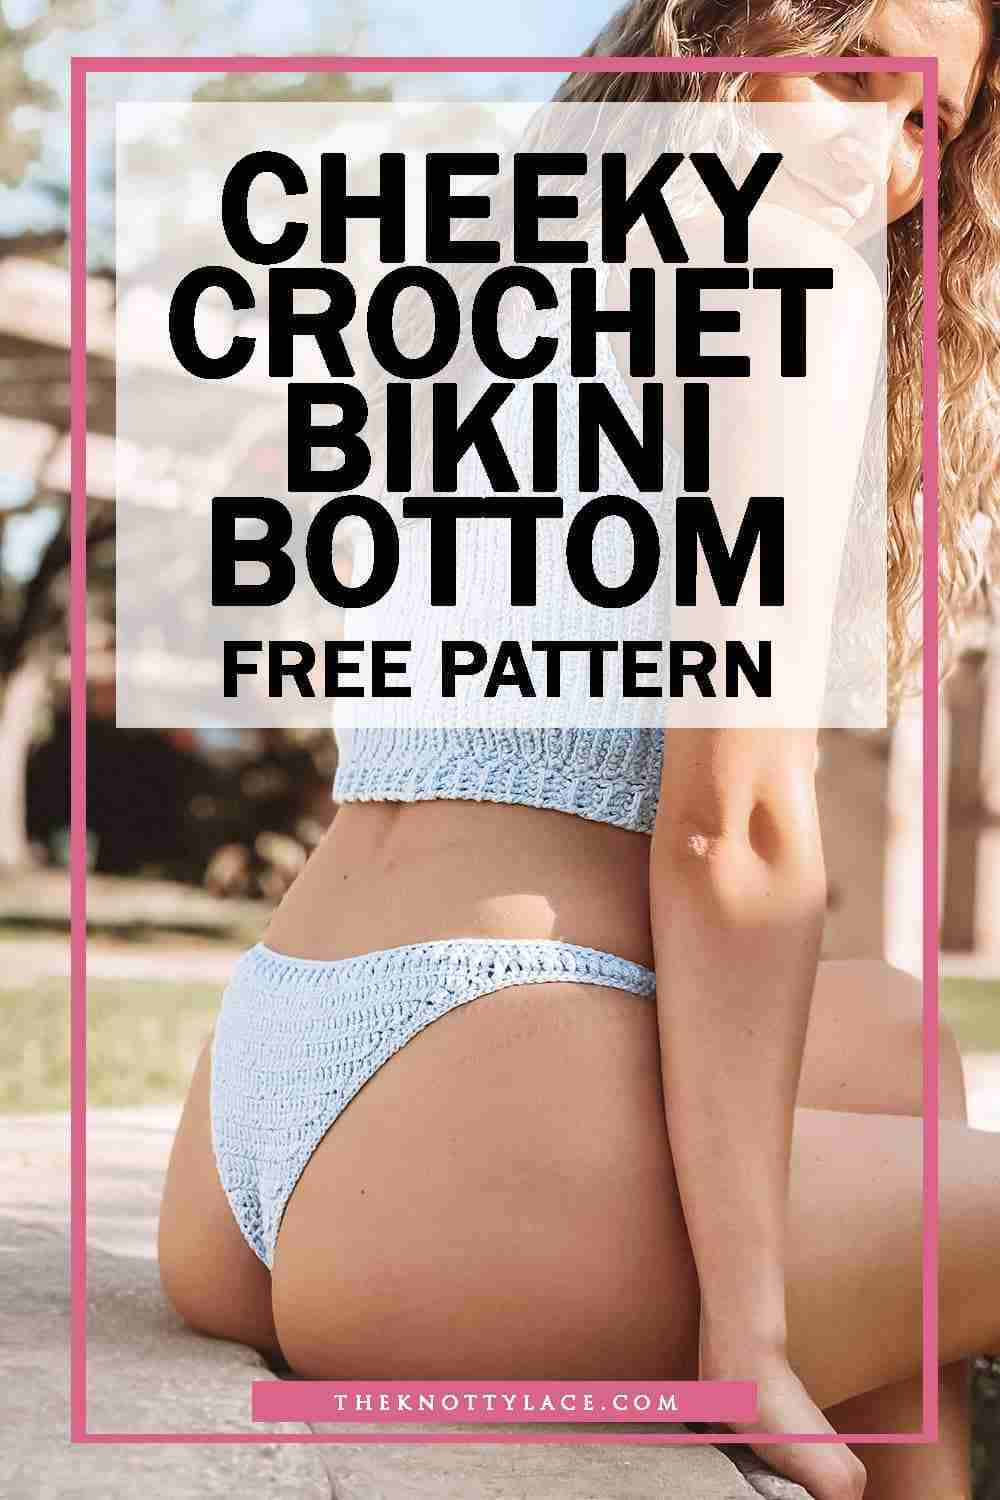
DESIGN INSPIRATION
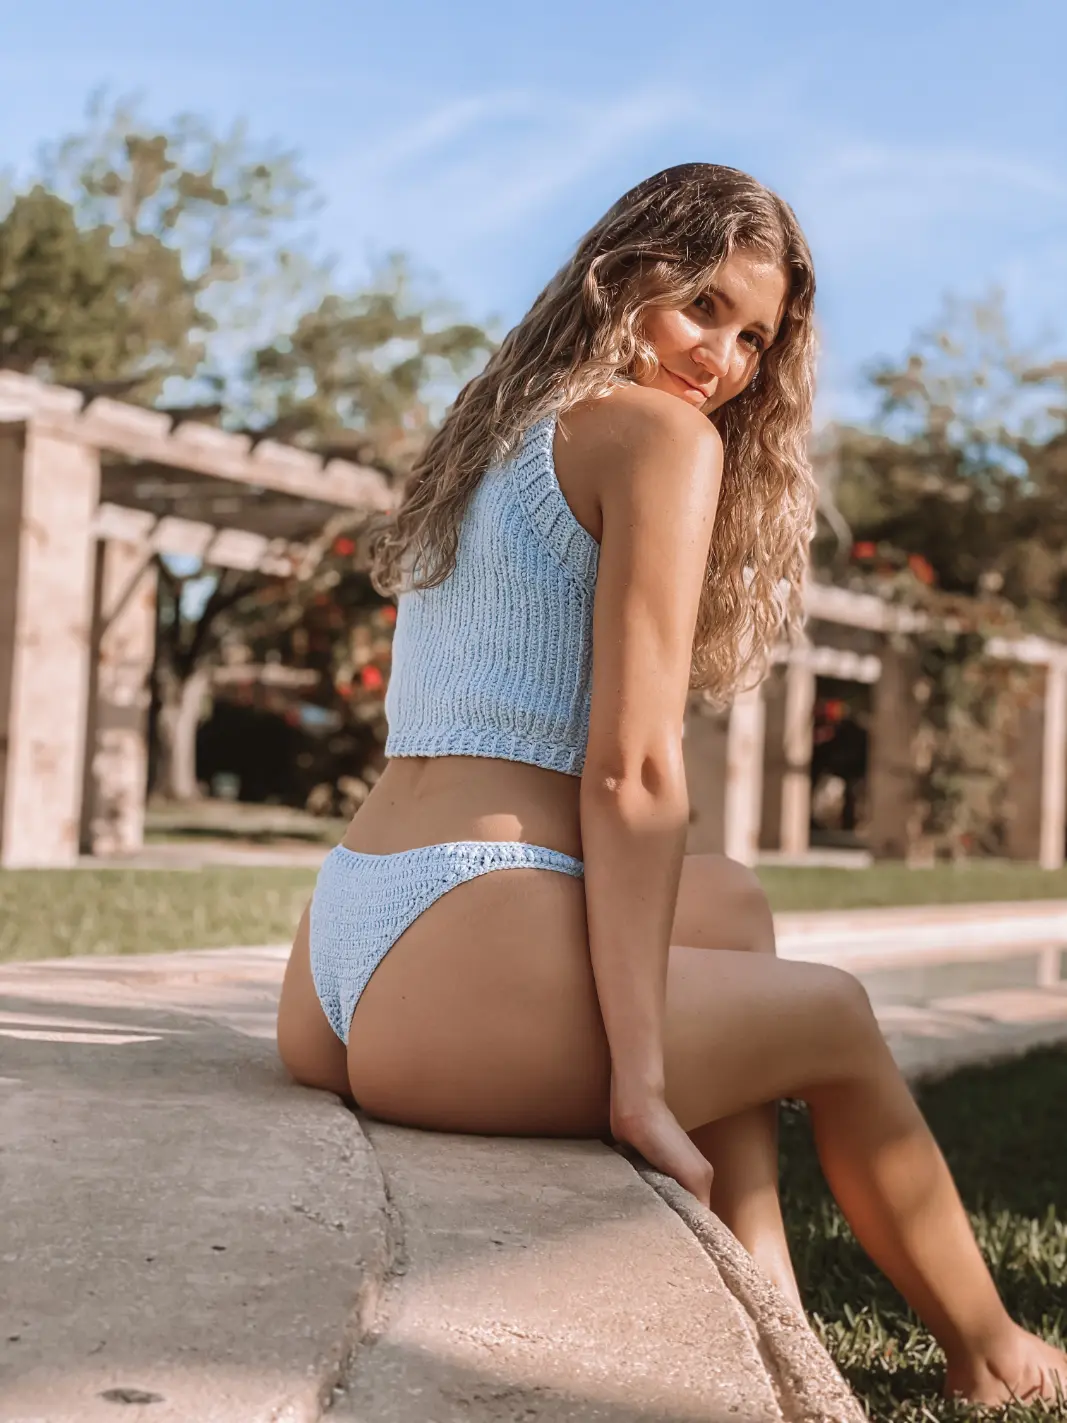
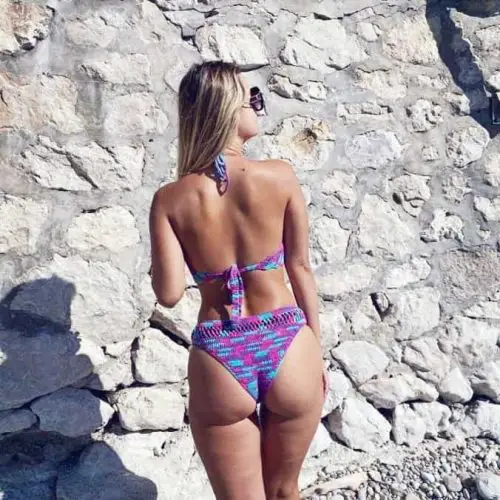
This cheeky Hanna bikini bottom was designed to accompany its leading partner – the Hanna Crop Top. The design is simple enough to follow, with straightforward lines and ribbing to match.
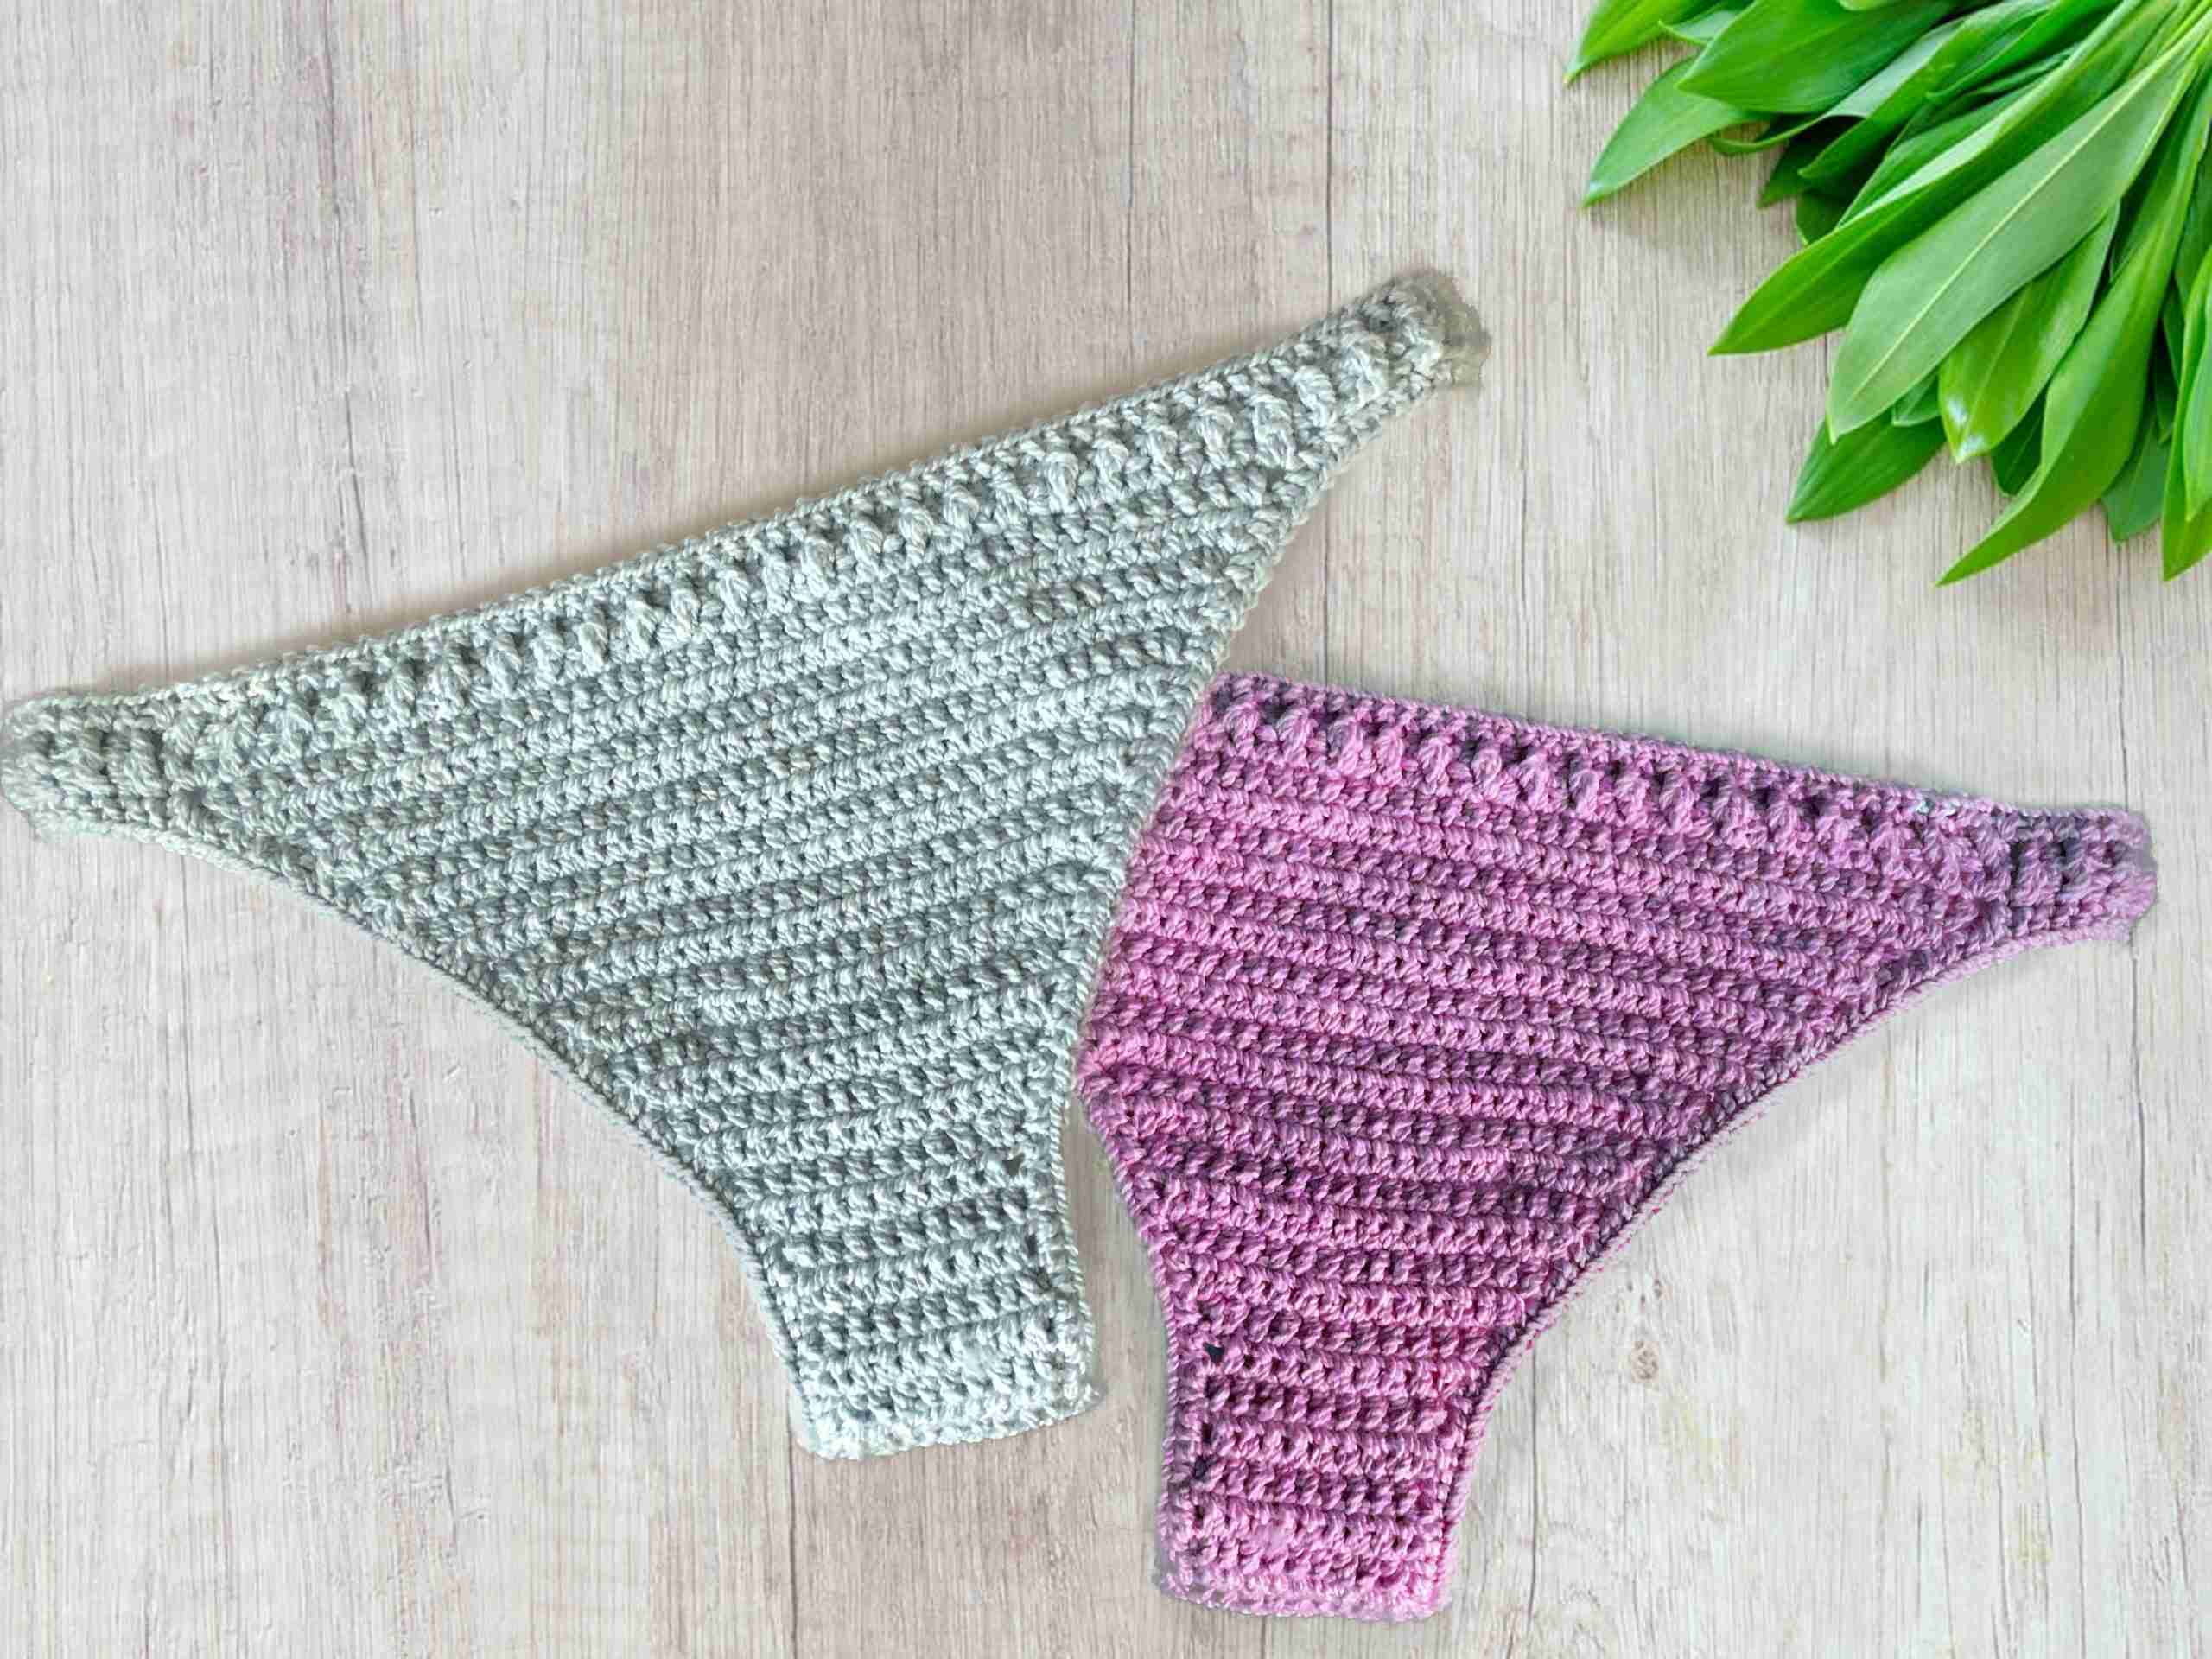
With slim bands and a narrow back, it is light and easy to wear on any sunny day. As long as you’re using any of these stretchable yarns, you’ll be able to swim and feel comfortable all day long.

- Cheeky at the back
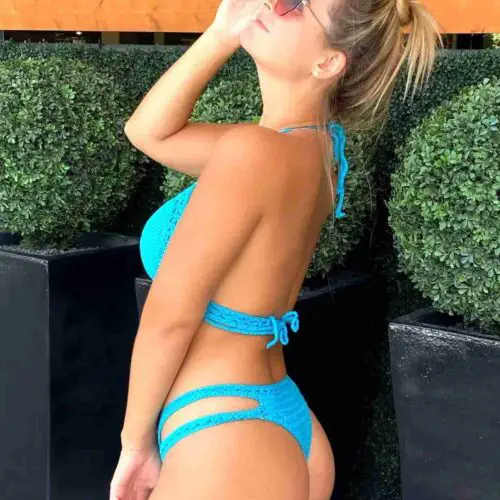
As you already know, you don’t have to match it with just a bikini top. Unlike its matching counterpart’s style, we also have other great Crochet Tops that would make a cute pair.
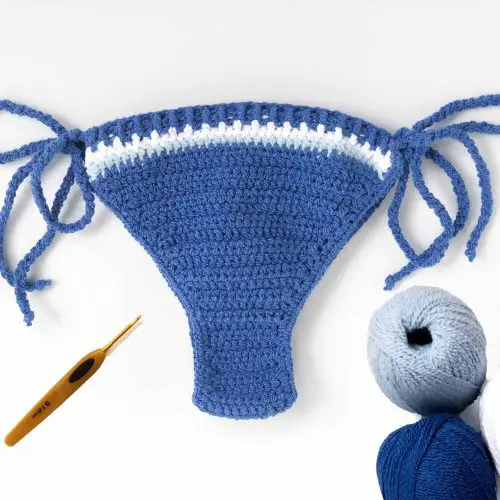
CONSTRUCTION
Most of my bikini bottoms start with Half Double Crochet Stitches from the front panel down toward the back. Then connecting the side with simple and easy Front and Back post stitches is all there is to it.
Adding an elastic rubber band is essential and remember, bikinis need elastane too, so do use the correct yarn type. You don’t want them to start sagging, oh no you don’t!
If you would like to learn how to make your own adjustments and what fits you the best then you will have to check out my Ultimate Crochet Bikini Bottom Guide.
CHECK OUT MY LATEST VIDEO
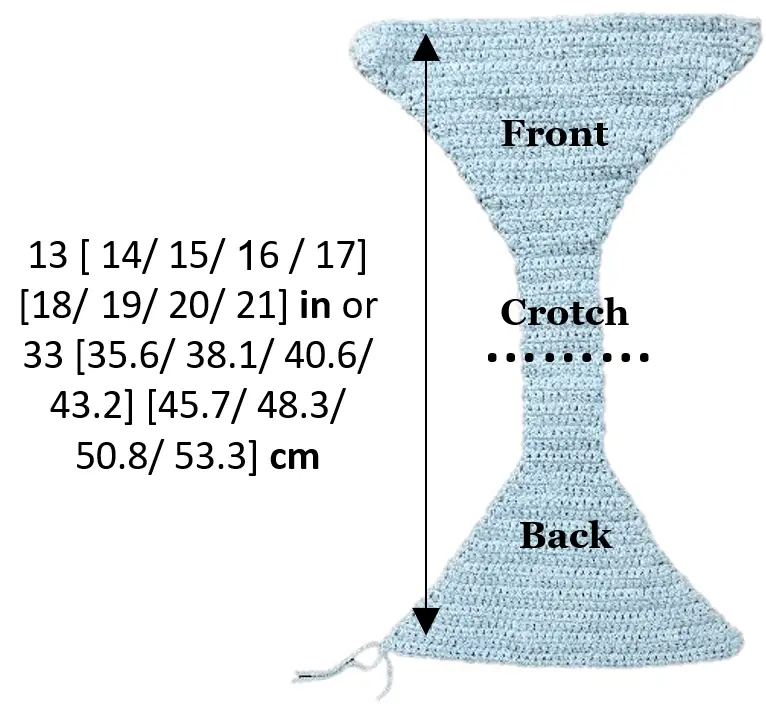
PART 1: Front to Crotch to Back
- Foundation Row: Ch 48 [50/ 52/ 54/ 56] [58/ 60/ 62/ 64] + Ch 1, turn
- Row 1: On the second Ch from hook, work a Hdc St and across, Ch 1 turn
- Row 2: Hdc2tog 2x, Hdc across until the last 5th St, Hdc2tog 2x, Ch 1 turn
- Row 3 – 5: Rep Row 2 for 3 more rows. Ch 1 turn
- Row 6: Hdc2tog, Hdc across until the last 3rd St. Hdc2tog, Ch 1 turn
- Row 7: Rep Row 6 for 10 [10/ 11/ 12/ 13] [13/ 14/ 15/ 16] more rows. You should have 10 [12/ 12/ 12/ 12] [14/ 14/ 14/ 14] Sts remain.
- Next Row (Crotch): Hdc each St across for 20 [24/ 26/ 28/ 30] [34/ 36/ 38/ 40] rows. Ch 1 turn
- Next Rows (Back): Increase rows – Work 2Hdc in the 1st St, Hdc across until the 2nd last St, 2Hdc. Ch 1 turn
- Next Rows: Rep step 8 increase for 16 [16/ 17/ 18/ 19] [19/ 20/ 21/ 22] more rows until the entire length reaches 13 [14/ 15/ 16/ 17] [18/ 19/ 20/ 21] inches or 33 [35.6/ 38.1/ 40.6/ 43.2] [45.7/ 48.3/ 50.8/ 53.3] cm
- Do not bind off
PART 2: Join sides / Ribbing
Sidebands
1. From the last St, Ch 15[15/ 16/ 21/ 26] [30 /37/ 42/ 49] Slst through FRONT panels 1st St (ref to blue line) Ch 1, turn to the inner row side
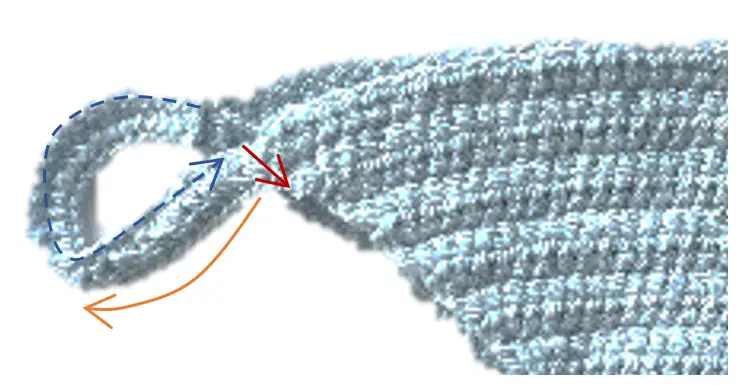
- Slst 2 on the first row (Ref to red arrow), Ch 1 turn work upside down
- Sk 2 Slst, Hdc on the 1st Ch and across the Ch (Ref to orange line) , Slst through the BACK panels post bet the 1st and 2nd row, bind off.
- Rep steps 1- 3 on the other side.You should have approx. 17.5 [18.5/ 19.5/ 21.5/ 23.5] [25.5/ 28/ 30/ 32.5 ] inches or 44.5 [47/ 49.5/ 54.6/ 59.7] [64.8/ 71.1/ 76.2/ 82.6] cm hip width when fully stretched outwards.
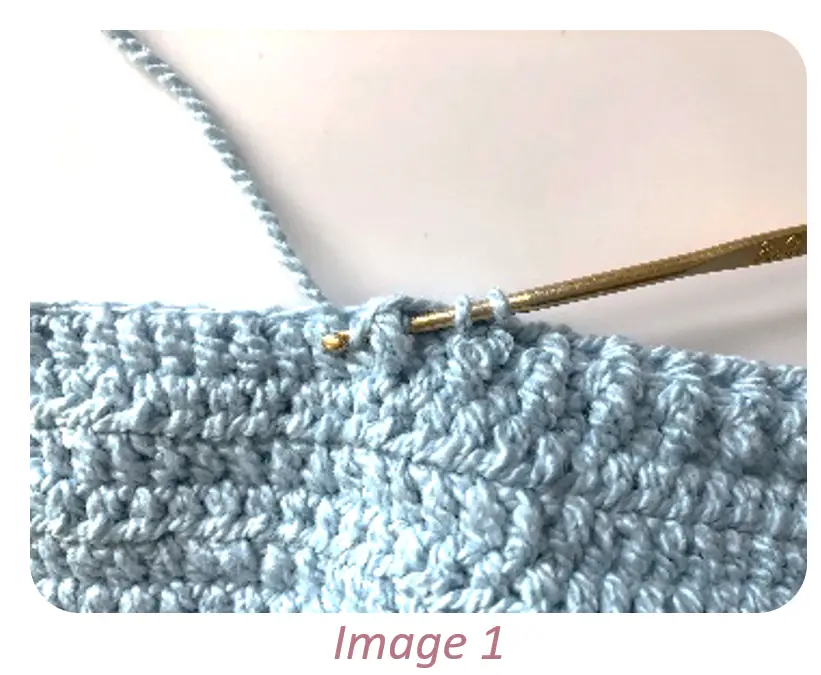
- Top Band Row: RS up, insert hook preferably somewhere on the side/back St at the top of the bikini, draw up a loop, and Ch 1. Yo and insert hook under and through the next post of the prev row, and complete a Front Post Hdc St (FP Hdc). (see image 1)
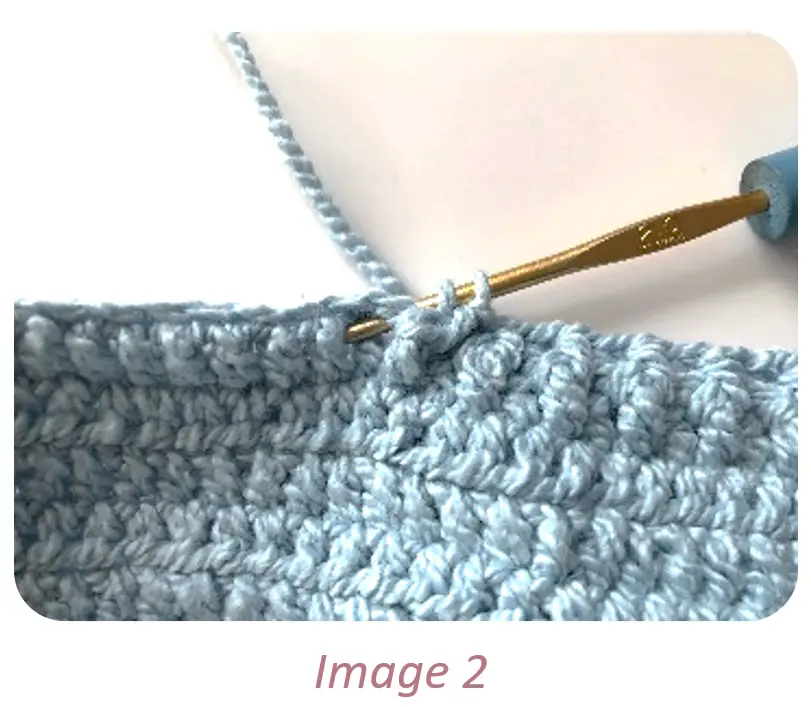
6. On the next St, Yo, insert hook under and through the following post from the back and complete a Back Post Hdc St (BP Hdc) (see image 2)
7. Rep FP and BP Hdc Sts in the round. Slst to the 1st St to close, Ch up 1

8. Place rubber band at the back of the row and Sc over and around the band
9. Before reaching 10 Sts to closing, pull elastic band slightly on both ends and tie 2 knots
10. Cont to Sc around the band while covering the knot. Slst to close.
11. Snip off the remaining band and weave in loose ends.
12. Best to use a round elastic band. (See Video tutorial here )

PART 3: Leg Opening
1. Facing the RS, insert hook on the row side preferably around the crotch area, draw up a loop, Ch 1, and place rubber band behind Sts and Sc in the round.
2. Work 2 Sc on each Hdc row.
3. Before the last 10 Sts, pull rubber band taut and tie to secure. Sc around the knot and remaining rubber band, Slst to connect and bind off.
4. Rep step 1 – 3 on the other side. 5. Weave in all loose ends.
-
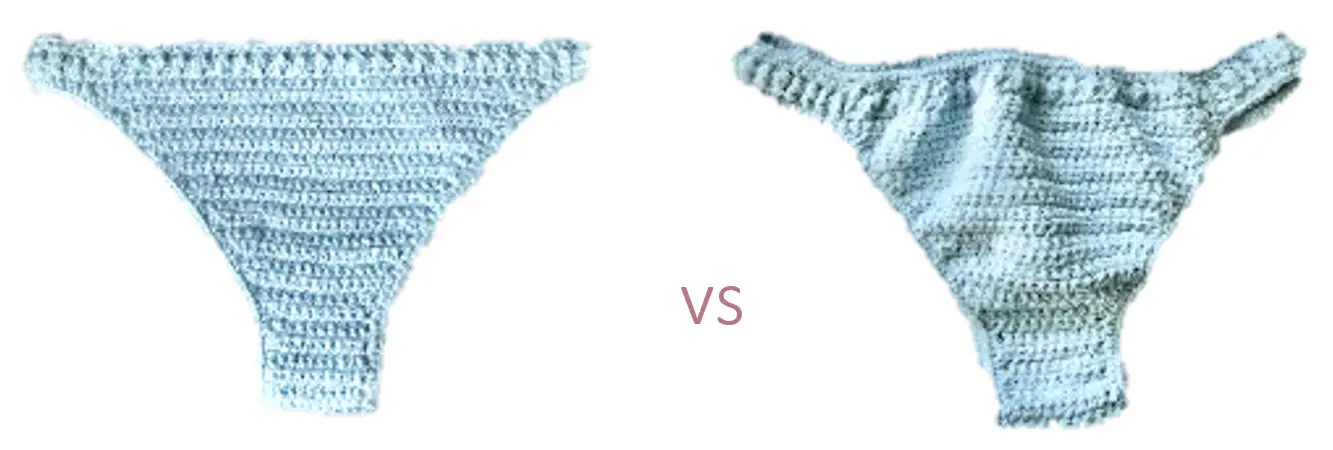
Finish product Stretched vs relaxed should look like this
END
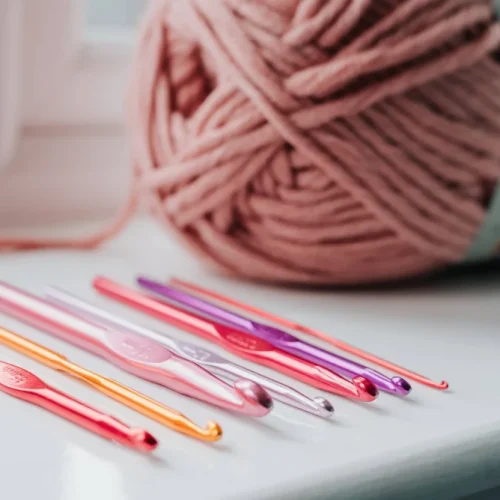
**If you are looking for the entire tool used to make this Hanna Cheeky Bikini Bottom crochet pattern, check them out here below:
- 2.25 mm Clover Amour Crochet Hook
- Elastic Rubber Band
- Cascade Fixation Yarn in Blue Glass
- Hanna Cheeky Bikini Bottom Pdf Pattern file