Whether you’re looking for the easiest way to calculate your stitch gauge, learning how to do it correctly, or just trying to figure out the correct number of stitches and rows needed, I’ve got you covered!
Crochet swatches are an essential part of any crocheter’s toolkit and an important first step in ensuring that your finished product turns out perfectly.
What is a Swatch?

Swatches are small samples of crocheted fabric that allow you to test out different hook sizes, yarn types, and stitch patterns before starting a larger project.
Measuring these swatches accurately is important to ensure that your finished project turns out as intended (more on this below).
What is a Gauge Calculator?
A Quick Gauge Calculator is a tool to help you measure your crochet swatch rows and stitches efficiently. It makes calculating any size quick and easy!
This handy online calculator allows you to determine your stitch and row gauge by manually measuring your swatch and inputting the information into the calculator.
It then provides you with the number of stitches and rows per inch or centimeters for you instantly in order to achieve the desired gauge.
I will be sharing with you the benefits of using this tool, the materials you need to get started, and provide step-by-step instructions on how to use the calculator.
Whether you are a beginner or an experienced crocheter, this post will help you take the guesswork out of measuring your crochet swatches and ensure that your finished project turns out perfectly.
Creating a Swatch

To create your own swatch, start by selecting the right size hook based on the weight of the yarn recommended by the pattern designer. You can also find this information on the yarn label or in the pattern instructions.
You will then start off by creating a foundation chain ideally longer than 4 inches / 10 cm, and work a few rows of whatever the pattern calls for as indicated in the pattern instructions.
Work the rows with consistent tension, making sure not to add or skip any edge stitches. The size of each stitch heavily impacts the outcome of the gauge measurement.
How to Measure a Swatch?

Measuring your crochet gauge swatch is an important step in ensuring that your finished project turns out as intended. Here is an easy to follow step by step tutorial on how to measure your crochet gauge swatch accurately:
-
Use the recommended hook size and yarn for your project. This will ensure that your gauge is an accurate representation of how your finished project will turn out.
-
Crochet a swatch made with the stitch you intend to use that is ideally bigger than 4 inches by 4 inches (10 cm by 10 cm). This will give you enough space to accurately measure your gauge.
-
Any measuring tool such as a long plastic ruler, a tape measure, or a swatch ruler (see below)

*****
Step 1:
Lay your swatch on a flat surface. Flatten it out gently by pressing on it firmly with your hands.
You can also use pins or weights to hold the edges of the swatch in place. Make sure not to stretch the swatch!
Depending on the project that you are working on, you may also choose to block your swatch. Blocking is the process of dampening your swatch and allowing it to dry in the shape that you want it to be.
This will help your stitches settle and give you a more accurate measurement of your gauge.
Step 2:


Determine where you want to start your measurement. It is best to measure the first row at the top because this will include not only the post stitches but you will also be able to visually see the loops.
Next, you will want to space apart the posts on the stitch row and start measuring from the next visible post. This will be your starting point.
Step 3:


Take your measuring tool and place them exactly where you have “marked” in Step 2.
Step 4:
Measure the number of stitches and rows in 4 x 4 inches (10 x 10 cm) of your swatch, but the larger the area the better and the more accurate the number with be.
Using a gauge ruler or a tape measure, count the number of stitches and rows in that space. Remember to write that number down.
I would usually go over the numbers a couple of times just to be 100% sure.
Compare your gauge to the recommended gauge instructions for your pattern. If your gauge is off, adjust your hook size and/ or tension until you get the same gauge. I have more details on this below.
How to use the Gauge Calculator

-
To use the Gauge Calculator, first, select your preferred measurement unit that being in metric or in imperial.
- Next input the number of rows and stitches for each 4-inch or 10 cm that you have collected earlier. You might not get a perfect number, and that is completely normal.
- Key in the length and include each decimal if any or get a wider gauge. The bigger the gauge to closer the accuracy.
In this example above, I have 7 rows and 13 stitches for every 4 inches. And the result shows that it is 1.75 rows and 3.25 stitches for every inch!
-
Now that you have your row and stitch per inch, you can proceed to the next column and get the actual number of rows and stitches you need for any specific size, which may or may not be in the written pattern.
-
The final result will show you how many rows and stitches you will need for that size.

By following these steps, you will be able to measure your crochet gauge accurately and ensure that your finished project turns out as intended.
You will also be able to estimate the amount of yarn your will need for your finished item.
How you may ask? Well, here is an online Yarn Calculator, which will easily and accurately tell you how much yardage and skeins you will need so that you will have enough yarn for your next project.
* hover over the [ℹ️] tab for more information about each column.
*****
Gauge Problems

Matching the gauge of a pattern is crucial to ensure that your finished project turns out the correct size and shape.
A few decimal extras can result in a garment that is too small or too large and can lead to disappointment after putting in hours of work. I know because I’ve been there!

Here are some tips to help you get the closest possible gauge:
-
Size problems: sometimes the recommended crochet hook size might not work for your project while another hook size might actually work better for you.
If your gauge is too small, try going up a hook size, and if it’s too large, try going down a size. Keep testing until you achieve the desired gauge.
-
Stitch Problem: work looser or tighter stitches may help. If your gauge is too small and you’ve tried a bigger hook that didn’t fix the problem, try to loosen your tension and see how that goes.
And do the same if it’s too large, tighten your stitches. This can take some practice, but it’s worth it to get the correct gauge.
-
Yarn Problem: Check that you are using the same yarn weight as the pattern calls for. Using a heavier or lighter yarn than the pattern can make a big difference in the gauge of your project.
If you’re not using the same yarn weight, you may need to adjust accordingly.
-
Pattern problems: Sometimes, the problem may not be with your gauge, but with the pattern itself. Check for errors in the pattern or typos that may be causing issues. Contact the designer of the pattern if they can assist you with achieving your gauge.
-
Test, test and keep testing. Keep testing until you achieve the correct gauge. Don’t be afraid to rip out your swatch and start again if needed. It’s better to take the time to get the correct gauge now than to have to redo your entire project later.
By being aware of these potential gauge problems, you can take steps to ensure that your finished project turns out as intended. Remember, taking the time to match the gauge of the pattern is an essential step in ensuring a successful crochet project.
📝Tip: Here is a great tip! For future reference, write down your gauge measurement, the number of stitches and rows you used, the stitch pattern, and the hook and needle size you used. You can use this Free WIP (Work In Progress) Tag.
This will help you create the right gauge for future projects. It’s also a good idea to create different gauge swatches if you’re using a different weight of yarn or a different stitch pattern.
The Perfect Tension

Achieving the perfect tension in crochet can be challenging, but it’s essential to ensure that your finished project turns out as intended. Here are some tips to help you achieve the perfect tension:
1. Relax your grip. Holding your hook and yarn too tightly can cause your stitches to be tight and small. Try to relax your grip and hold your hook and yarn more loosely. Alternatively, you try to use a tension ring to help you better control your tensions evenly on every stitch
2. Practice consistent tension. Try to maintain the same tension throughout your project by keeping your stitches the same size. This takes practice, but the more you crochet, the more consistent your tension will become.
3. Use the right hook. Using the right hook size for your yarn and pattern is crucial to achieving the correct tension. If your tension is too tight, try using a larger hook, and if it’s too loose, try using a smaller hook. Or maybe try a different hook altogether!
Sometimes the ergonomics and grip of a crochet hook can make a difference in how you hold and work your stitches.
4. Check your gauge frequently. This will help you catch any changes in tension early and make the necessary adjustments as needed.
5. Take breaks. Crocheting for extended periods can cause fatigue, which can affect your tension. Take breaks often to rest your hands and eyes to prevent overworking stitches.
6. Experiment with different yarns. Different yarns can affect your tension, so it’s worth experimenting with different types to see what works best for you.
***
Conclusion
By following these tips, you will be able to get the closest possible gauge to the pattern you are following and ensure that your finished project turns out with the correct size and shape.
Creating a gauge swatch may seem like an extra step, but it’s the best way to ensure that your finished project turns out the right size. It’s an easy way to save time and money in the long run, especially if you’re working on a large project.
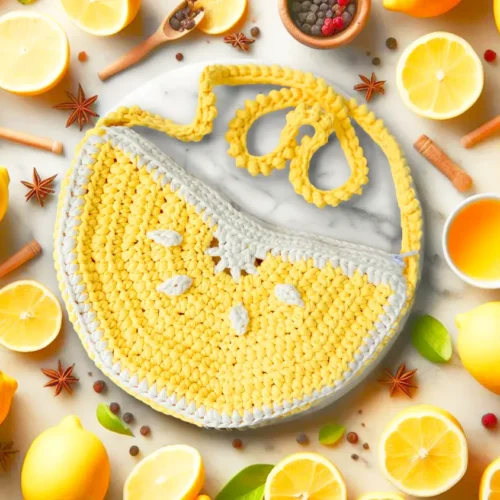
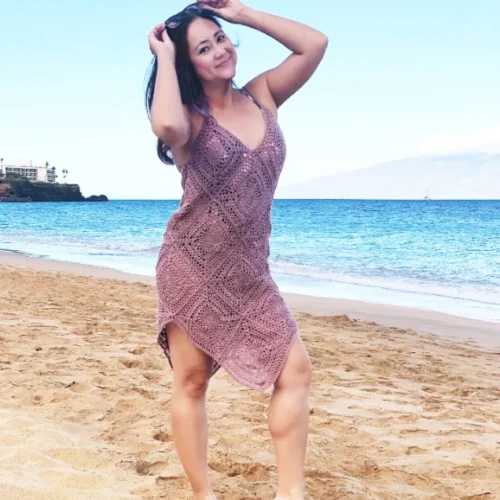
If you’re looking for your next project, don’t forget to check out all the fun and Free Crochet Patterns I have on the blog. And if you would like to receive updates on all our tips & tutorials like this one, just Subscribe to our mailing list. can unsubscribe at any time.