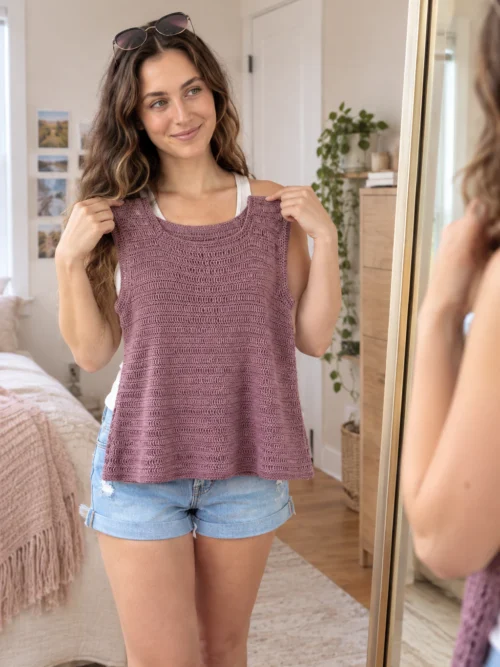
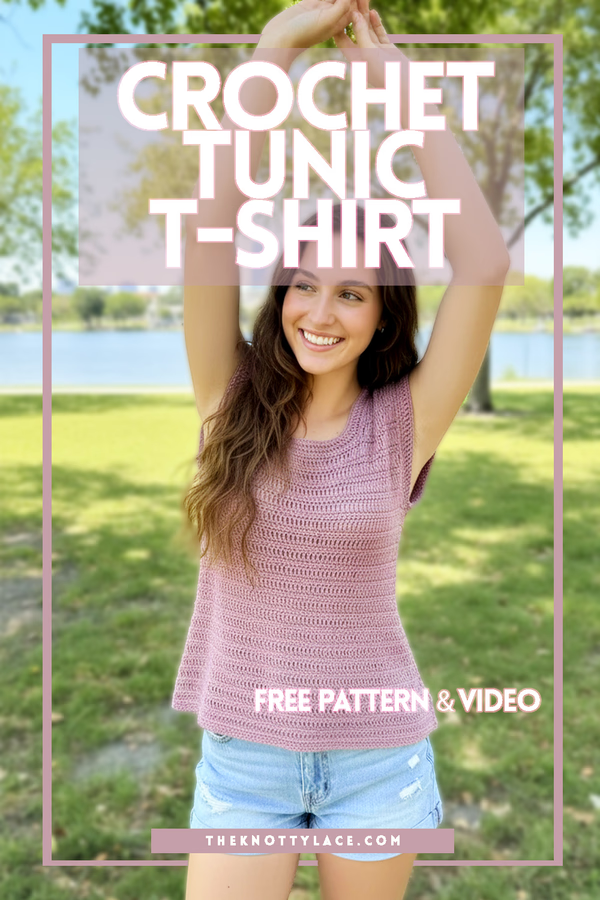
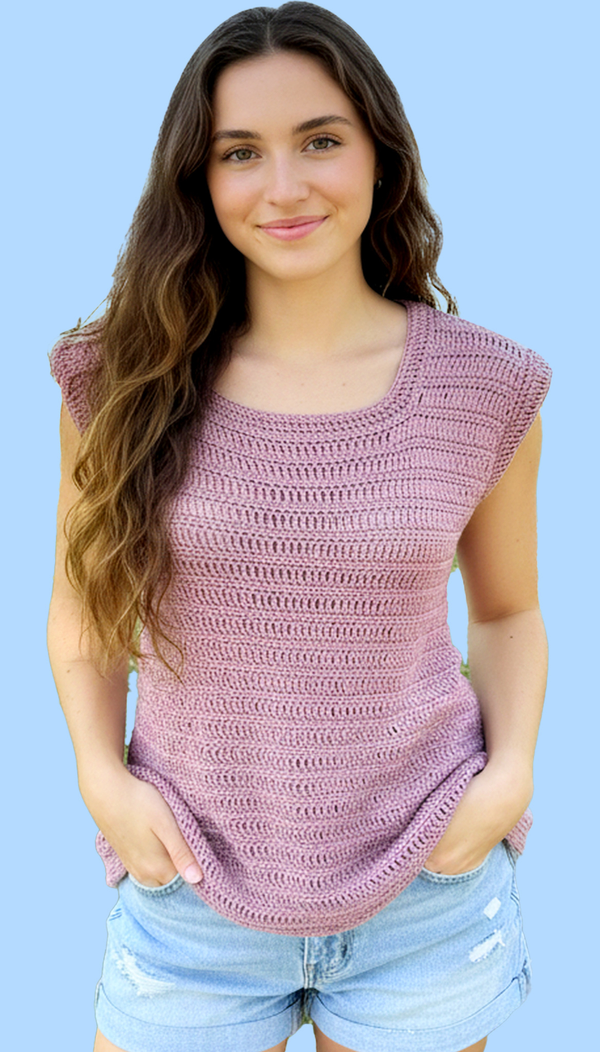
If you’ve been looking for the perfect crochet tunic top and a comfy T-shirt style pattern for summer, this design brings the best of both worlds together in one easy, wearable piece. It has that relaxed tunic feel you love, with the simple, effortless style of a summer T-shirt.

I wanted this top to feel effortless and wearable, something modern and relaxed. I also wanted something that could be worn all day! Easy to throw on with casual shorts, jeans and a pair of heels, or even over a swimsuit when lounging at the pool.
This easy summer crochet tunic t-shirt is a free pattern available in all 9 sizes, perfect for beginners and comes with a step by step video tutorial.
The full Video tutorial is available on my YouTube channel where it is worked up in size Small and the PDF pattern is available for purchase on my Pattern Store here or on Etsy here. Or just add this to your Ravelry queue for later.
Why you’ll love making this top
If you enjoy crochet patterns that are wearable, customizable, and beginner approachable, this one checks a lot of boxes. It’s easy-level, includes a video tutorial, offers inclusive sizing, and creates a lightweight top that fits beautifully into a handmade summer wardrobe.
DESIGN INSPIRATION
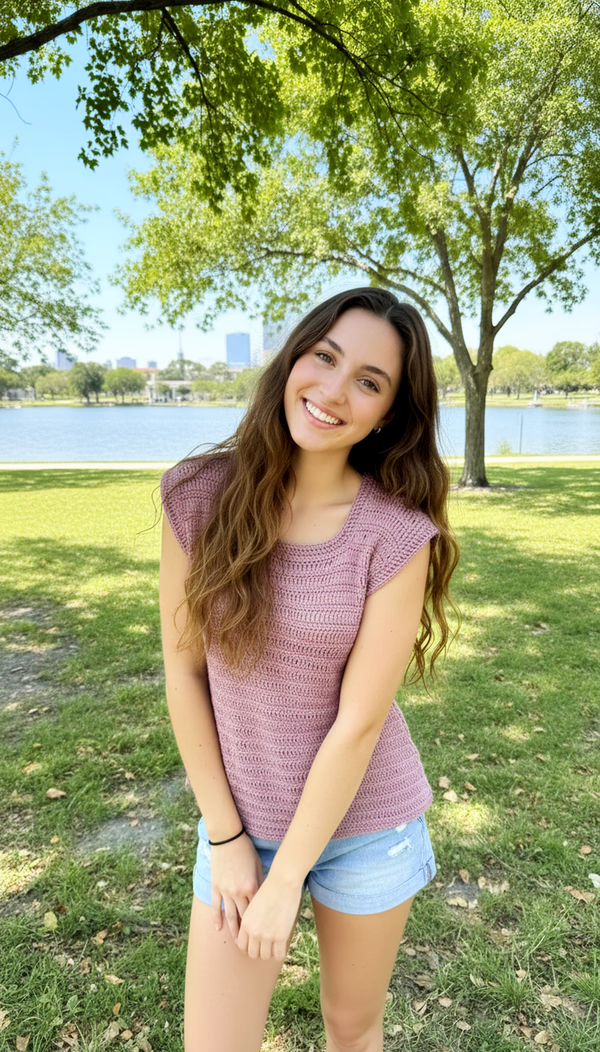
I came up with this design because I wanted a summer crochet top that felt simple, breathable, and easy to throw on with anything. I kept imagining a piece you could wear on hot days without feeling weighed down, something that looked modern, felt effortless, and could become a go-to handmade staple all season long.
That idea really shaped the entire design. I wanted this crochet tunic T-shirt to be approachable for makers, pretty to wear, and practical enough that you’d reach for it again and again throughout summer.
One of my favorite things about this crochet tunic shirt is how relaxed and flattering it feels. It has that easy drape you want in a summer garment, and the tunic length gives it a laid-back, casual silhouette that works for many body types.
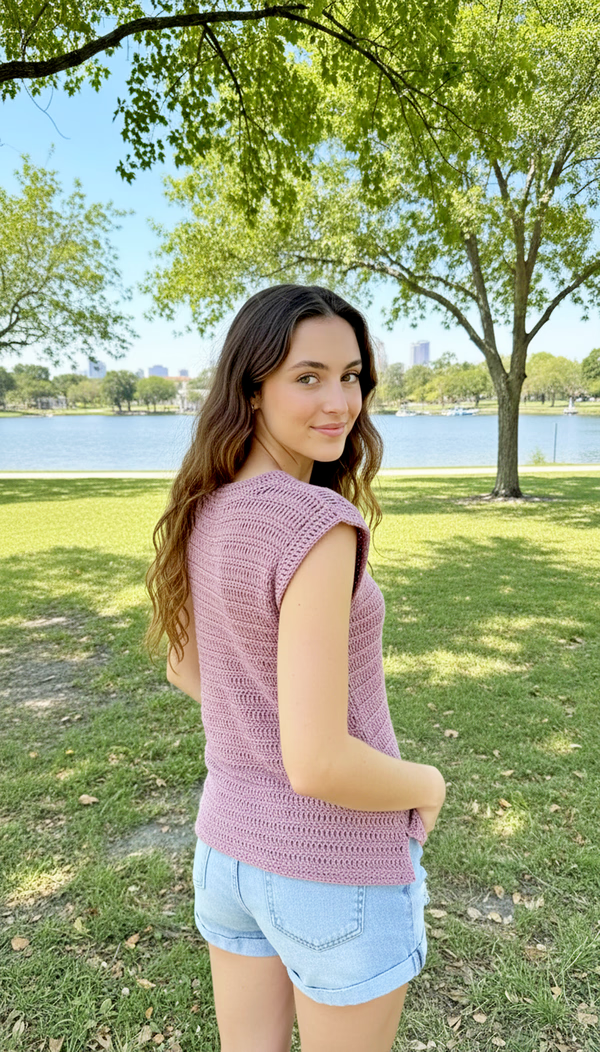
I also love designing pieces like this because they blend comfort and style so well. Sometimes you want a crochet project that looks polished without feeling fussy, and this lightweight crochet tunic does exactly that.
This type of crochet summer top is especially great if you love versatile handmade pieces. You can wear it with shorts, jeans, leggings, or over a swimsuit, which makes it a practical project as well as a beautiful one.
And if you’re looking for more similar crochet tank top patterns and summer tops here are some free crochet patterns to check out.


CONSTRUCTION
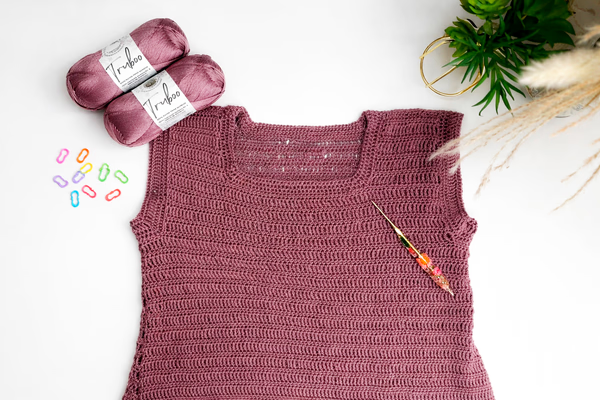
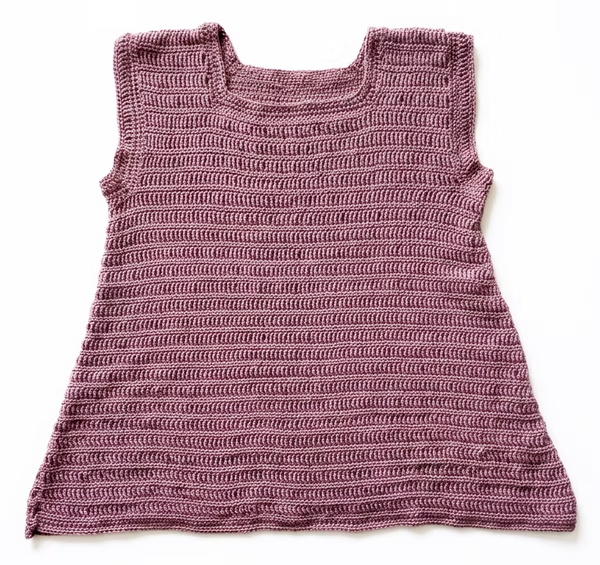
The tunic is worked in separate front and back panels, then seamed at the shoulder and sides. After that, the edgings are added along the arm opening in the round, and the neckline is finished with rounds of half double crochet for a clean, polished edge.
One especially helpful note in the pattern is that you should not worry if the panels look slightly slanted during construction. The pattern explains that this is normal because of the way the half double crochet stitches are worked in one direction.
How to care for your crochet garment
The best care method should follow the yarn label for the fiber you choose. Since this pattern uses Lion Brand Truboo, checking the yarn band for the most accurate washing and drying guidance is the safest option.
In general, handmade crochet garments hold their shape best when treated gently. Washing delicately, laying flat to dry, and storing folded rather than hanging can help prevent stretching and keep your summer tunic looking its best over time.
How to get the perfect size
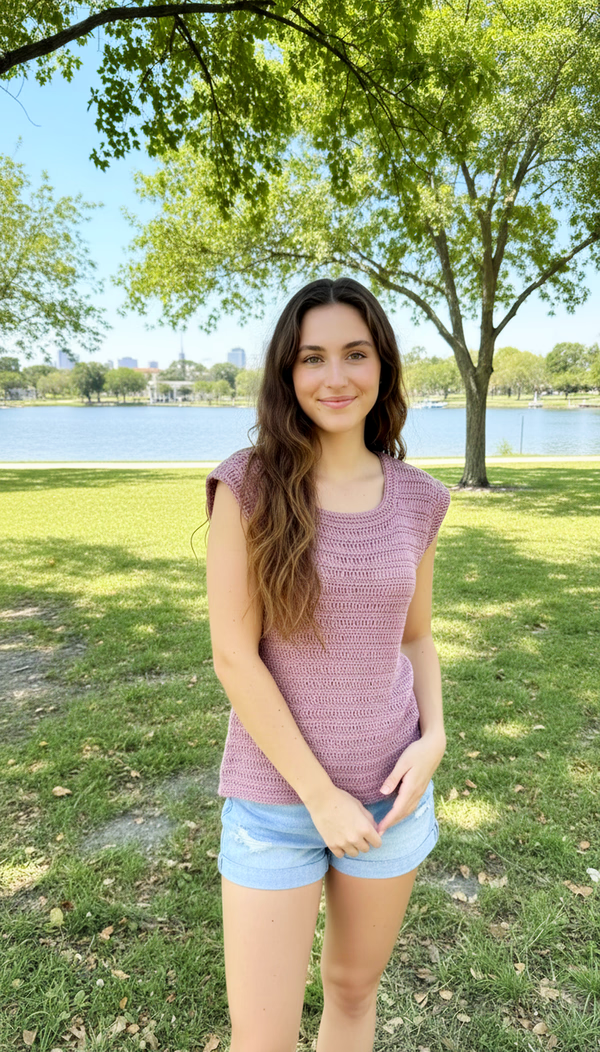
If you want your crochet tunic shirt to fit well, start with the measurement guide instead of choosing a size based only on ready-to-wear clothing. If you are in between sizes, size up or measure along.
This is one of those crochet garments where taking a few extra minutes before you start can really pay off. Measure your bust, compare it to the finished chest width in the pattern, and think about how much ease you want for that relaxed summer tunic look.
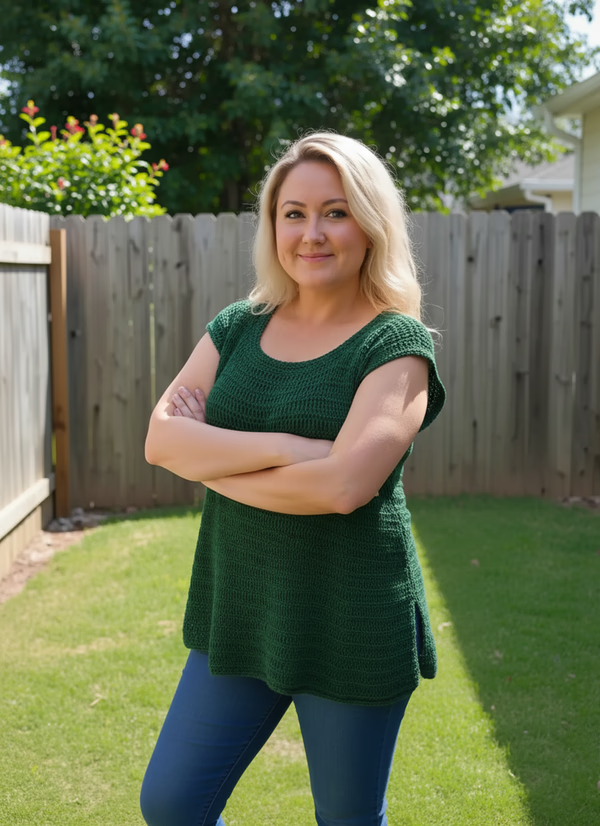
The pattern includes all 9 sizes and the body width and length can be easily adjusted, which is especially helpful if you like customizing your crochet garments for a more relaxed or more fitted look.
Why gauge matters
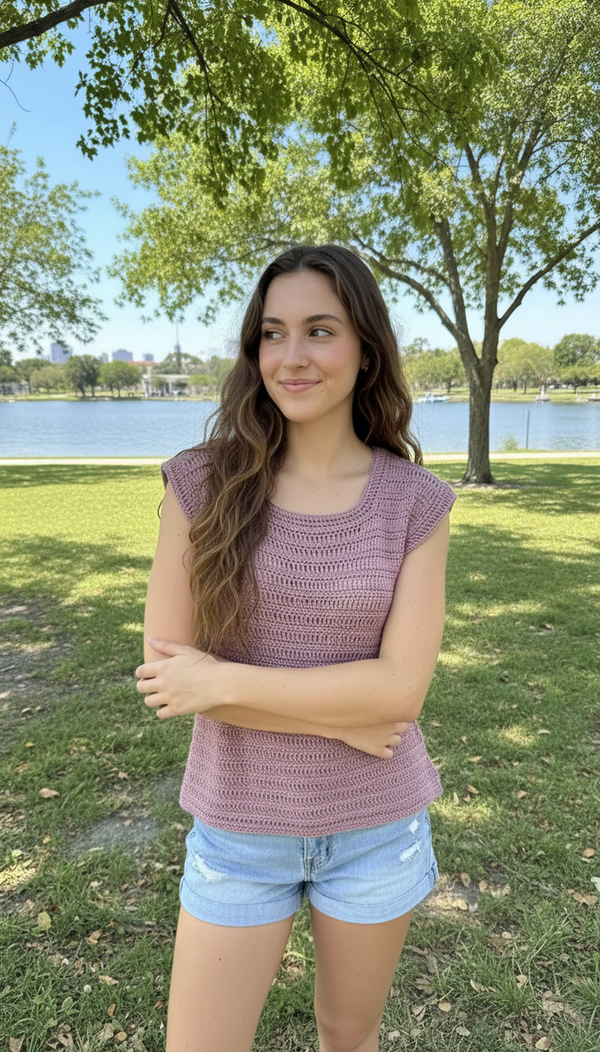
I highly recommend making a gauge swatch before you begin so you can get the right size. Feel free to adjust your tension or change hook size to match the listed gauge.
For summer garments, gauge matters just as much for drape as it does for fit. If your stitches are too tight, the top can feel stiff or smaller than expected, and if they’re too loose, the garment may come out larger or longer than planned.
If you would like to learn more about how to do a proper gauge, check out this article explaining all the details.
Materials Needed
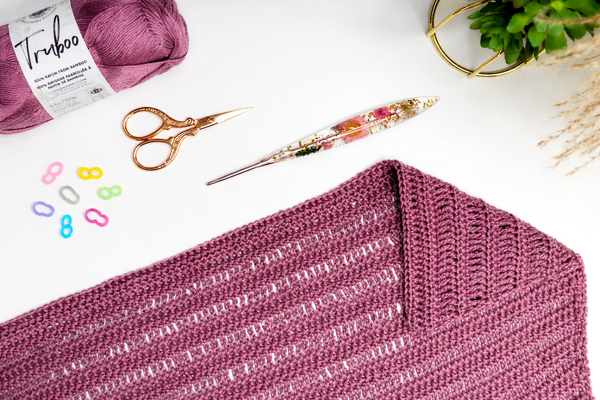
This pattern calls for Lion Brand Truboo in the color Mushroom, which is a category 3 yarn. That yarn choice makes a lot of sense for a summer crochet garment because lightweight fibers with drape tend to work beautifully for breezy tops and tunics. Plus it is also one of my all time favorite yarn to use!
If you want the best look for a lightweight crochet summer tunic, choose a yarn that feels soft, breathable, and comfortable against the skin. Yarns with drape can help this style of top hang more naturally, which is especially nice for a tunic T-shirt silhouette. The Coboo yarn also by Lion Brand is another great choice which I used to make this unique “U” Tank top!
If you prefer to use a different yarn, the best yarn to substitute would be any lightweight yarn in category 3 or dk weight yarn / sport yarn, preferably cotton yarn or you could look for an alternative here at yarnsub.com to find the best match for your needs.
Remember to choose any light colors preferably as they reflect better in the summer sun.
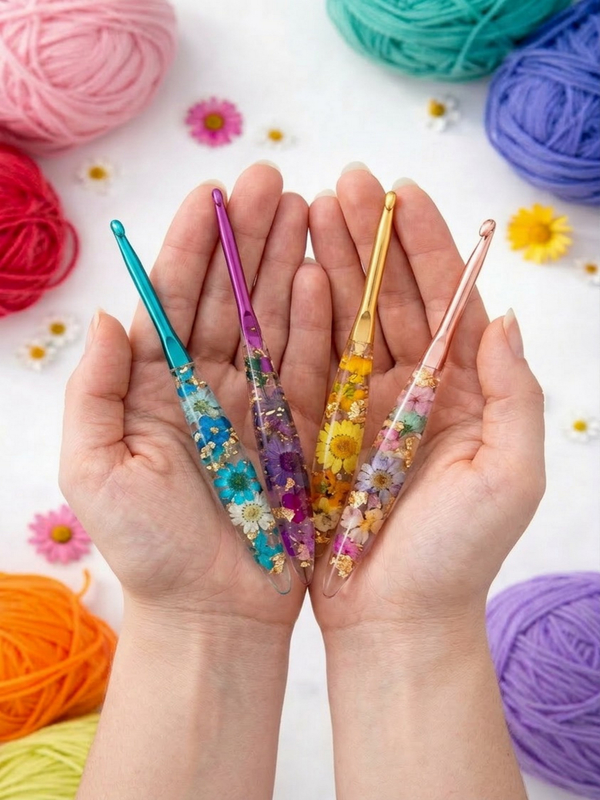
I also used this beautiful 3.5 mm resin crochet hook for this pattern, providing a nice balance between stitch definition and drape. Make sure to check your gauge and adjust your hook size if necessary to achieve the correct measurements.
Things to Note:
Prepare a pattern gauge to get the right size. You may need to adjust your tension or change the hook size to achieve the same gauge.
Pattern consist of a two row Half Double Crochet and Trebel Crochet repeat as well as the basic Chains, Single Crochet and Slip Stitch.
- The abbreviation is available in English US format here.
Crochet Abbreviations (US term)
Ch – Chain Stitch
Ch Sp – Chain Space
RS – Right Side
WS – Wrong Side
inc – Increase
Sl St – Slip Stitch
Sc – Single Crochet
Hdc – Half Double Crochet
Tc – Trebel Crochet
Tunic T-shirt Measurement Chart:
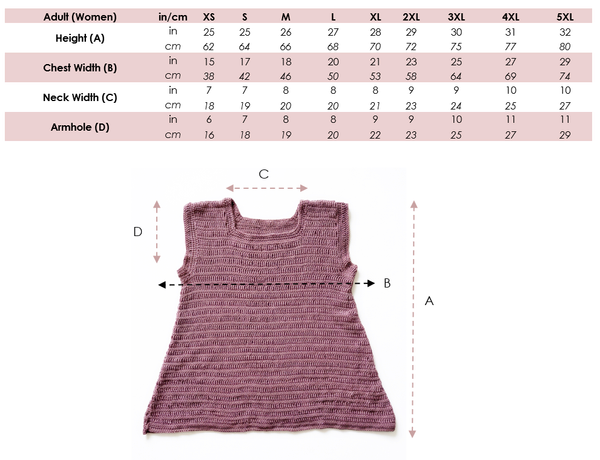
- Pattern consists of 9 sizes.
- Measurements above are only an estimate of the finished garment based on gauge and not body size
- Body width and length can be easily adjusted to your liking
- If you are in between sizes, size up or measure along
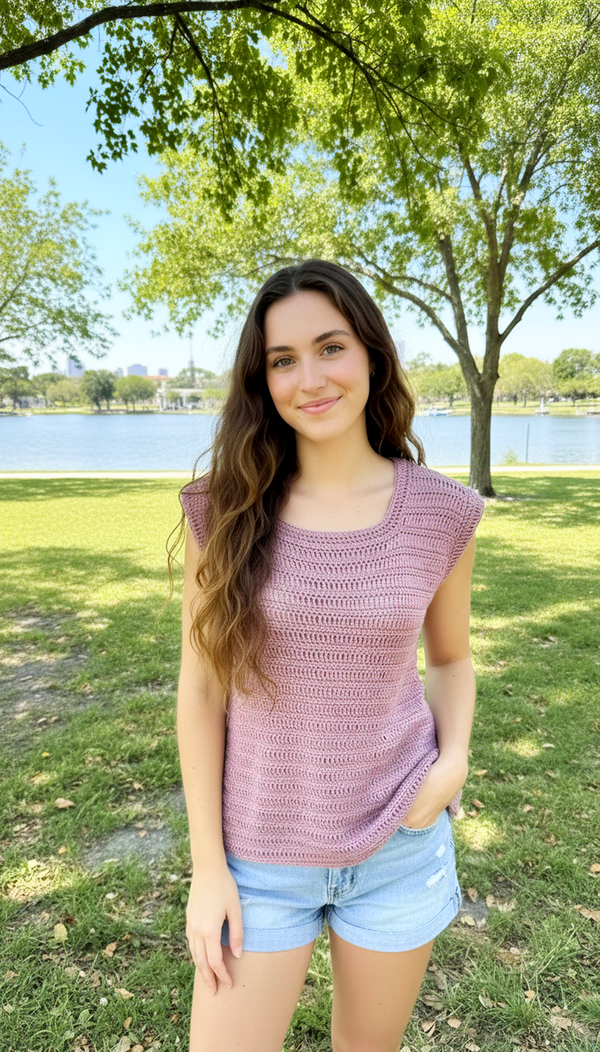
- Model is wearing size Small
**
PART 1: Front Panel
Working from the top down, we will start with the sleeves first.
- Foundation Row (Strap): Ch 15 [16/ 16/ 16/ 17] [17/ 18/ 18/ 19], Ch 1 + turn
- Row 1: Sc each Ch across, Ch 1 turn
- Row 2: TC each St across, Ch 1 turn
- Row 3: Hdc each Ch across, Ch 1 turn
- Row 4: Cont to work the TC & Hdc St for a total of 3 [ 4/ 4/ 4/ 4] [4/ 4/ 5/ 5] “Double Rows”. Your last row should be a TC Row.
I will refer to these 2 Hdc & TC Row as a Double Row
- Bind off and make a second strap
- Rep Steps 1 – 5, on your last Hdc Row, Ch 32 [34/ 35/ 37/ 39] [41/ 43/ 46/ 48].
- Connect the Chs to the first sleeve by working a Hdc into the last St and Hdc across, Ch1 turn.
- Next Rows: Cont to work the 2 Rows for another 4 [4/ 4/ 5/ 5] [6/ 6/ 7/ 7] Double Rows ending on a TC row.
- Next Row (Underarm Inc): Ch 5 [7/9/11/13] [16/19/22/24], Ch 1 turn, Hdc each Ch and St across. On the last St work the Chainless Hdc St (See Video Tutorial here). Ch 1 turn
- Next Row: Work TC across, Ch 1 turn
- Next Row (Inc): Work 2 Hdc Sts, Hdc across, inc in the last St, Ch 1 turn
- Next Rows: Rep Step 10 & 11 for a total of 26 [27/ 27/ 28/ 29] [30/ 31/ 32/ 33] Double Rows from the straps or until you are happy with the length.
- Last row: work 3 rows of Hdc as your finishing edge
- Bind off
PART 2: Back Panel
The back panel is very similar to the front panel, except for the shorter strap length.
- Foundation Row (Strap): Ch 15 [16/ 16/ 16/ 17] [17/ 18/ 18/ 19], Ch 1 + turn
- Row 1: Sc each Ch across, Ch 1 turn
- Row 2: TC each St across, Ch 1 turn
- Row 3: Hdc each Ch across, Ch 1 turn
- Row 4: Cont to work the TC & Hdc St for a total of 2 [ 2/ 2/ 2/ 2] [ 2/ 2/ 3/ 3] “Double Rows”. Your last row should be a TC Row.
- Bind off and make a second strap
- Rep Steps 1 – 5, on your last Hdc Row, Ch 32 [34/ 35/ 37/ 39] [41/ 43/ 46/ 48].
- Connect the Chs to the first sleeve by working a Hdc into the last St and Hdc across, Ch1 turn.
- Next Rows: Cont to work the 2 Rows for another 6 [6/ 6/ 7/ 7] [8/ 8/ 9/9] Double Rows ending on a TC row.
- Next Row (Underarm Inc): Ch 5 [7/9/11/13] [16/19/22/24], Ch 1 turn, Hdc each Ch and St across. On the last St work the Chainless Hdc St, Ch 1 turn
- Next Row: Work TC across, Ch 1 turn
- Next Row (Inc): Work 2 Hdc Sts, Hdc across, inc in the last St, Ch 1 turn
- Next Rows: Rep Step 10 & 11 until you have the same total length as the front panel.
- Last row: work 3 rows of Hdc as your finishing edge
- Bind off
Don’t worry if you notice your panels looking slightly slanted. This is completely normal, due to the Hdc St worked in one direction.
PART 3: Seaming Sides
- Place both panels WS out (the TC front side), and seam the shoulders with simple Sc stitches. You can also use a tapestry needle and whip stitch them together.
- Turn the body panel to the sides, and place SMs along the side to secure
- Sc both panels together from the bottom to the underarm.
- Bind off and repeat on the other side.
PART 4: Sleeves
- Turn body panels RS out, insert hook at the bottom of the armhole opening where the seams meet.
- Rnd 1: Draw up a loop and work Hdc St even across the sides in the round. Slst to join, Ch 1
- Rnd 2 (dec): Hdc 2tog, Hdc in the round until the 3rd to last St, Hdc 2tog, Slst to join, Ch 1
- Rnd 3: Ch 3, TC each St in the round, Slst to join, Ch 1
- Rnd 4 (dec): Hdc 2tog, Hdc in the round until the 3rd to last St, Hdc 2tog, Slst to join, Ch 1 to secure, bind off.
- Rep steps 1 – 5 on the other side.
PART 5: Neckline
- Insert hook at the side of the neckline where the seams meet.
- Rnd 1: Draw up a loop and work *(Hdc St even across the sides. Once you’ve reached a corner, Hdc 2tog to dec. Cont to Hdc evenly across until the next corner. Rep dec and Hdc in the round, Slst to join, Ch 1)
Place a SM on every dec st for easy reference.
- Rnd 2: Rep (*) for another 3 more rounds.
- Bind off and weave in all loose ends
*** END ***
Crochet Tunic T-Shirt Pattern
$4.99


Enjoying our content? Make us a preferred source on Google.
Add us as a Preferred Source on Google