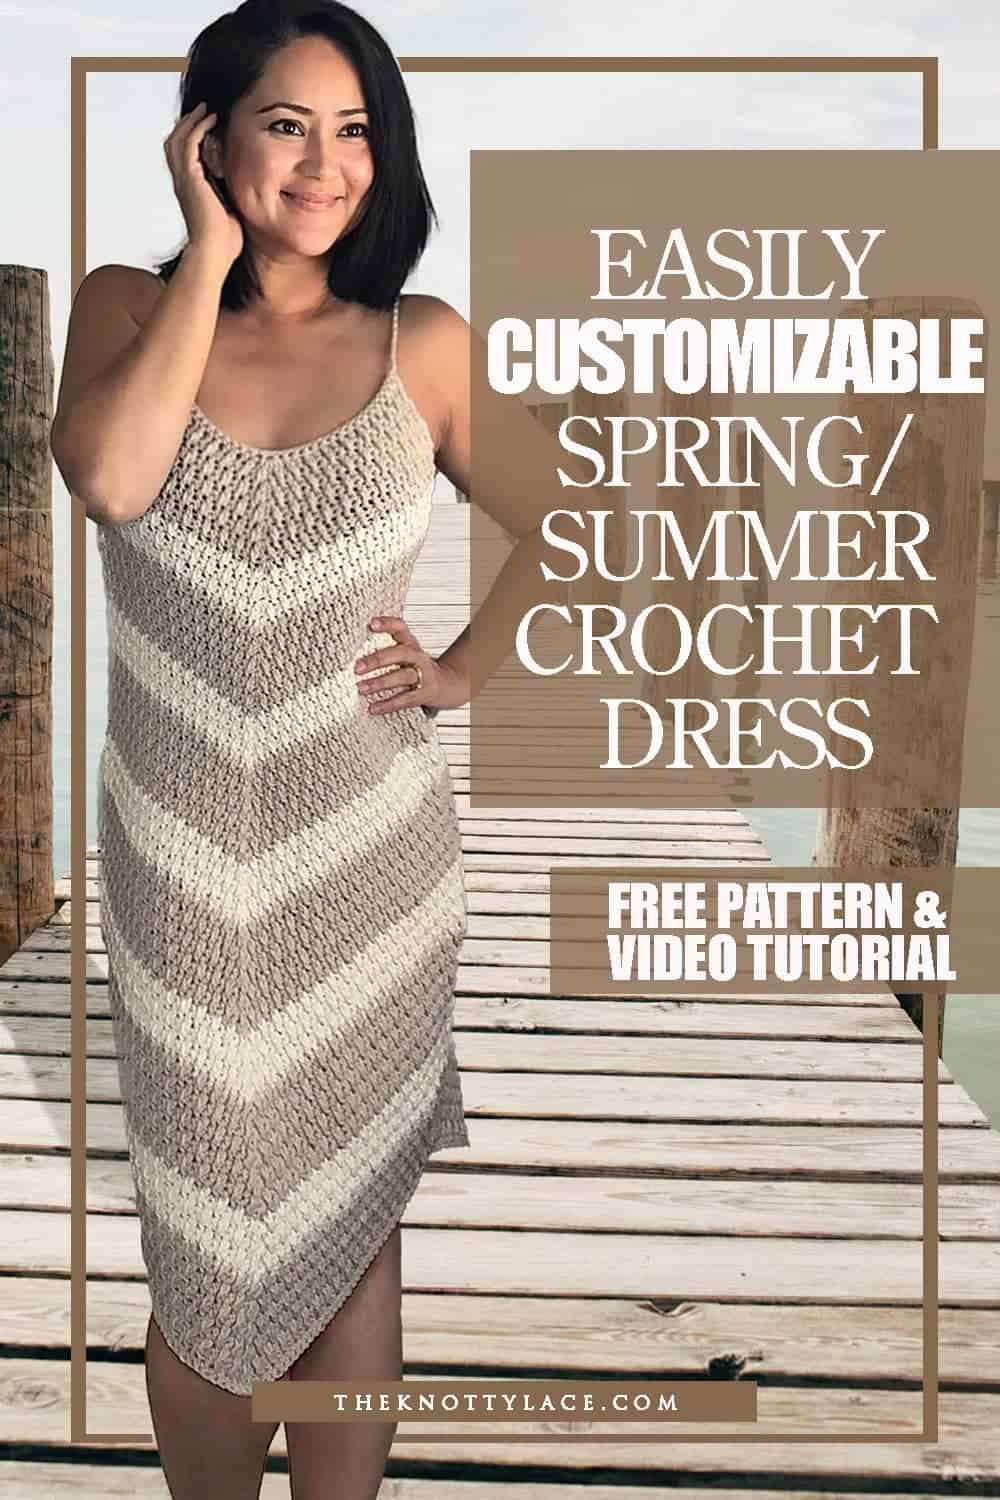
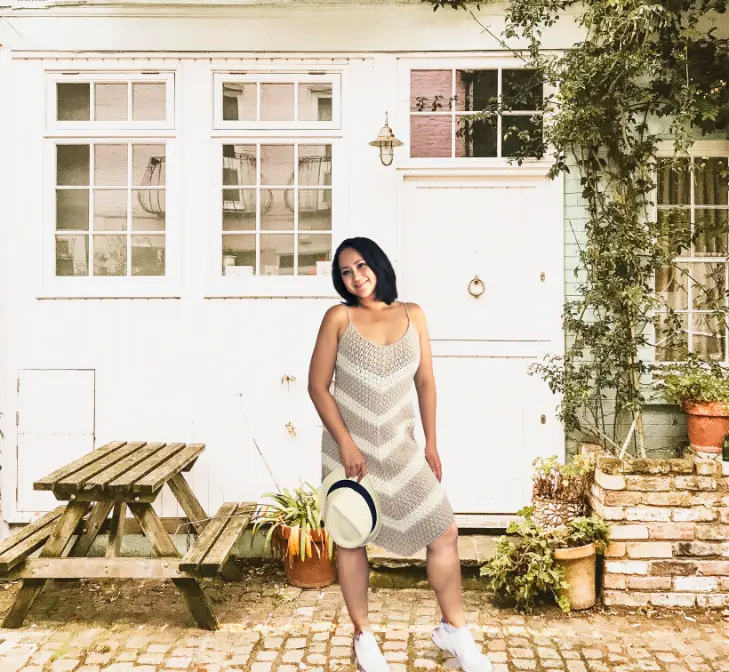
Design Inspiration
One of the features that I love about this beautiful dress is its versatility in fitting various body shapes and customization into a variety of styles.
I have intentionally designed all my patterns to be size-inclusive, ranging from XS to 5XL.
These amazing patterns are easily customizable, ensuring that everyone can create crochet dresses tailored to their own measurements.
And if you have never worked with Alpine Stitches, here is a step-by-step video tutorial on how it’s done. And I promise it’s not as difficult as it seems.
And if you are fond of this stitch pattern, here is another Alpine crochet pattern that you might like – the Crochet button Up Cardigan.
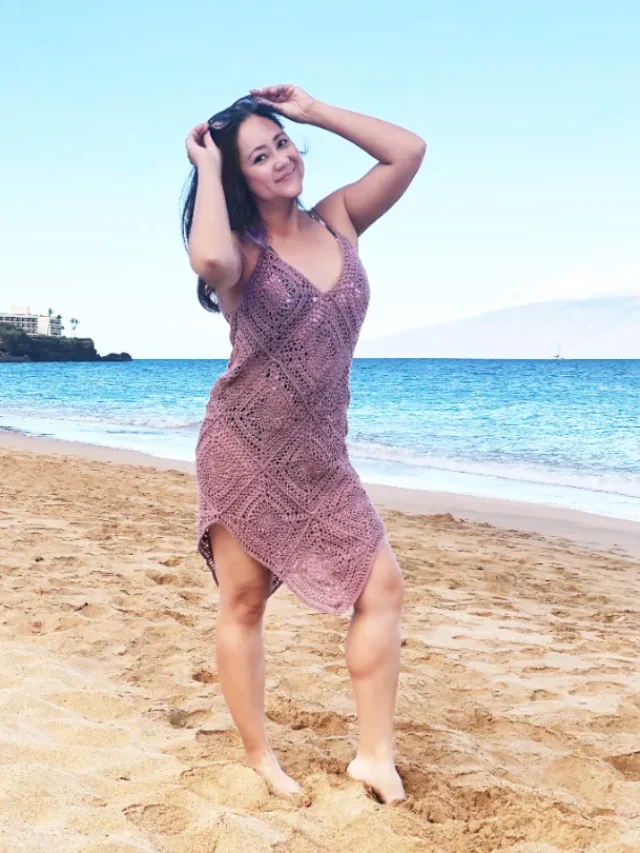
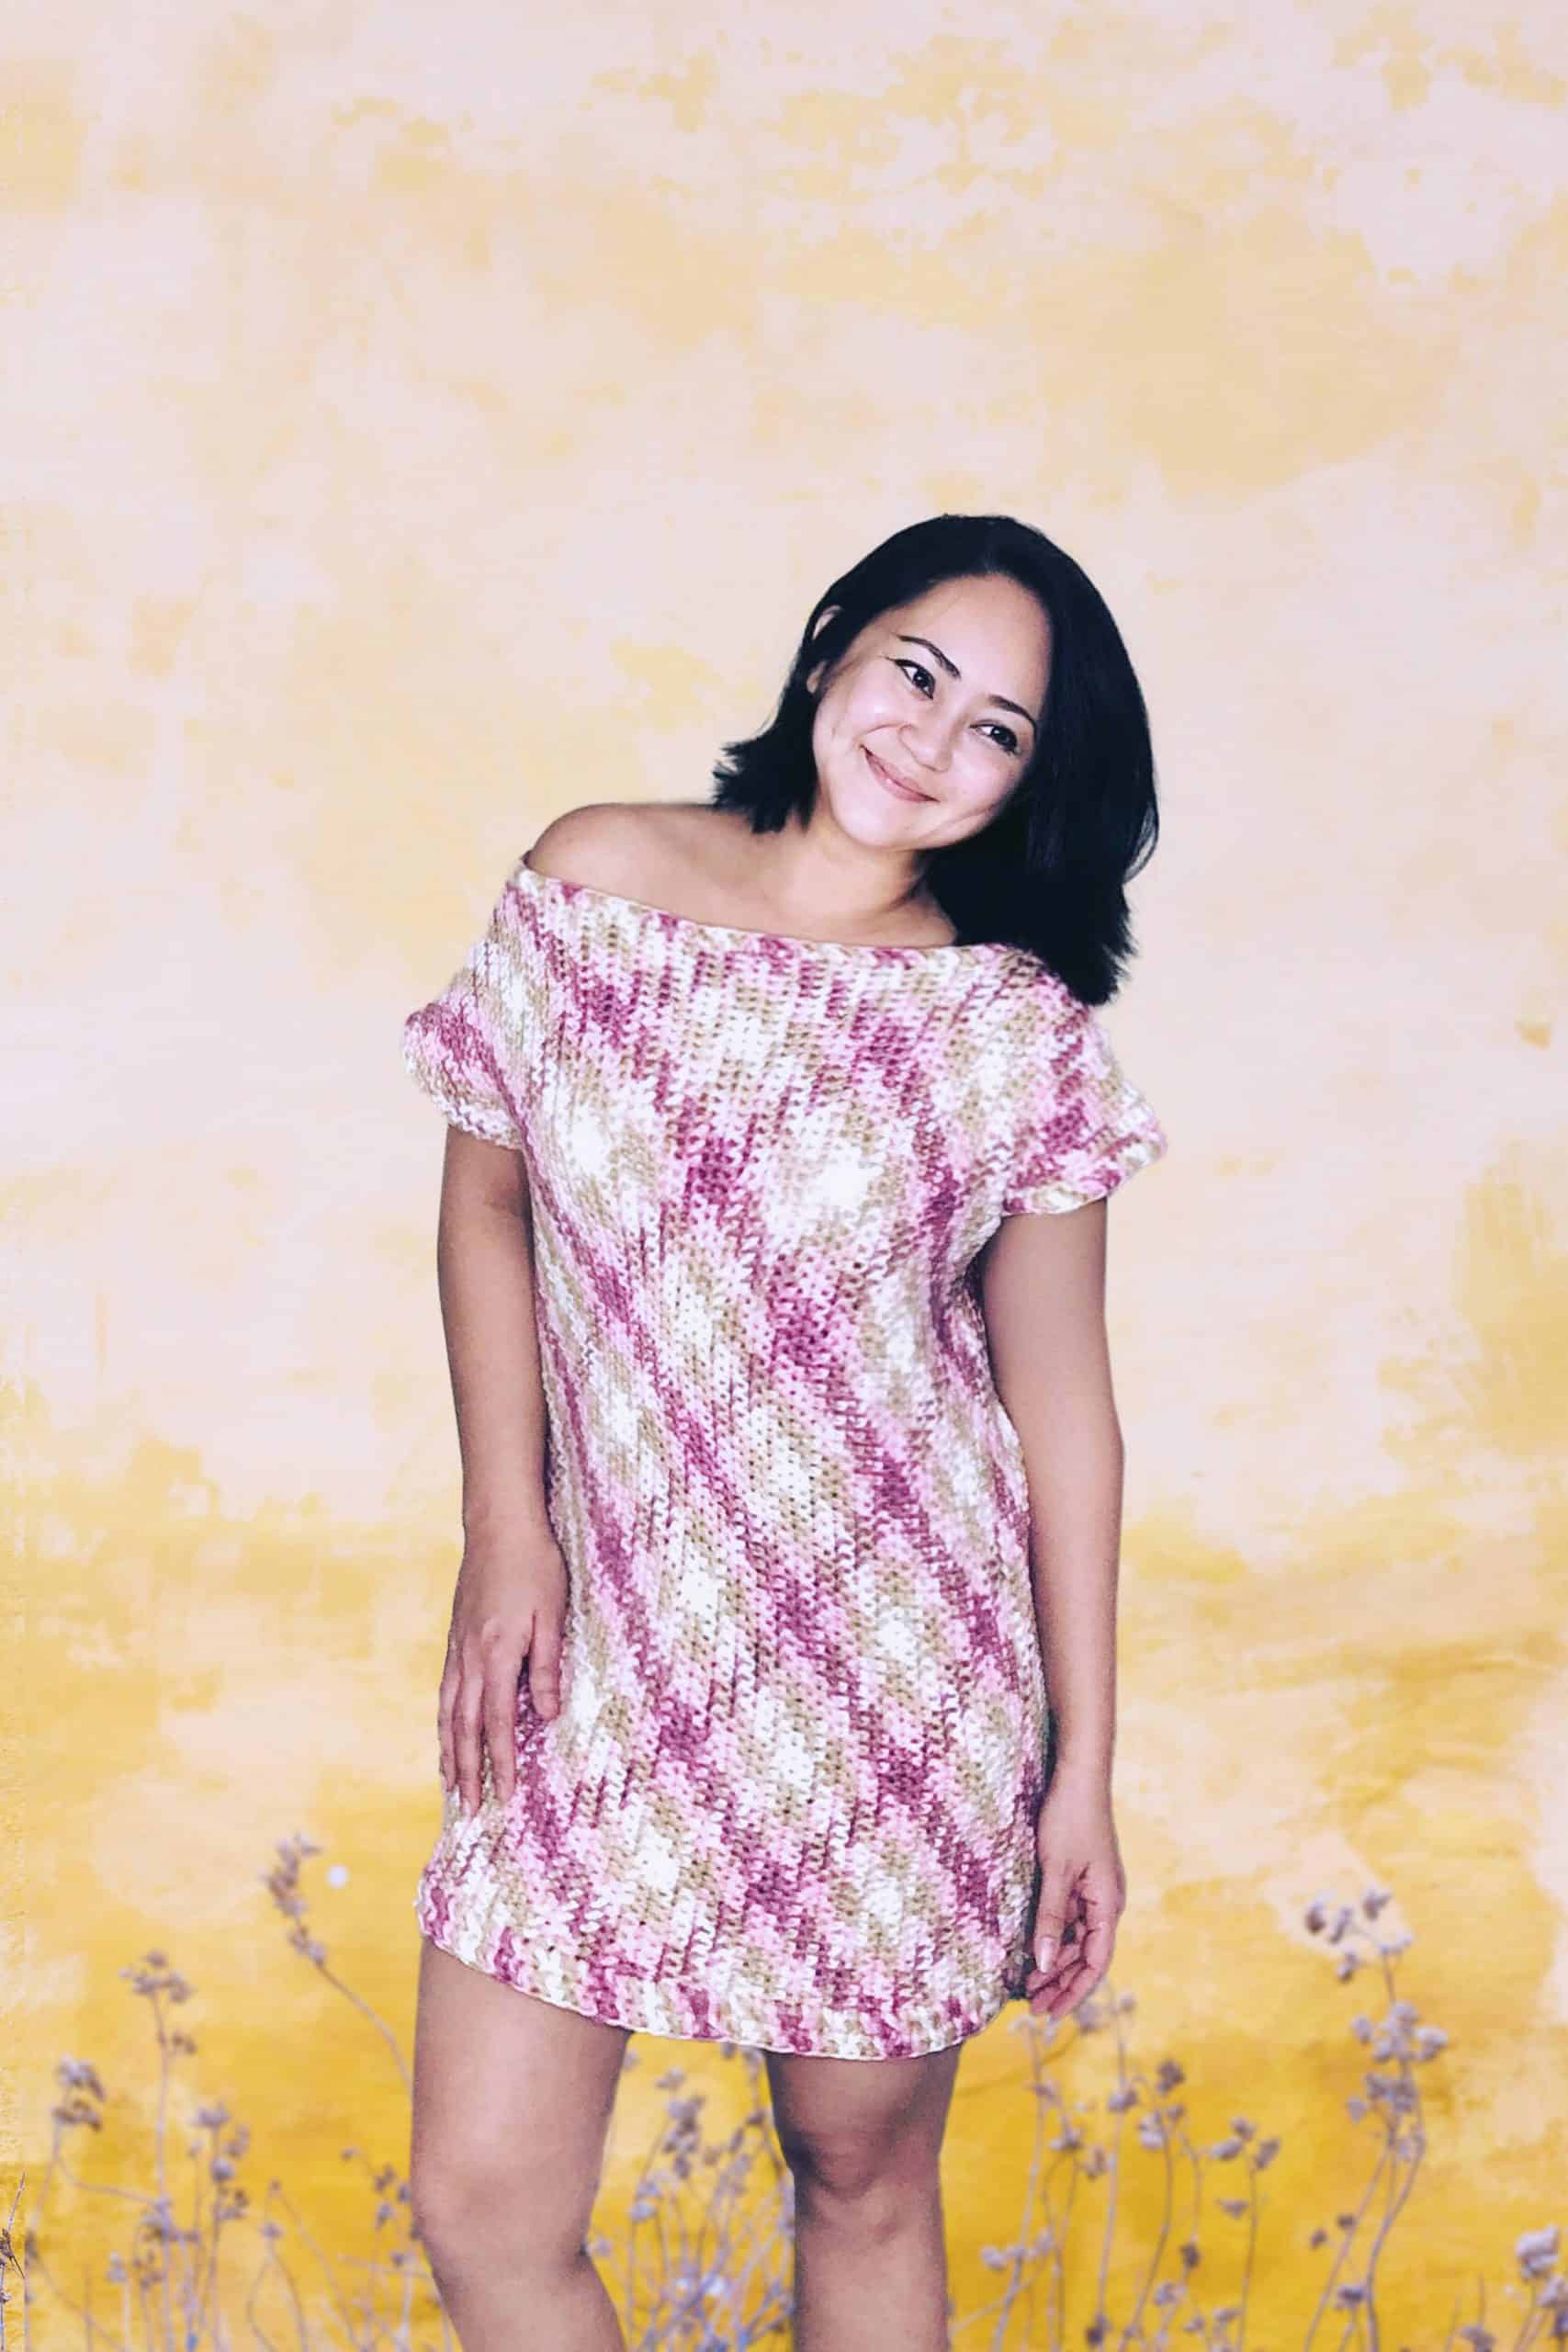
For those who are looking for more gorgeous dress patterns, here are some of my favorite free crochet dress patterns to choose from. These dresses are perfect for any special occasion.

Pattern Construction
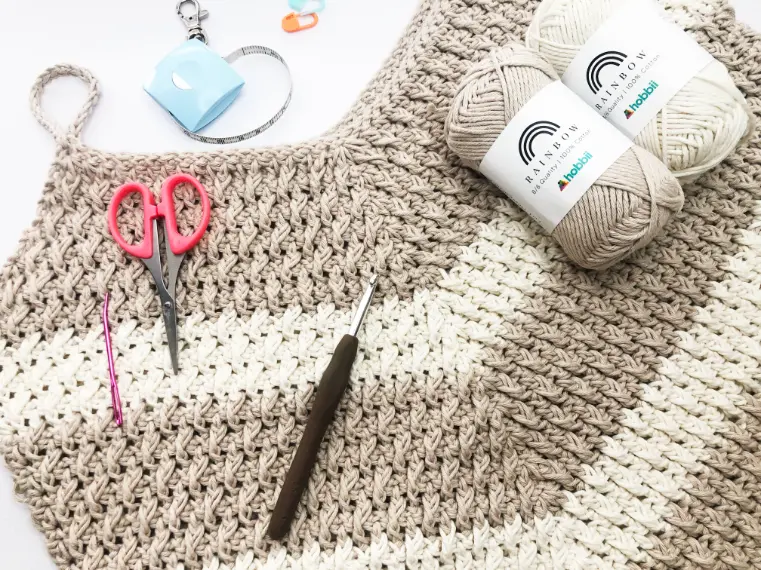
For this crochet dress pattern, the Alpine Stitch is worked across the entire body panel. The Alpine stitch is a charming combination of basic crochet stitches such as the Half Double Crochet and Front Post Double Crochet Stitches followed by a second row of Single Crochet stitches.
This repetitive stitch pattern allows for a stunning texture throughout the entire dress.
What makes this great pattern particularly user-friendly is its detailed instructions on how to work increased as well as maintaining rows, for a better fit.
This easy pattern allows for easy adjustments to customize the fit of any body type.
This pattern offers different sizes ranging from XS to 5XL. While accurate body measurements are key, creating a gauge swatch is crucial to determine your specific stitch count per inch based on the measurement chart included in the pattern.
This simple dress is made in two identical pieces, the front and the back. The length and shape are easily adjustable and don’t be afraid to add unique edging, trims, or embellishments.
Whatever your skill level, the video tutorial and step-by-step instructions will be able to guide you throughout the process.
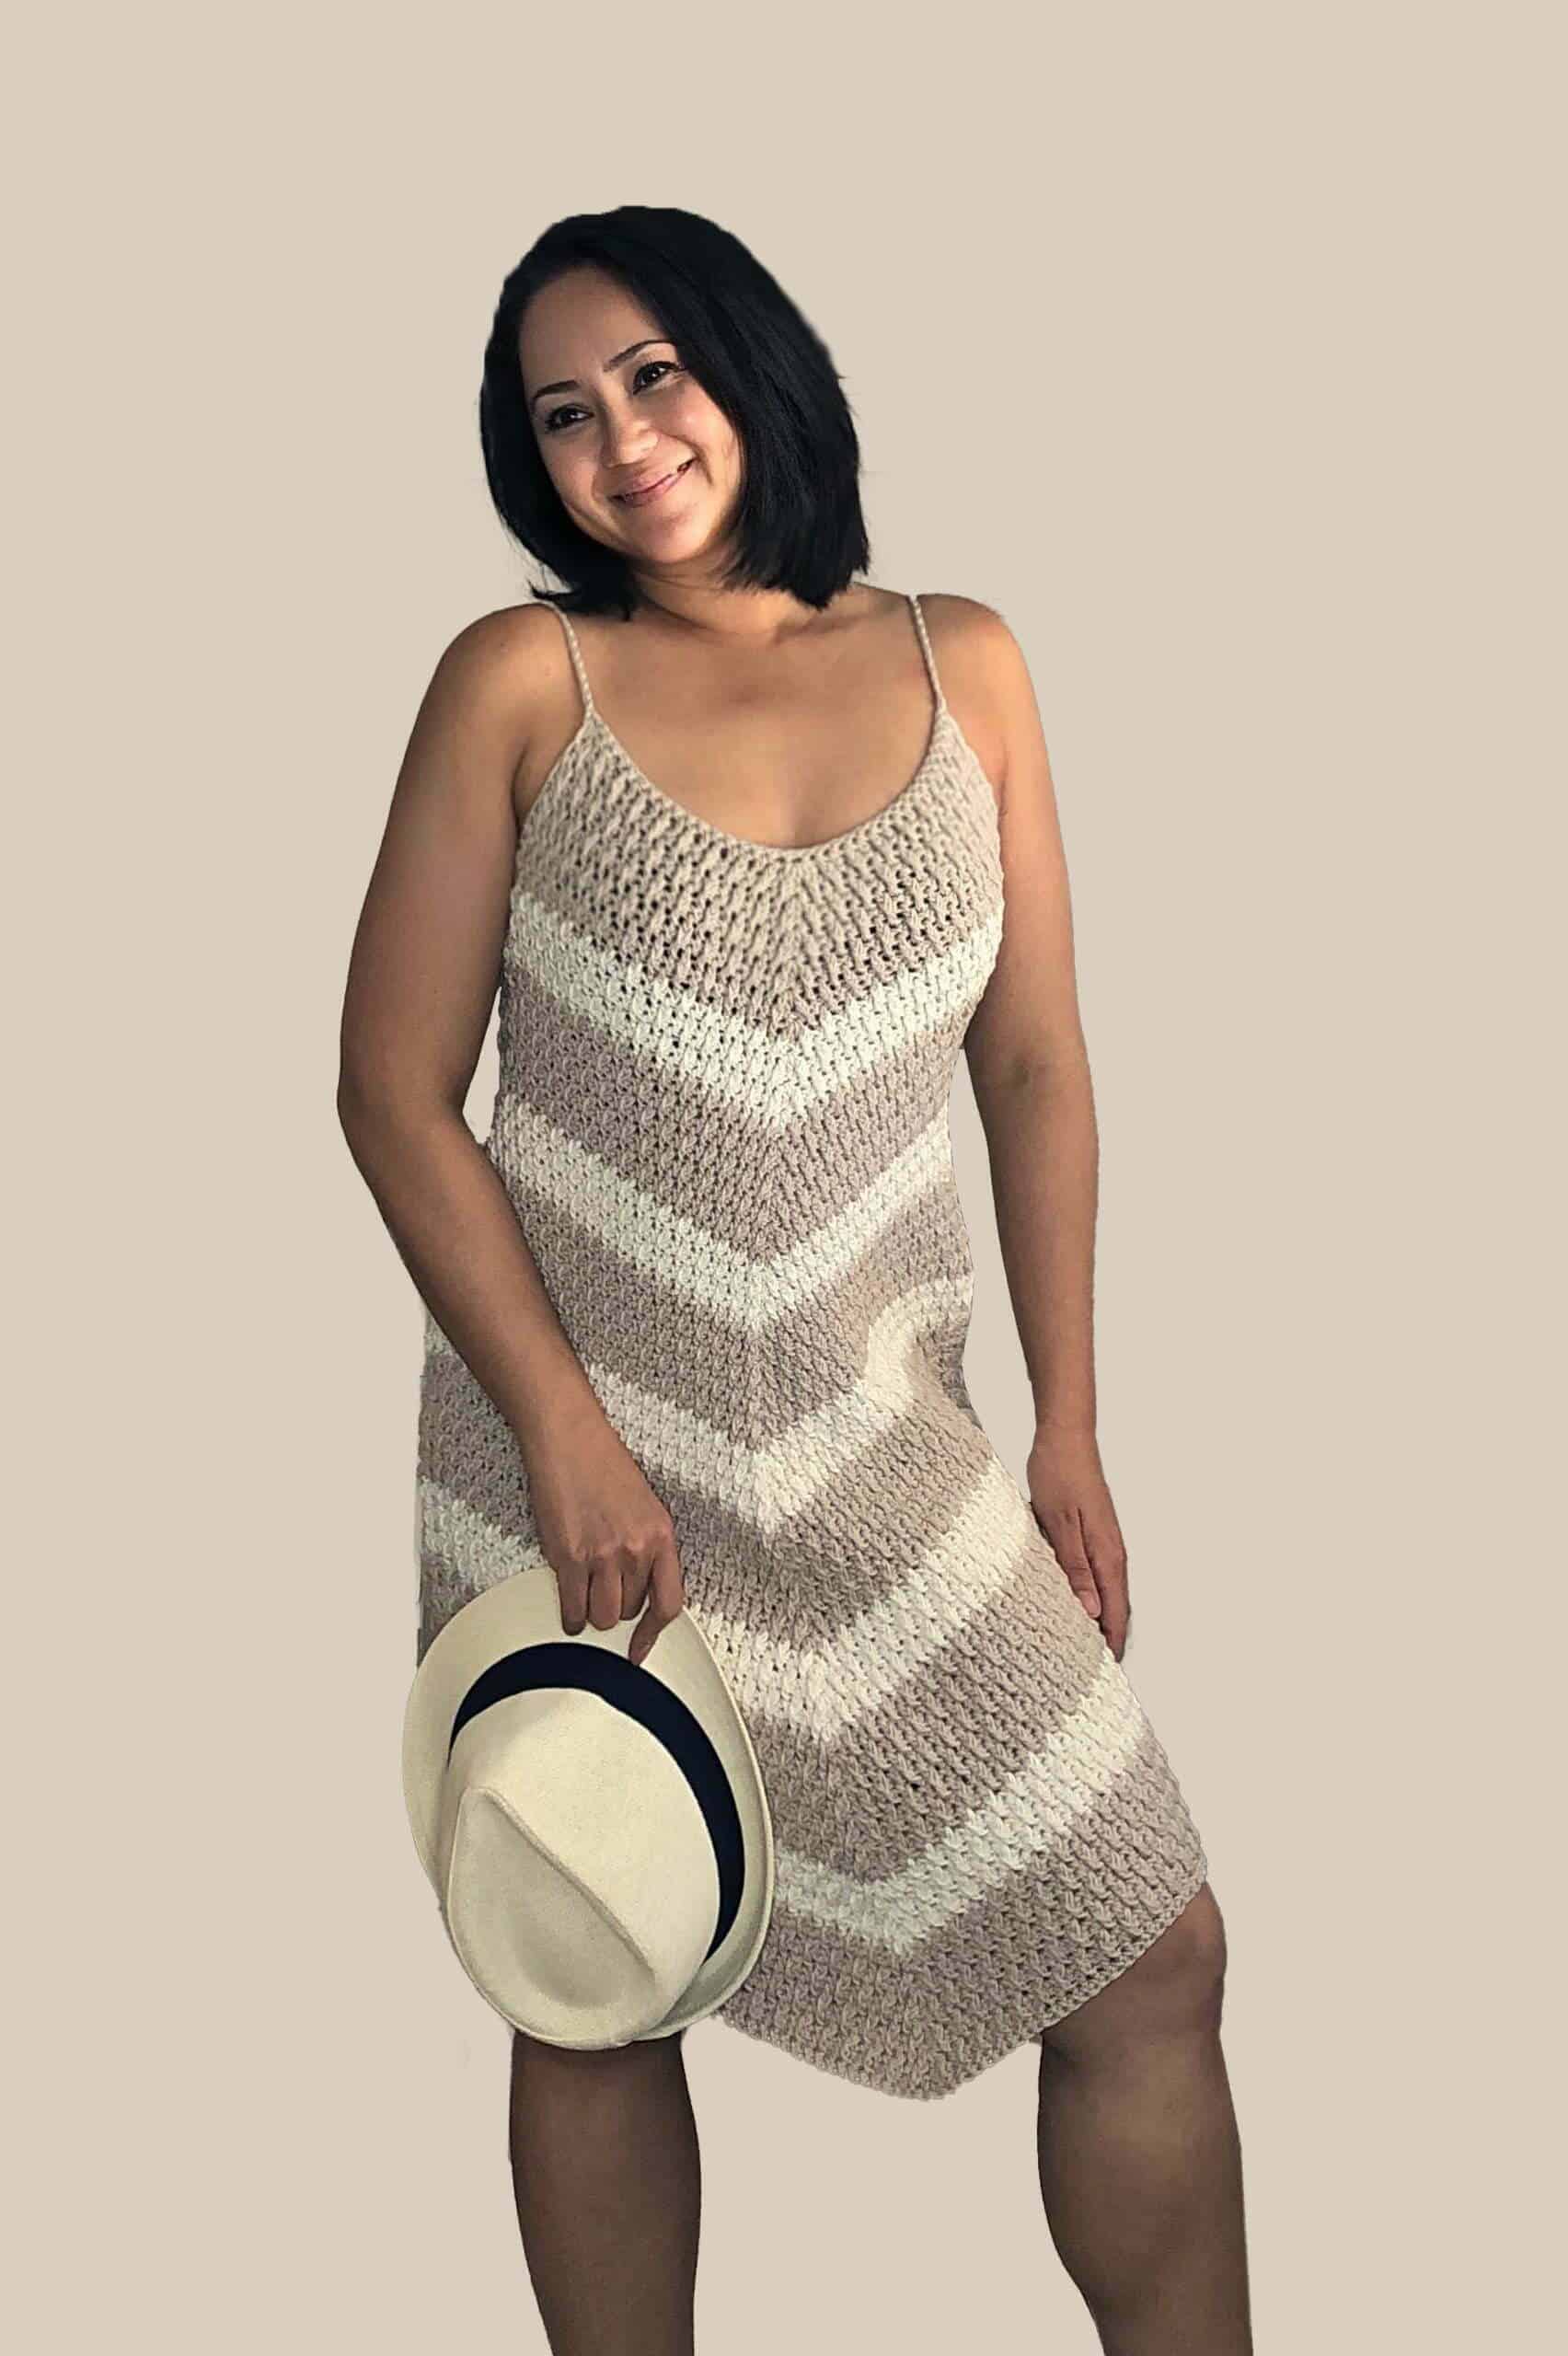
When it came to choosing the ideal yarn, I opted for an 8/8 100% cotton yarn from Hobbii in the color Tan and Fern which is a slightly heavier weight yarn.
They have a wide collection of colors and fibers, allowing you to find your favorite color and personalize your creation.
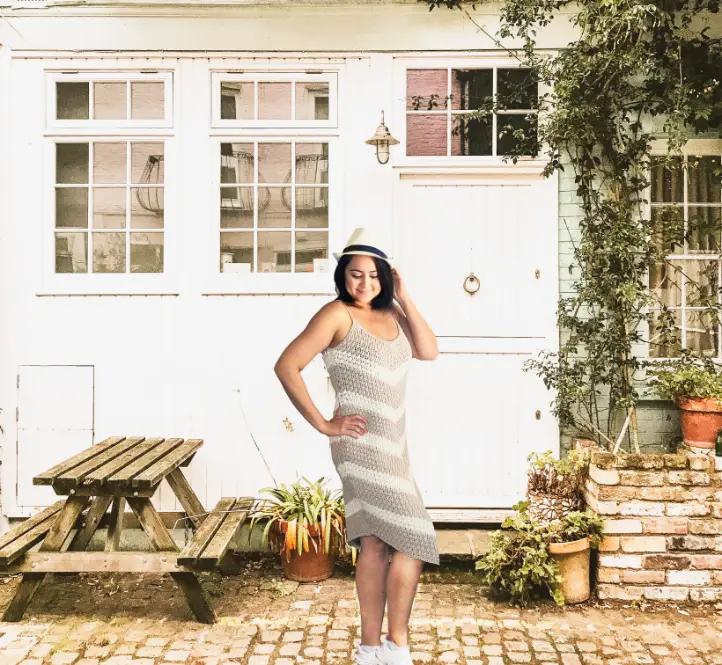
This yarn is a medium-weight yarn making this a sturdy dress ideal for work or play perfect for those warmer months which makes it a great addition to your spring or summer wardrobe.
The best yarn to use is ideally a medium to lightweight cotton yarn as this choice not only drapes beautifully but also keeps you cool and comfortable in warmer weather.
Explore various shades to match your style and create your own unique crochet summer dress.
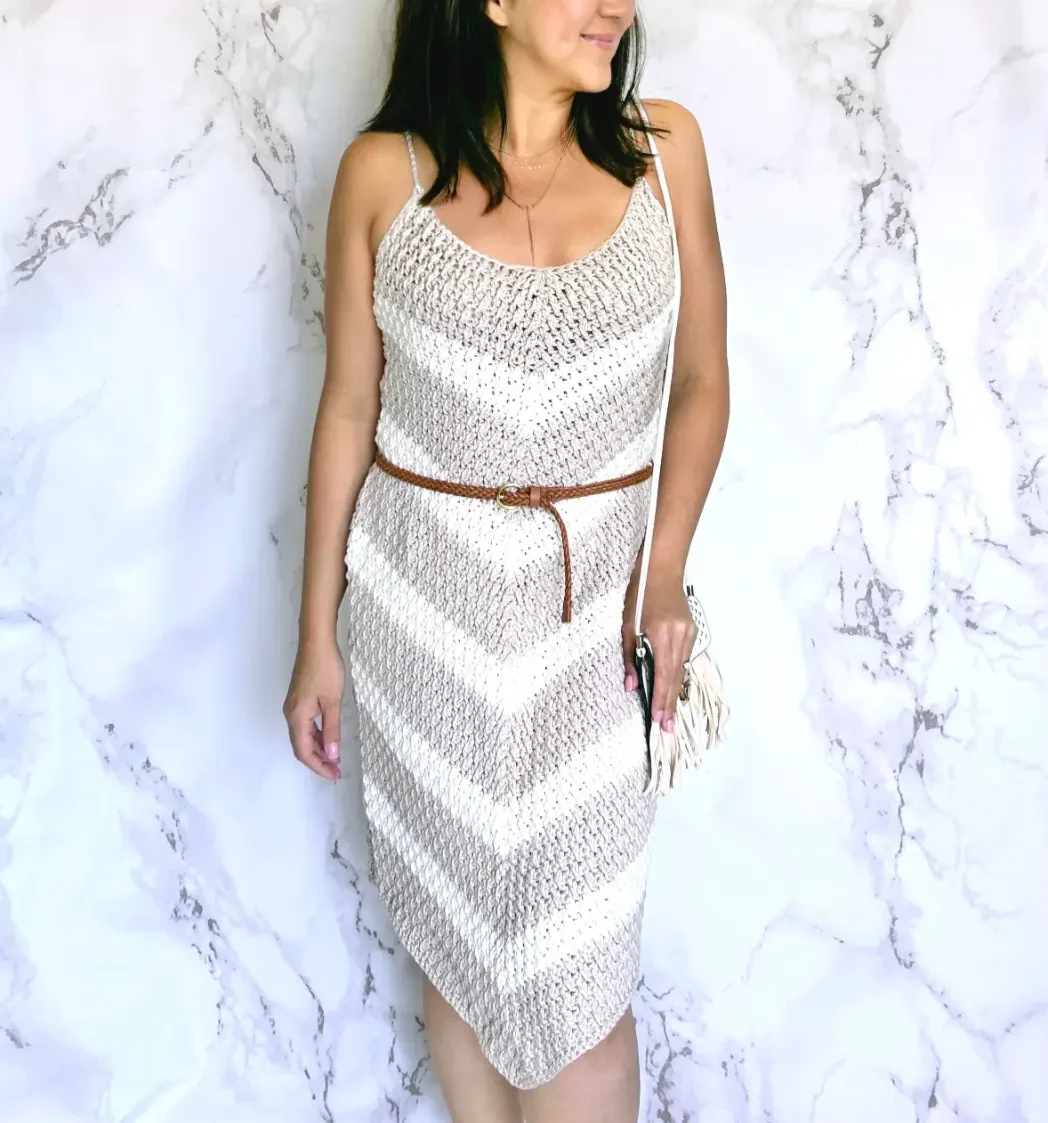
This little dress is truly the perfect dress! With its versatility, dress it up with heels and accessories for a chic evening look, or keep it casual with sneakers and a denim jacket for a relaxed vibe.
Don’t forget to check out all the free dress patterns in my pattern store ranging from summer dresses to sweater dresses, there’s bound to be one or five that you might just love.
Tools And Materials:
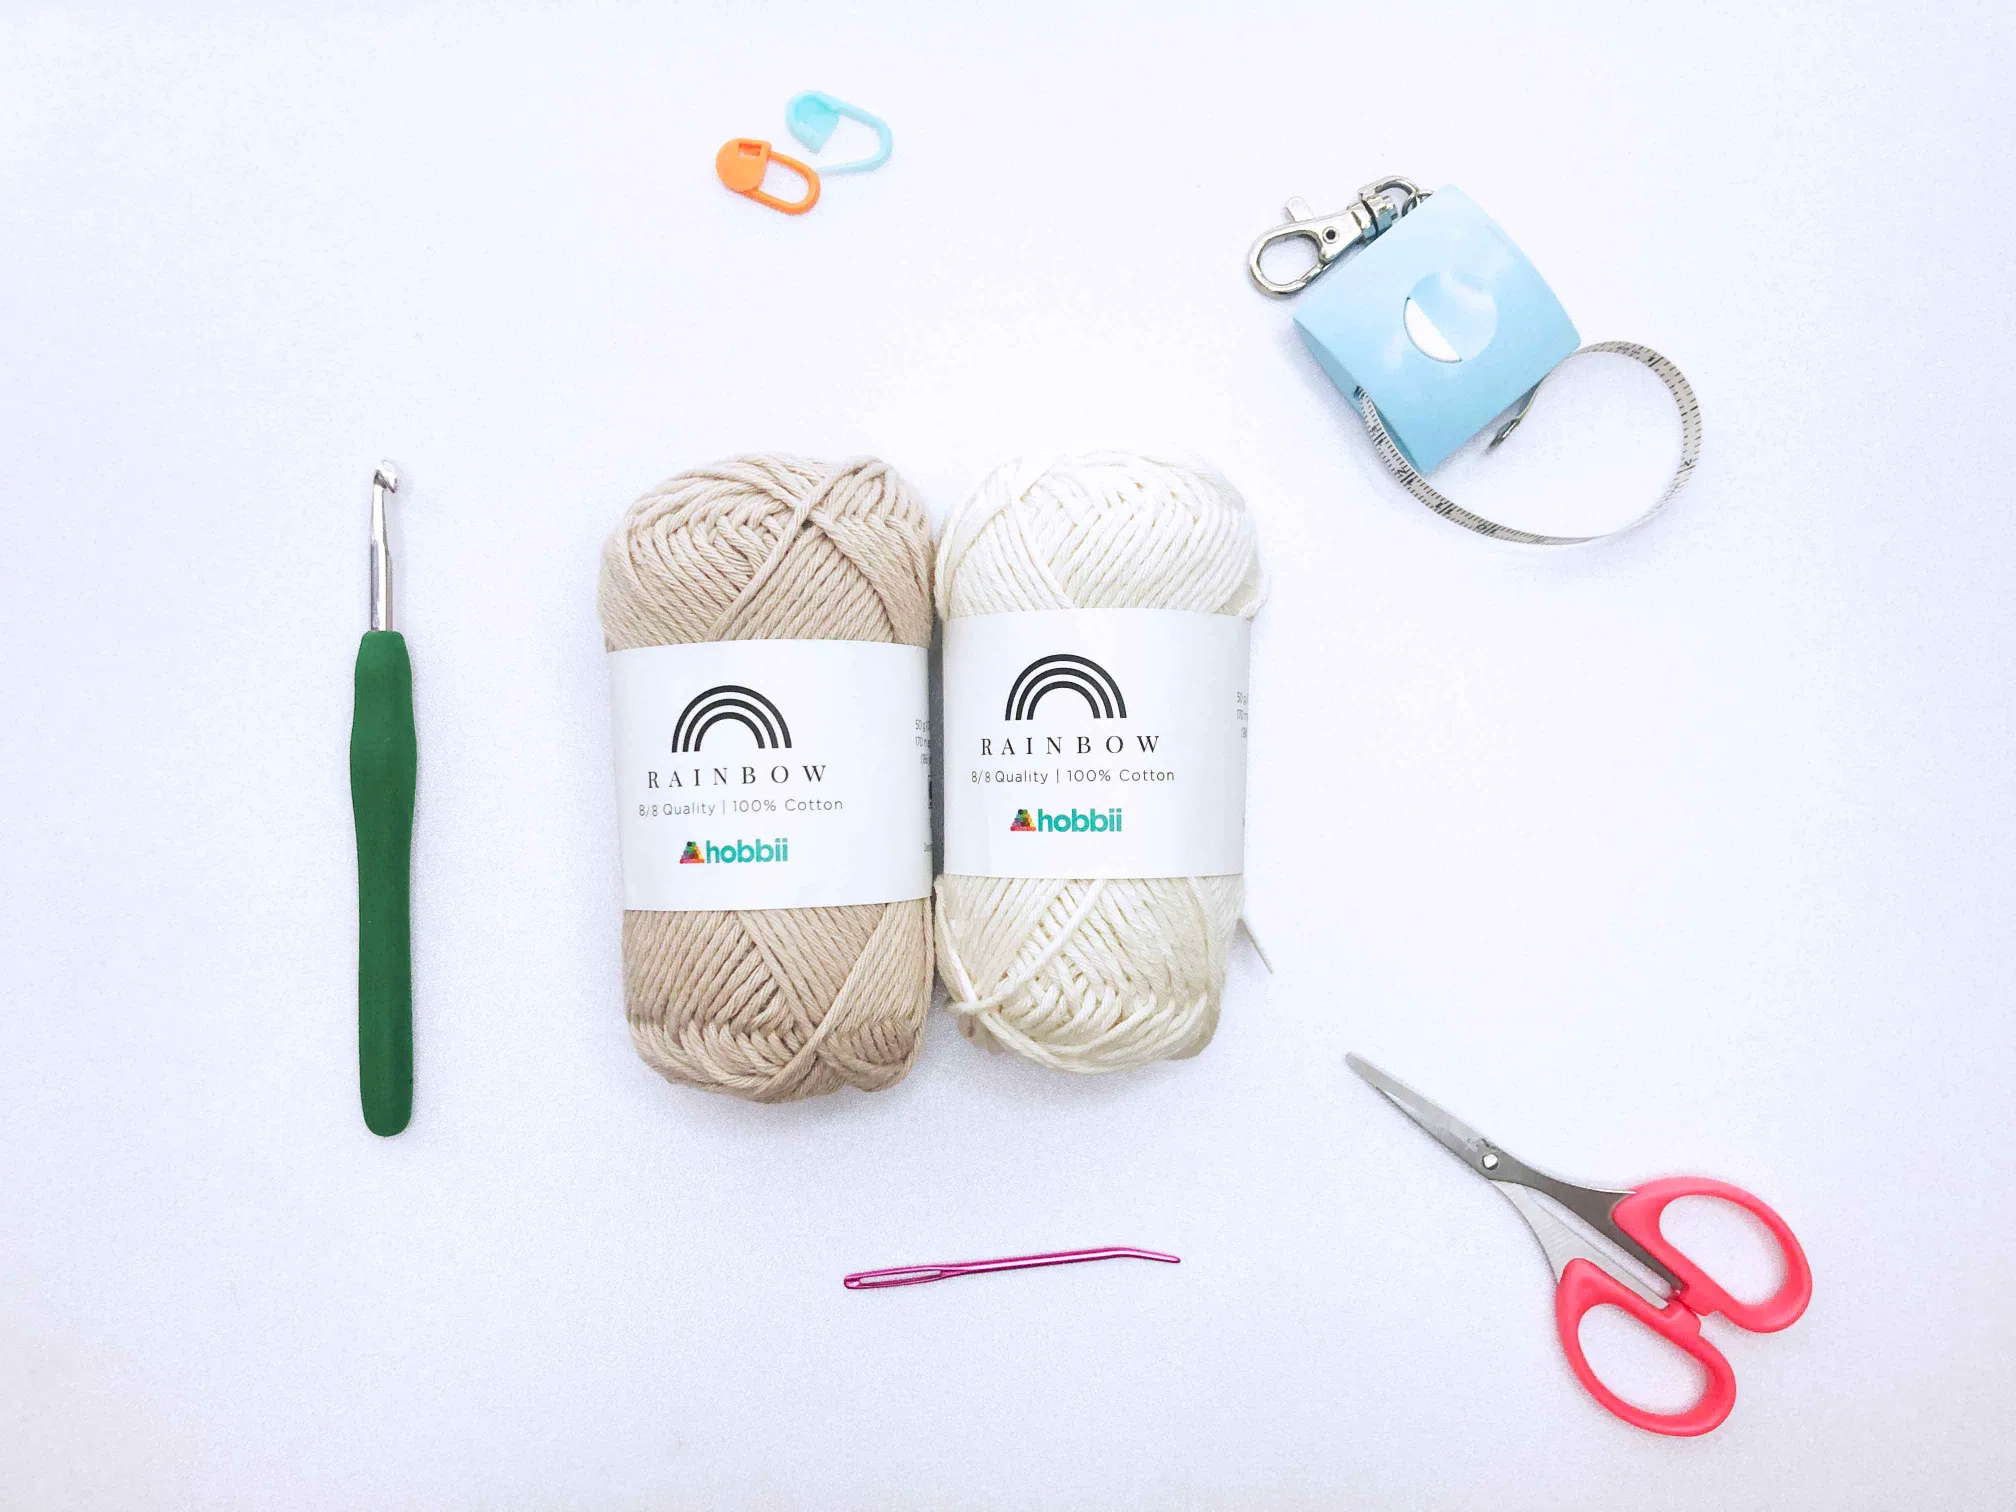
Yarn Weight: Category 3
Brand: Hobbii Yarn Rainbow 8/8
Color: Natural White & Light Tan
Hook: 5.5mm
Gauge: 6.5 rows x 12 Alp Sts= 4 x 4” / 10 x 10 cm
No. Yarn: XS [S/ M /L/ XL] [2XL/ 3XL /4XL/ 5XL] = : 15[16/ 17/ 18/ 19]
[20/ 20/ 21/ 22] (estimate dep on length) 65% Tan / 35 % White
Tools: tapestry needle, measuring tape, scissors, stitch marker
Skill: Easy – Intermediate
PART 1: Body Panel
Working from top to bottom, starting with the Tan (T) yarn color.
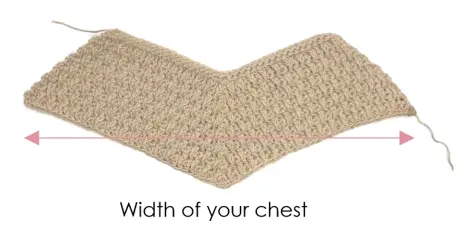
For an accurate foundation row, measure your chest from bra strap to bra strap in inches, multiply by 3. Then add 2 or 3 to get an odd number.
Eg: 10in x 3 = 30 + 3 = 33 Foundation Chains
1. Foundation Row: Ch 29 [33/ 37/ 41/ 41] [41/ 45/ 45/ 45] , Ch 1 to start the next row, turn
2. Row 1: Sc on the 2nd Ch from hook and each St across, Ch 1 turn
3. Row 2: Hdc each St across, Ch 1 turn
4. Row 3: Place a SM in the middle of the row or on the 16 [17/18/ 20/ 21] [21/ 21/ 22/ 22] St. On the 1st St, work 2Hdc, Hdc until before the SM, 5Hdc (Shell St) on SM, Hdc across, 2Hdc on the last St, Ch 1 turn
5. Row 4: Sc each St across, Ch 1 turn
6. Row 5: 2Hdc, on the next post, work FpDc St. Hdc on the 3rd St. Rep (FpDc, Hdc) until the 5Hdc Shell St. Hdc on the 1st shell St, FpDc on the 2nd St, 3Hdc on the 3rd St, FpDc on the next, Hdc on the last shell St. Cont (FpDc, Hdc) rep until the last St, 2Hdc on the las St, Ch 1 turn
7. Row 6: Sc each St across, Ch 1 turn
8. Row 7: 2Hdc, FpDc St, Hdc, Rep (FpDc, Hdc) until the 3Hdc St. FpDc on the 1st St,
3Hdc on the 2nd St, FpDc on the 3rd St, Cont (Hdc, FpDc) rep until the last St, 2Hdc on the last St, Ch 1 turn
9. Next Rows: Rep Rows 6 & 7 (Alpine Sts) for a total of 1 [2/ 3/ 3/ 4] [6/ 7/ 8/ 11] more set(s) or until you’ve reached your pref bust width. On the last St, prepare to switch
yarns (optional).
10.On the last St before closing up the St, Pt yarn W (White) to close the last St, Ch 1 turn,
Next, I will show you how to maintain the same number of stitches and how to increase gradually (changes are shown underlined)
For this example, I have maintained the same no of Sts from bust to waist, then slightly increasing at the hips, then maintaining the same number of Sts after the hips all the way down.
Depending on your body shape, do adjust accordingly.

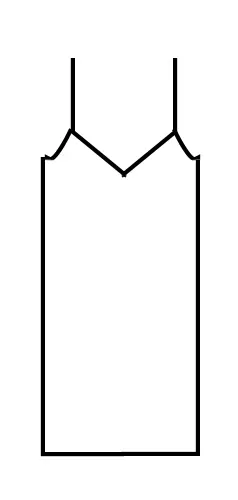
Maintaining Same No of Sts
- Hdc2tog, Hdc, FpDc St, Hdc, Rep (FpDc, Hdc) until the 3Hdc St. FpDc on the 1st St, 3Hdc on the 2nd St, FpDc on the 3rd St, Cont (Hdc, FpDc) rep until the 4th last St, Hdc, Hdc2tog, Ch 1 turn
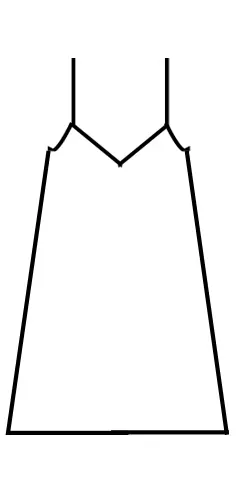
Increasing Gradually
- Hdc, FpDc St, Hdc, Rep (FpDc, Hdc) until the 3Hdc St. FpDc on the 1st St, 3Hdc on the 2nd St, FpDc on the 3rd St, Cont (Hdc, FpDc) rep until the last St, Ch 1 turn
Increasing Drastically (Like Part 1: Steps 1 – 9)
- 2Hdc, FpDc St, Hdc, Rep (FpDc, Hdc) until the 3Hdc St. FpDc on the 1st St, 3Hdc on the 2nd St, FpDc on the 3rd St, Cont (Hdc, FpDc) rep until the last St, 2Hdc on the last St, Ch 1 turn
Tip: Your next stitch should be the opposite of the St below. Ie work a Hdc on top of the prev FpDc or work a FpDc St on top of the prev Hdc St.(Step by step tutorial here)
- For this example I have worked a total of 3 Alpine rows in White, followed by 5 Alpine rows of Tan while maintaining the same number of stitches.
- Next, I gradually increased at the waist by rep 3 Alpine Rows in White and 5 Alpine rows of Tan.
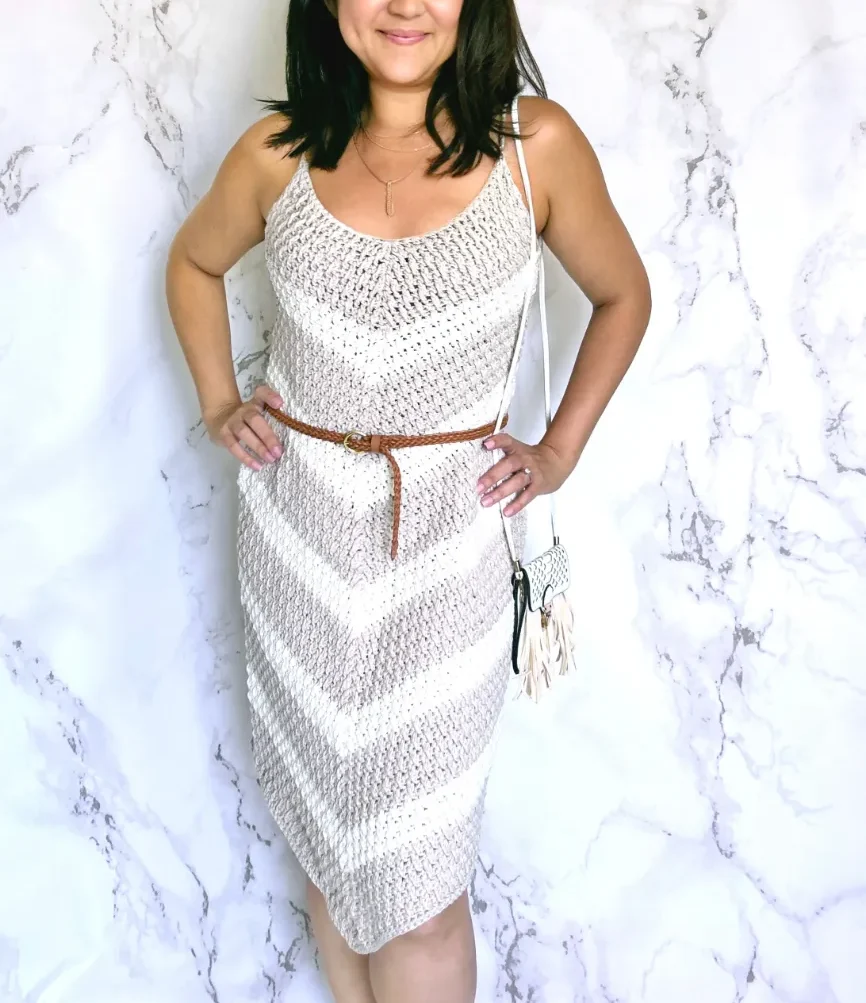
- Finally, I stopped increasing and maintained the same number of stitches for 3 more sets (White and Tan rows) until the total length reaches my shin, approx. 30.5 from chest to center bottom dress. ( I am 5”3 / 160cm for ref) – Ref back to image 6 for full visual.
- On the last set, work 2 rows of Sc to complete panel. Bind off and make a second piece.
PART 2: Joining Panels
- Place both panels together WS out, and Sc each stitch across. Stop where the increase ends.
- Bind off and rep on the other side.
PART 3: Straps (See tutorial)
- Measure the length of strap you need and pull 3x the amount of yarn to work an iCord.
- Eg: I need 8” of strap. Multiple by 3 = 24” of yarn.
- Insert hook through the top of the dress where the straps should be, Pt a loop from the ends of the earlier pulled yarn. (Pulled yarn should be in front)
- Next, wrap the front yarn over the hook through the front to the back,
- Yarn over with the working yarn
- Pull through both loops.
- Rep steps 3 – 5 until you reach your pref length and have 1 more St to go.
- Remove hook and insert it through the front body panel / opposite side of the strap, insert hook, draw up working loop,
- Rep steps 3 – 5 once more, Ch 1 to secure. Bind off.
- Rep Steps 1 – 8 on the other side.
- Weave in all loose ends.
END
***
If you are looking for the entire tools used to make this Cafe Latte Crochet Dress pattern, I’ve listed them all right here:
♥ 5.5mm Mdoker Ergonomic Crochet hook
♥ Hobbii Yarn Rainbow 8/8 in the color Natural White & Light Tan
♥ Cafe Latte Crochet Dress Printable PDF (Ad Free & Picture guided!)


2 Responses
This is one of my favorite cotton yarns! So many colors, and often on sale. 🙂 The slanting and softening of the Alpine Stitch makes for a lovely textured, but flexible fabric. Initially I was thinking the Alpine Stitch would be far too stiff, but with the hdc worked in there it’s going to be a softer version. Very clever!
I have 40 or so skeins of this yarn in many colors (afghans were planned) and now I’m thinking I need to make a tank top with some of it using your beautiful pattern, and well-written make-it-your-size instructions.
That’s so kind of you to say! Thank you so much! 🥰