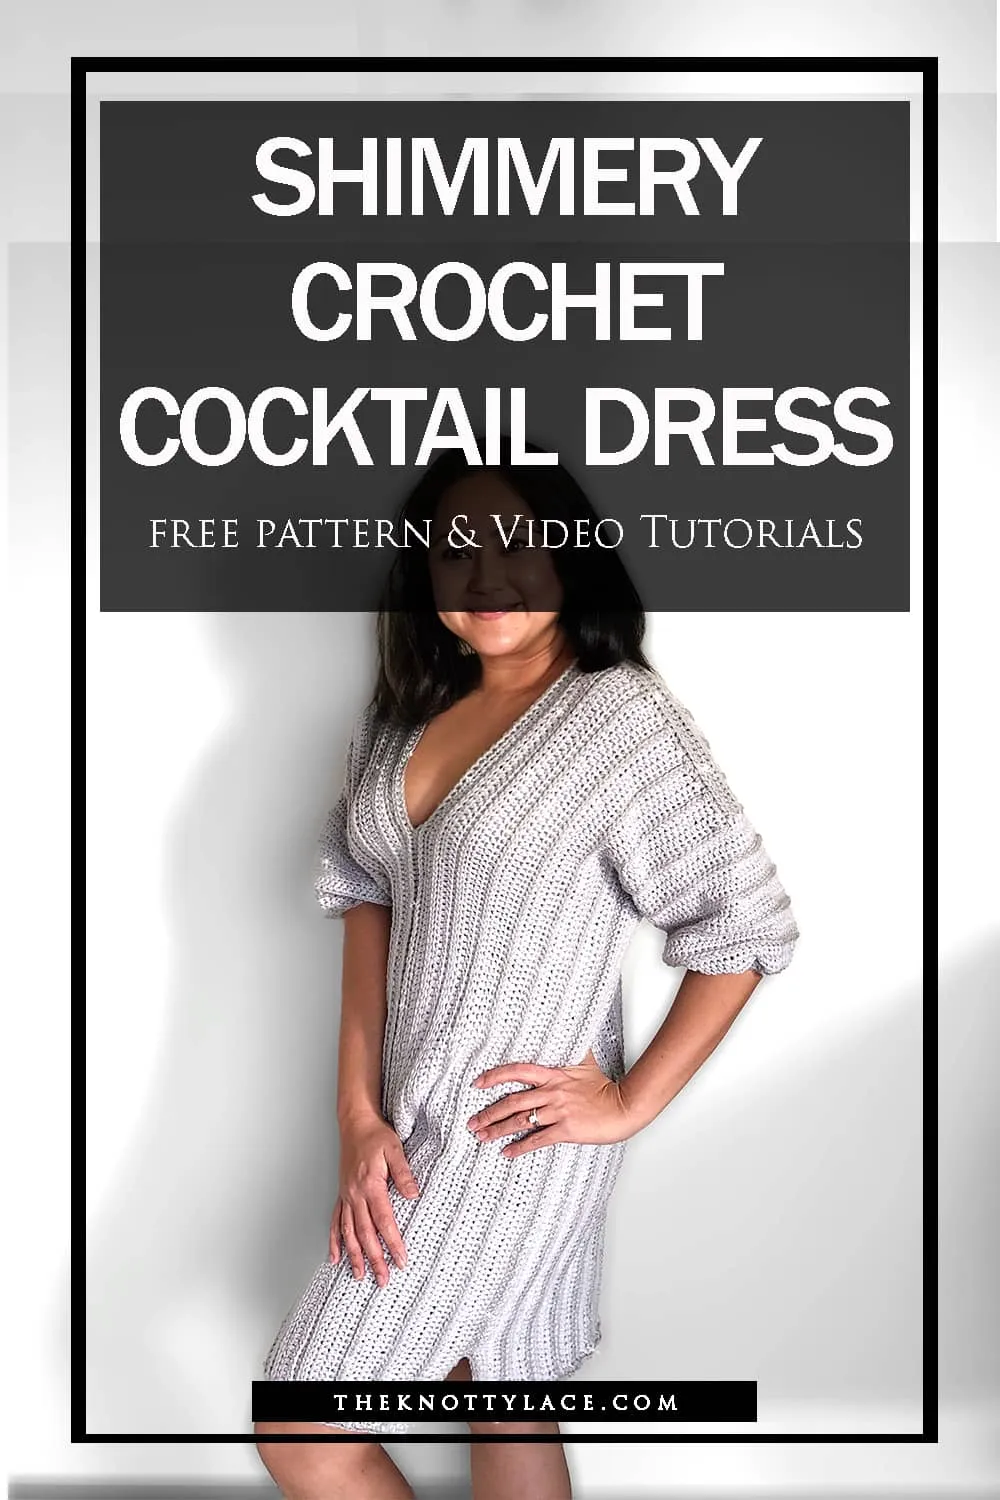
DESIGN INSPIRATION
The idea behind making a classy crochet dress is its simplicity and versatility. That was key to what I was aiming for. It comes with an easy repetitive pattern, with basic stitches throughout the entire body piece.
This pattern instruction also comes with a step-by-step measure-as-you-go guide. It can be made exactly to fit your desired size.
This Christmas, I’ll be heading up to Leavenworth with the family for some sledding and bavarian adventure, and wanted to incorporate some frosty elements into this dress to keep up with the holiday theme.
Hopefully, I’ll be able to share some fun pictures with you before the year ends  ! Where will you be heading this Xmas?


COCKTAIL DRESS CONSTRUCTION
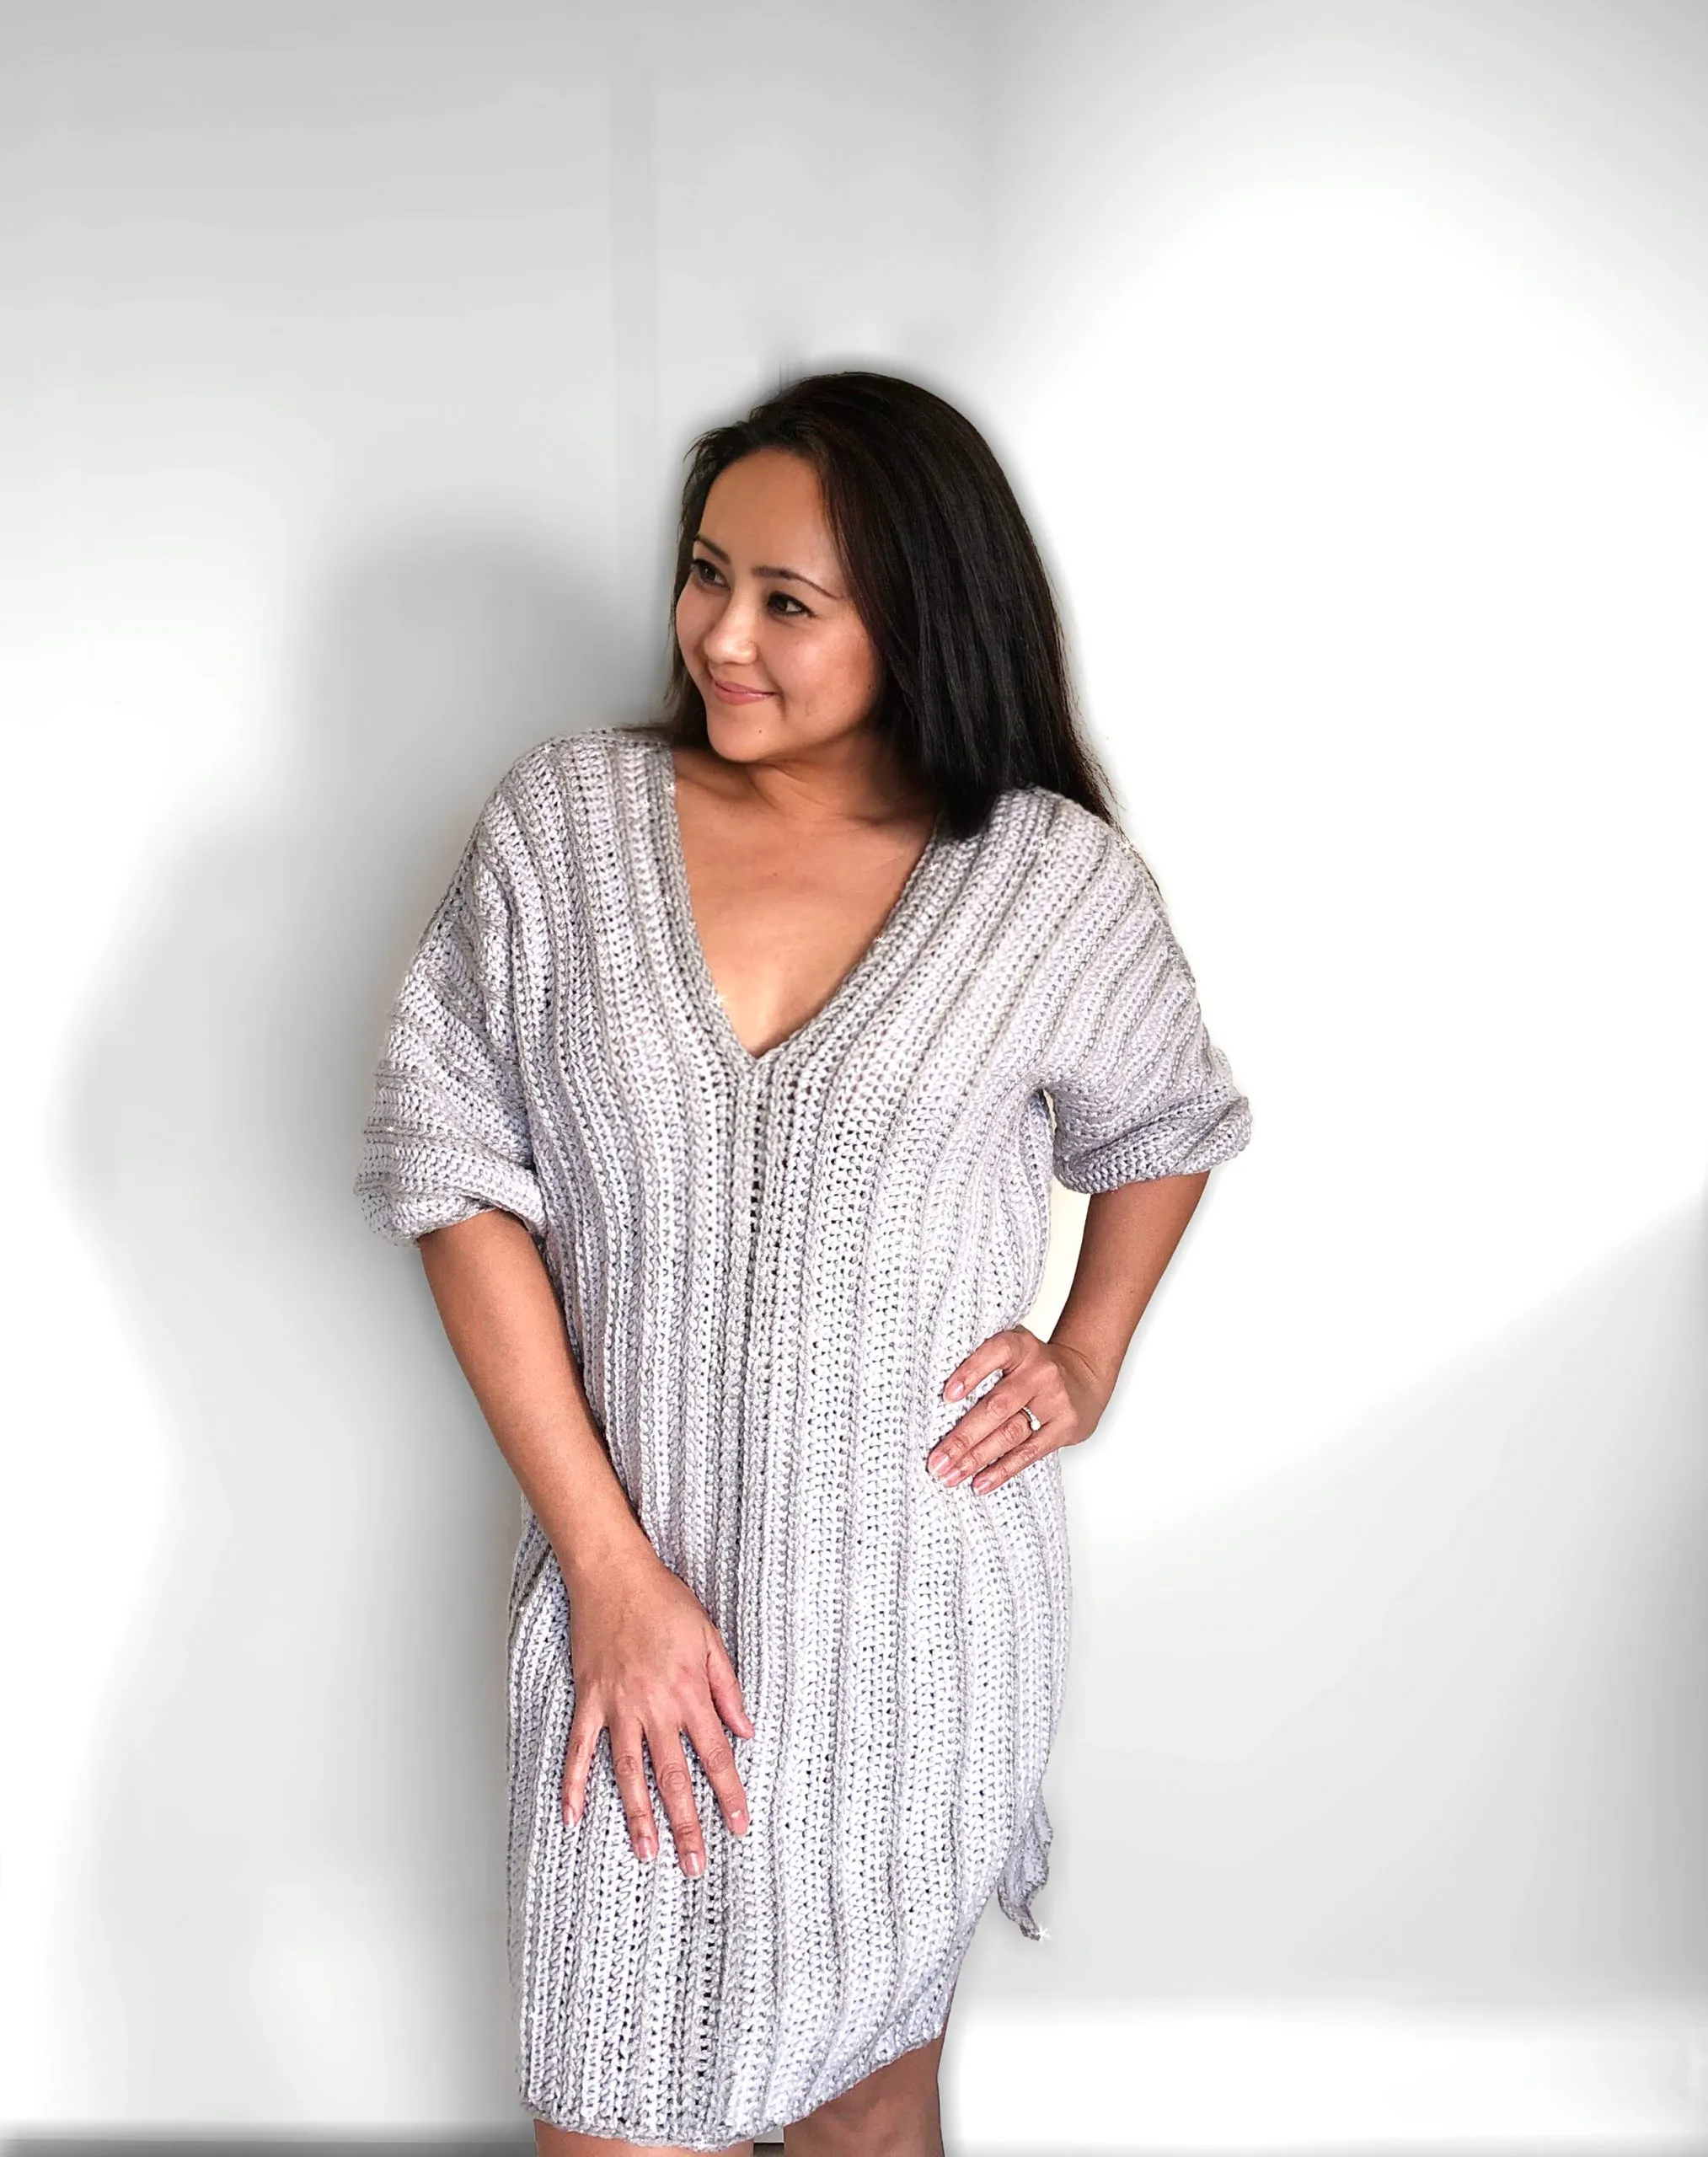
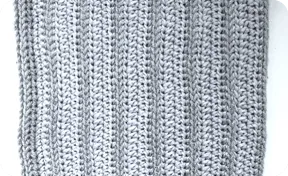
This dress is worked from side to side, first working on one half of the front panel. The overall pattern of this dress is worked up in a 4-row set. The one “Shiny” factor that adds all the glamour to this crochet dress is the silver tinsel yarn that pops up in this “knit-like” stitch.
These 2 yarns that are both in the color Light Gray really compliments each other really well without overpowering one another. It’s all about the proper blend! Hah!
Once you have mastered these 4 rows, the entire body panel is then worked up in repeat sets rows, while joining the second half panel through the neckline onwards.

Finally, the sleeves are extended and ties are added to the back. But this is completely optional if you like that extra embellishment!
I am using a 5.0mm hook and Cotton Crème yarn by Loops & Threads and Red Heart Super Saver Metallic in Light Gray but any category 4 yarn will work too!
This crochet dress can easily be adjusted to fit your preferred size when measured and crocheted along the way. And if you choose to measure along, check out how much yarn you actually need with this yarn calculator here.
Shimmery Crochet Cocktail Dress | Free Written Pattern
INSTRUCTIONS
PART 1: Front Panel
• Working from side to side, measure the length from your shoulder down to mid-thigh (or your pref length) and multiply by 3.5. The measurements given below are only estimates.
• ie: 30”x 3.5 = 105 chains. (Note that there will be a shoulder strip of 1.3in / 3.3cm to take into consideration)
• For ref I am 5’3” (160cm) and this Dress reaches my mid-thigh in size M.
Prepare Yarn A
1. Foundation: Ch 105[109/ 112/ 116/ 119] [123/ 126/ 130/ 133] + 1 to start the next row
2. Row 1: Sc each Ch across, Ch 1 turn
3. Row 2: FPHdc across, Hdc on the last St, Switch to Yarn B, Ch 1 turn, Snip off Yarn A. (See how to switch yarns and Stitch over excess yarn here)
4. Row 3: Sc each St across, Ch 1 turn
5. Row 4: Sc each St across, Switch to Yarn A, Ch 1 turn. Snip off Yarn B.
6. Row 5: Sc each St across, Switch to Yarn B, Ch 1 turn. Snip off Yarn A.
7. Row 6: FPHdc across, Hdc on the last St, Ch 1 turn.
8. Row 7: Hdc each St across, Ch 1 turn
9. Row 8: Hdc each St across, Switch to Yarn A, Ch 1 turn. Snip off Yarn B.
10. Row 9: Sc each St across, Switch to Yarn B, Ch 1 turn. Snip off Yarn A.
11. Next Rows: Rep Row 6 – 9 for 3 [4 /4 /5 /6 ] [6 /9 /8 /8] more times
12. Next Row(s): (ref to your size)
• XS/ L/ 3XL – Rep Row 6
• M/ 2Xl/5XL – Rep Row 6 – 8
• S/XL/4XL – Bind off
You may also measure around your widest body area ie Bust/ Hips to get your pref width. Then plus 2” / 5cm, divide into 4. ie 40” + 2 ÷ 4 = each panel should be10.5in / 26.7cm
13. Bind off
Part 2: Shoulder Strip
1. Turn to the front panel RS up, and insert your hook through the top right first row’s post and Ch 1,
2. Row 1: With Yarn A, Sc each row’s post across, Ch 1 turn
3. Row 2: FPHdc across, Hdc on the last St, Ch 1 turn
4. Row 3: Sc across, Ch 1 turn
5. Row 4: FPHdc across, Hdc on the last St, bind off
Part 3: Add a Second Front Panel
Measure between 8 -10in /20 – 25cm (or your pref neckline length) from the middle of the shoulder strip downwards on the Foundation Row and place a SM.
1. Foundation Row: Insert your hook through the St at the SM on the WS and with Yarn A, Chain the same number Sts from the top down to the SM (excluding the Shoulder portion), Ch 1 to start the next row
2. Row 1: (RS) Sc each Ch across and across the entire front panel
3. Next Rows: Rep all steps in Part 1 (Row 2 onwards) and all of Part 2.
4. Bind Off
Part 4: Back Panel
Prepare Yarn A
1. Foundation: Chain the same number of chains as you did on the Front panel.
2. Row 1: Sc each St across, Switch to Yarn B, Ch 1 turn. Snip off Yarn A
3. Row 2: FPHdc across, Hdc on the last St, Ch 1 turn.
4. Row 3: Hdc each St across, Ch 1 turn
5. Row 4: Hdc each St across, Switch to Yarn A, Ch 1 turn. Snip off Yarn B
6. Row 5: Sc each St across, Switch to Yarn B, Ch 1 turn. Snip off Yarn A
7. Next Rows: Rep Rows 2 – 5 for the same number of times as you did on the Front Panel. Bind off
Make a Second Panel
8. Foundation Row: Insert your hook through the same No of Sts as you did on the Front Panel (WS) on the Foundation Row and with Yarn A, Chain the same number Sts, Ch 1 to start the next row,
9. Row 1: Sc each Ch across and across the entire back panel
10.Next Rows: Rep all steps in Part 4 (Row 2 onwards). Bind Off
Part 5: Seaming Shoulders
1. Place the front and back panel on top of each other, WS facing outwards
2. Insert your hook through both shoulder panels side, draw up a loop, and Ch 1 and Sc each St across.
3. Bind off and rep on the other side.

Part 6: Seaming Sides
1. Turn to the side of the body panel (WS) and place a SM on the 25 [26/ 28/ 30/ 32] [33/ 35/ 37/ 39] St from the top panel down or your pref armhole width.
2. Next, place a SM on the 10th St from the bottom up for the slit (optional)
3. Insert hook through the 1st SM, draw up a loop, and Ch 1
4. Sc each St of both panels together until the last SM.
5. Bind off and rep on the other side.
Part 7: Sleeves
Depending on which row you ended with, we will cont with the following 4-row pattern. In Image 1, my last row is the Sc in Yarn A. I will proceed with the FP Hdc in Yarn B.
1. Turn the armhole opening to the “Correct side” based on your row and insert hook anywhere along the seams, draw up a loop, Ch 1
2. Rnd 1: (Cont your following pattern) FP Hdc each St across until the top shoulder strip. Hdc 5 along that row, cont to FP Hdc in the round, Slst to close, Ch 1 turn
3. Rnd 2: Hdc each St in the round, Ch 1 turn
4. Rnd 3: Hdc each St in the round, Switch to Yarn A, Ch 1 turn. Snip off Yarn B.
5. Rnd 4: Sc each St in the round, Switch to Yarn B, Ch 1 turn. Snip off Yarn A.
6. Next Rnd: Rep Rnd 1 – 4 for 3 more rounds or until your pref length. This Sleeve should reach your elbow when done.
7. Next 2 Rnd: With Yarn A, Sc2tog each St in the round, Ch 1 turn, (Rep for 1 more rnd)
8. Bind off and rep on the other sleeve.
Part 8: Bottom Edging
1. Prepare Yarn A. Turn to the bottom of the body panel (RS) and Sc each row’s post. If your last St on the body panel was not a Sc in Yarn A, then proceed to Sc along the Slit as well.
2. Rep on the other side. Bind off
Part 9: Ties (Optional)
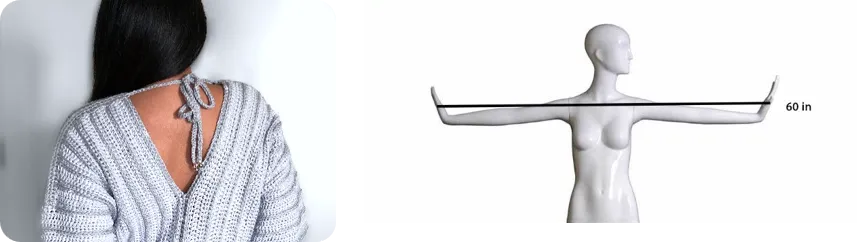
1. If you pref to add ties, Pull 2 arms length worth of yarn (ref image 2)
2. Hold on to the end of the pulled yarn. Insert your hook through the back shoulder strip on the 1st Row.
3. Draw up the end yarn and word an icord (see tutorial here for details)
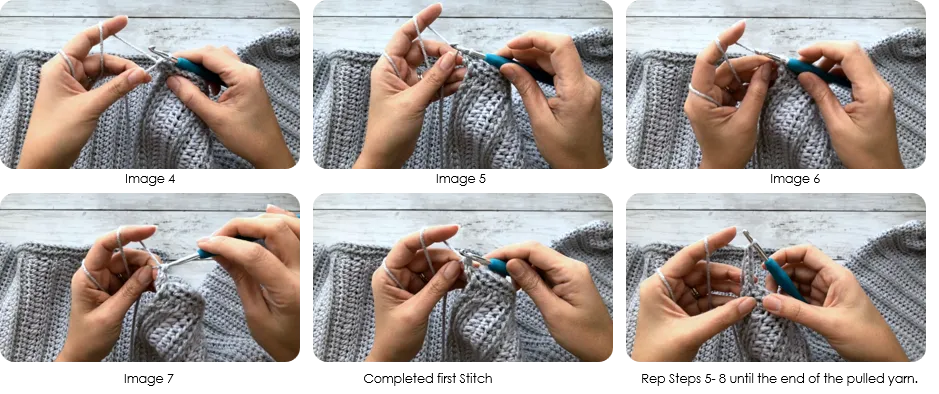
4. Wrap the long end of the yarn around your left hand, and hold on to the pulled yarn with your left thumb and middle/ring finger (image 4)
5. Wrap yarn over hook from the front to the back (image 5)
6. Yarn over (image 6)
7. Pull through 2 loops. (image 7)
8. Rep Steps 5 – 8 until the end of the pulled yarn.
9. Snip of yarn and optionally you can draw through a decorative bead and tie a knot to secure. Trim off access.
10. Rep on the other side
11. Bind off and weave in all loose ends.

END
If you are looking for the entire tools used to make this Shimmery Crochet Cocktail Dress pattern, I’ve listed them all right here:
♥ 5 mm Clover Amour Crochet Hook
♥ Cotton Crème Loops & Threads (Light Grey)
♥ Red Heart Super Saver Metallic (Light Gray/ Silver)
♥ Shimmery Cocktail Dress Crochet Printable PDF (Including pictures and references)

By the way, If you would like to receive free written patterns and video tutorials straight into your inbox, you can join our mailing list now.
Happy hooking,
Shaz 


