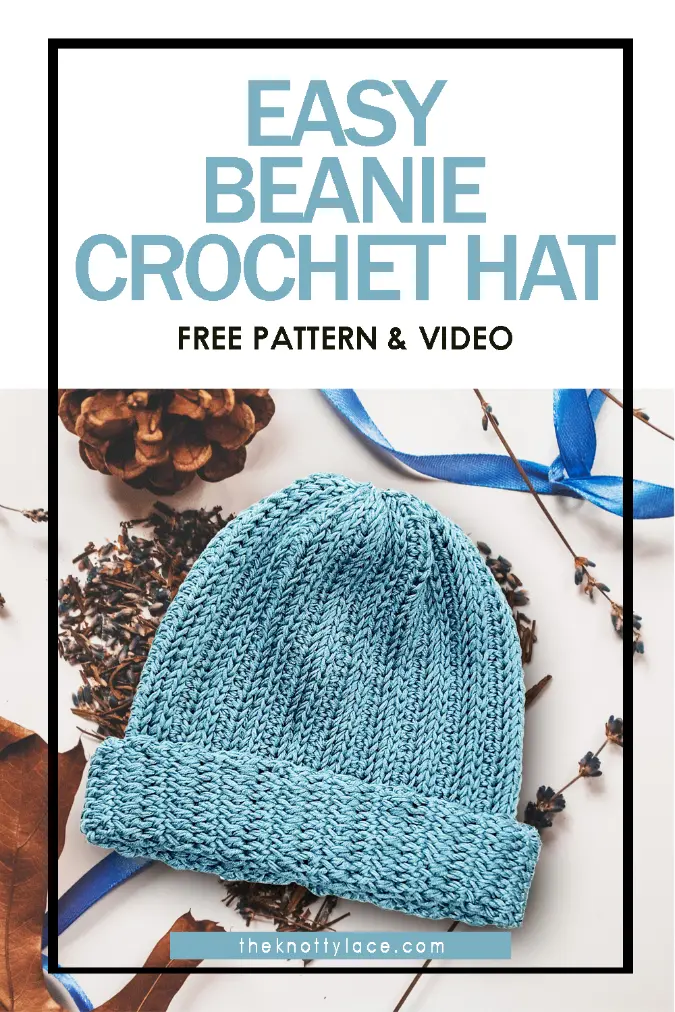
DESIGN INSPIRATION

You know when you buy a bunch of yarn from the same lot, you use most of them, and then have 1 – 2 skeins left behind?
Well, I have many of them lying around at the bottom of my yarn stash too! And if you don’t know what to do with them, this easy crochet hat pattern is the answer!
I dreamed up this hat as a way to rescue those remaining balls of yarn by turning them into cozy head-hugs. No fancy tricks, just simple stitches and pure crocheting fun, perfect for beginners wanting a quick and easy project.
The best thing about this pattern is that it comes in a step-by-step guide on how to measure and create your own simple beanie in ANY size!
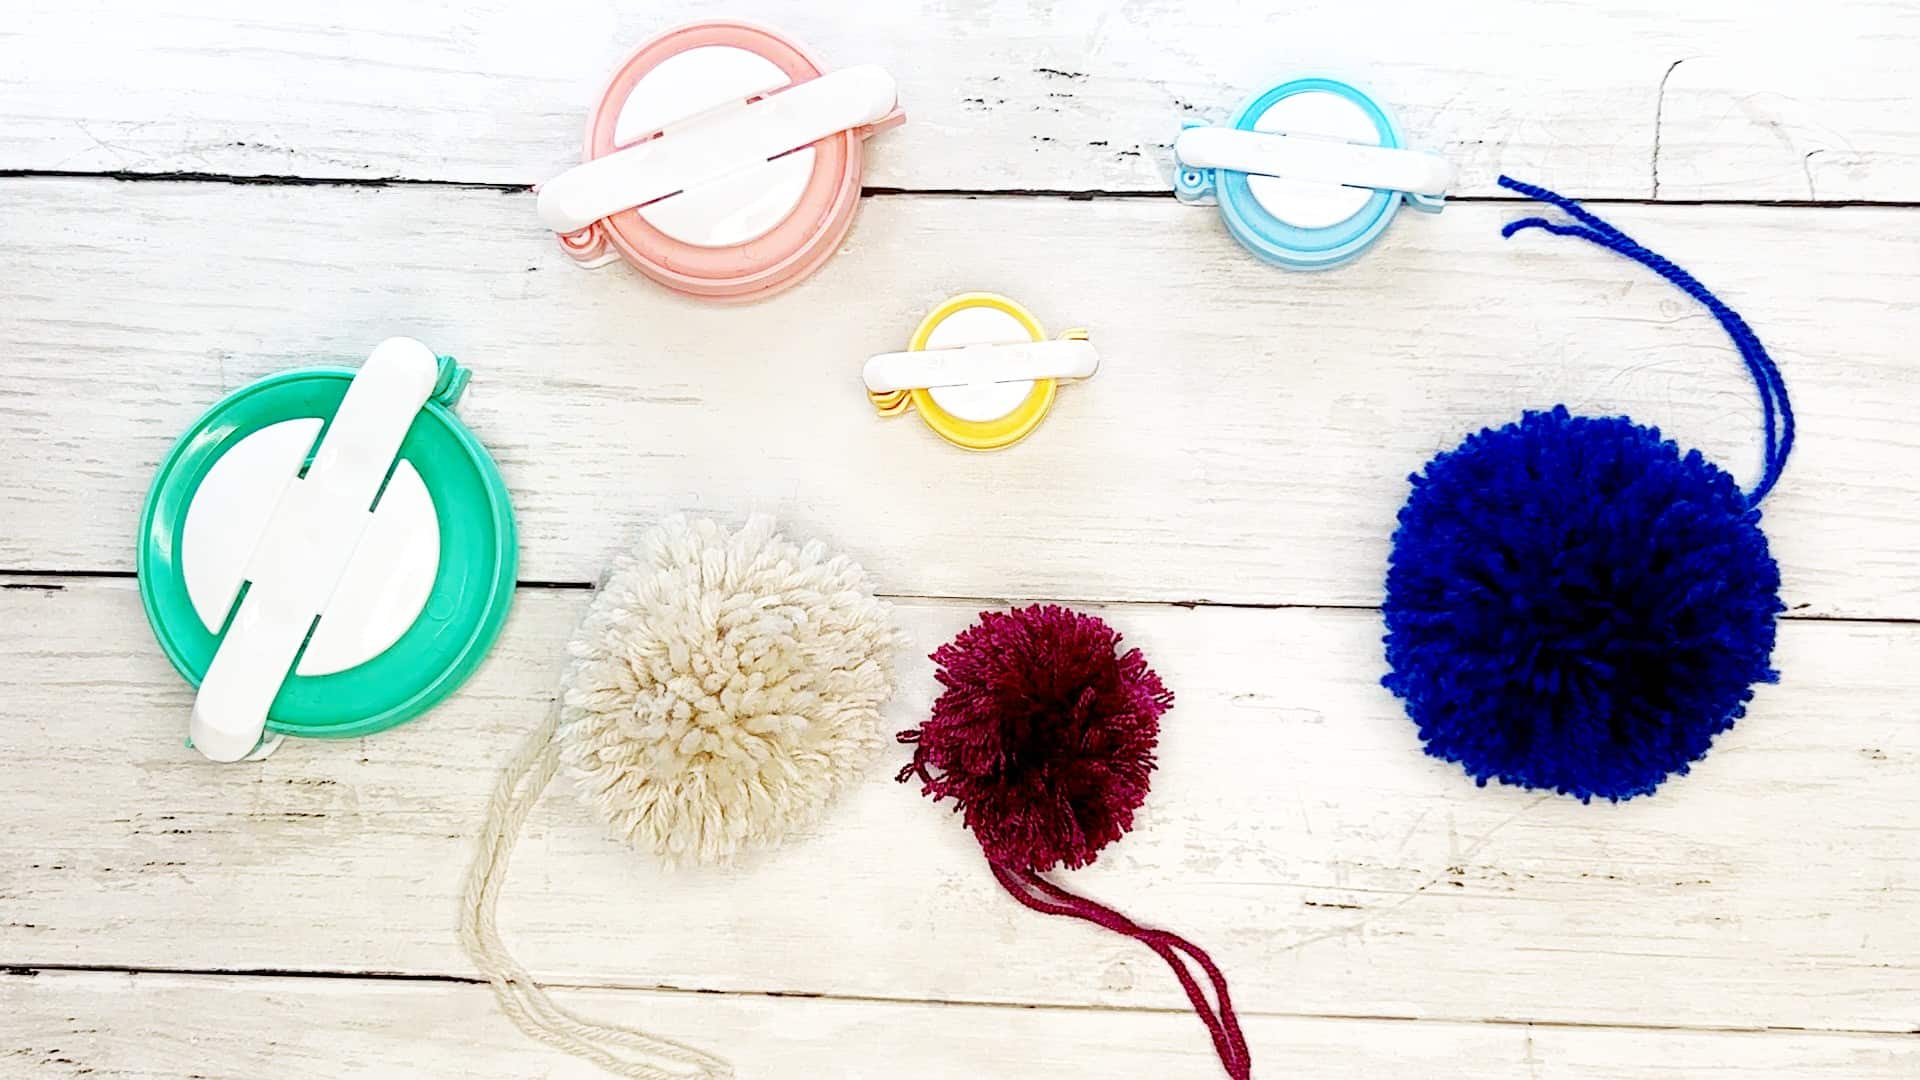
And feel free to add pom poms if you like! Choose between faux fur pom pom or make your own. I have a full tutorial on how to do this without the mess! (A great project to do with kids too!)
Pattern Construction
This beanie hat is meant for comfort and simplicity! Forget complex stitches and intimidating shaping. Although there are some clever crafting lurking beneath the surface!
First, let’s talk yarn. I am using a cotton blend by Coboo Lion Brand which is a lightweight yarn. Yes, a worsted weight yarn plus wool boasts incredible warmth, but for a soft and slouchy vibe, I craved something lighter and with more drape.

Cotton blend delivers in spades. It’s breathable, soft against the skin, and drapes like a dream, creating that effortless slouch we all adore.
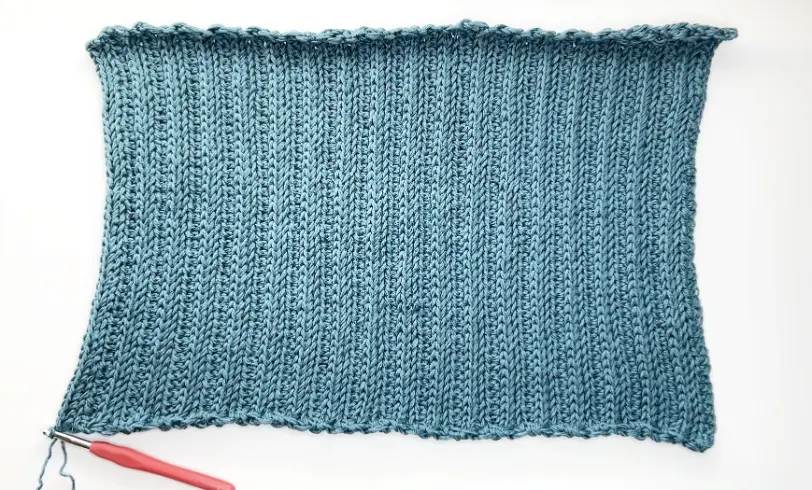
This beanie only uses two easy crochet stitches, the humble half double crochet through the 3rd loop (aka the horizontal loop), and the charming herringbone stitch through the back loop.
Related Post:
Learn Different ways to do the Herringbone Stitch
Don’t let the fancy names intimidate you – they’re simple variations that add delightful texture and dimension. The half-double crochet through the 3rd loop creates a subtle ridge-like effect, while the herringbone stitch offers a touch of diagonal slant.
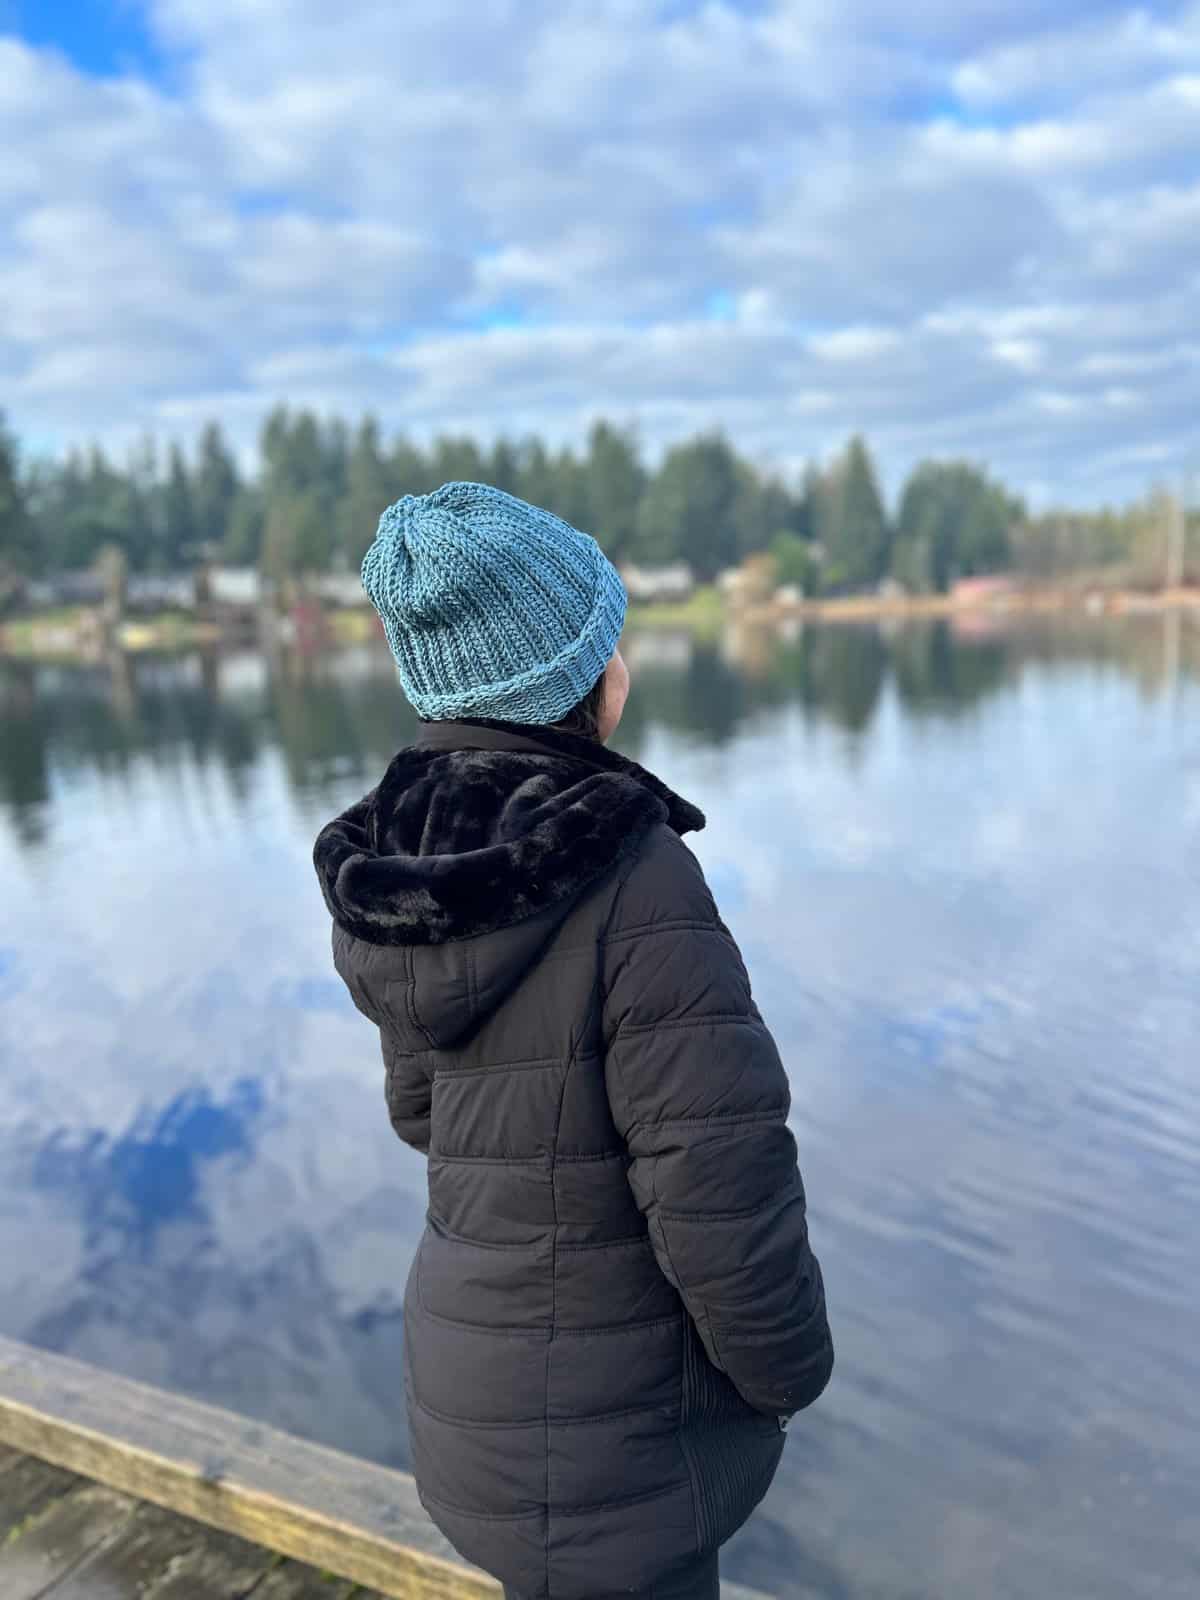
And finally, no stiff beanie crowns here. This hat lets your hair (or head) breathe, while still offering cozy warmth. The cotton blend yarn plays a starring role here, its natural drape creating a relaxed, effortlessly cool vibe.
You can always customize the slouchy hat factor by playing with the length by adding or removing a few more rows!
If you like this crochet beanie hat you might also like these other warm and cozy free crochet patterns below:
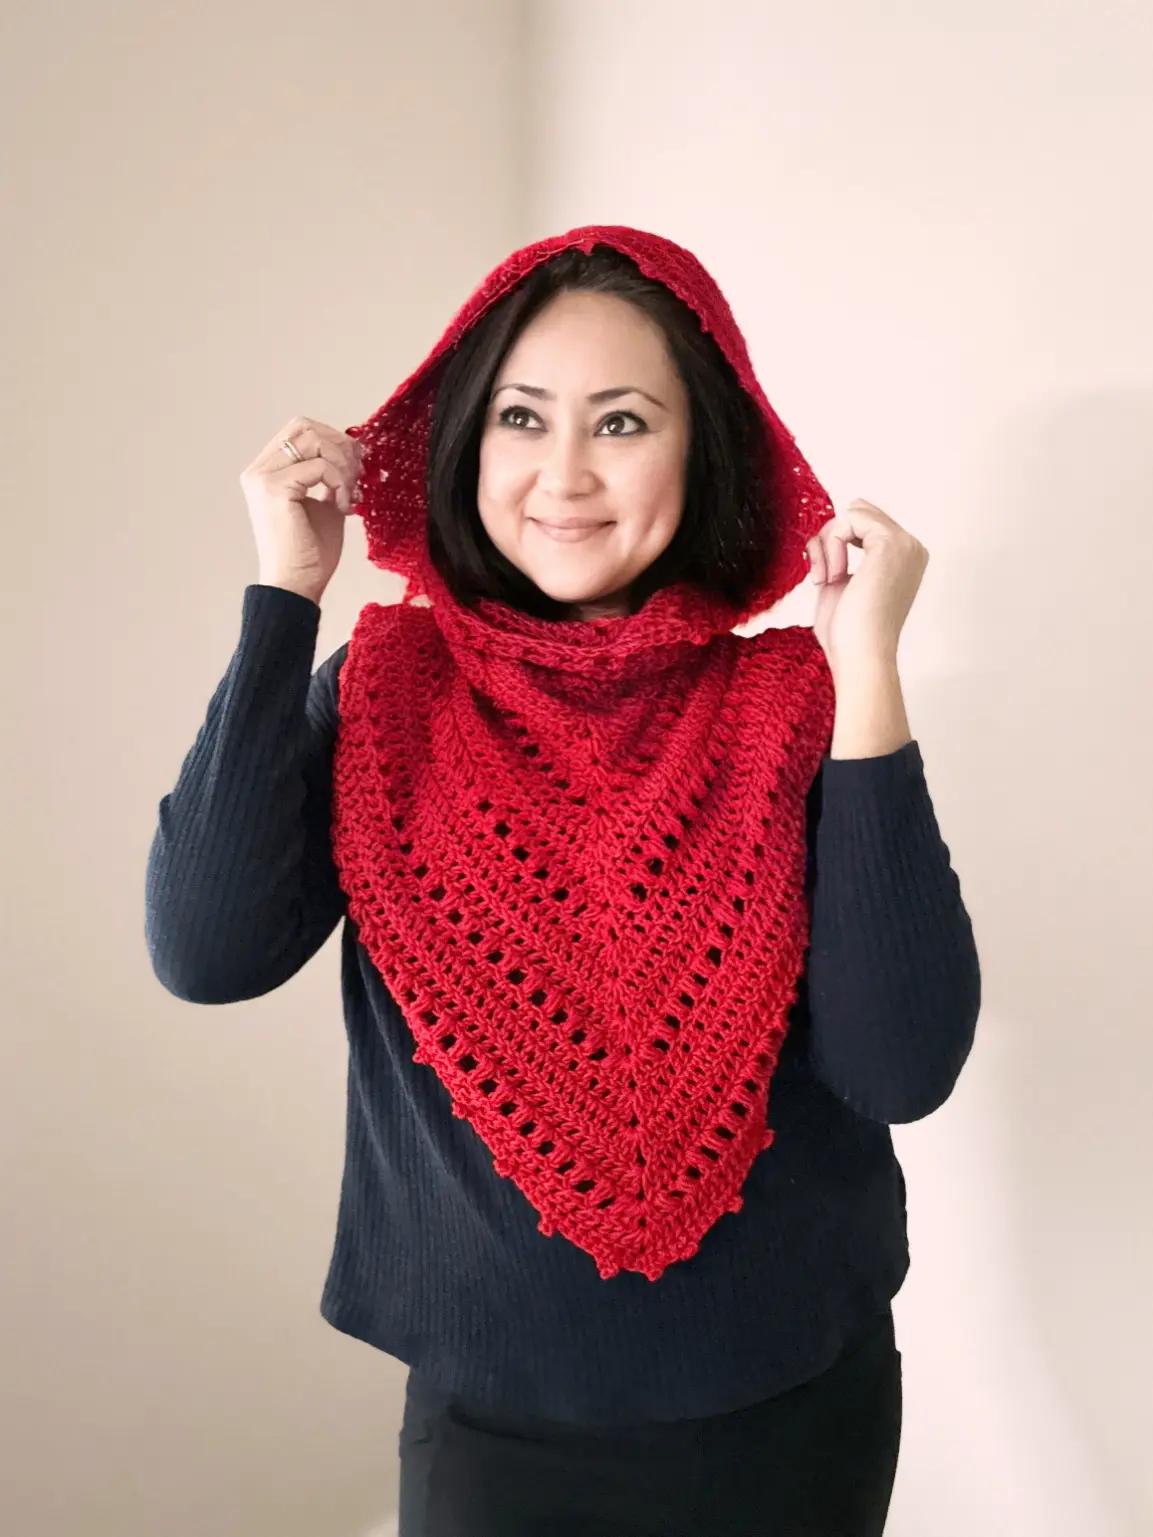
Hooded Cowl
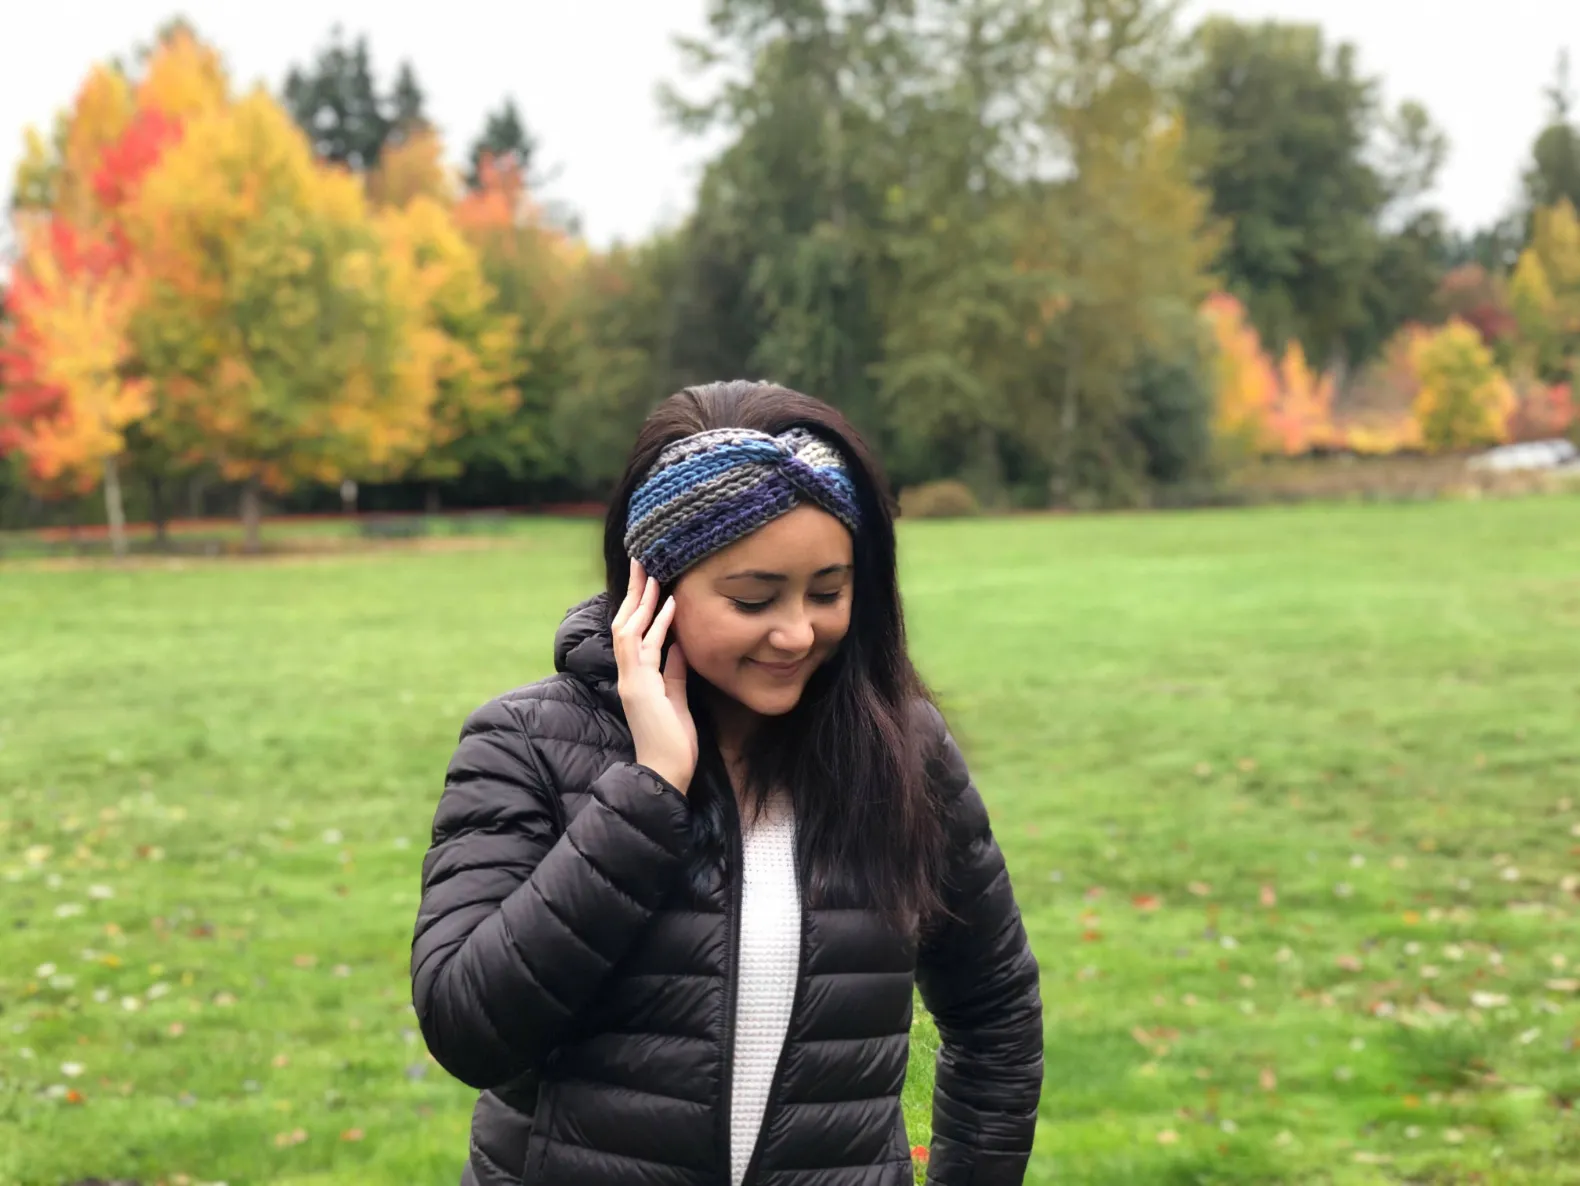
Ear Warmer Headband
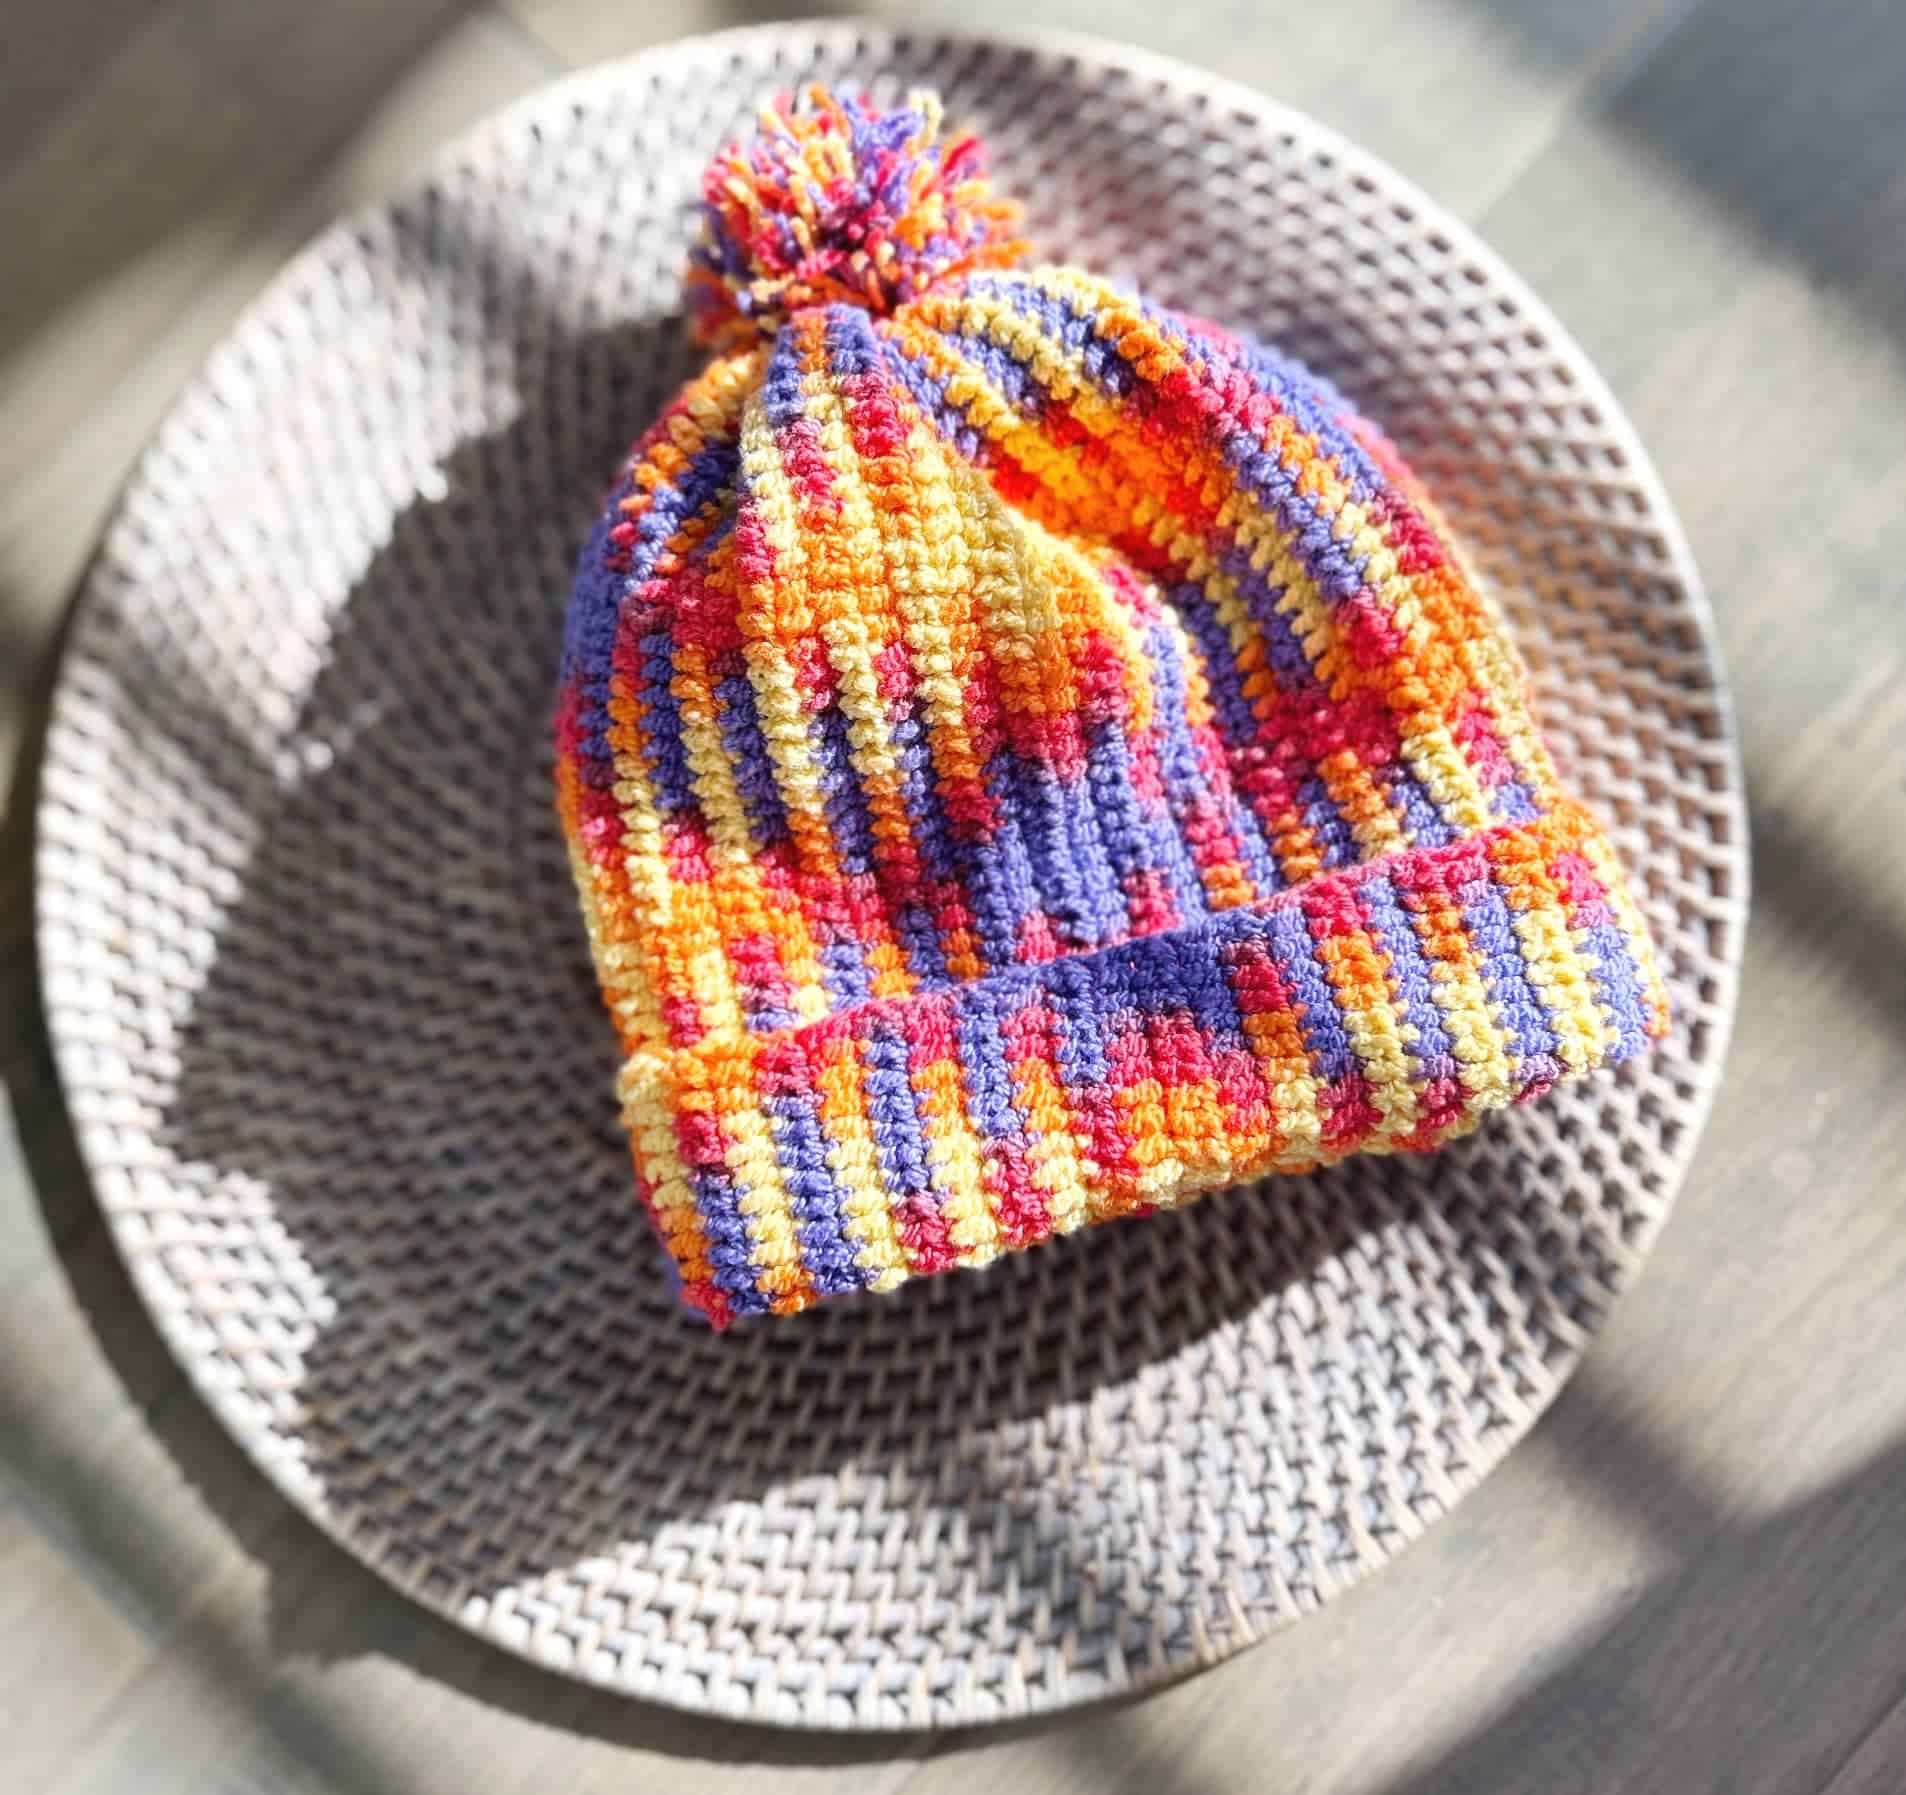
Planned Pooling Hat
Measure as You go
If you’re planning to make this in multiple sizes, the key is to determine your gauge based on different yarn weights and hook sizes.
Most written patterns would include all the number of foundation chains for each size to start with, but if it doesn’t or you’re making your own custom size, then I’ll show you exactly how to correctly measure the head circumference and the amount of length needed.
Consider the recipient (or your own preferences) when deciding on the overall fit. Begin by measuring the head circumference or head size with a soft tape measure.
This baseline measurement is crucial for determining the appropriate width. Different crochet stitches vary in stretchiness, so choose your stitch pattern with elasticity in mind. Try as you go and adjust your stitches.
Next, consider the depth and length factor, by adjusting the hat height of the beanie based on the wearer’s style preference such as a slouchy drape or snug finish.
For a slouchy fit, just add more rows to the body, and for a snug fit, stick to the recommended number of rows or reduce them slightly. Consistent tension is equally important for a well-fitting beanie.
Practice on a gauge swatch before beginning any crochet project ensures a predictable outcome. The size of your crochet hook and yarn weight will significantly influence the beanie’s fit.
Switch to a larger hook if it’s too tight or a smaller one if it’s too loose. Experiment with different sizes to achieve your ideal tension. Regularly checking your stitch count is crucial.
This simple routine ensures you’re not accidentally adding or subtracting stitches, leading to unexpected surprises at the crown.
Always use a stitch marker to mark any increases or decreases, at the beginning of the first stitch or at the end of the row.
As you crochet your beanie, tweaking details, constantly measuring (trying it on), and seeking feedback ensure your creation goes smoothly.
If you would like to see more video tutorials like this you can check them out here on the blog or Subscribe to my Video Channel on YouTube.
Common Questions – Answered
-
I’m a beginner, is this pattern too hard? Absolutely not! This pattern is designed for the crochet newbie. Simple stitches, minimal shaping, and clear instructions make it a perfect first project.
-
What materials do I need? Any yarn of choice (around 150-200 yards), a 6mm crochet hook, a tape measure, a yarn needle, and optional: a pom-pom.
-
Can I use a different yarn? Of course! Wool, acrylic, cotton – the possibilities are endless. Just keep in mind that weight and material affect warmth and size, so you might need to adjust the pattern slightly.
-
How do I make the hat bigger or smaller? Easy! Chain more stitches for a larger hat, and fewer for a smaller one. You can also adjust the number of rows to fine-tune the fit.
-
My hat is turning out misshapen! Don’t panic! Check your stitch count regularly and ensure you’re working in the round. If it’s still wonky, try a smaller hook to achieve a tighter fabric.
-
Can I add a different stitch pattern? Go for it! Once you’ve mastered the basic beanie shaping, unleash your creativity with textured stitches, cables, or colorwork.
-
How do I close the top of the hat? Simply weave the yarn tail through the remaining stitches, and pull the ends, and enjoy your snug new headwear.
-
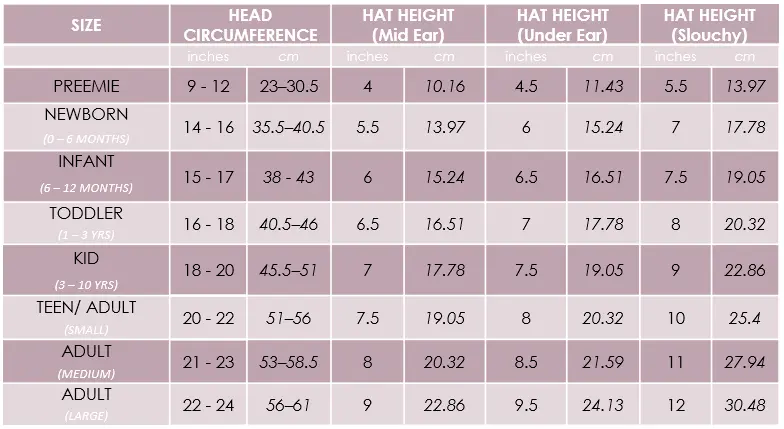
The hat doesn’t fit! This chart comes to the rescue! Use the head circumference measurements for any size that you are making and adjust the chain starting number for a perfect fit.
-
Can I make a beanie with other hooks? Sure! you can go up or down a size if needed. Keep in mind that a smaller hook creates a denser fabric, while a larger one results in a looser, drapier beanie.
Related Post:
Step by Step Guide on How to Crochet A Beanie Hat for Beginners
Tools And Materials
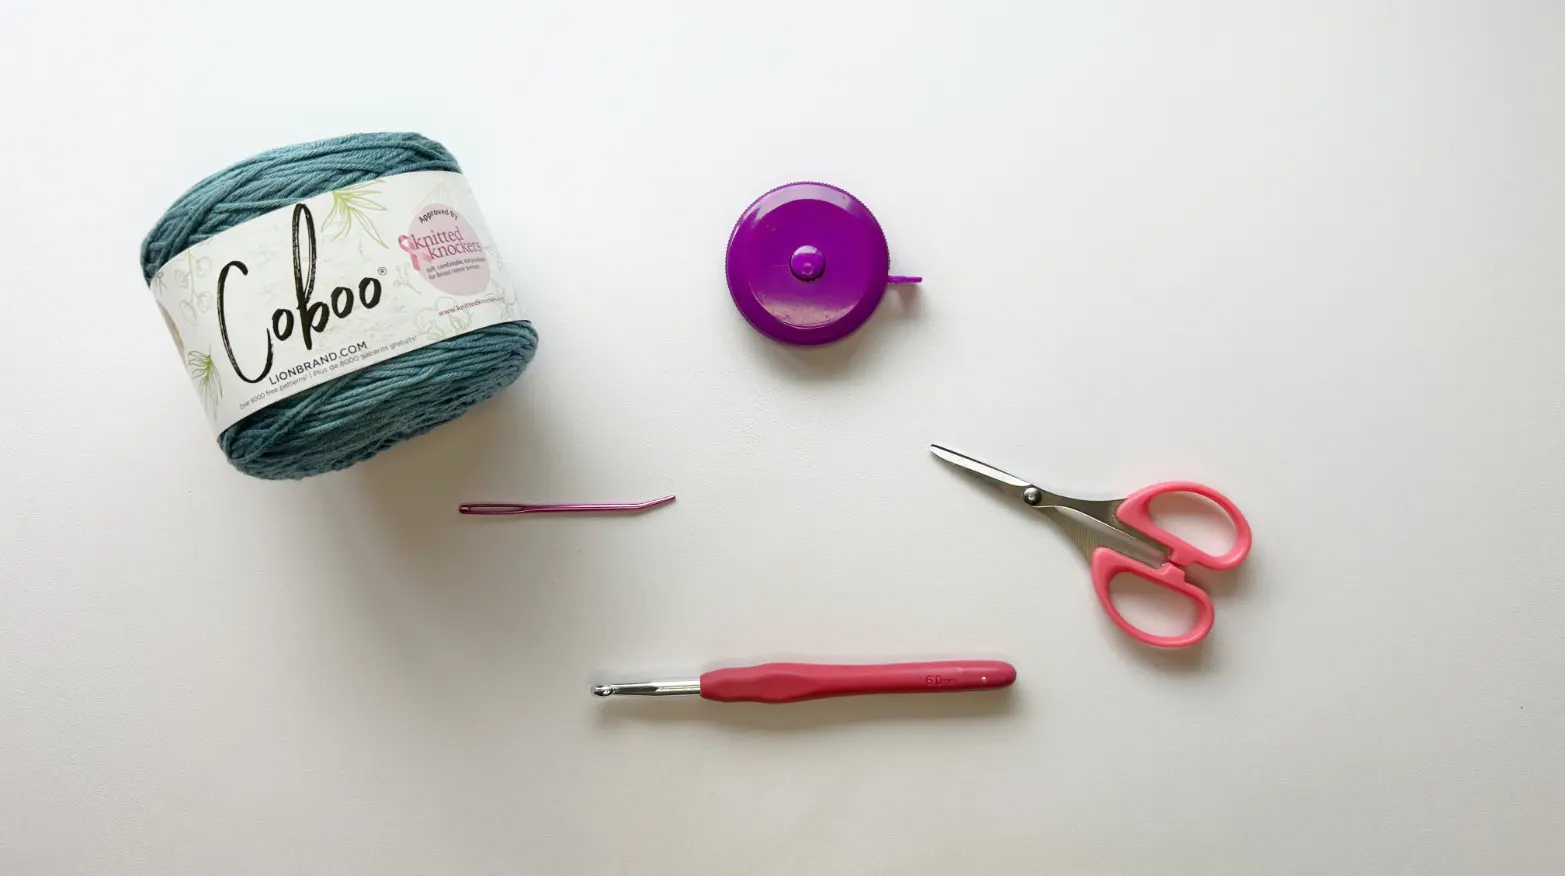
Yarn Weight: Category 3
Brand: Coboo Lion Brand
Color: Denim
Hook: 6.00 mm hook
Gauge: 8 Rows x 16 Hdc = 4 x 4” / 10 x 10 cm
No. yarns (skeins or yardage): 1 – 3 Skeins (I used 1.5 skeins / 130 yards for Adult Medium)
Tools: tapestry needle, measuring tape, scissors, stitch markers, pom pom maker (Optional)
Skill: Beginner
If you would like to receive free written patterns and video tutorials straight into your inbox, just click Subscribe to get into our mailing list.
Things to Note:
- Prepare a pattern gauge to get the right size. You may need to adjust your tension or change the hook size to achieve the same gauge.
- This pattern is measure as you go. The Length and Circumference can be adjusted to your liking
- This pattern will include 2 stitch pattern – Hdc into the 3rd St and the Herringbone Half Double BLO St
- Video Tutorial available here
- Abbreviation page available in English US format
-
Pattern consists of 1 size reference however this pattern can easily be adjusted to any size.
•Use chart above as a reference guide when making the beanie for any size between Adult Large to Preemie.
•Increase or reduce the length and width according to your size and preference.
•Make a swatch to get your own gauge. Learn more here
Easy Beanie Hat –
Free Crochet Pattern

INSTRUCTIONS
PART 1: Panel
- Foundation Row: Work up a chainless foundation for the total length / height of the beanie, Ch 1 turn
Don’t forget to include or exclude the extra length for the brim fold if included. For ref, I worked up 48 Chs with a length of12 in / 30.5 cm to include a brim. Refer to your swatch gauge to get the correct number of chains.
-
Row 1: Hdc into the 2nd Ch from hook, and across, Ch1 turn
-
Row 2: Hdc into the 2nd Ch from hook, work a Hdc Herringbone Stitch (Hb St) through the back loop (BLO) – *(insert your hook through the diagonal loop on the prev stitch, and through the BLO of the next St. Draw up a loop, Yo, PT all loops). Rep the Hb St (*) across, Ch1 turn
- Row 3: Work a Hdc through the 3rd loop (this is the horizontal loop closes to you). Cont to Hdc through the 3rd loop on each St across, Ch 1 turn
- Next Rows: Rep Rows 2 & 3 until you have reached your desired circumference.
For ref, I made a total of 37 rows with a width of 18.5 in / 47 cm when laid flat. Take into consideration how much stretch it will give.
If you notice your panel starting to curl slightly along the edges, this is completely normal due to the nature of the pattern.
Part 2: Seaming
- Fold lengthwise (WS) and seam sides together using a Sc St FLO on both pcs together.
- Leave a long tail and weave the top (RS) edge and pull tight to close up the opening.
- Tie a double knot and weave in the round once more from the WS. Tie a knot and weave in ends to secure.
- From the bottom side, work loose Sc Sts into each space/ row evenly in the round. Slst to close.
- Bind off and weave in all loose ends.
END
If you are looking for the entire tool used to make this Crochet Beanie Hat, check them out here below:
- 6 mm Crochet Hook
- Coboo by Lion Brand
- Crochet Beanie PDF printable Pattern (Ad Free & Picture guided!)
- Video Tutorial
This easy crochet beanie pattern is quick and easy that is perfect for any beginner crocheter looking for a new crochet project.
By following the step-by-step tutorial and using this free pattern, you’ll have all the guidance you need to create your own beanie this winter.
***
If you would like to receive free written patterns and video tutorials straight into your inbox, join our mailing list now.
And don’t forget to tag me on Instagram and Facebook @theknottylace, I would love to see your work!
Happy Hooking,
Shaz 🧶


