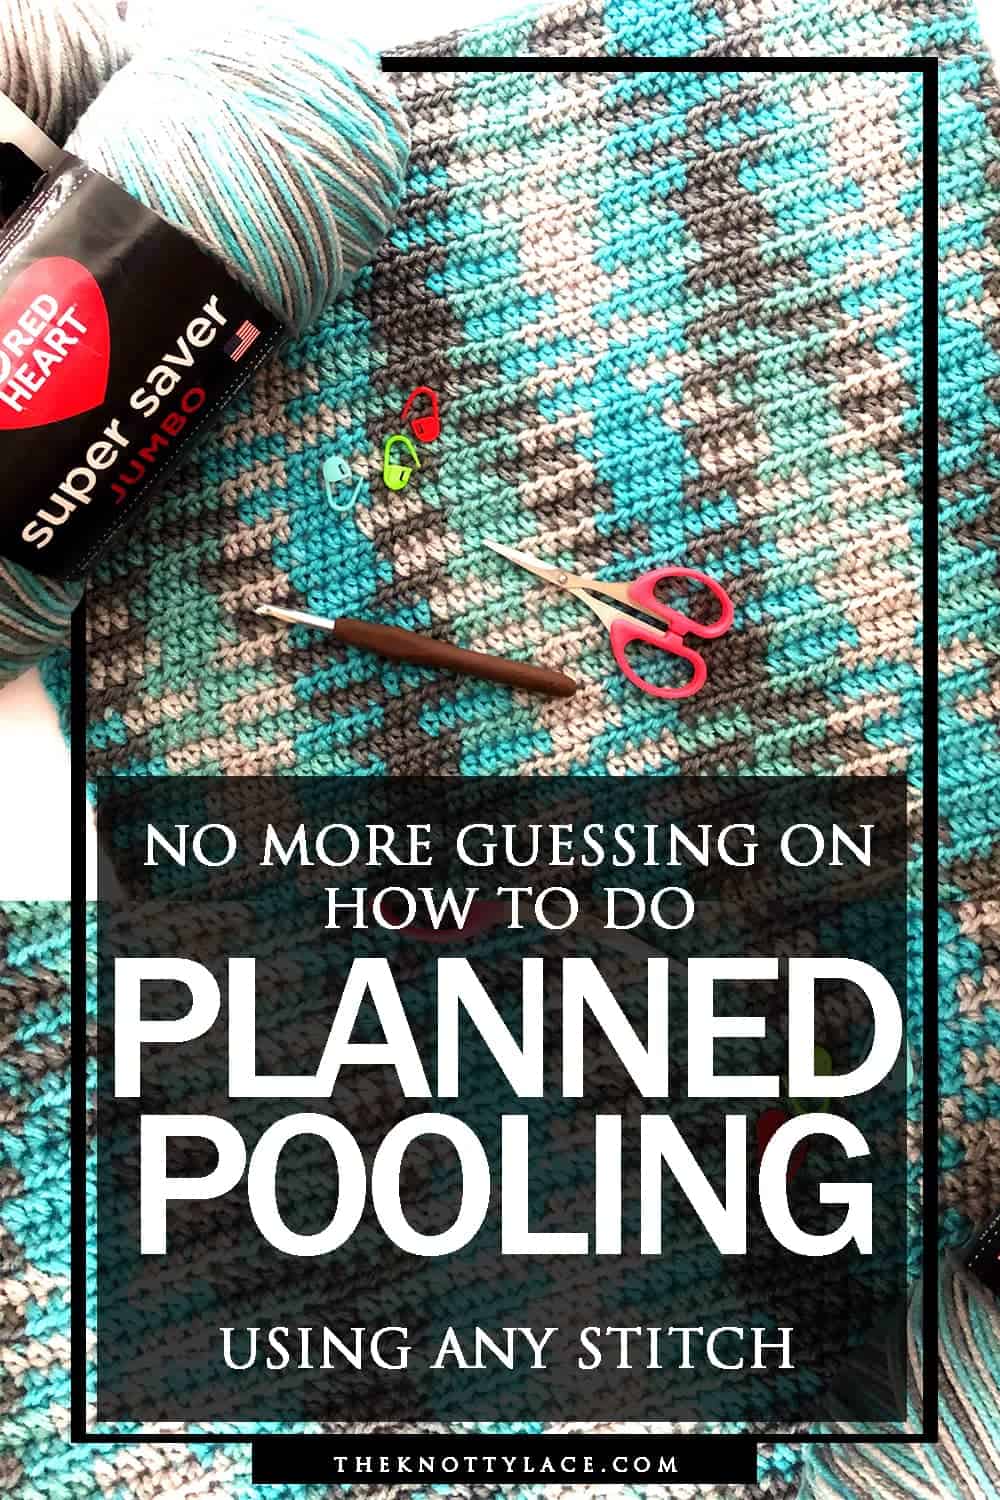
Planned Pooling is a technique in which you crochet the same number of stitches per color intentionally using a variegated pooling yarn to make a specific design or color pattern.
It also typically involves using a specific stitch pattern (but not limited to) to achieve a desired pooling effect, such as creating plaid, Argyle print, zig zag, diamond, or a tartan-like pattern.
The term pooling refers to gathering the same number of colors together forming a “pool” to achieve a desired pattern or sequence.
I will explain more about planned pooling here with the exact method on how to achieve the desired pooling pattern you want, with any simple stitch without a pinch! Yes, you heard right. With ANY SIMPLE STITCH
Whichever way you decide, you will end up with an eye-catching and color-blocking combination that is extremely satisfying.
Although this crochet pattern might seem a bit daunting at first, however, I will show you how it is done in these step-by-step picture-guided instructions as well as a video tutorial that will be able to guide you through each step of the way.
And I promise, once you have mastered your tension, the rest as they say is a breeze!
What are Color Pooling Yarns?
Color pooling yarns are multi-colored yarns or variegated yarn types that are consistently in the same color sequence on each cycle.
What this means is that for each repeat color sequence, the length should always be exactly the same, otherwise, your color pooling endeavor will not work.

There are plenty of beautiful and bright variegated yarns out there, but not all are created equally.
You will have to find the ones that are actual “pooling yarns” as mentioned earlier. Sometimes these yarns are labeled as “pooling” on their sleeves. But to be very sure, here are a few of my favorite pooling yarns that come in a wide variety of colors.
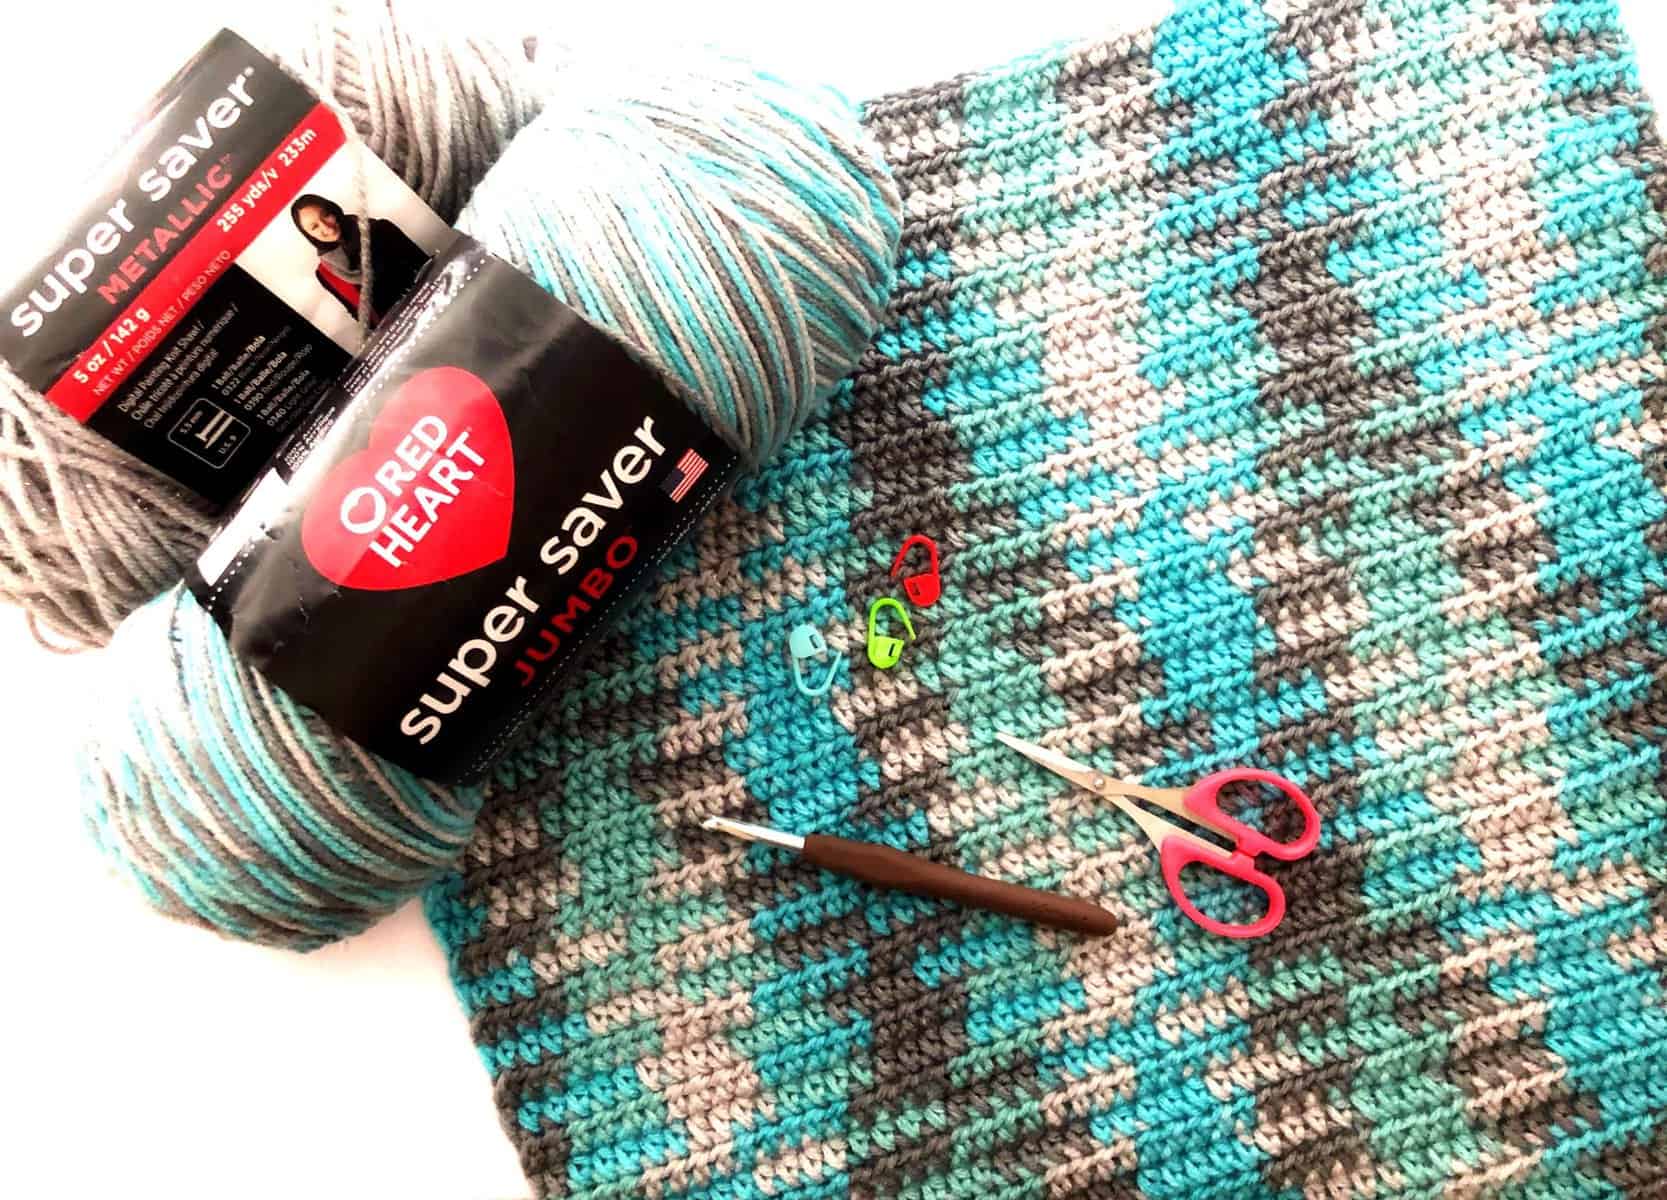
Red Heart Super Saver Jumbo Pooling Yarn

This Red Heart Jumbo planned pooling yarn comes with a whole bunch of multi-color shades that have been engineered so that each color repeats are evenly dyed for a happier pooling.
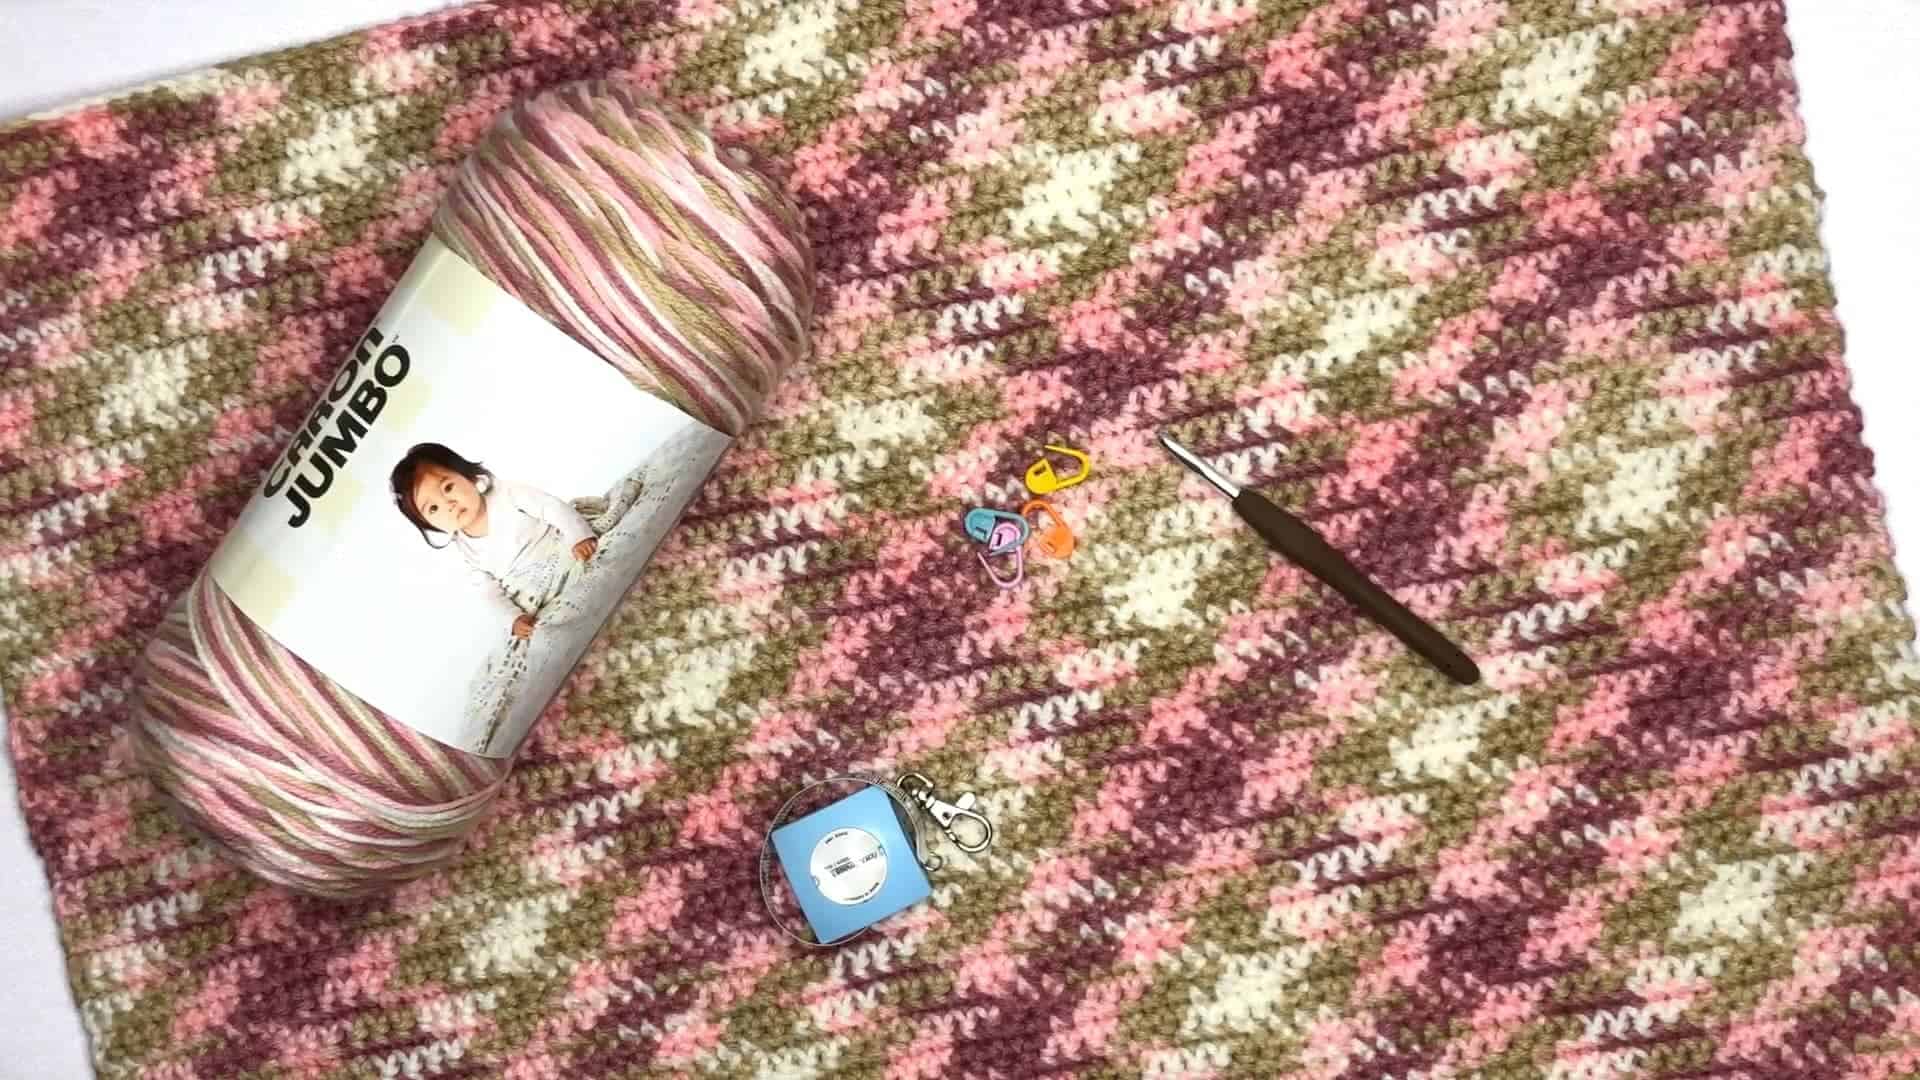
Caron Simply Soft Jumbo Yarns

The Caron Jumbo yarn is a versatile and economical ball of yarn that is not only huge but also offers a wide selection of gorgeous colors.
Bernat blanket Color Pooling Yarns
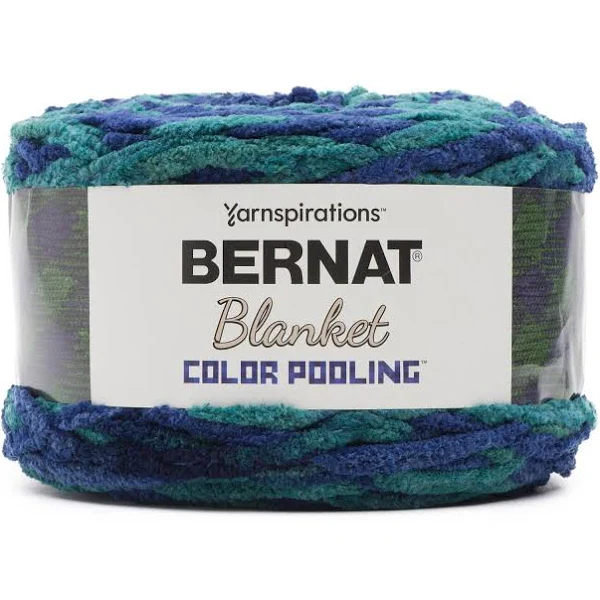
This Bernat blanket yarn is so thick and soft you will fall asleep like a baby in your own handmade planned pooling blanket. Unlike the other 2 yarns mentioned, this yarn is not only great for blankets and throws, but another good idea would be to make a cowl or maybe even a poncho!
Can I use ANY Stitch?
“The short answer is Yes you can”
Due to the fact that planned pooling is determined by the number of fixed stitches, you can easily substitute it with ANY simple stitch!
When I say any simple stitch, I am referring to basic stitches like the single crochet stitch, half double crochet stitch, and the double crochet stitch.
You can also use the moss stitch pattern, which is a pretty stitch consisting of a chain 1, single crochet stitch repeat pattern. A lot of video tutorials online are using this stitching method.
However, if you are brand new to color pooling, I would highly suggest you try out a single or half double crochet stitch on your first attempt.
Depending on the type of yarn you are using, you may need to tweak your stitches a tiny bit because every yarn brand has its own length for each color set.
For example, I could work up more half double crochet stitches for each color while using the Red Heart Super Saver yarn versus the Caron Pooling yarn. This just basically means you will get a tighter pattern per row.
When I tried using a Half Double crochet stitch on my Off Shoulder Argyle Sweater Dress using the Caron Jumbo Yarns, I wasn’t able to achieve a perfect argyle pattern as with the single crochet stitches.
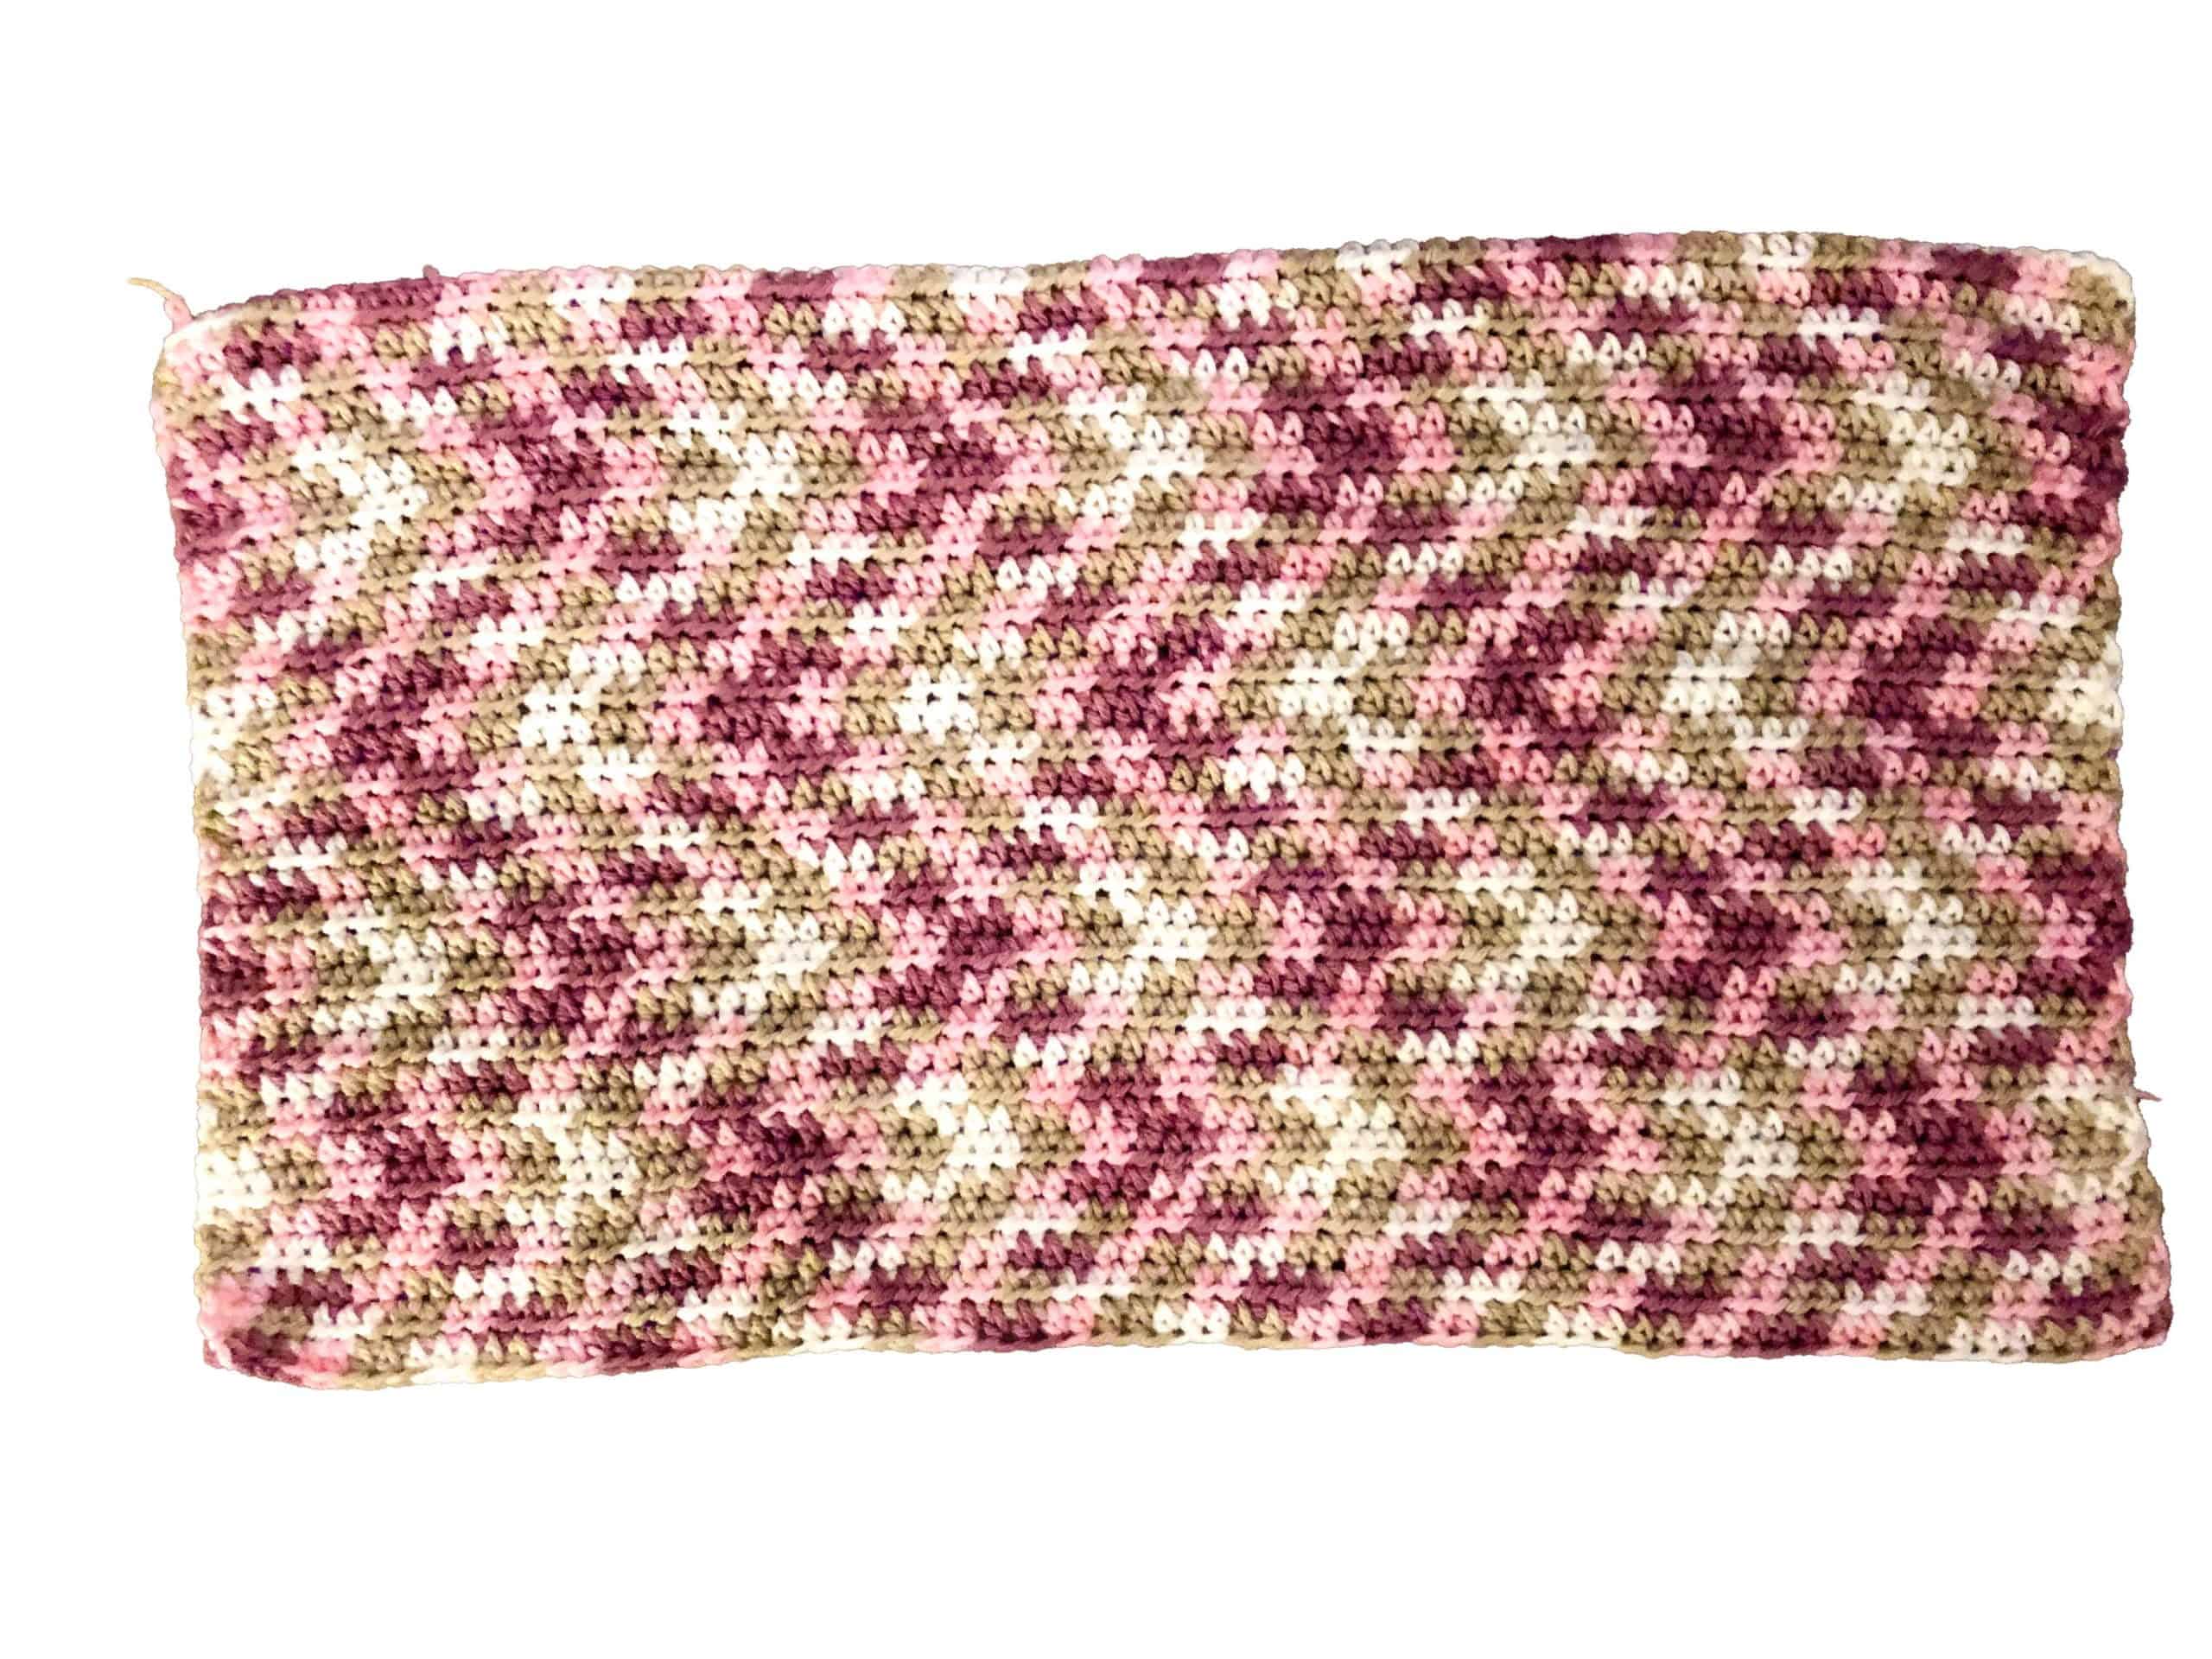
The colors per stitch for the Caron brand yarn were much shorter than the Red Heart yarn. It’s not a bad thing, it’s just what fits your pattern best!
Now let’s get pooling!

Counting Stitches

1. Start your slip knot on any color and work 30 chains.
2. Once you have reached 30 chains, and if it does not end on a new color which is usually the case, continue to add more chains until you reach the next color. The new color should be on your hook and this will be your turning chain.
3. On your first row, work a Half Double Crochet Stitch through the 2nd chain from your hook. *Note: If you are not using the same yarn type, play around with any stitch of your choice.
4. Continue to stitch each chain while counting each stitch per color sequence. In this example, I have 5 Blue stitches, 4 Dark Gray stitches, 4 Turquoise stitches, and 4 Light Gray stitches. I have a total of 4 colors per cycle.

5. Continue this sequence to ensure your tension is constant and that you are consistently getting the same number of stitches per color. If not adjust your hook size or tension and keep trying until it matches on every sequence.
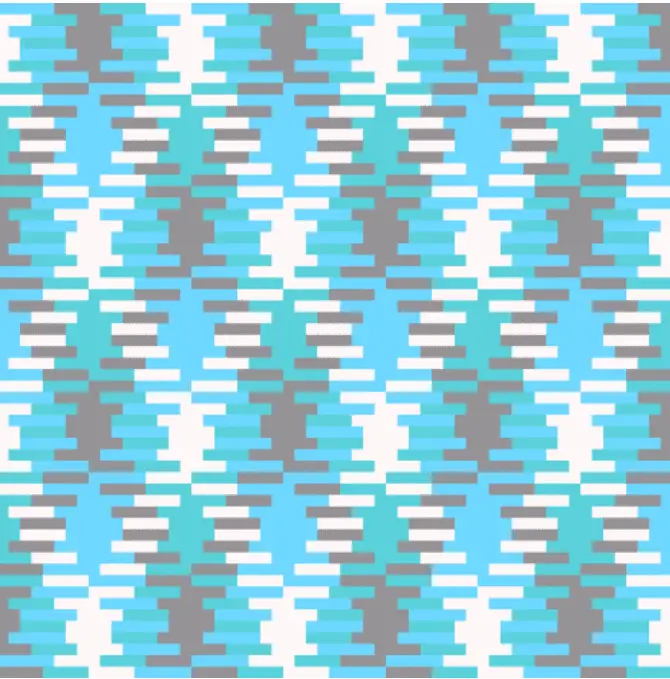
6. Once you have determined the number of stitches you have per color, go to plannedpooling.com to work on your design template. This is the best part!

7. First, select your yarn color by dragging your mouse over the color chart. Then you will type in the number of stitches you have made for each color next to the color input box. ** Note that the first color you input will also determine the color arrangement as well
8. Next, select the number of stitches you intend to work with and see how the pattern looks. If it doesn’t look right, go ahead and add or subtract 1 stitch until you’ve reached the pattern that you like.
9. Now that you have your stitch count and your design, you can now start working on your pattern.

So what happens when our numbers per color sequence are different? Let me show you an example.
For this sequence, I should have 5 stitches of blue but I only have 4. That means somewhere along the way, I must have made a few loose stitches.
In order to fix this, I would rip out the entire one-color set, and start over by making smaller and tighter sts.

If your stitches are too tight, you might end up with more stitches per color. So go ahead and frog (aka rip-it) that one color set (sometimes you might need to rip out more), and pull your loops higher to get a looser stitch.

But to be fair, sometimes the pooling yarn is not 100% even. So there will be some adjusting happening along the way. So it is always good to count each and every color stitch throughout your entire crochet project.
And as always, once you’ve reached the end of the row, it is always good to go back and check your pattern design on plannedpooling.com , to ensure everything looks right and you’re good to carry on.
How to Work the Next Row
To work on the next row, simply chain 1 tightly and turn your work. You will continue to work through the first stitch. This only applies to Sc, Hdc & Dc Sts.
The reason for having a tight turning chain is to ensure that it does not take up too much yarn for that particular color.
If you need to join a second skein, all you have to do is to join the new yarn at the end of the last color set.

As you can see here, turquoise is my last color set.

From my last turquoise stitch, I will undo the last stitch.

On my new skein, I’ll look for the next color sequence, in this case, it will be light gray

and I’ll pull the gray through that last stitch and drop the shorter yarn and continue on with the new skien.

Continue your stitch while working around the excess tail. Always make sure that the stitch count per color is still the same as before.
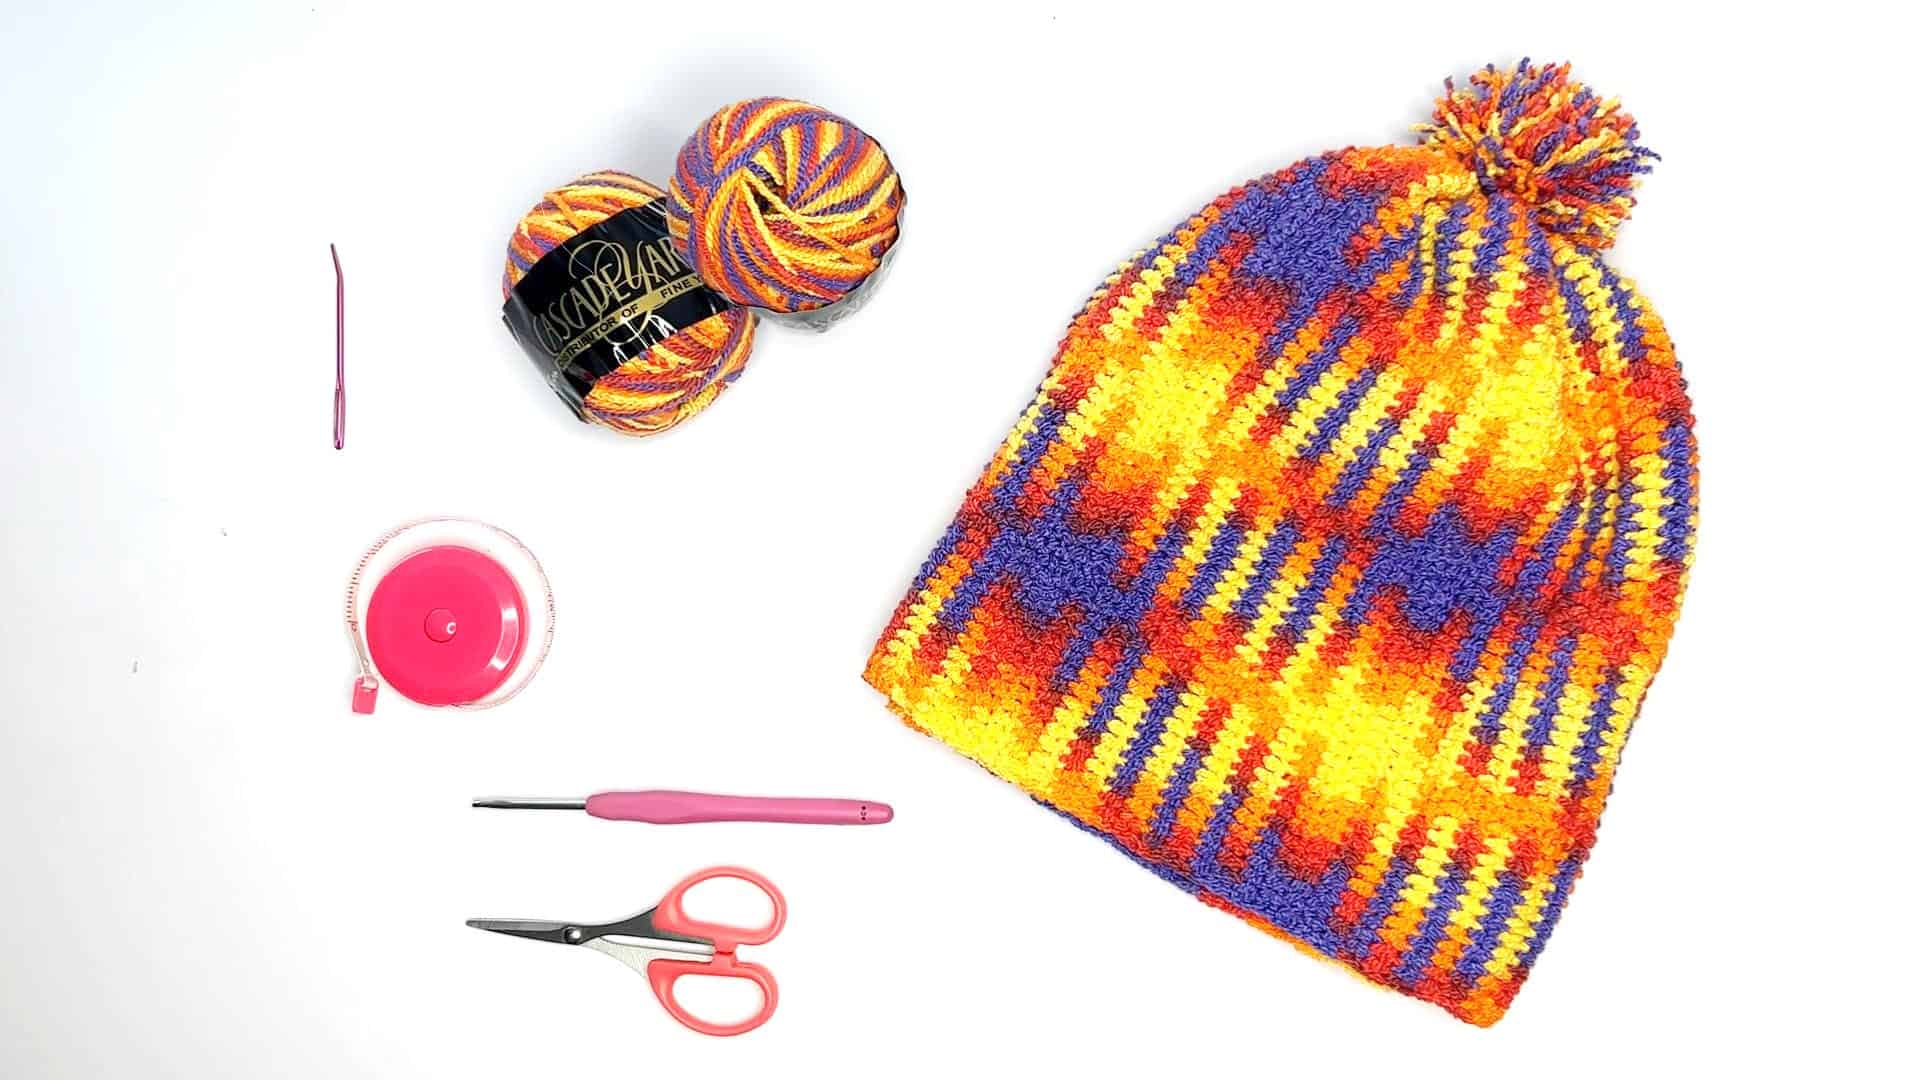
Great job if you made it this far! And if you want to give it a try on a garment, go check out my all-size inclusive free planned pooling projects below.
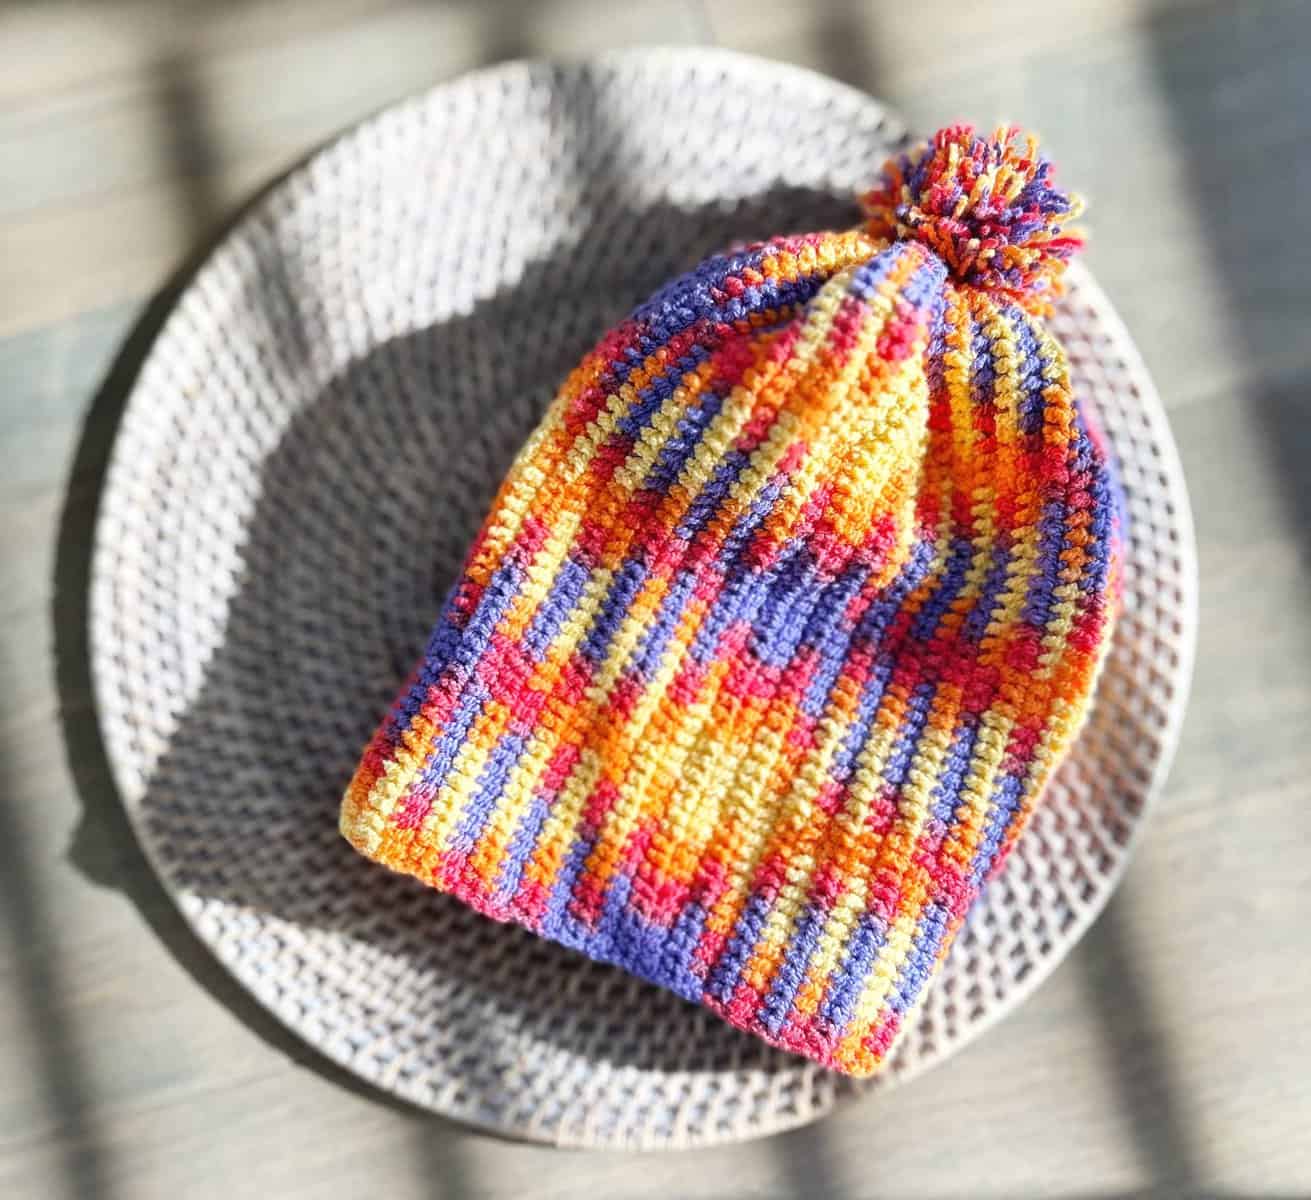
Beanie Hat

Argyle Jacket Cardigan


2 Responses
Wish you had color pooling for doing a small dishcloth or showing how when using a six color sequence as when ya pull your color sequence out mine is not coming out right for 2nd row and when turning too or could email me your video was good for what it showed
You could drop me an email with a picture of your work, and I can have a look. knotty@theknottylace.com