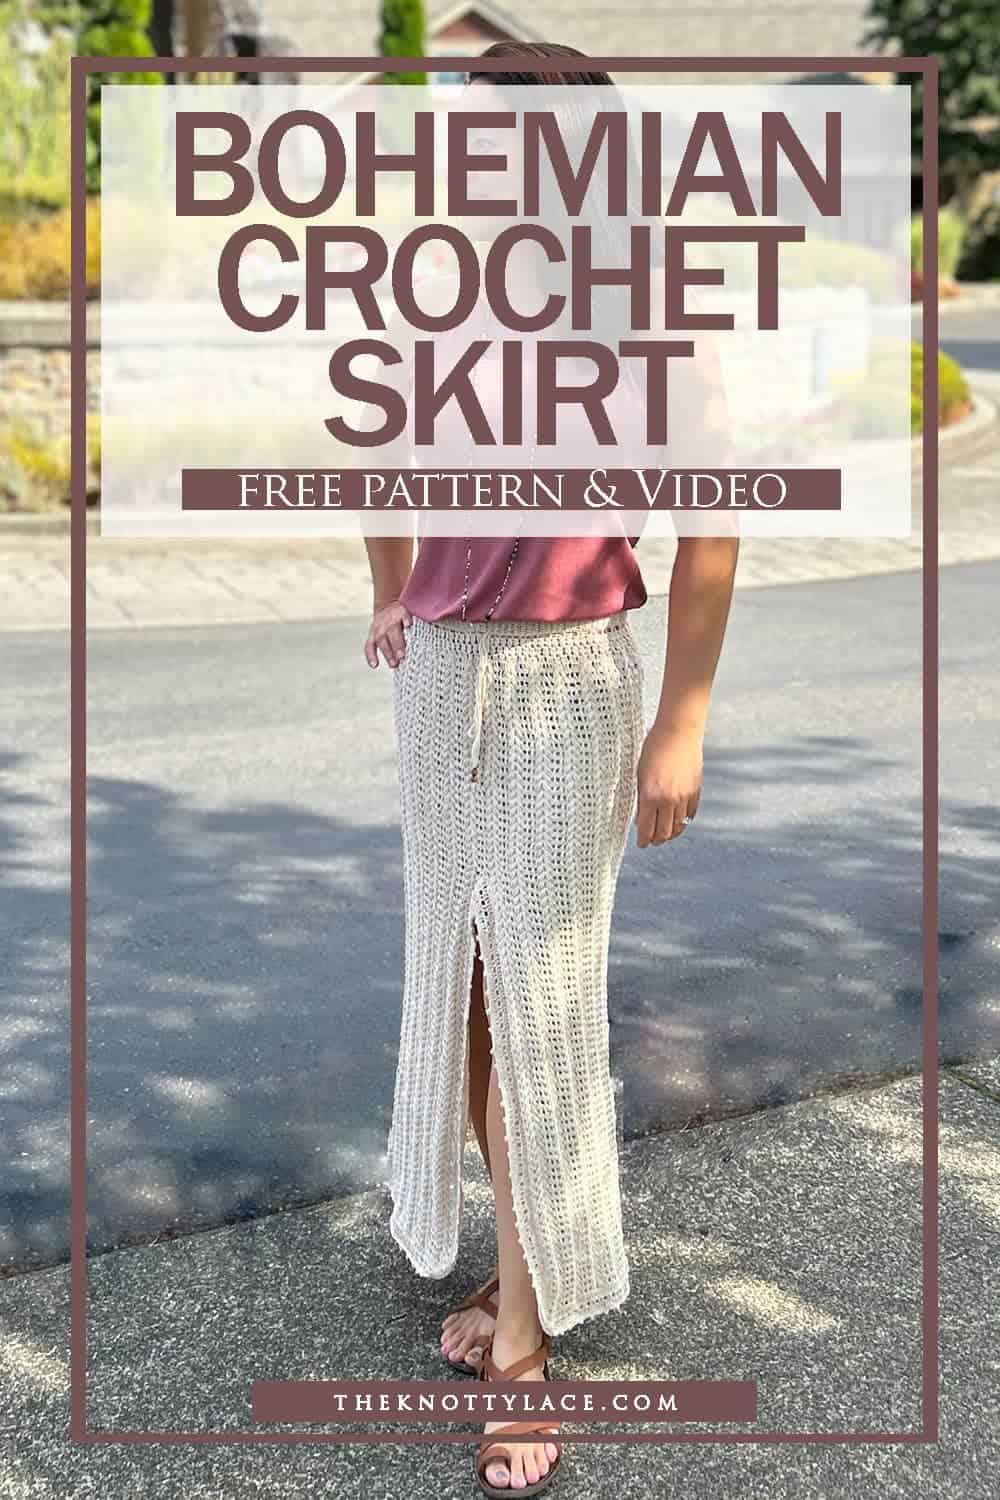

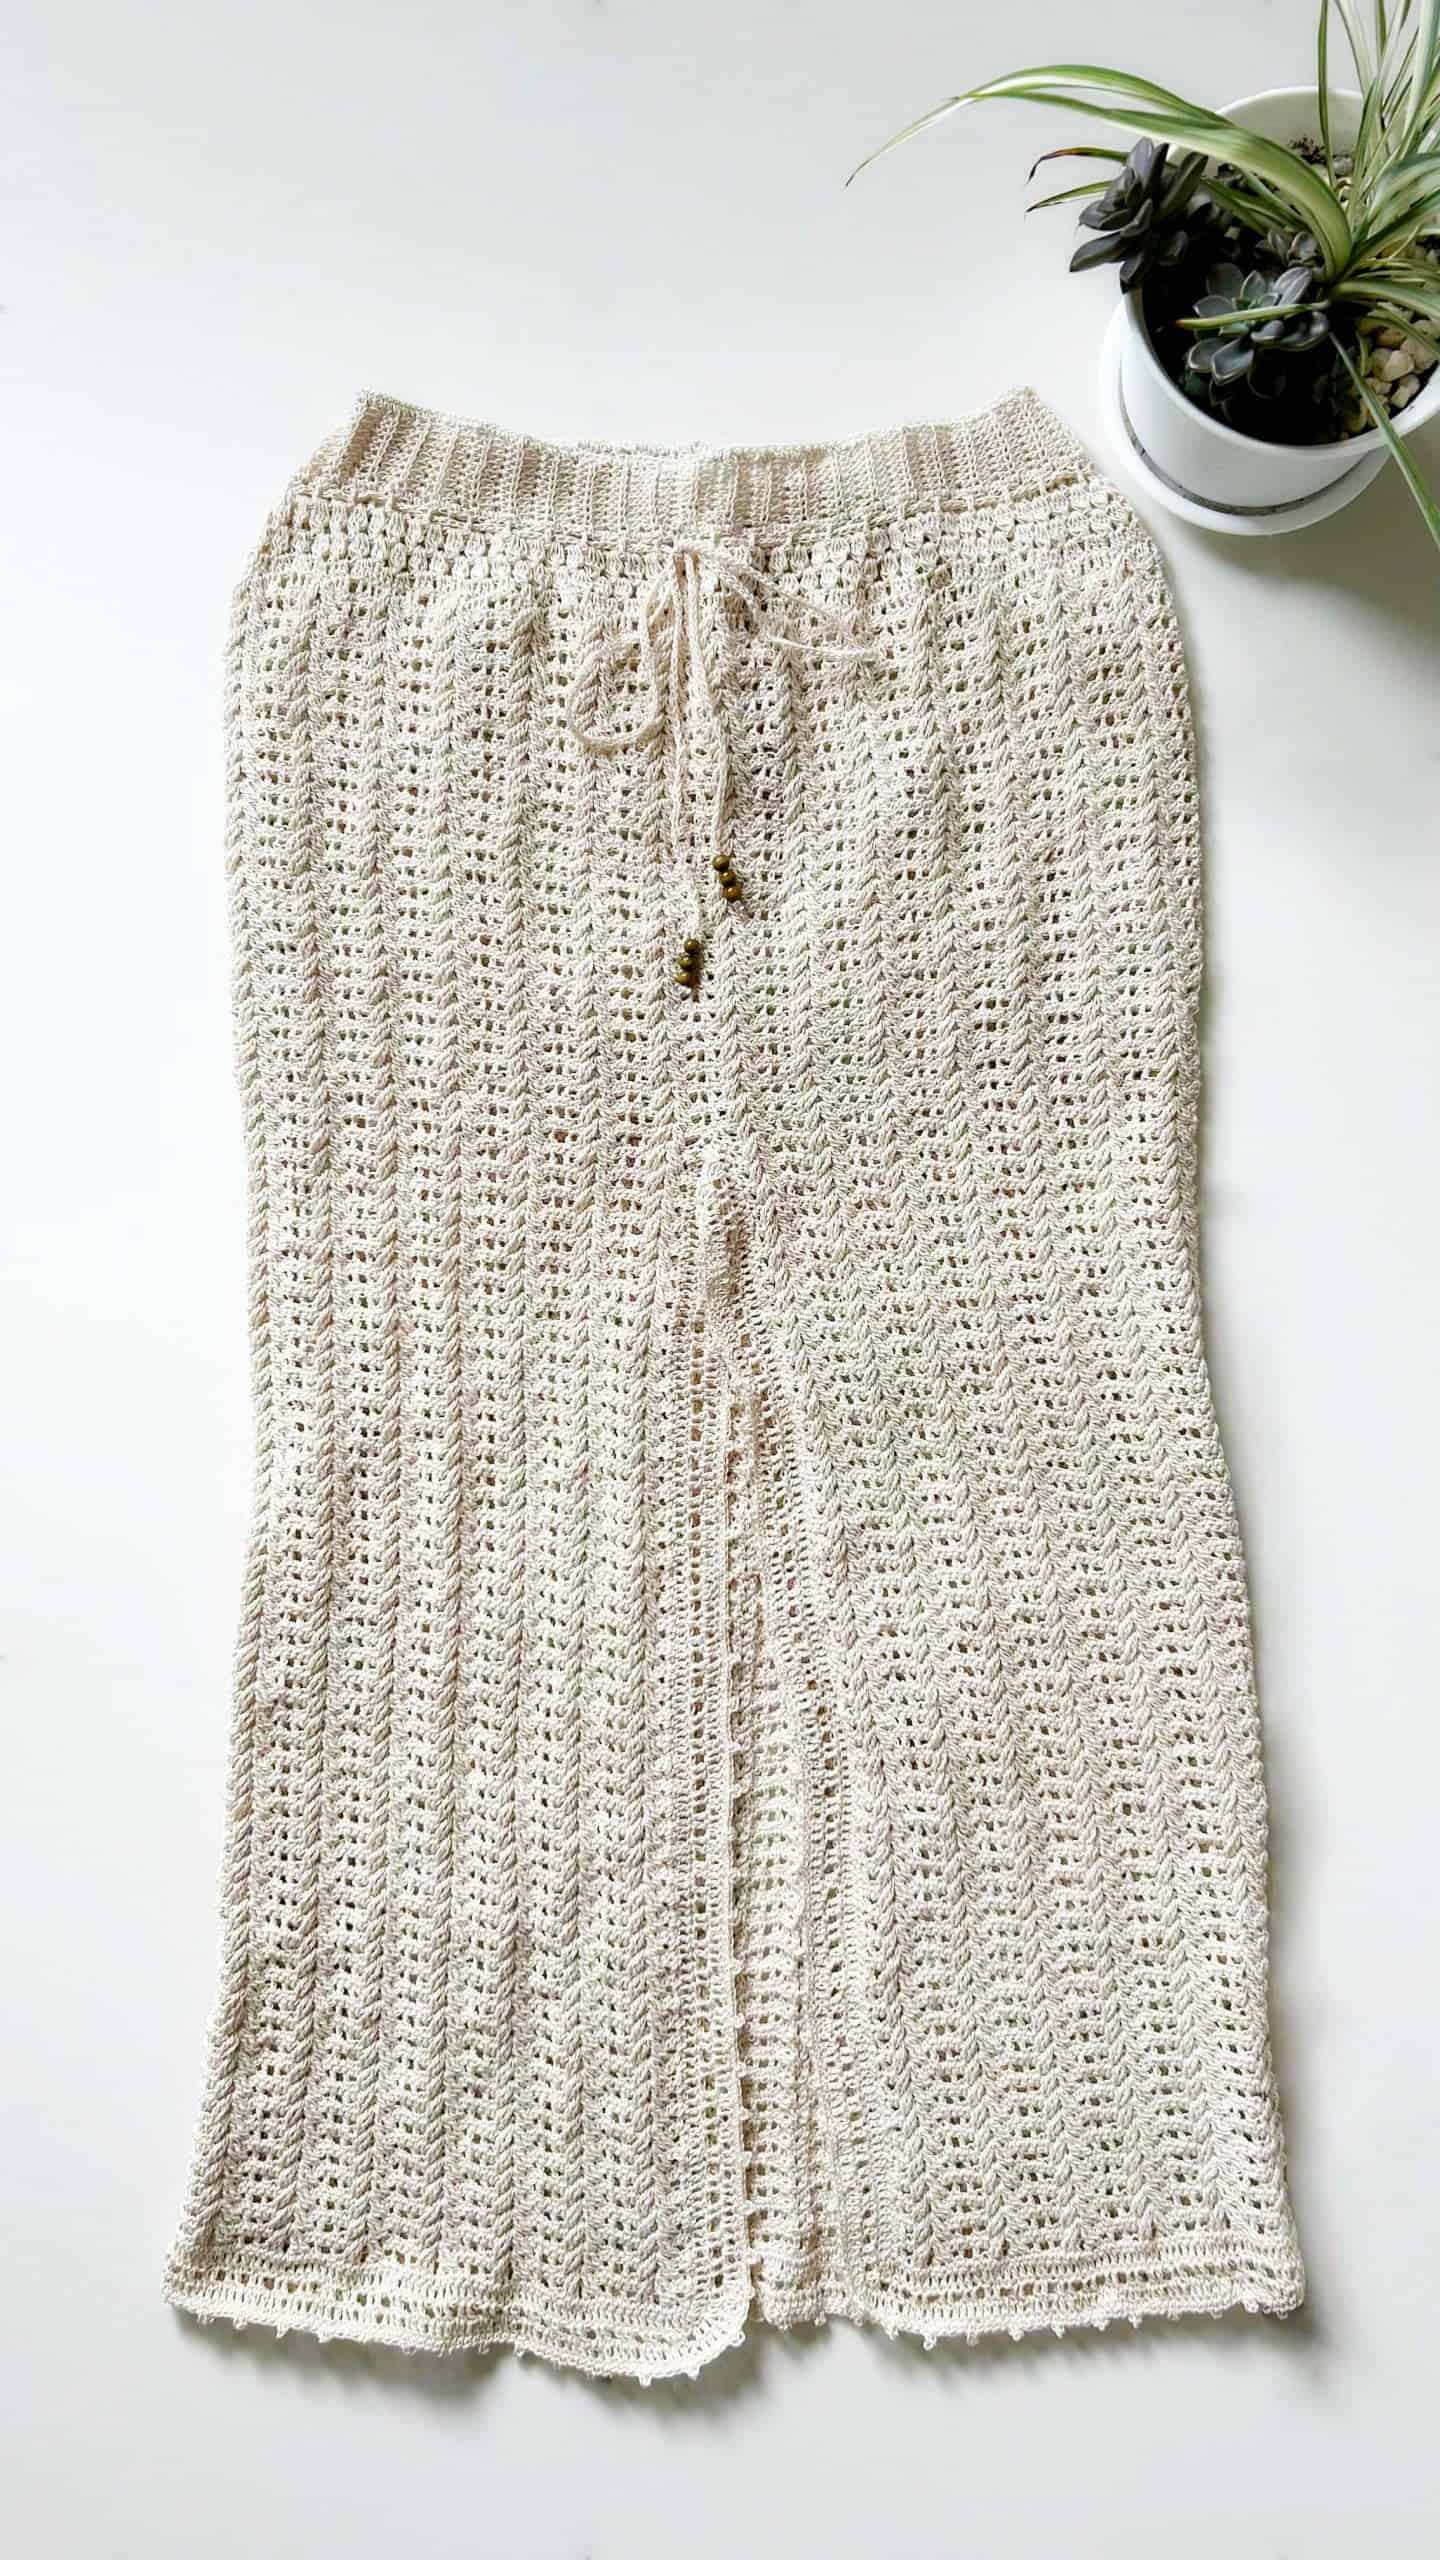


This skirt is crocheted top-down using the Arrowhead Cable Stitch Pattern, which adds structure and dimension to the fabric.
I wanted to use a lightweight yarn to reduce the weight of the skirt, so I chose Aunt Lydia’s Crochet Thread. The fine gauge of the thread requires a small crochet hook, so I used a 2.5 mm crochet hook for the entire skirt.
Before you start crocheting this skirt, be known that it is a time commitment and requires a lot of repetitive stitching. However, many people find crocheting large projects to be quite therapeutic and relaxing.
In addition to its versatility and style, this lacy skirt is also a great way to show off your crochet skills. The cable stitch pattern is both challenging and rewarding, and the finished skirt is sure to be a conversation starter.
Here are some additional tips before making this easy crochet skirt pattern:
- Be sure to gauge your swatch carefully before you start crocheting. This will help you ensure that your skirt fits perfectly.
- If you are new to crocheting cable stitches, watch the video tutorial here
- Once your skirt is finished, be sure to block it. This will help it to keep its shape and look its best.
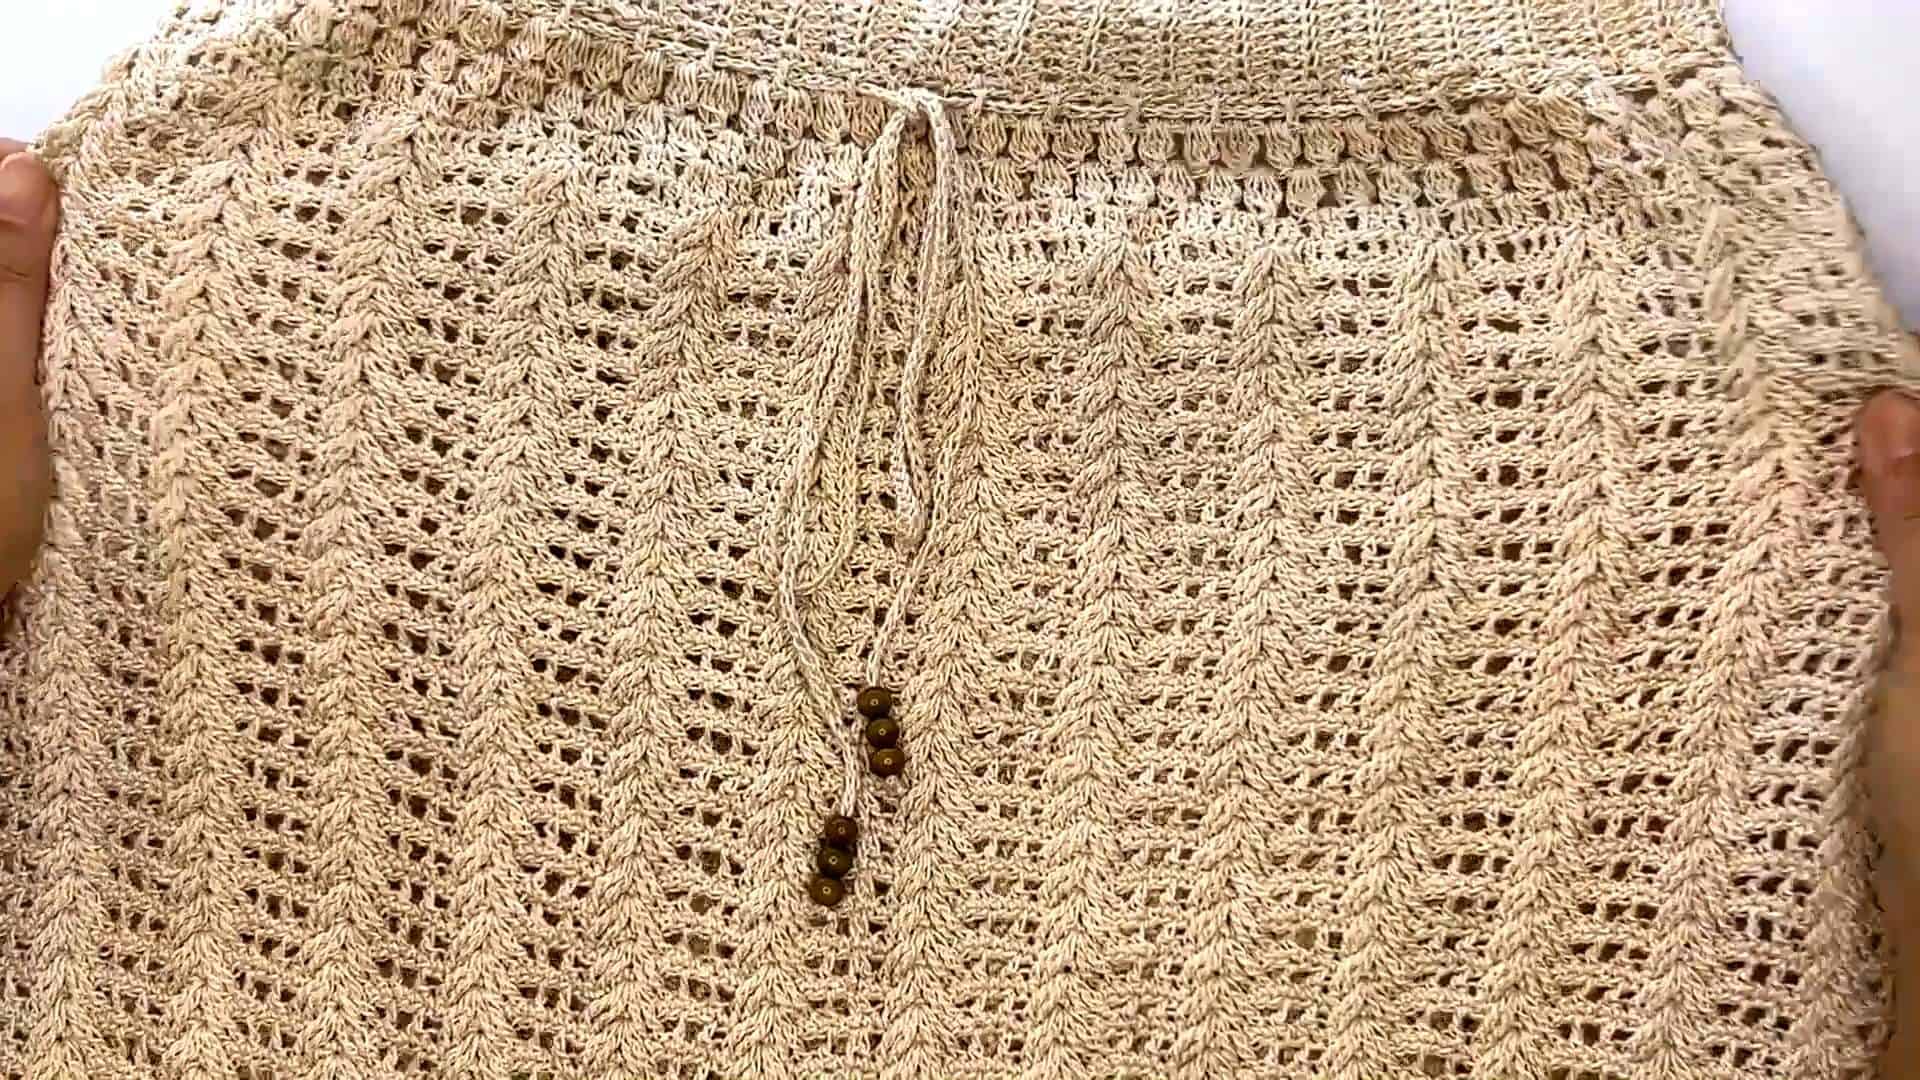
The Arrowhead Cable stitch pattern uses a few common stitches such as the Single Crochet, Double Crochet, and Treble Crochet Stitch. I also added a touch of Picot to the edging to jazz it up a bit.
Check out this other free pattern I made using the Arrowhead Cable Stitch pattern as well.

Things to Note:
§ Prepare gauge to get the right size. You may need to adjust your tension or hook size to obtain the same gauge
§ Turning chain does not count as a stitch unless mentioned otherwise
§ Check out the Video tutorial here
§ Abbreviation is available in English US format here.
Your body measurement:

- Pattern consists of 9 sizes.
- Measurements above are for your body size and not the finished skirt
- Length/ width can be adjusted to your liking
- If you are in between sizes, size up or measure along
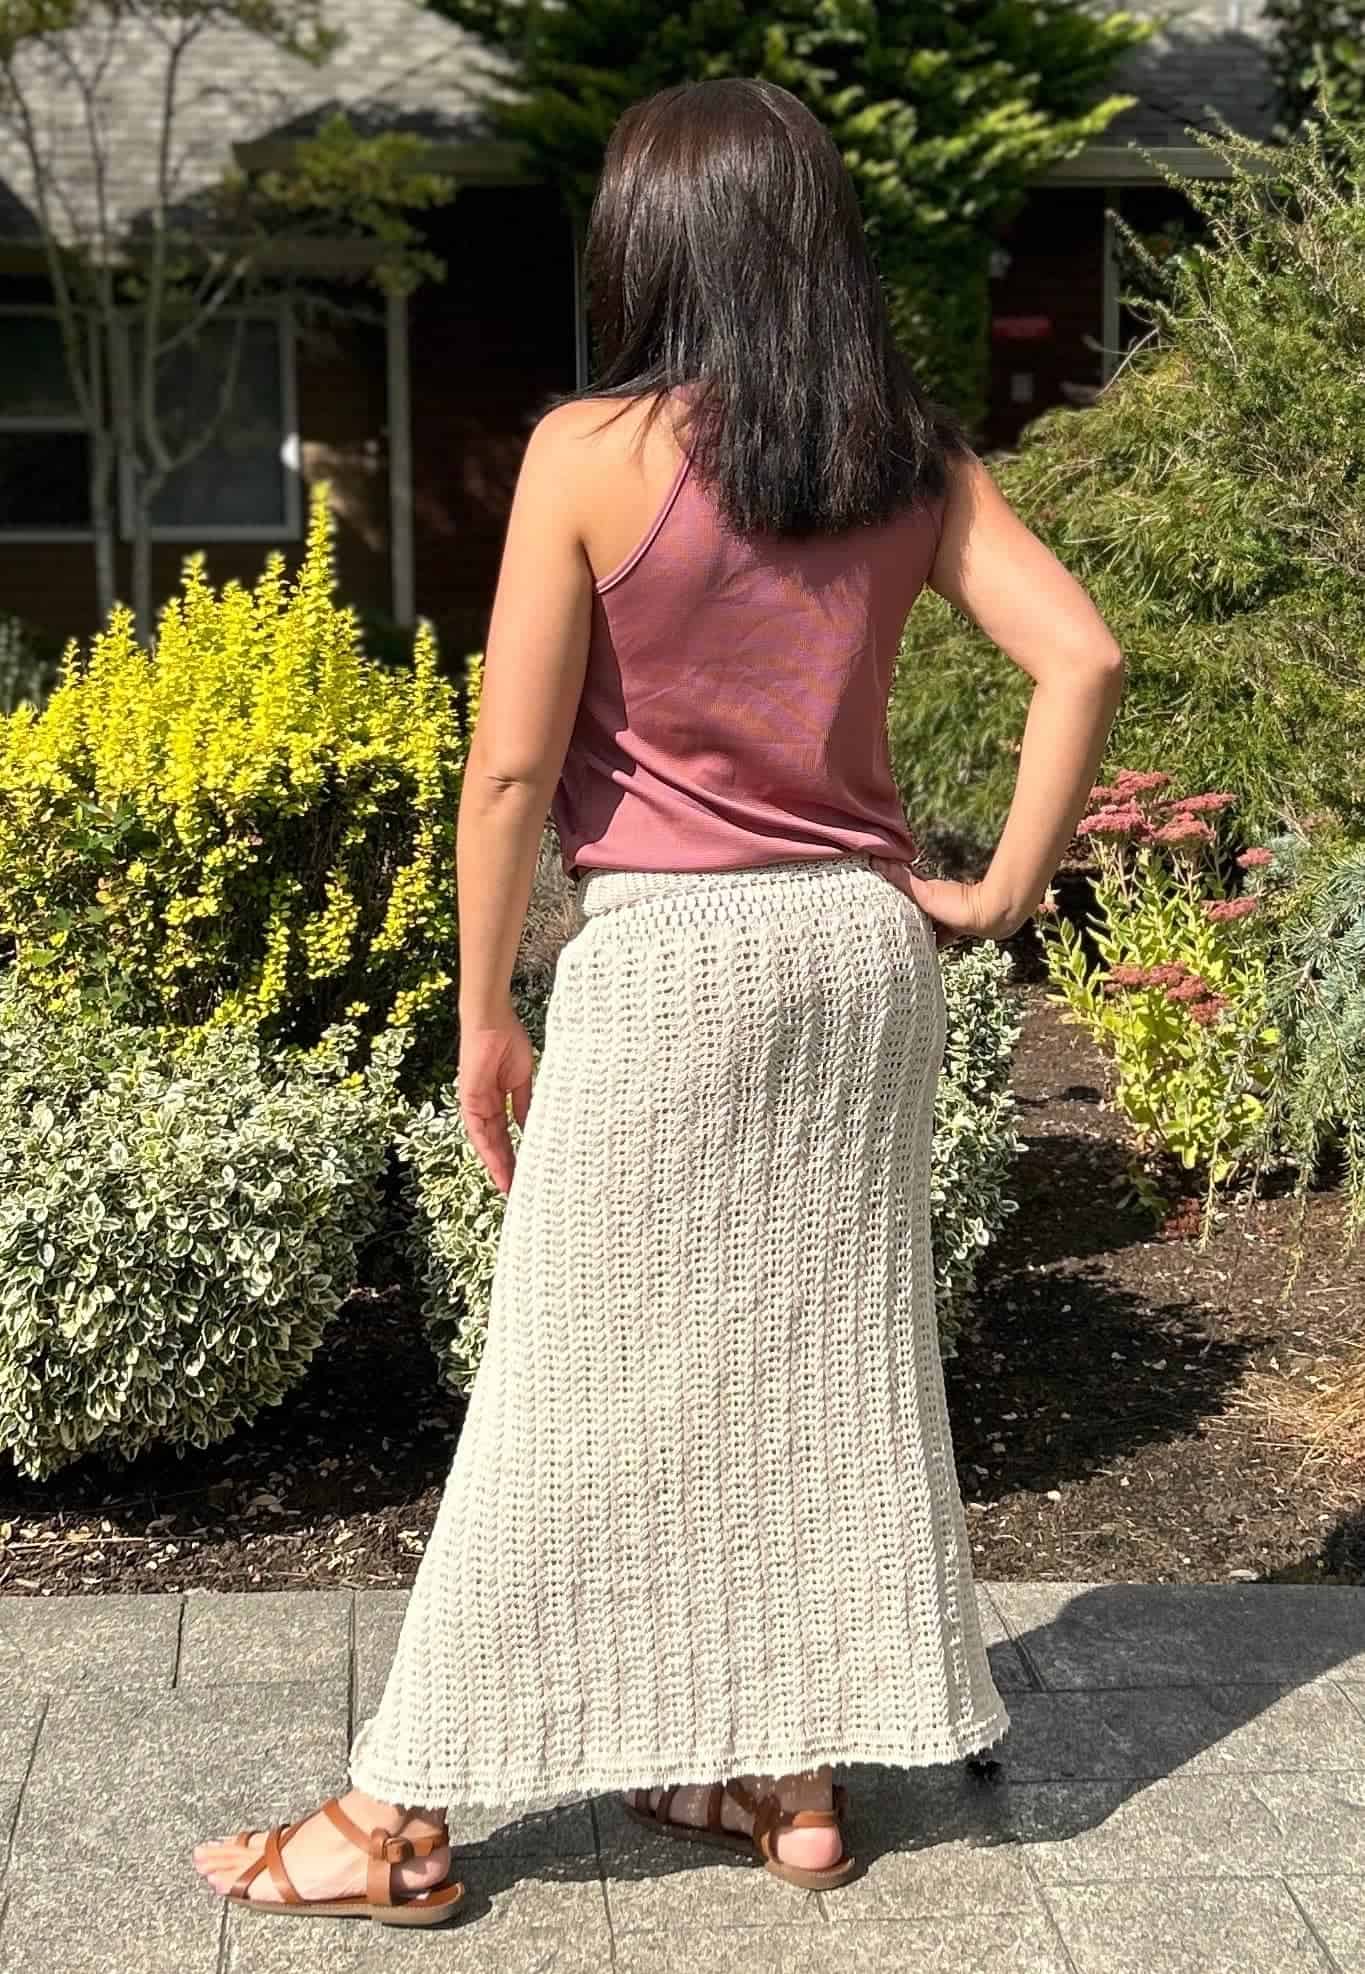
- Hip size refers to the circumference of the widest part of your bum area as well as the actual finished garment when stretched. (See image below)
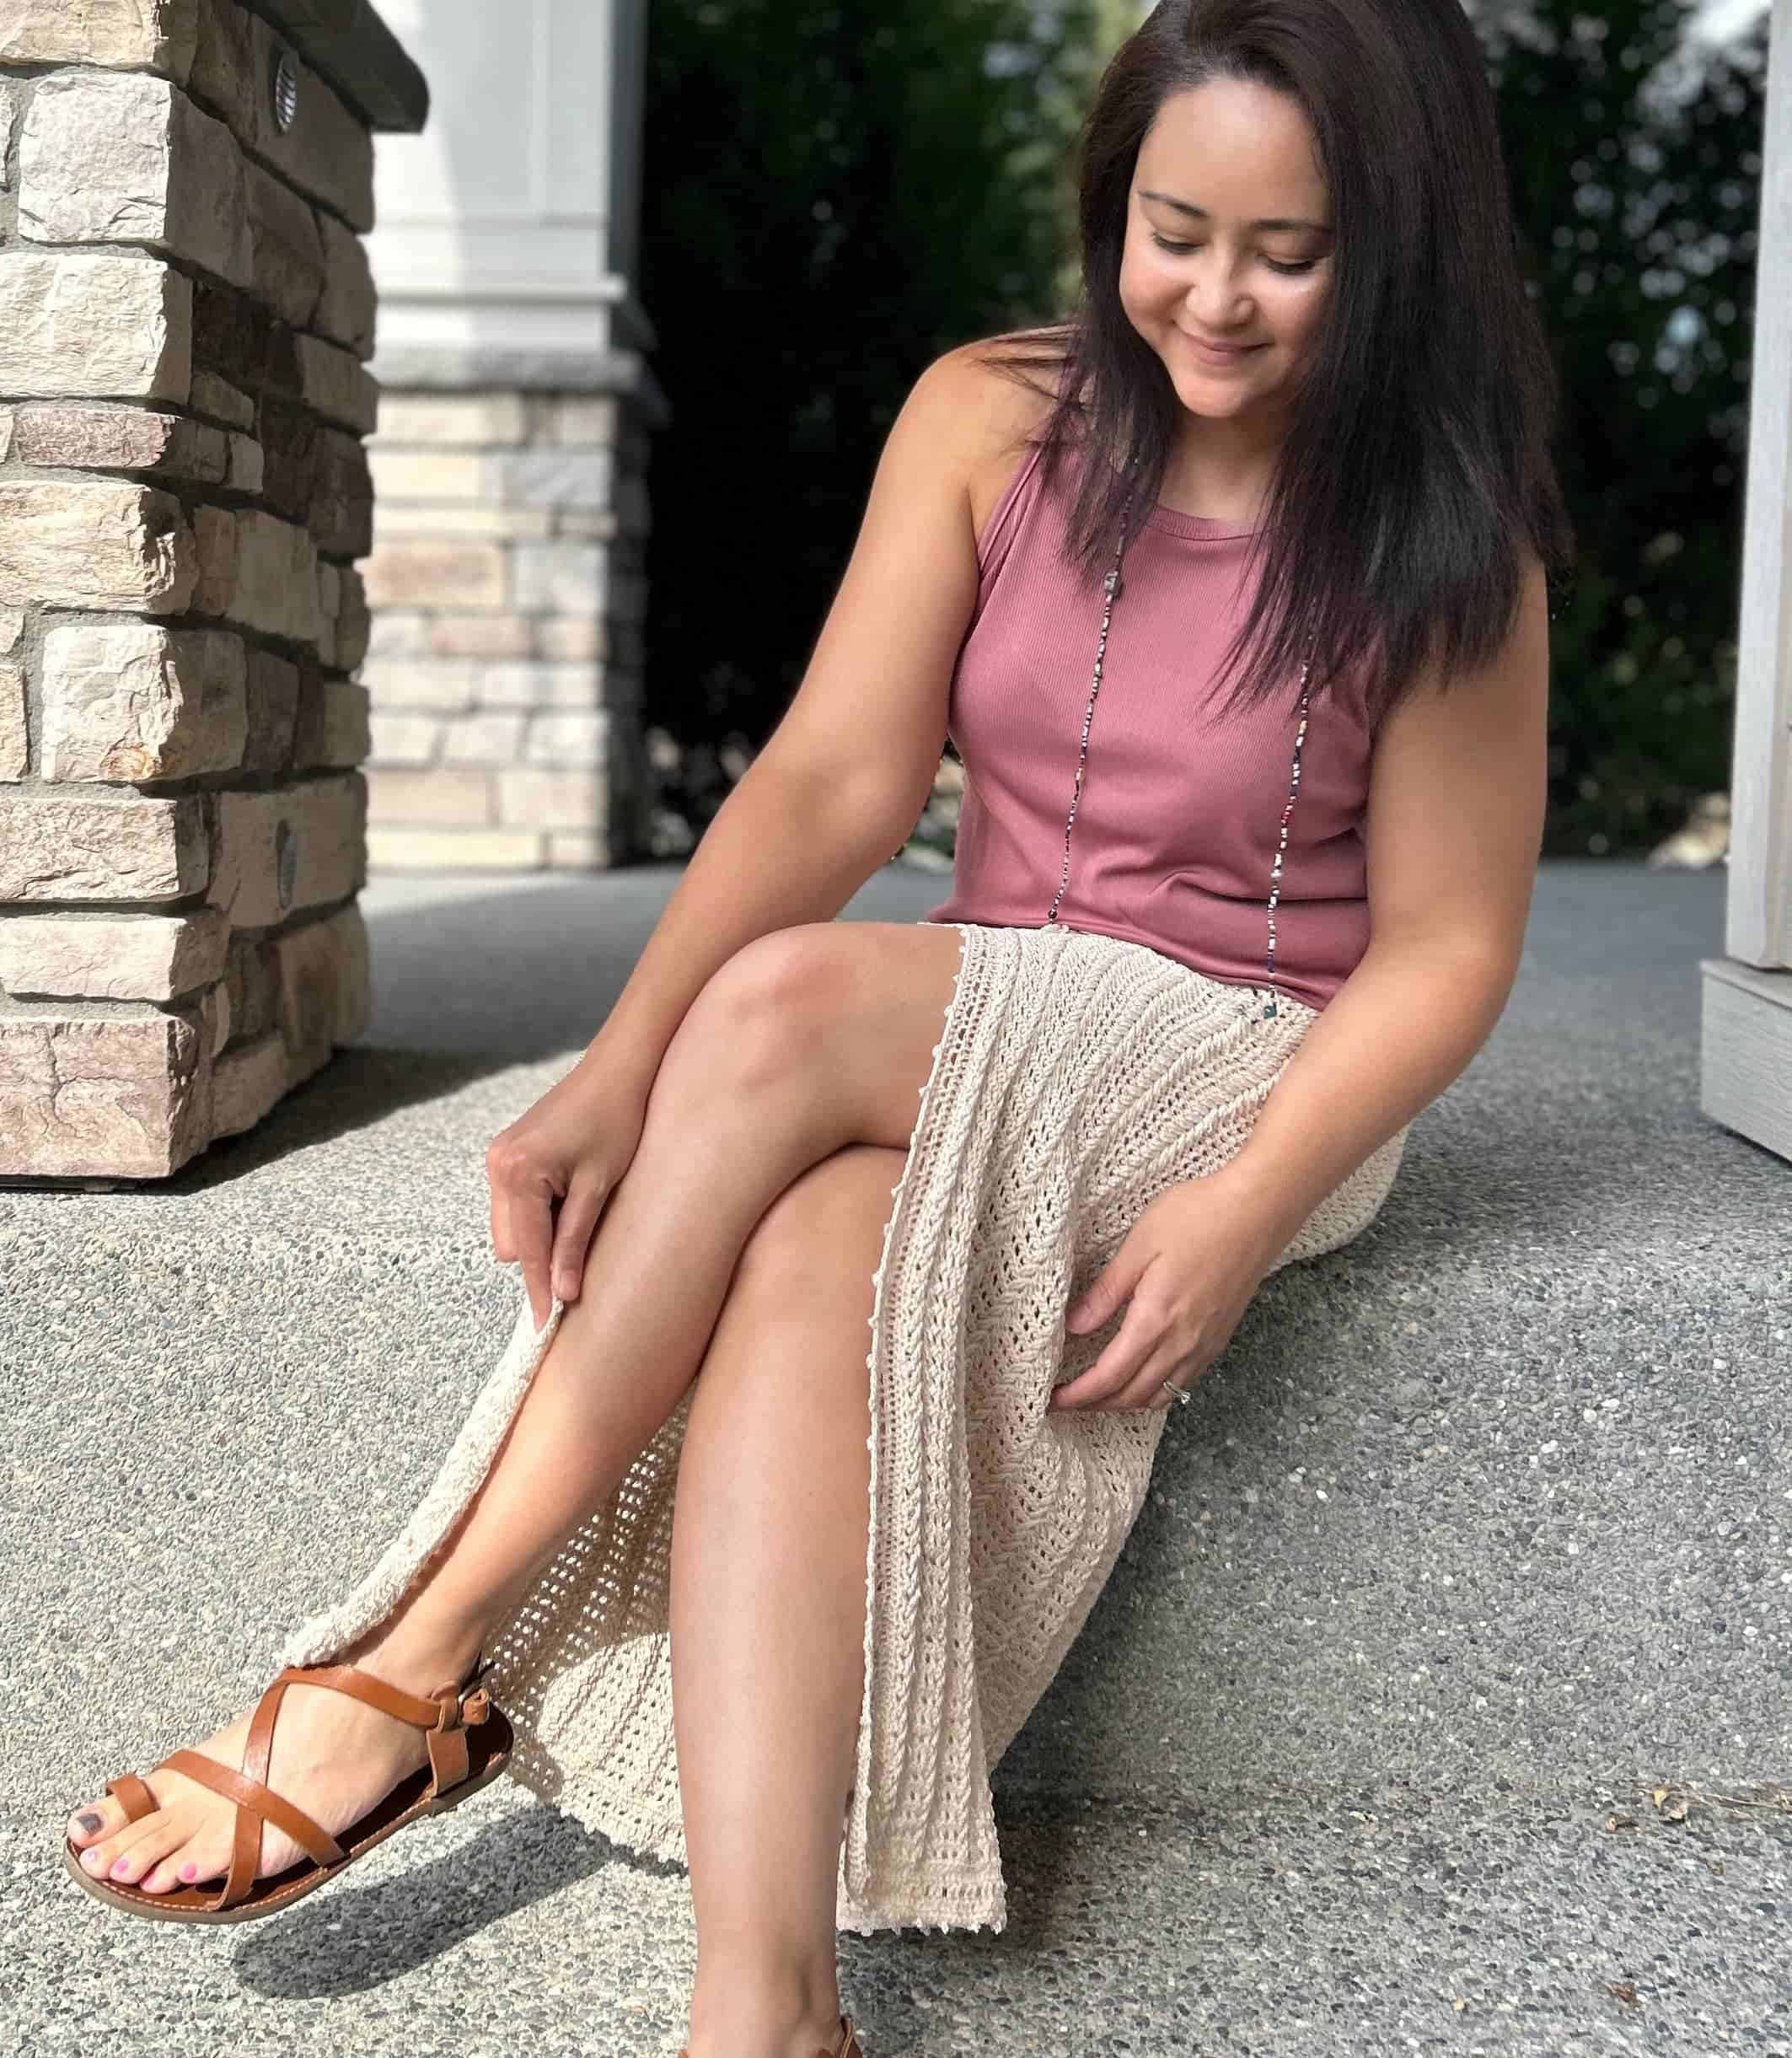
- Model is wearing size M and is 5’ 3”/ 160cm in these pictures for reference

**

PART 1: Waist Band (Video Tutorial)
1. Foundation Row: Ch 10, + 1 to start the next row
2. Row 1: From the 2nd Ch from hook, work a Hdc and across, Ch 1 turn
3. Row 2: Hdc across through the back post (BPO) only
4. Row 3: Rep Row 2 for a total of 80 [90/ 95/ 110/ 120] [130/ 140/ 145/ 155] rows or until you have achieved your hip width while stretched ending on a 0 or 5 number.
The rows given above are for your reference only and it’s best to measure your work against your body as you go.
5. Last Row: Fold the waistband in half and Slst BPO across the front piece and through both loops on the back piece on each St of both rows together, Ch 1, turn to row side.
PART 2: Skirt Pattern (Video Tutorial)
1. Rnd 1: Work 2 Sc across each row evenly and loosely, Slst into the 1st St to join in the round.
You should have double the amount of Sts per Row ending on a 0 number.
2. Rnd 2: In the same Slst, work a *(Dc, Ch 1, Sk1) Rep (*) in the round, Slst into the 1st
St to join.
3. Rnd 3 – 4: Sc in Ch Sp, *(Work a Puff St (4Dc) in Ch Sp, Ch 2), Rep (*) in the round, Slst into the 1st St to join. Rep for 1 more row.
4. Rnd 5: In the same St, work a Dc, 2 Dc on Ch Sp, *(Dc on St, 2 Dc on Ch Sp) Rep(*) in the round. Slst into the 1st St to join.
5. Rnd 6: In the same St, work a Dc and 3 more across, Ch 1, Sk 1, *(Dc 4, Ch 1, Sk 1), Rep (*) in the round. Slst into the 1st St to join
6. Rnd 7: In the same St, work a Sc and into each St in the round. Slst into the 1st St to join
7. Rnd 8 (Cable Pattern): In the same St, work a Dc, *(Yo 2x, Insert hook through the 4th St on the prev row (See image 1), work 1 Tc St. Work 1 more Tc in the same St, Dc on the 3rd St (see image 2), Ch 1, Sk 1, Dc, Work 2 Tc on the same 4th St on the prev row. Sk 2 Sts, Dc, Ch 1, Sk 1, *(Dc, work 2 Tc in the St on the prev row, Sk 2 Sts, Dc on the 3rd St, Ch 1, Sk 1, Dc, Work 2 Tc on the same prev St on the prev row, Sk 2 Sts, Dc, Ch 1, Sk 1). Rep (*) in the round. Slst into the 1st St to join.

8. Rnd 9: Sc in the same St and in each St and Ch in the round. Slst into the 1st St to join.
9. Next Rounds: Rep Rnd 7 & 8 Arrowhead Cable Stitch Pattern for as many rows as you’d like until the length you would like to start your slit. I have worked a total of 24 rows.
10 .Next Row: *(Dc, work 2 Tc in the St on the prev row, Sk 2 Sts, Dc on the 3rd St, Ch 1, Sk 1, Dc, Work 2 Tc on the same prev St on the prev row, Sk 2 Sts, Dc, Ch 1, Sk 1). Rep (*) across until the last Dc St for the row, Ch 1 turn
11.Next Row: Sc each St across, Ch 1 turn
12. Next Rows: Rep Steps 10 and 11 until you’ve reached your preferred length minus 1”/ 2.5cm for the edging.
Your last row should end on Step 10.
For ref I am 5’3” / 160cm tall and this skirt sits on my hips and is 34.5 in/ 87.6cm long. I worked a total of 76 Rows (minus edging)
PART 3: Edging (Video Tutorial)
1. Foundation Row: From your last St, Ch 1 and turn towards the slit row. Sc each row evenly across until the 3rd last St at the beginning of the slit. Sc the 1st and 3rd St together while Sk the 2nd St. Cont to Sc each Row across evenly. Slst into the 1st St to join in the round. Ch 1 turn
2. Rnd 1: (RS) Dc each St across until the last 3rd St at the beginning of the slit.
3. Dc the next 3 Sts together. Cont to Dc across until the bottom of the slit. Work 3
Dc, Dc across in the round. On the last St, work 3Dc, Slst to join
4. Rnd 2: Work *(Dc 2, Ch 1, Sk 1), Rep (*) across until the 3rd last St at the beginning of the slit, Dc the next 3 Sts together. Cont (*) across until the bottom of the slit. Work 3 Dc, Rep (*) across in the round. On the last St, work 3Dc, Slst to join
Tip: The prev Dc3tog St should be your 2nd St in the grouped stitch
5. Rnd 3: Work Dc Sts on each St and Ch across until the 3rd last St at the beginning of the slit, Dc the next 3 Sts together. Cont to Dc across until the bottom of the slit. Work 3 Dc, Dc across in the round. On the last St, work 3Dc, Slst to join
6. Rnd 4: *(Sc 5, Ch 3, work a picot on the last St) Rep (*) across until the 3rd last St at the beginning of the slit, Dc the next 3 Sts together. Cont (*) across until the bottom of the slit. Work 3 Dc, Rep (*) across in the round. On the last St, work 3Dc, Slst to join. Bind off.
Picot Stitch: Ch 3, Slst in the last St made. Ref video tutorial here

PART 4: Adding Elastic Band (Video Tutorial)
1. (RS) insert your hook at the top of the elastic waistband, Ch 1 to secure. Place an elastic
rubber band behind the loop and bet working yarn. Sc evenly across each row working around the rubber band.
2. Cont until the last 2 in/ 5cm or last 4 rows. Pull the rubber band firmly so it becomes slightly bunched up. Tie 2 knots on the rubber band. Cont to Sc around the rubber band, Slst to join in the round. Bind off and snip off the access rubber band.
PART 5: Belt Tie (Video Tutorial)

Measure the length you want, and add/pull 5x the length to start Foundation St
1. Work a slip knot
2. *(Take the bottom yarn and wrap it around the hook from the front to back, hold on to both loops at the bottom
3. Yo with the top yarn, PT both loops).
4. Rep (*) until you’ve reached your pref length or until you’ve reached the end of
the yarn.
5. Bind off.
6. Using a tapestry needle, find your middle point and weave through (up and down each loop) the 1st Dc Row in the round.
7. If you would like to add decorative beads, you can do so by using a needle
threader.
END

Bohemian Crochet Skirt
$5.99

Great job if you made it this far! If you have any questions about this pattern, do check out the video tutorial or get in touch with me by dropping a comment below.
And don’t forget to tag me on Instagram and Facebook @theknottylace, I would love to see your work!
By the way, If you would like to receive free written patterns and video tutorials straight into your inbox, you can join our mailing list now.
Happy hooking,
Shaz 


