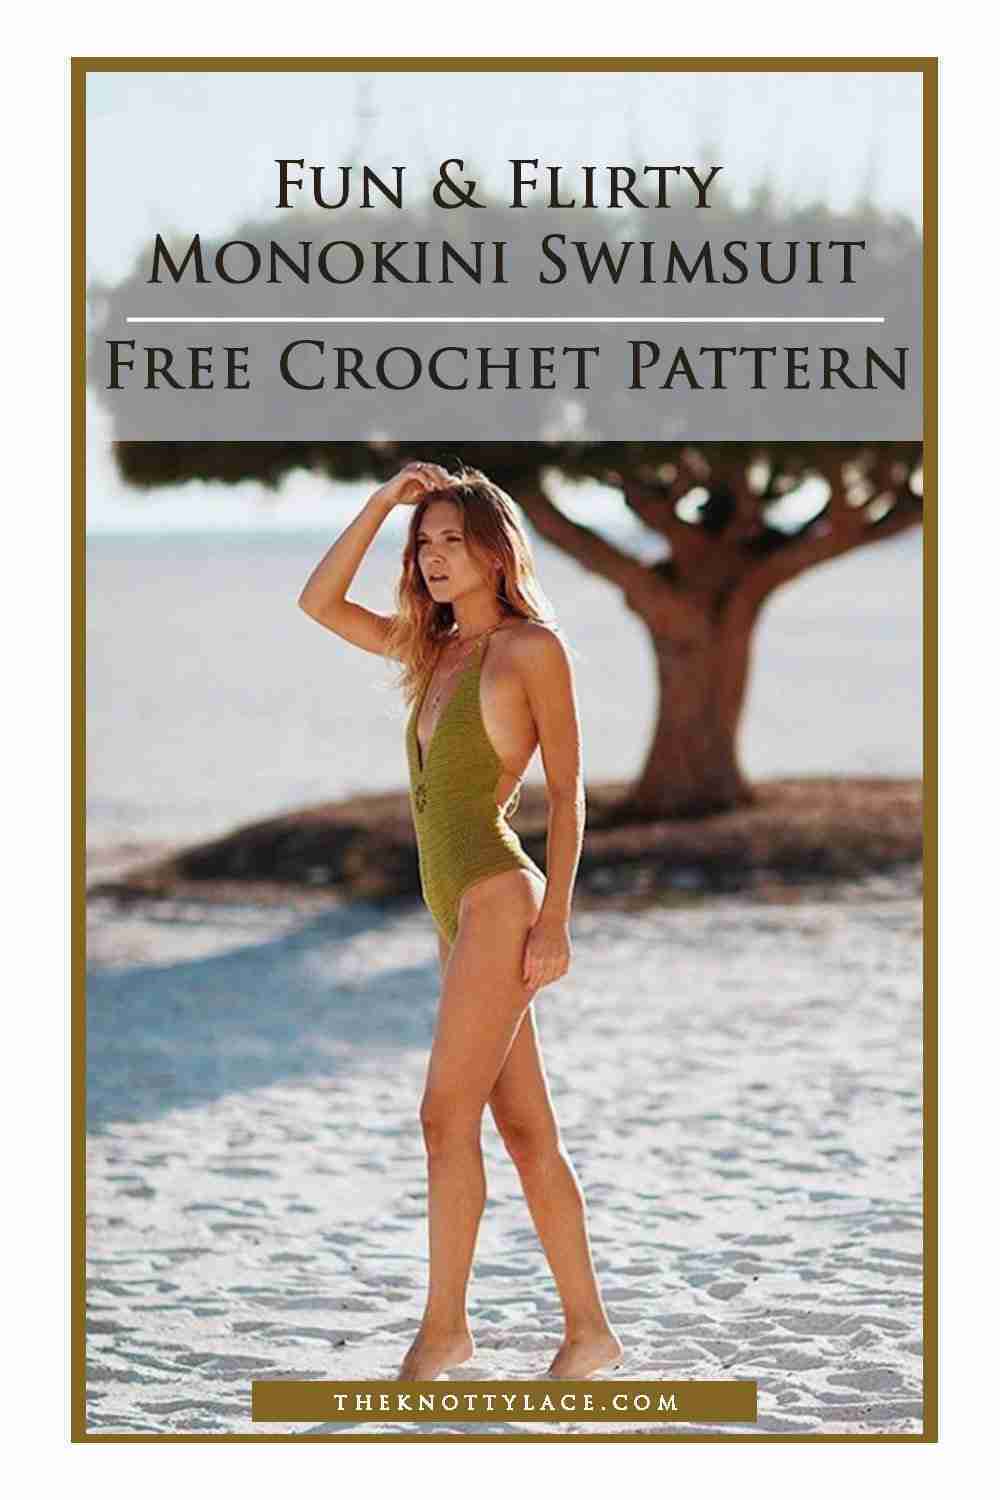
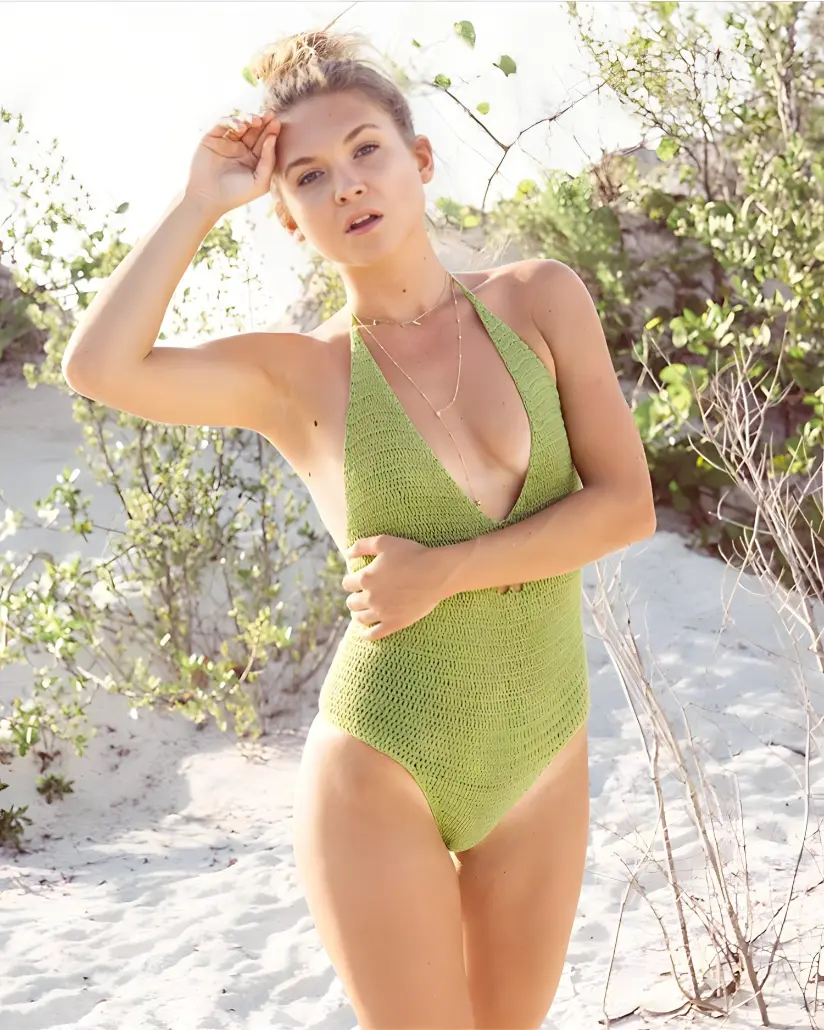
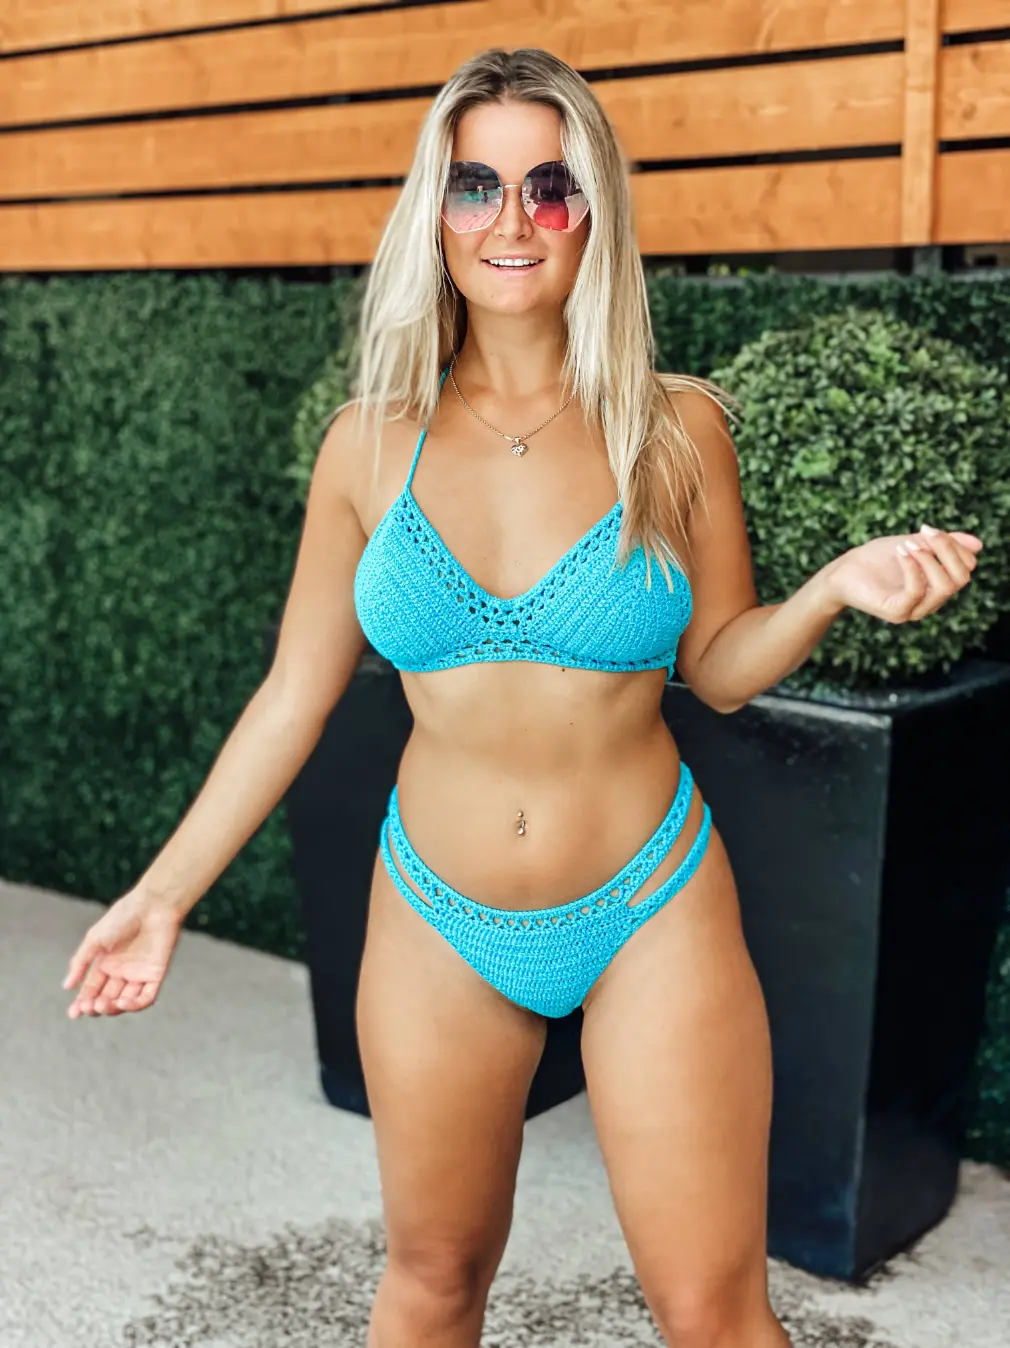
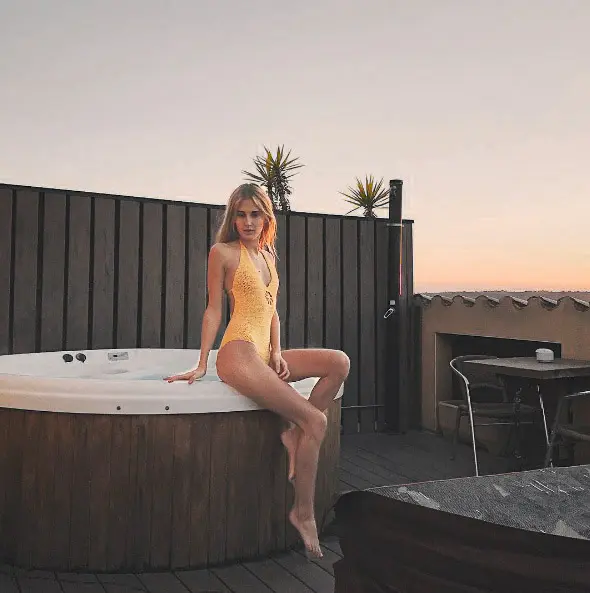
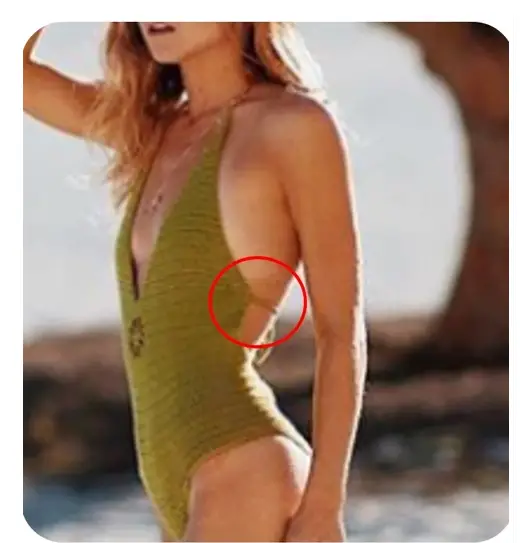
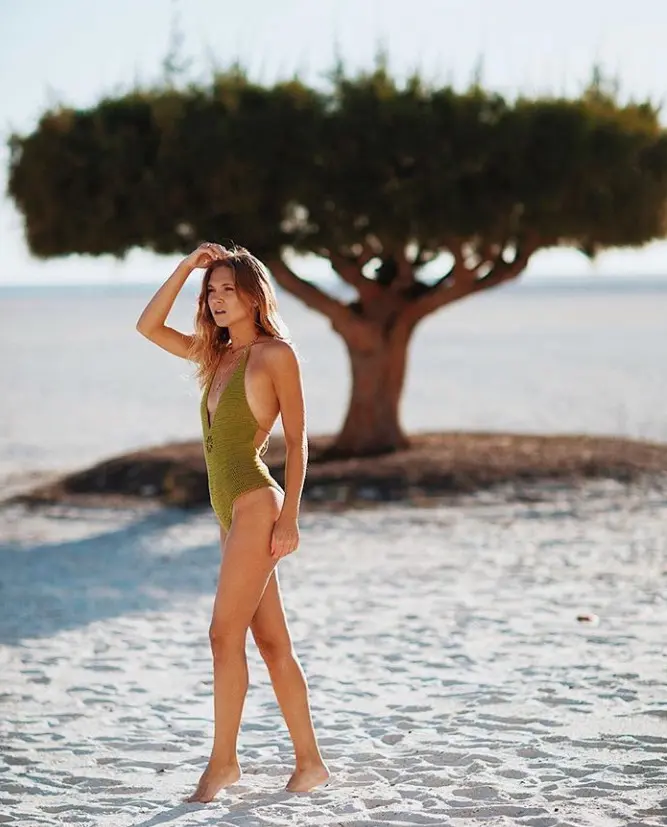
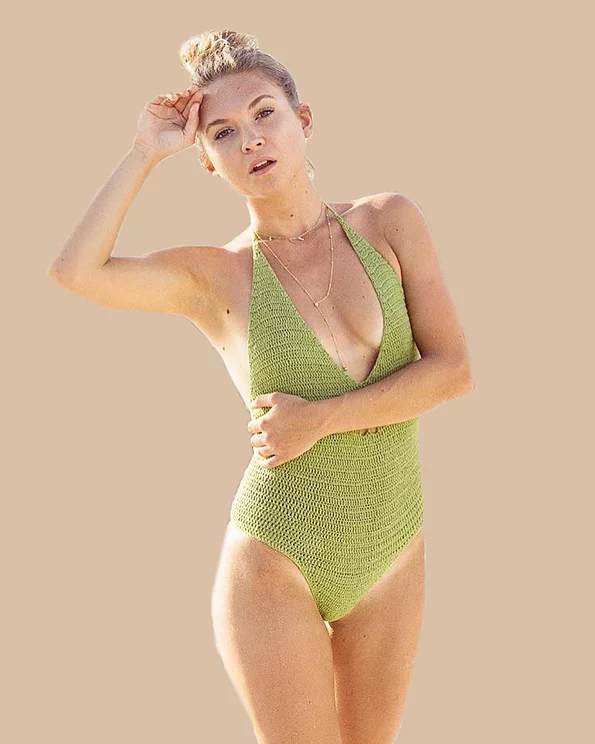
Introducing our one-piece swimsuit – The Collette Monokini. This crochet one piece swimsuit is sure to turn heads with its low plunging neckline and a bare back! A swimsuit that’s fun, flirty, and perfect for play.
This free pattern is designed with care, giving you a trendy and comfy experience. It’s all about making things easy and achieving a beautiful look.
If you would like a printable ad-free PDF file of this pattern, it is readily available for purchase in my pattern store here, or just add this to your Ravelry queue for later.
Design Inspiration
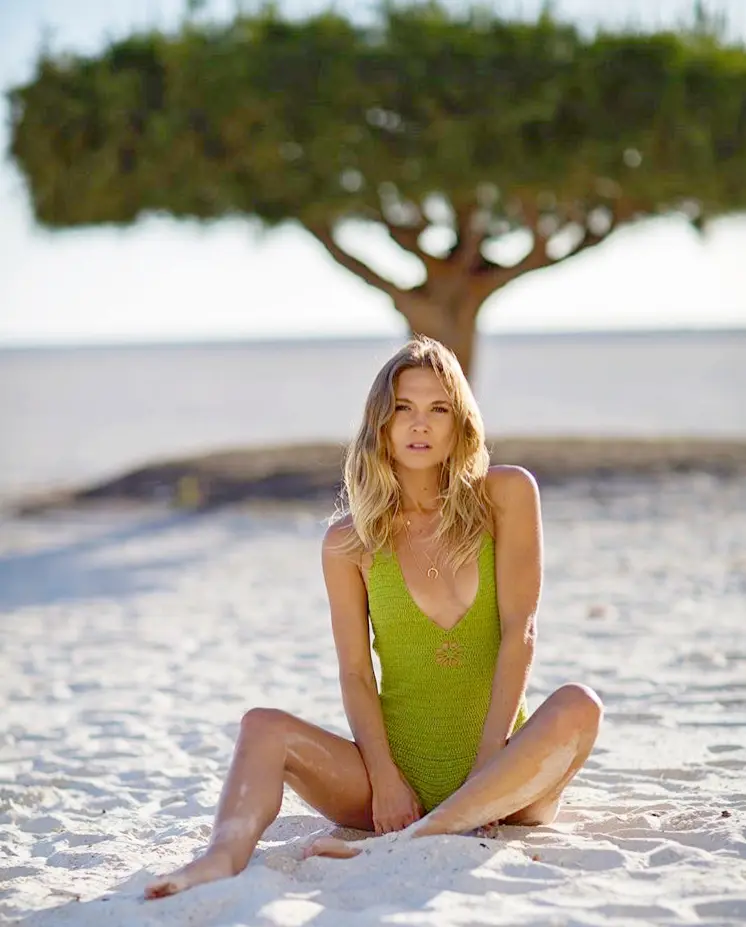
When I set out to design a crochet one piece swimsuit, I aimed for a perfect blend of elegance and comfort. The result is a swimsuit that not only looks good but also provides a cozy and confident fit.
The top part is carefully crafted to be wide around the bust, ensuring excellent coverage without the need for separate cups. This design choice not only adds a touch of simplicity but also caters to various body shapes, making it versatile and inclusive.
Moving down to the bottom part, I decided on a high-waisted design. Beyond its classic appearance, this feature serves a practical purpose.
Whether you’re enjoying a swim or soaking up the sun, the high-waisted style not only adds a timeless charm but also keeps everything securely in place without any discomfort.
This monokini is more than just a stylish garment, it’s a commitment to both looking and feeling great. This design offers elegance without unnecessary complications.
Pattern Description
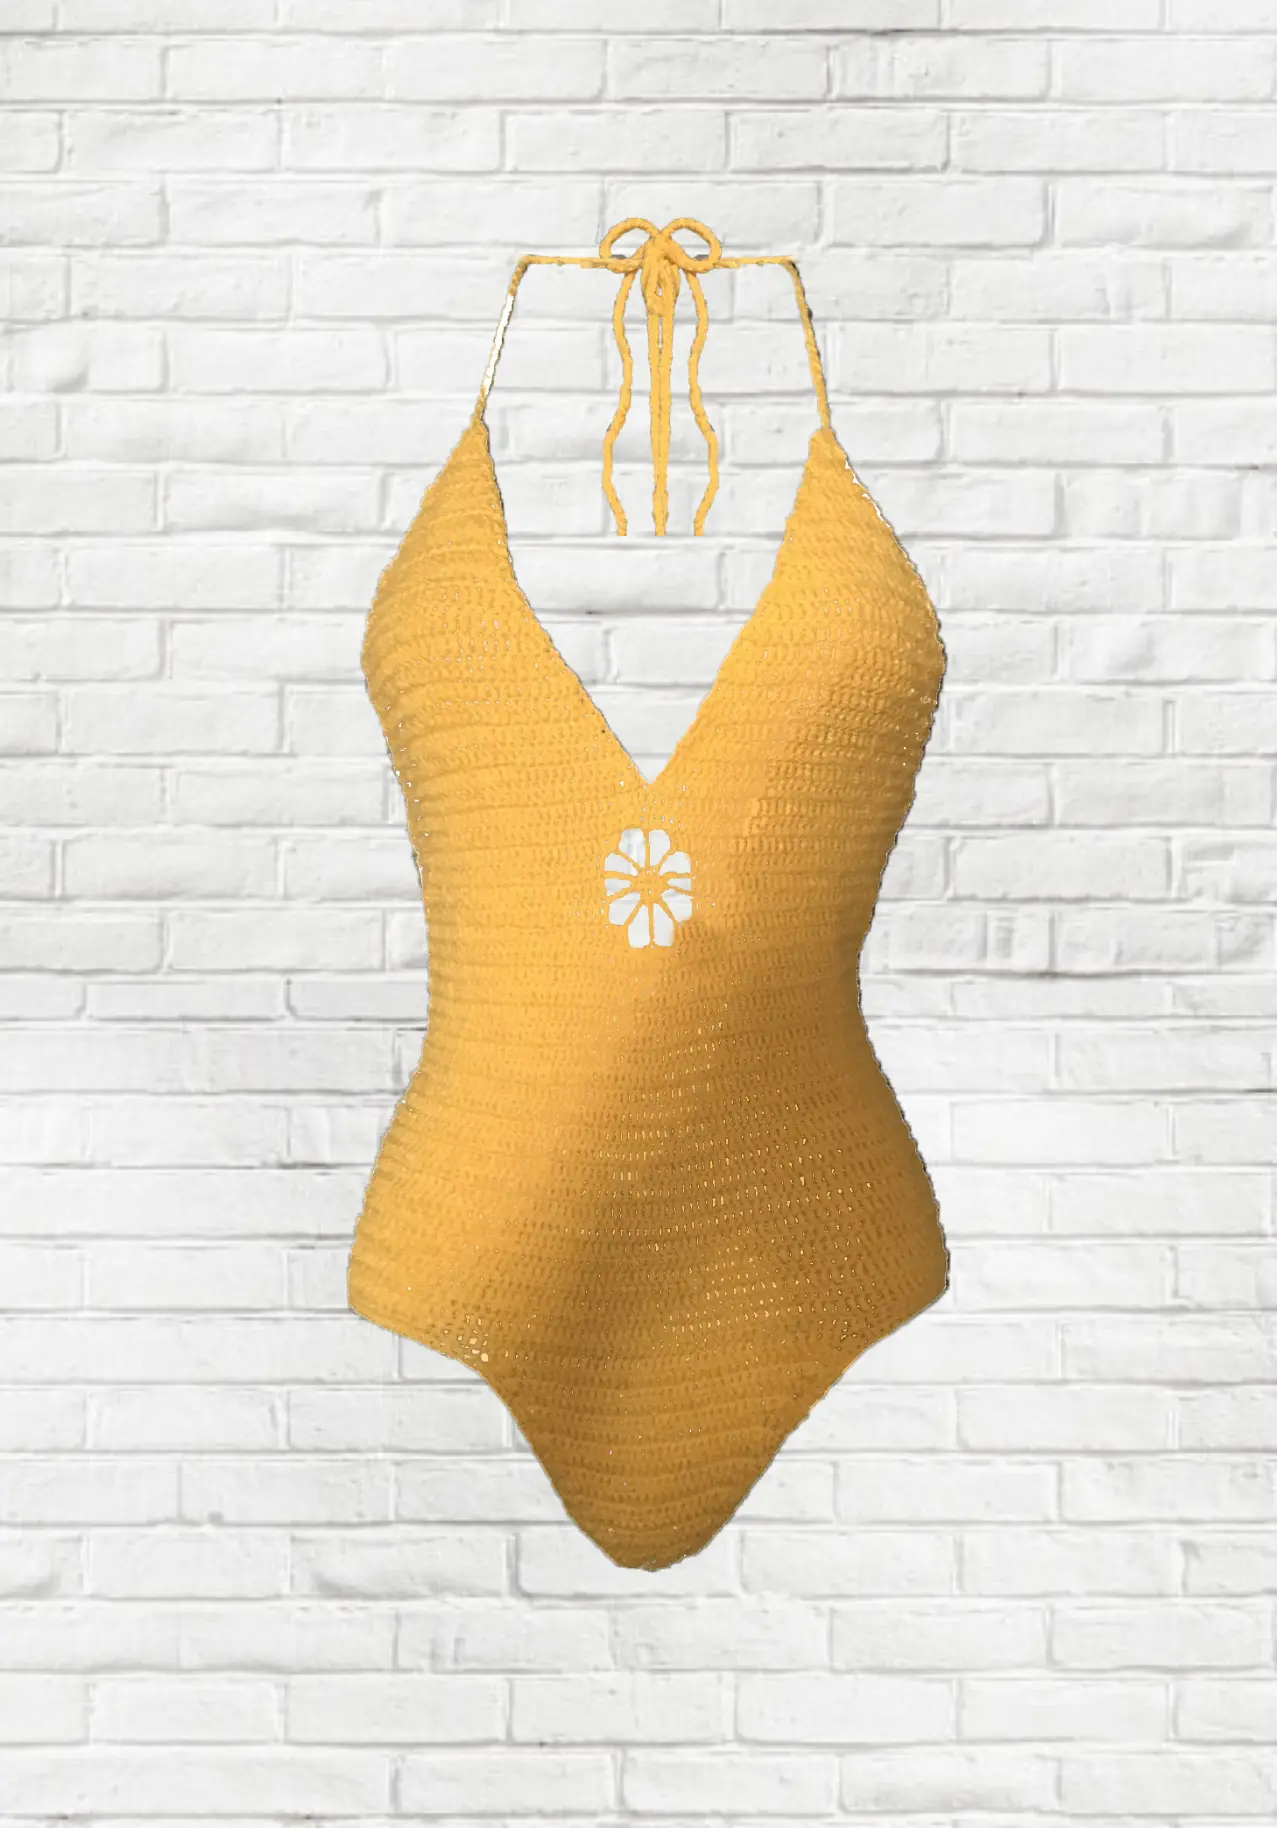
Crafted with ease in mind, this monokini is designed to be easy and worked seamlessly from the front bottom piece to the back, and then continued up at the front. No complex stitches here, just simple half double crochet stitches (Hdc), making it an ideal project for crocheters of all skill levels.
Designed to flatter every body type, this pattern comes in a range of 9 US sizes from XS to 5XL. We believe that everyone deserves to look and feel fantastic in their swimwear, so we’ve got you covered with a size for every beautiful shape.
For this monokini, I am using a cotton blend yarn by Cascade Fixation in the colors Marigold and Fern. This is a lightweight stretchy yarn ideal for any crochet bikinis and swimsuit. By adding elastic bands along the sides, will ensure a better fit overall.
But that’s not all – we understand the importance of customization. We provide tips on how to adjust the length, add personal touches, and make it uniquely yours. Feel free to get creative and add your flair to this versatile swimsuit pattern.
To make your crocheting experience even more enjoyable, we’ve included detailed information and visuals (in the pdf crochet pattern) to guide you every step of the way.
Related Post:
Frequently Ask Questions about Crochet Bikinis and Swimsuit
Check out these free crochet Swimsuit & Bikini patterns here.
Sahara Bikini Set
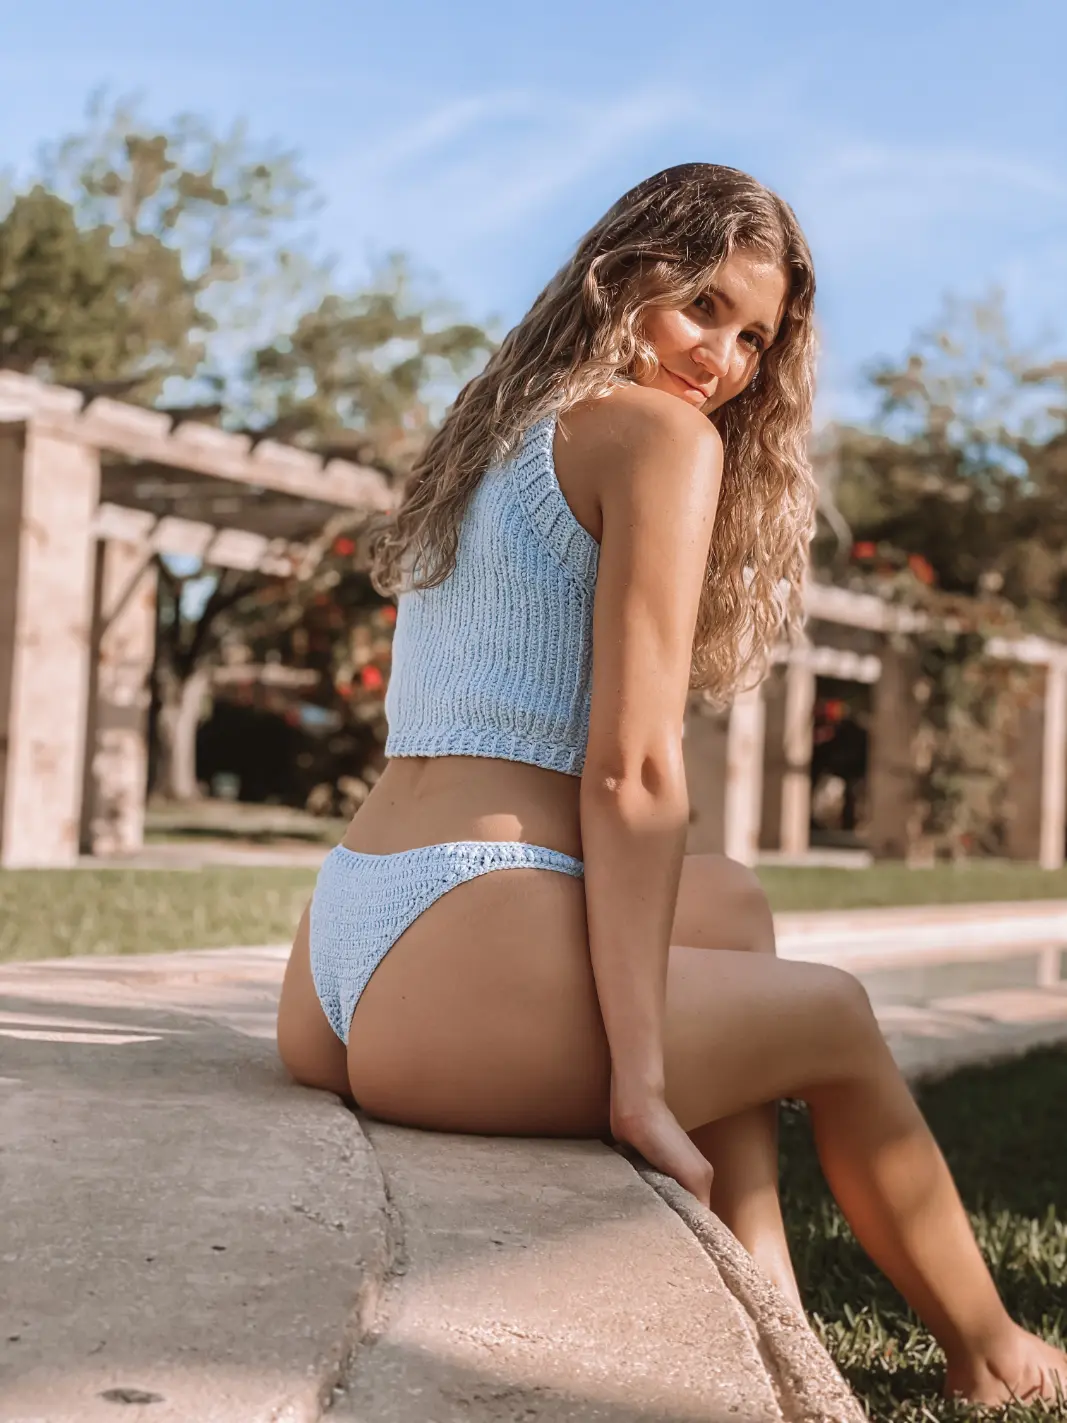
Hanna Cropped Top Bikini Set
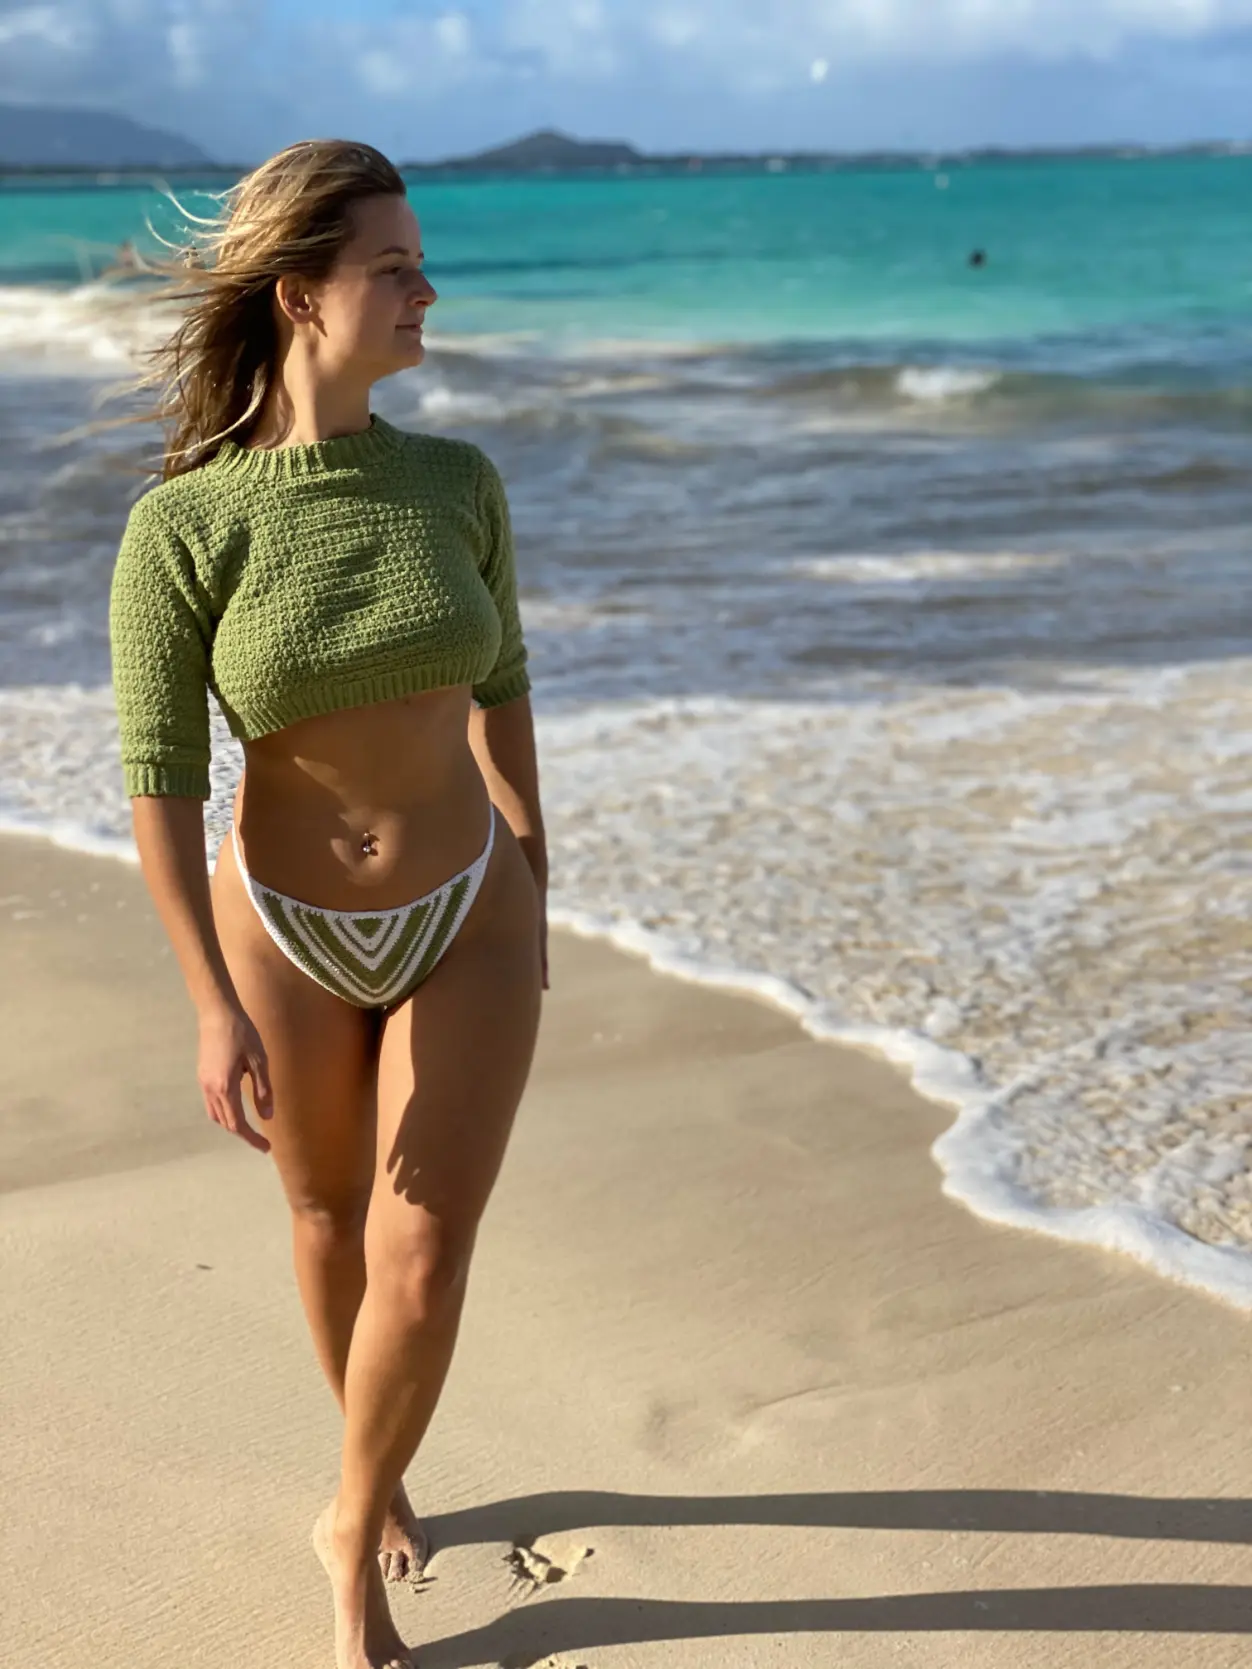
Remy Cropped Sweater Bikini Set
Crochet swimsuit yarn Recommendation:
When it comes to picking the perfect yarn for your crochet swimsuit, choosing the right yarn makes all the difference! Opting for a sport weight yarn with a blend of cotton and elastane or polymide is the key to creating a fabulous and functional swimwear piece.
Look for yarns specifically labeled as suitable for swimwear to ensure they can handle exposure to water and keep their shape and color intact.
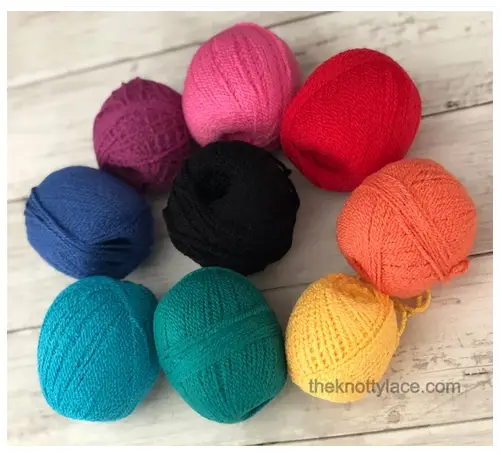
Consider yarns like the Cascade Fixation Yarn. This is a fantastic choice that brings together the softness of cotton with the stretch of elastane. This cotton yarn not only feels comfy against the skin but also provides the ideal amount of stretch to ensure your swimsuit fits just right. It’s a top-notch option that promises durability and maintains its vibrant colors even after a dip in the water.
Another great option is the Alize Diva Stretch yarns. This yarn offers a blend of polymide for added flexibility and comfort. Its stretchy nature allows for a snug fit, making it perfect for creating a swimsuit that moves with you.
When selecting yarn, prioritize comfort – you want a yarn that feels good against your skin, especially when spending time in the water. The right amount of stretch ensures a comfortable and flattering fit, so keep that in mind while making your decision.
Check Out Our Swimsuit Playlist:
Most Common Questions Answered:
After Care Guide
1. Washing Instructions: Gently hand wash your crochet swimsuit using a mild detergent in cool water. Avoid using harsh chemicals or bleach, as they can damage the fibers and colors.
2. Drying Methods: After washing, it’s crucial to choose the right drying method. You can either:
- Low Tumble Heat: If using a dryer, set it to low tumble heat to avoid excessive heat exposure. Keep in mind that high heat can damage the yarn and affect the shape of your swimsuit.
- Lay Flat to Dry: Alternatively, lay your swimsuit flat on a clean, dry towel to air dry. This method helps maintain the shape and prevents stretching.
3. Storage Tips: Store your crochet swimsuit in a cool, dry place away from direct sunlight. Avoid folding or compressing it for extended periods to prevent creases or misshaping.
4. Rinse After Use: If your crochet swimsuit has been exposed to saltwater, chlorine, or sunscreen, it’s advisable to rinse it with cool water after each use. This helps remove any residue that may affect the color and integrity of the yarn.
Sizing guide for crochet swimsuits
- Refer to the size information provided in the crochet pattern to select the appropriate size for your body measurements.
- Pay attention to bust, waist, hip, and length measurements to ensure a proper fit.
- Adjustments can be made based on personal preferences and body shape. This pattern comes with sizes ranging from sizes XS – 5XL. Adjust the size, length, or shaping as needed.
- Modify the pattern based on individual body measurements to achieve a customized fit.
Are lining necessary
- Linings are not necessary especially if your stitches are tight and done correctly.
- However, should you decide to use one, use swimwear fabric that complements the crochet design. Sew the lining into the crochet piece following the pattern instructions.
If you would like to receive free written patterns and video tutorials straight into your inbox, just click Subscribe to get into our mailing list
Collette One Piece Swimsuit – Free Crochet Pattern
Tools and Materials:
Yarn weight: DK Category 3
Brand: Cascade Fixation
Color: Fern
Hook Size: 2.25 mm hook
Gauge: 24 Hdc Sts x 16 Rows = 4”x 4”
No. yarns (balls): XS[S/M/L/XL] [2XL/ 3X/ 4XL/ 5XL] – 3[3/3/4/4] [4/5/5/5] balls
Tools: tapestry needle, measuring tape, scissors, rubber band, stitch markers
Skill Level: Beginner to Intermediate
This post contains affiliate links designed to provide a commission on purchases made at no cost to you. As an Amazon Associate, I earn from qualifying purchases which support my work in providing new content and information on this site.

Things to Note:
- Prepare gauge to get the right size.
- This swimsuit is stretchable when using mentioned yarn
- Turning chain does not count as a stitch unless mentioned otherwise.
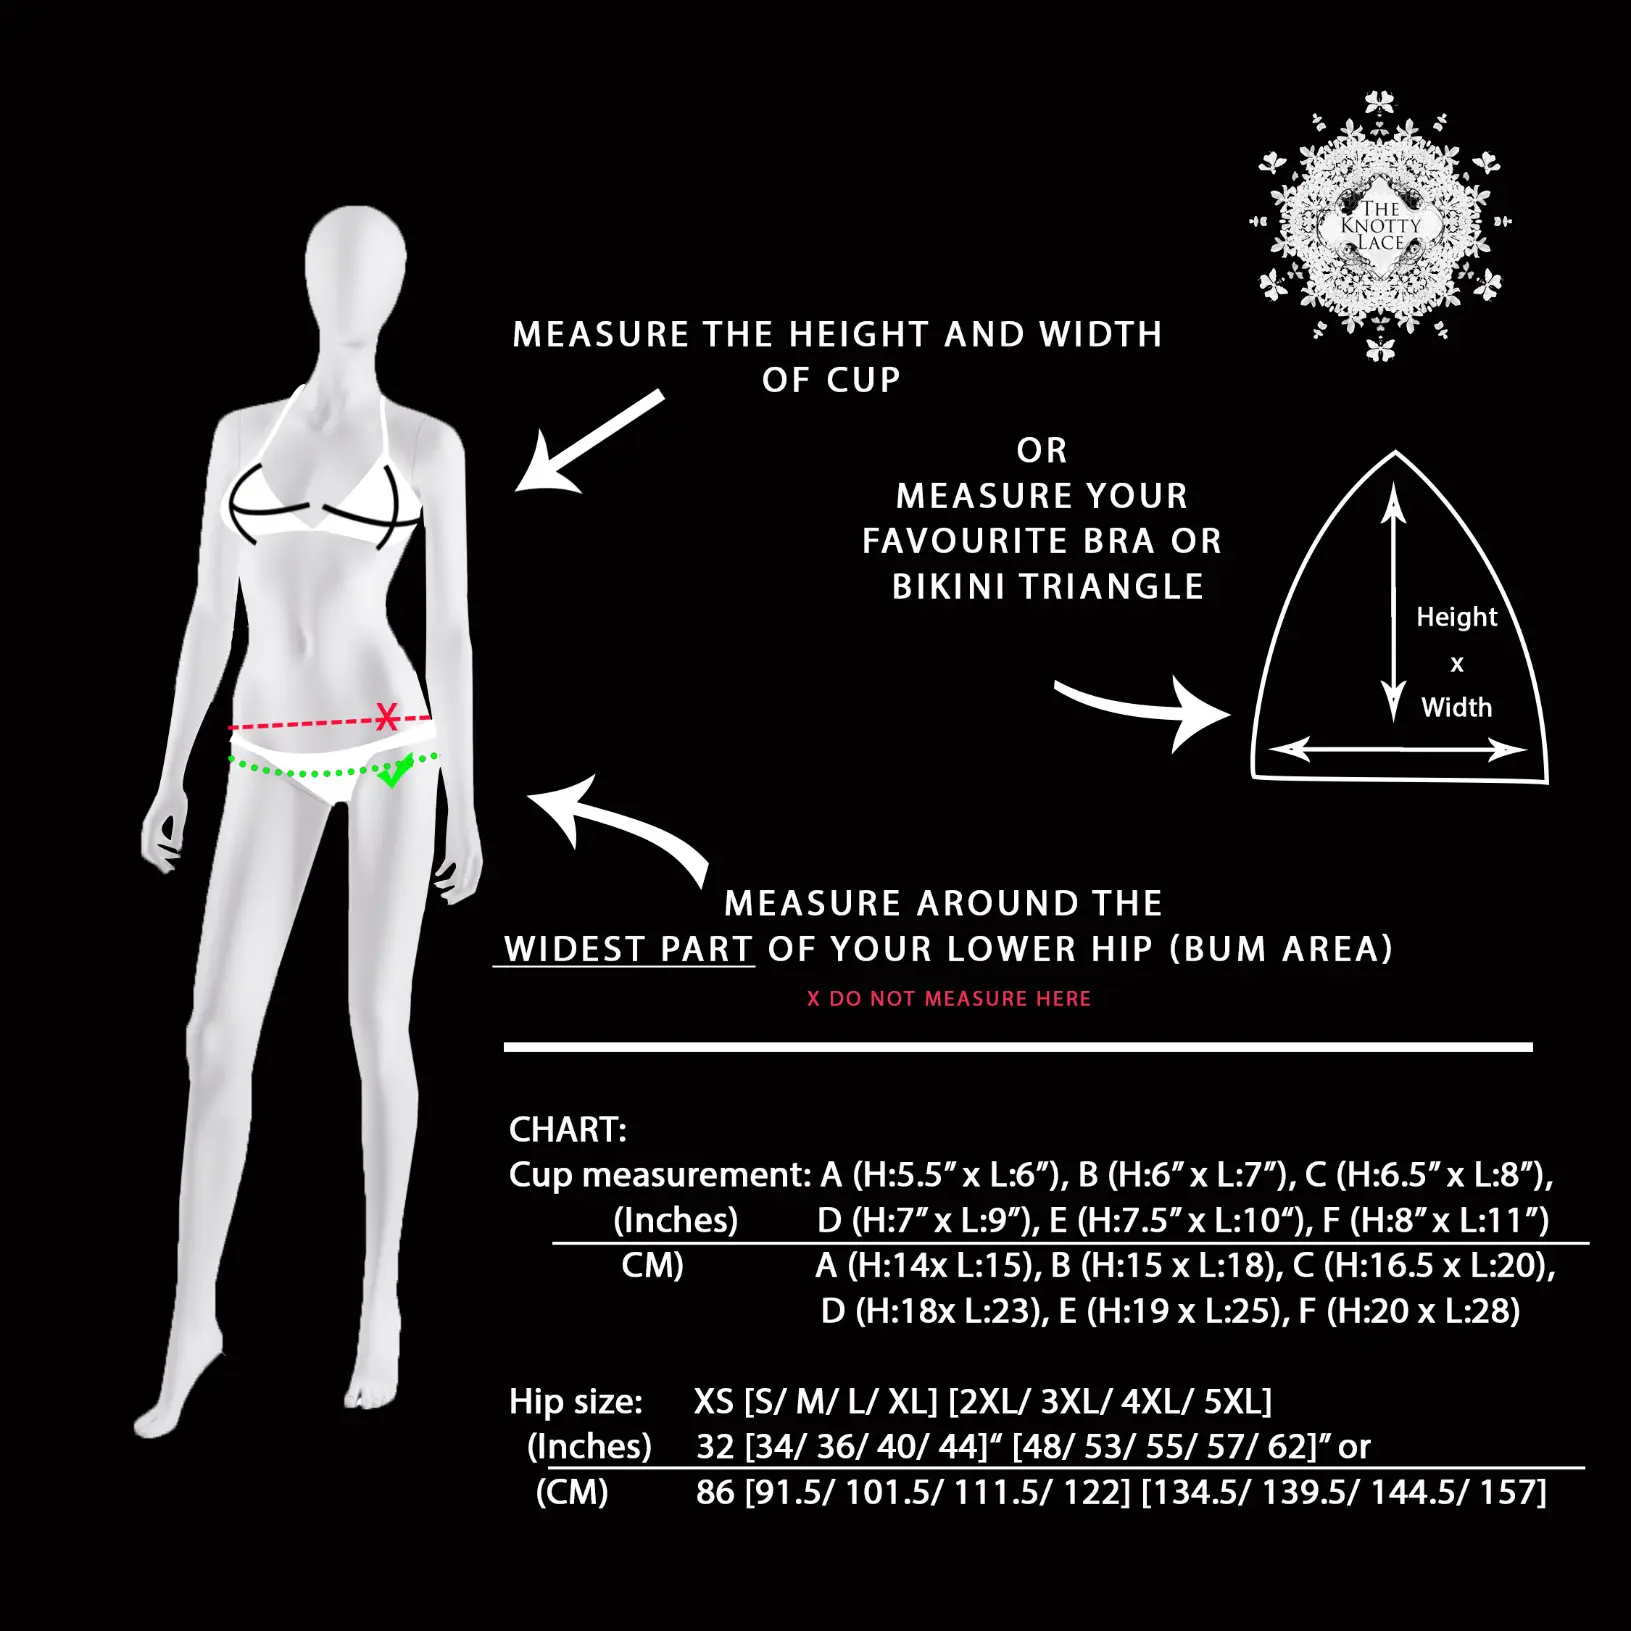
- Hip size refers to the circumference of the widest part of your bum area and not the actual finished garment.
- Monokini length and cups are adjustable
- Model is 5’5” and wearing size S for reference
- Refer to the measurement chart here
- Abbreviation page available in English US format
- Your hip size: XS [S/ M/ L/ XL] [2XL/ 3XL/ 4XL/ 5XL] – 32 [34/ 36/ 40/ 44] [48/ 53/ 55/ 57/ 62] inches or 86 [91.5/ 101.5/ 111.5/ 122] [134.5/ 139.5/ 144.5/ 157] cm (size up if you are in between sizes)
Instructions
PART 1: Front to Crotch to Back
- .Foundation Row: Ch 48[50/ 52/ 54/ 56] [58/ 60/ 62/ 64] + Ch 1, turn
- Row 1: On the 2nd Ch from hook, work a Hdc St and across, Ch1 turn
- Row 2: Hdc2tog 2x, Hdc across until the last 5th St, Hdc2tog 2x, Ch 1 turn
- Row 3 – 5: Rep Row 2 for 3 more rows. Ch1 turn
- Row 6: Hdc2tog, Hdc across until the last 3rd St. Hdc2tog, Ch 1 turn
- Row 7: Rep Row 6 for 10 [10/ 11/ 12/ 13] [13/ 14/ 15/ 16] more rows. (10 [12/ 12/ 12/ 12 ][14/ 14/ 14/ 14] sts)
- Next Row Crotch: Hdc same number of Sts across for 10 [12/ 13/ 14/ 15] [17/ 18/ 19/ 20] rows. Ch 1 turn
- Next Row: Work2Hdc in the 1st St, Hdc across until the 2nd last St, 2Hdc. Ch 1 turn
- Next Rows: Repeat step 8 increase for 26[ 28/30/ 32/ 34] [ 36/ 38/ 40/ 42] total rows until the entire length reaches 13 [14/ 15/ 16/ 17] [18/ 19/ 20/ 21] inches or 33 [35.6/ 38/ 40.6/ 43] [45.7/ 48/ 50.8/ 53] cm ** Do not bind off**

PART 2: Join sides
- From the last Hdc St, Ch 15 [15/ 16/ 21/ 26] [30 /37/ 42/ 49] Slst through FRONT sides 1st St. Bind off
- Insert hook through the last Hdc St on the same row of the BACK side, draw up a loop and Ch 15[15/ 16/ 21/ 26] [30 /37/ 42/ 49], Slst through the FRONT sides last St of the 1st row, Ch 1, turn You should have approx. 17.5 [18.5/ 19.5/ 21.5/ 23.5] [25.5/ 28/ 30/ 32.5 ] inches or 44.5 [47/ 49.5/ 54.6/ 59.7] [64.8/ 71.1/ 76.2/ 82.6] cm hip width when fully stretched outwards. If not adjust accordingly
- Hdc through the 1st St and around, Slst to join, Ch 1 turn (*We will turn our work at every new row and not work in the round )
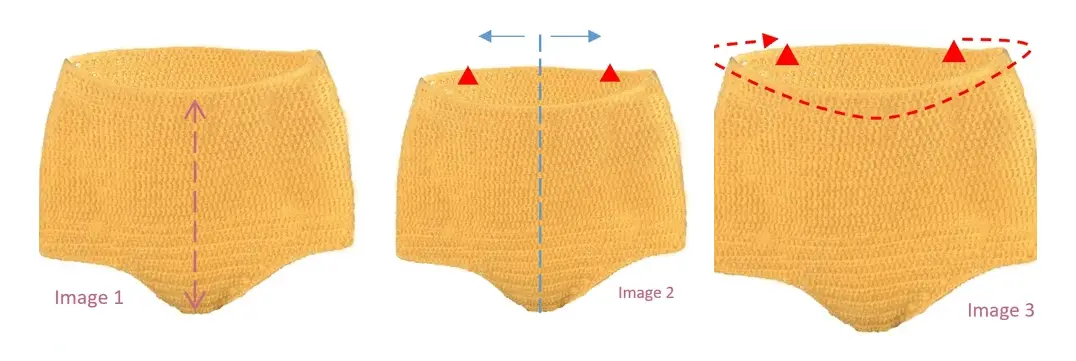
- Rep Step 3 for a total of 14 [14/ 14/ 12/ 12] [10/ 10/ 8/ 8] rows. You should have 10 [10.5/ 11/ 11/ 11.5] [11.5/ 12/ 12/ 12.5] inches or 25 [27/ 28/ 28/ 29] [29/ 30/ 30/ 32] cm in total height from crotch . * Add or remove more rows if preferred. 1 Inch/ 2.5cm = 4 row. Bind off
- Find the middle point on the BACK side, and count 23 [25/ 26/ 29/ 31] [34/ 37/ 40/ 43] Stst to the left and again to the right of the center line and place a stitch marker (SM) on both ends. (see image 2)
- Row 1: Facing the BACK side, insert hook through the left SM and Ch 1. Work Hdc on same St and across until the next SM. Ch 1 turn (see image 3)
- Row 2 Decrease: Hdc2tog 2x, Hdc across until the last 5 Sts, Hdc2tog 2x, Ch 1 turn
- Row 3 – 6: Rep Row 2 for 4 more rows, Ch 1 turn
- Row 7 – 10: Hdc across for 4 more rows, Ch 1 turn
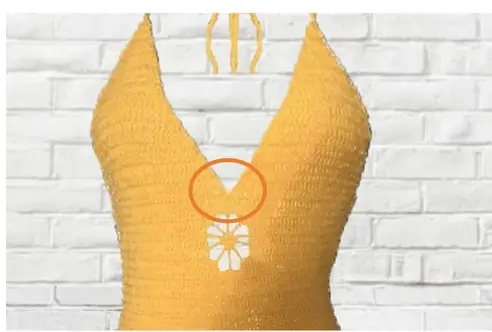
PART 3: Flower motif


- Row 11: Find the middle point on the FRONT side and place a SM. Work Hdc Sts until the 4th St before the SM. Ch5, Tc on the SM, Ch 5, Sk 3 Sts, Hdc on the 4th St after the SM, Hdc across, Ch 1 turn
- Row 12: Hdc until the last 4th St, Ch5, work 1 Sc on the last Ch, Sc on the Tc St, Sc on the next Ch, Ch 5, Sk 3 Sts, Hdc on the 4th St across, Ch 1 turn
- Row 13: Hdc until the last 4th St, Ch5, work 1 Sc on the last Ch, Sc 3, Sc on the next Ch, Ch 5, Sk 3 Sts, Hdc on the 4th St across, Ch 1 turn
- Row 14: Hdc till the last St, Ch5, Sk 1 St, Sc 3, Sk 1 St, Ch 5, Hdc the 1st St and across, Ch 1 turn
- Row 15: Hdctill the last St, Work 3 Hdc Sts on Ch, Ch3, Sk 1 St, Tc on the 2ndSt, Sk 1 St, Ch3, work 3 Hdc Sts on Ch, Hdc on the next St and across, Ch 1 turn
- Row 16 – 17: Hdc across for 2 more row, Ch 1 turn
* You may add more rows here to determine how high/low you would like the cleavage to be. Every 4 rows = 1 inch /2.5cm . (Note: material will stretch)
PART 4: Split top for cups & Make ties
- Row 18: Find the middle point on the FRONT side and place a SM. From the last St, *(Hdc2tog, Hdc across until the last 3rd St before marker, Hdc2tog, Ch 1 turn)
- Next Rows: Rep (*) until you have 2 Sts remaining.
- Last row: Before completing the last Hdc2tog St, add ties by joining a second yarn then close the last Hdc2tog St by pulling through both yarns. Work 100 double chain, (Check out: How to make ties) bind off
- Rep on the other side.
- Insert hook through the last rows post where the top splits, attach 2 yarns and chain 100 to make back tie.
- Rep on the other side.
- Bind off
Part 5: Inserting Rubberband (watch Video Tutorial)
- On the last st RS, place rubber band at the back of the row.
- Work a Sc over and around the band
- The elastic band should be between Sts
- Cont to Sc around the band
- Before closing St, stop approx 2 in/ 5cm and pull elastic band slightly on both ends.
- Tie 2 knots
- Cont to Sc around the band hiding both band and knot. Slst to close.
- Snip off remaining band and weave in loose ends.
- Best to use round elastic band.
- Turn to the back of the bottoms, and insert hook through the last St, where the SM was.
- Place rubber band behind row and Sc across and around rubber band
- Pull firmly and tie a double knot on both ends of elastic band. Snip off access.
- Bind off and weave in all loose ends.
END


2 Responses
what does the pattern mean when it says Hdc across until the last 5th St?
Hi there, it means to hdc each stitch and stop once your at the 5th last stitch on that row. Hope that clarifies. 🙂 – Shaz