
DESIGN INSPIRATION

Halter Tank Tops are my go-to Summer wear – hands down! And what else would a crocheter do with her love of Halter Tank Tops but to make a crochet version of one! LOL
To be honest, I saw a design I liked online that kept popping up on my feed and I knew I had to make one.

So I thought to myself, I’ll crochet this design and make it light and airy. Finding the perfect yarn was essential! And a fun tip to note is to sew in some padded bra inserts like these on the inside to avoid wearing a bra!
Once completed, I knew I had to make this pattern in all 9 sizes, and it would be easily adjustable.
If you like this crochet top, then you might also like to check out these other free Crochet top patterns here:


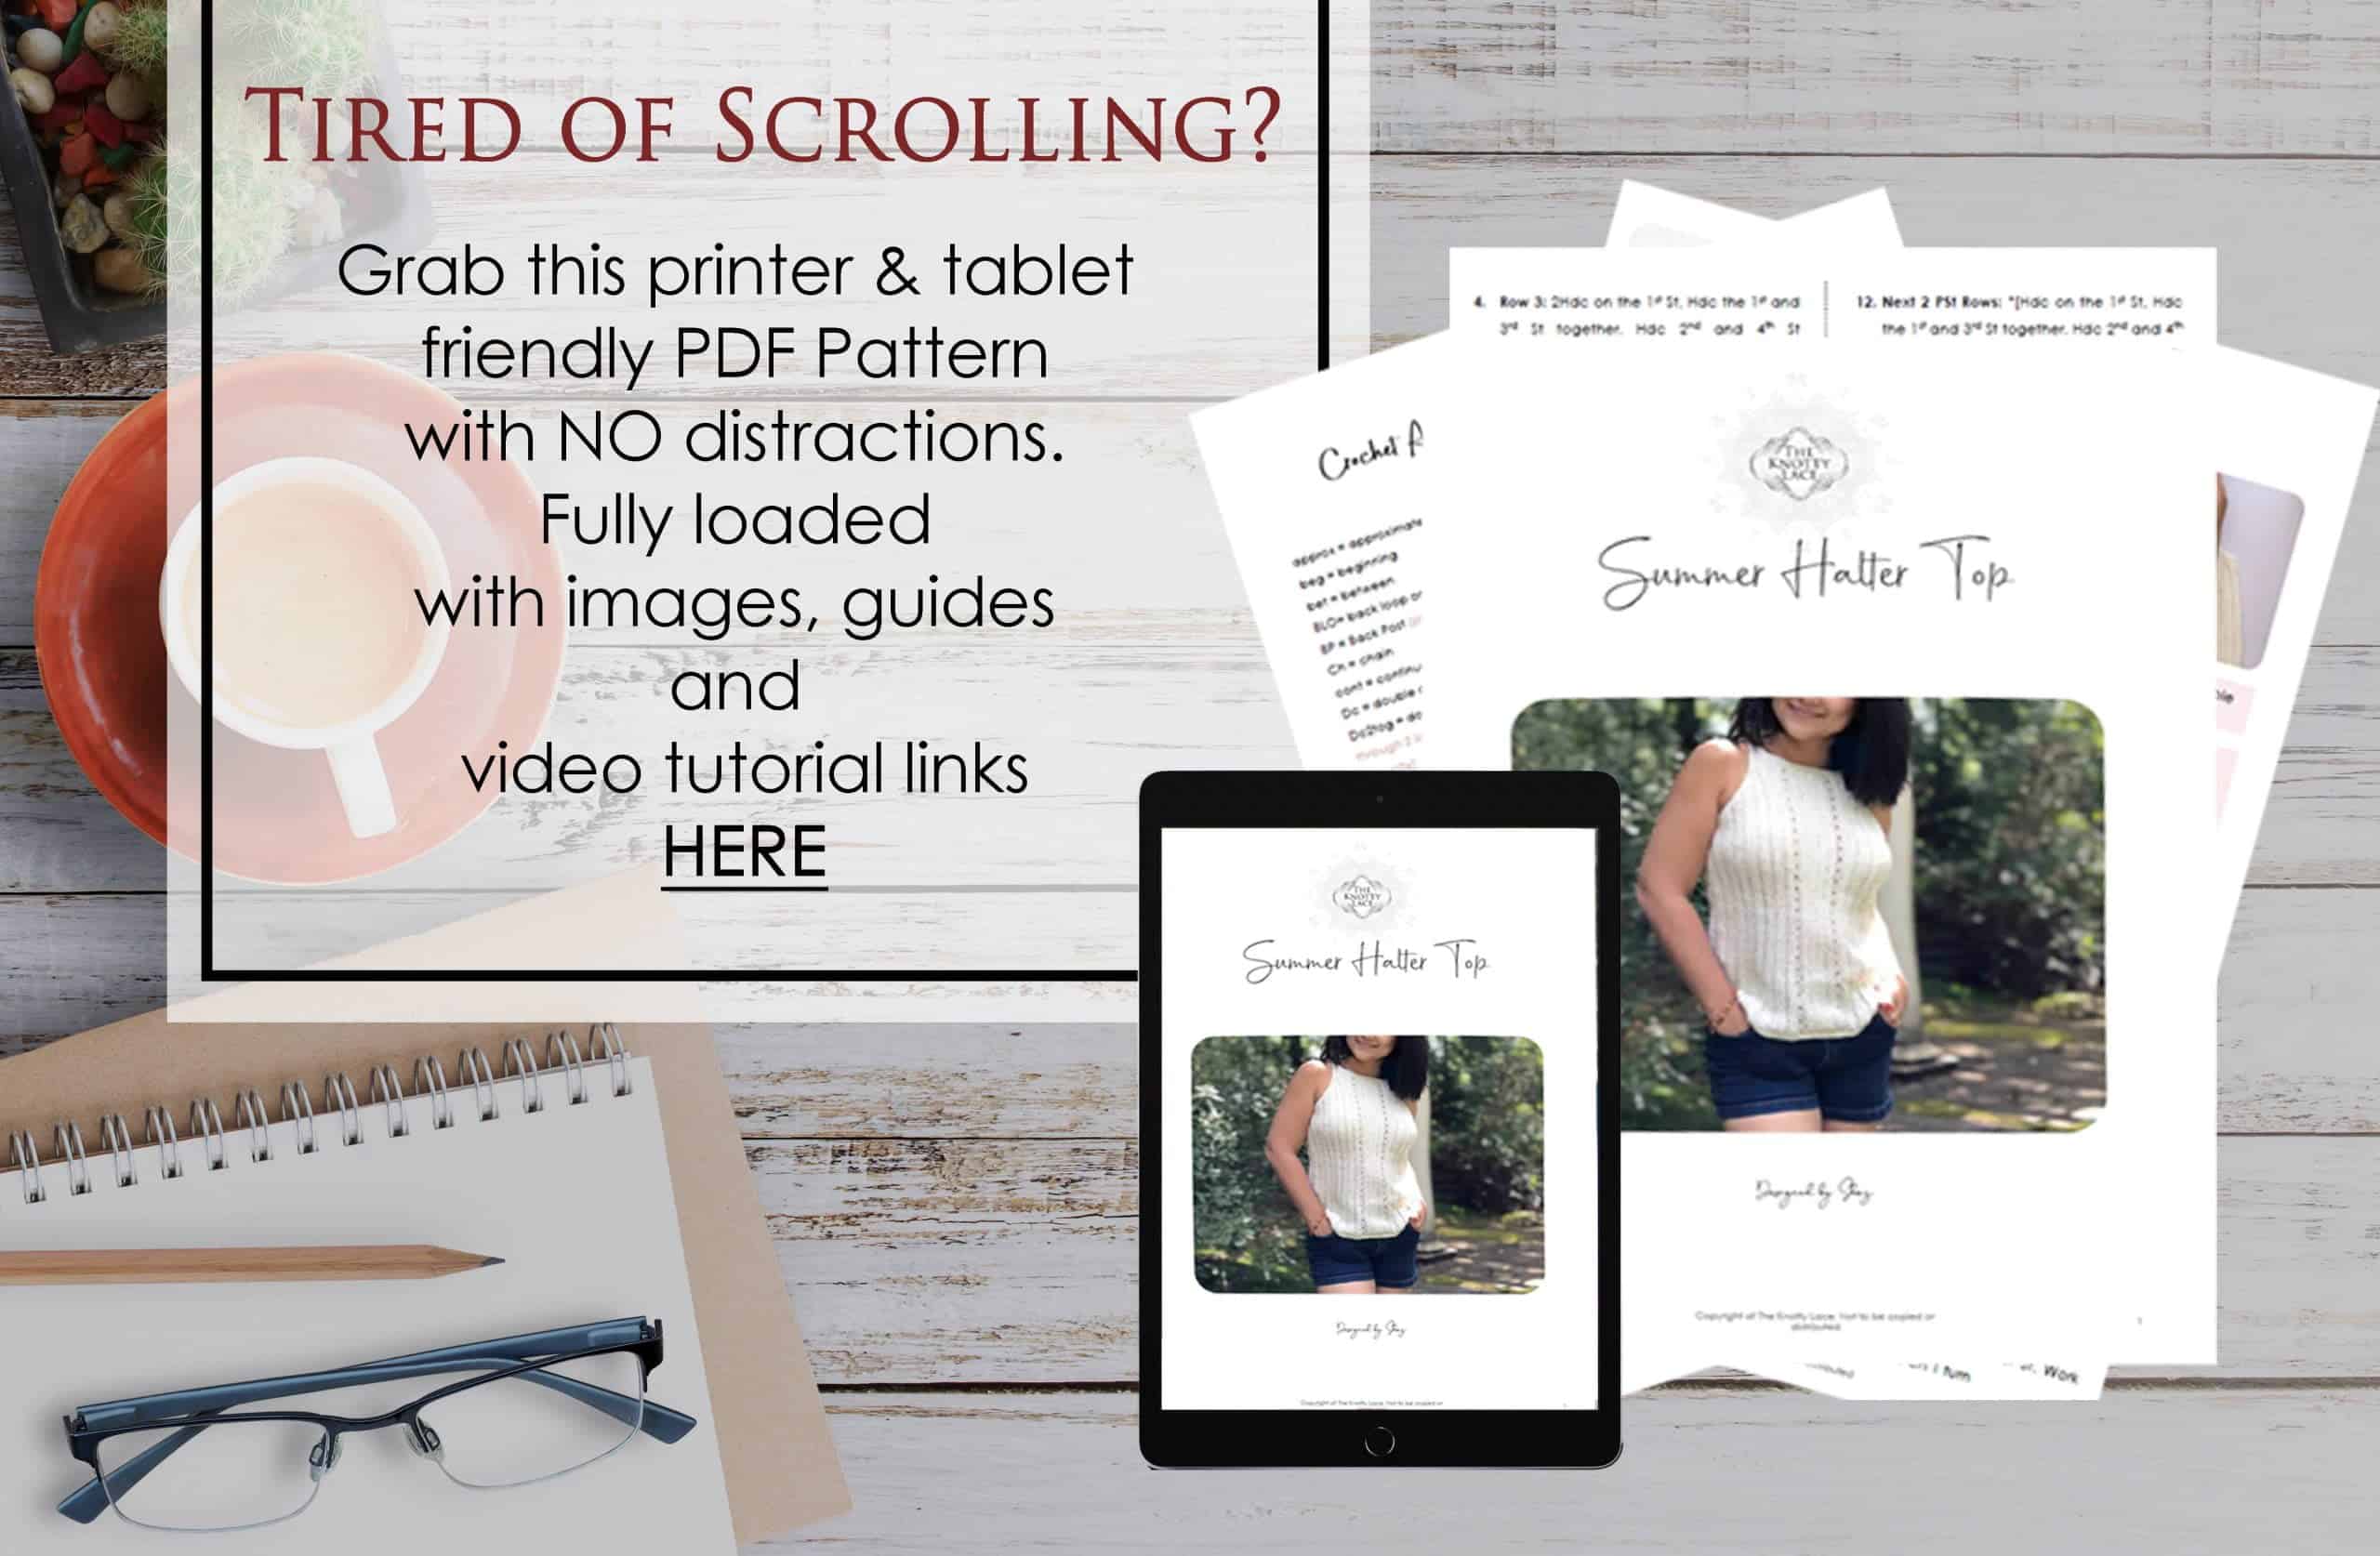
This Crochet Halter Top pattern also comes Ad Free with a full step-by-step picture-guided PDF file and video tutorial to guide you throughout the entire process.
For this pattern, I am using Woolike Simili-Laine in the color Ivory, which is a Fingering weight yarn. And in my opinion, anything heavier than a category 1 would not make a light and airy piece of garment.
UPDATE: Woolike Simili Lane yarn has since been discontinued, however Alize Diva Silky yarn would make an ideal substitute
And for that reason, you will have to use a smaller hook but big enough to offer some room to stretch without the gaps and lace-like finish. (Unless that is what you are aiming for).
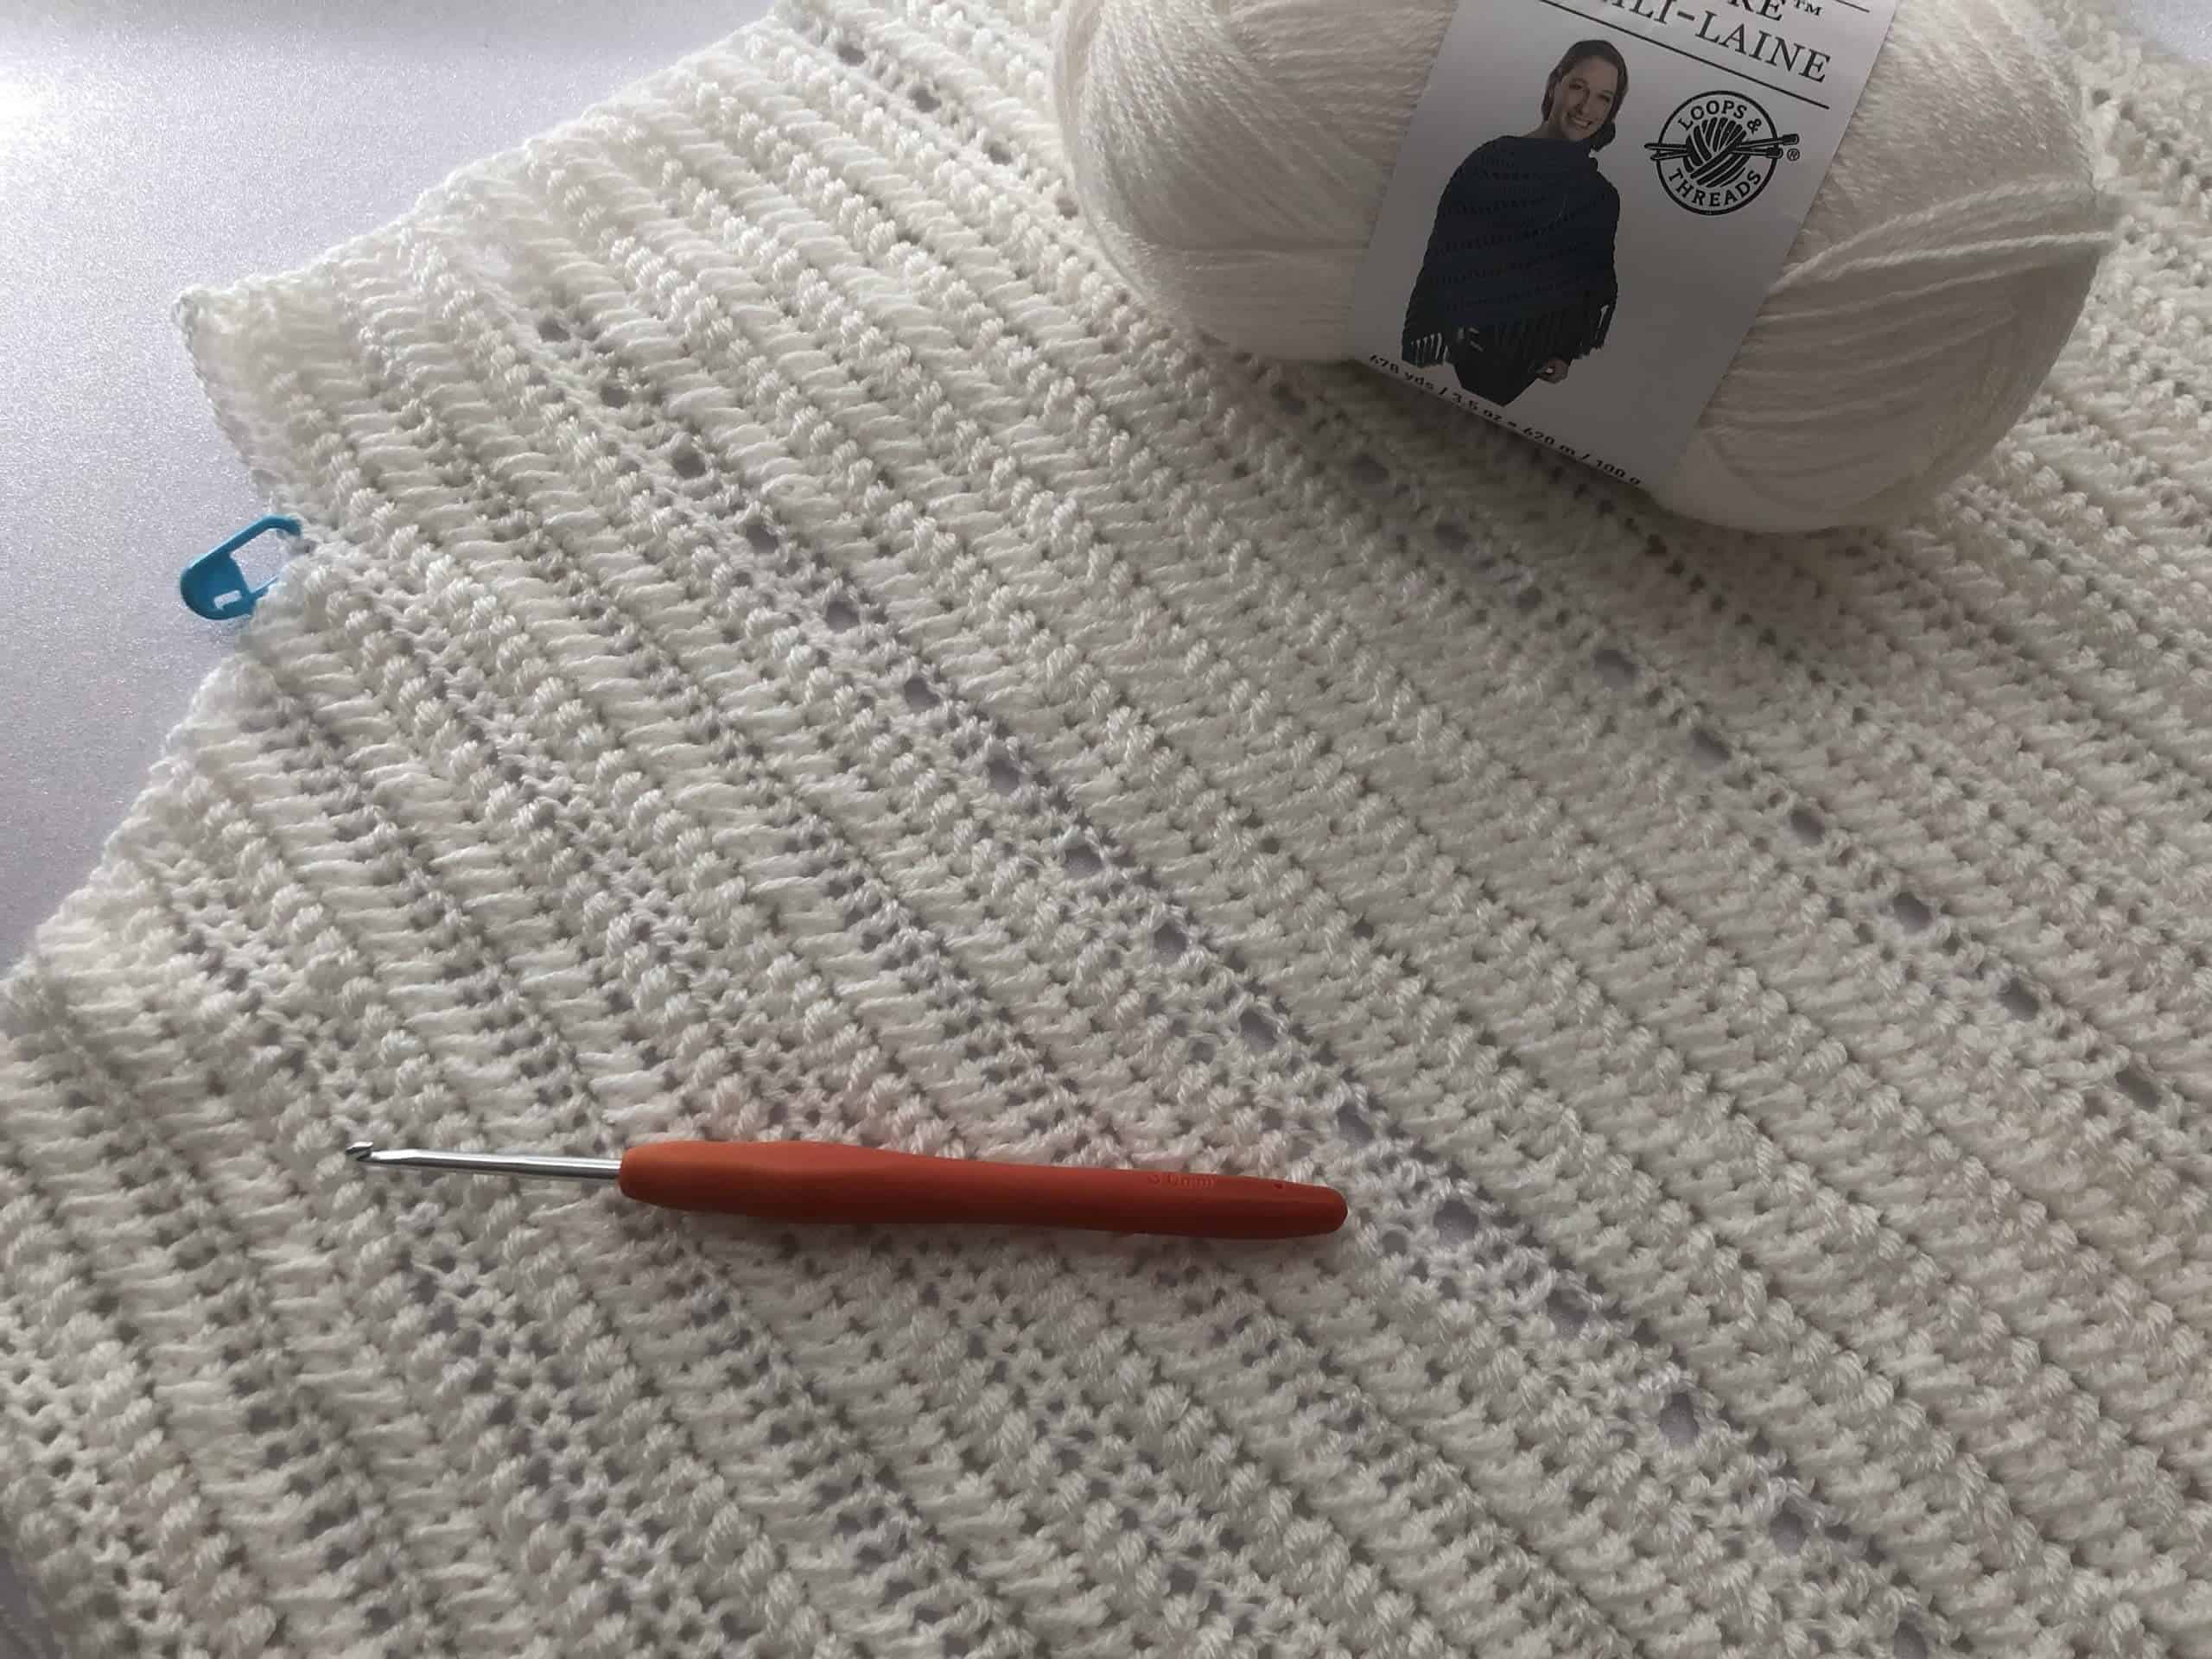
I am using a 3.0mm Crochet hook by Clover and it works out just right. You might have to try another hook size or adjust your tension to get the correct gauge
Here are some other patterns made using this yarn you might like to try: Granny Square Beach Cover & Alpine Tank Top


Paddle Stitch (See Tutorial Here)
Hdc, Hdc 1st and 3rd St together, Hdc 2nd and 4th St together, *(Hdc prev St and front St together) Rep (*), Hdc
PART 1: Front Panel
Working from side to side. Measure (in inches) the length you want to achieve from the underarm downwards and multiply by 5 or ref to guide below.
1. Foundation Row: Ch 65 [70/ 75/ 80/ 85] [90/ 95/ 100/ 105] , Ch 1 to start the next row
2. Row 1: Hdc on the 2nd Ch from hook and across, Ch 1 turn
3. Row 2 (Paddle St Increase): Hdc on the 1st St, Hdc the 1st and 3rd St together, Hdc 2nd and 4th St together, *(Hdc prev St and front St together) Rep (*) until the last St. Work 2Hdc on the last St , Ch 1 turn
4. Row 3: 2Hdc on the 1st St, Hdc the 1st and 3rd St together. Hdc 2nd and 4th St together, *(Hdc prev St and front St together) Rep (*) until the last St. Work 1Hdc on the last St , Ch 1 turn
5. Row 4: Hdc across, Work 2Hdc on the last St, Ch 1 turn
6. Row 5: 2Hdc on the 1st St, Hdc the 1st and 3rd St together, Hdc 2nd and 4th St together, *(Hdc prev St and front St together) Rep (*) until the last St. Work 1 Hdc on the last St, Ch 1 turn
7. Row 6: Hdc on the 1st St, Hdc the 1st and 3rd St together, Hdc 2nd and 4th St together, *(Hdc prev St and front St together) Rep (*) until the last St. Work 2Hdc on the last St , Ch 1 turn
8. Row 7: 2Hdc on the 1st St and Hdc across, Ch 1 turn
9. Next Rows: Rep Rows 2 – 7 for a total of 15 [18/ 21/ 24/ 27] [30/ 33/ 33/ 36] rows
Your last row should be the 2nd Paddle St row
10.Next Row (Neckline): From last PSt, Ch 13 [12/ 12/ 11/ 11] [10/ 10/ 12/ 12], Ch1 to start the next row
11.Next Row: Hdc on the 2nd Ch from hook, Hdc each Ch across, Hdc each St across, Ch 1 turn.
12.Next 2 PSt Rows: *[Hdc on the 1st St, Hdc the 1st and 3rd St together. Hdc 2nd and 4th St together, *(Hdc prev St and front St together) Rep (*) until the last St. Work 1 Hdc on the last St, Ch 1 turn] Rep [*] 1x
13.Next Row: Hdc each St across, Ch 1 turn.
14.Next Row: Rep Step 12 & 13 for a total of 6 [6/ 6/ 6/ 6] [6/ 6/ 9/ 9] rows.
15.Next Row (Fancy Strip): *(Hdc 3, Ch 1, Sk 1), Rep (*) until the last St, Ch 1 turn
16.Next Row: Hdc each St and each Ch across, Ch1 turn
17.Next Row: Hdc on the 1st St, Hdc the 1st and 3rd St together. Hdc 2nd and 4th St together, *(Hdc prev St and front St together) Rep (*) until the last St. Work 1 Hdc on the last St, Ch 1 turn
18.Next Rows: Rep Step 17 PSt for a total of 7 [7/ 7/ 7/ 10] [10/ 10/ 7/ 7] rows
19.Next 2 Rows: Rep Steps 15 & 16
20.Next Rows: Rep Step 12 & 13 for a total of 6 [6/ 6/ 6/ 6] [6/ 6/ 9/ 9] rows.
Your last row should be the Hdc St row
21.Bind off
Place a SM on the 13 [12/ 12/ 11/ 11] [10/ 10/ 12/ 12] St from the top, Insert hook at the SM St and draw up a loop, Ch 1 to secure. Work a decrease PSt – see next step

22.Next Row (Paddle St decrease) : Hdc the 1st and 3rd St together, Hdc 2nd and 4th St together, *(Hdc prev St and front St together) Rep (*) until the last St. Work 1 Hdc on the last St, Ch 1 turn
23.Next Row: Hdc on the 1st St, Hdc the 1st and 3rd St together. Hdc 2nd and 4th St together, *(Hdc prev St and front St together) Rep (*) until the last St. Ch 1 turn
24.Next Row: Hdc2tog, Hdc each St across, Ch 1 turn
25.Next Row: Hdc on the 1st St, Hdc the 1st and 3rd St together. Hdc 2nd and 4th St together, *(Hdc prev St and front St together) Rep (*) until the last St. Ch 1 turn
26.Next Row: Hdc the 1st and 3rd St together, Hdc 2nd and 4th St together, *(Hdc prev St and front St together) Rep (*) until the last St. Work 1 Hdc on the last St, Ch 1 turn
27.Next Row: Hdc each St across, Hdc2tog on the last St, Ch 1 turn
28.Next Rows: Rep Steps 22 – 27 for a total of 15 [18/ 21/ 24/ 27] [30/ 33/ 33/ 36] rows
29.Bind off.
PART 2: Back Panel
Rep Part 1: Steps 1 – 13
1. Next 2 PSt Rows: *[Hdc on the 1st St, Hdc the 1st and 3rd St together. Hdc 2nd and 4th St together, *(Hdc prev St and front St together) Rep (*) until the last St. Work 1 Hdc on the last St, Ch 1 turn] Rep [*] 1x
2. Next Row: Hdc each St across, Ch 1 turn.
3. Next Rows: Rep Step 1 & 2 for total of 22 [22/ 22/ 22/ 25] [25/ 25/ 28/ 28] rows
Your last row should be the Hdc St row
4. Next Rows: Rep Part 1: Steps 25 – 27 and steps 22 – 24 for a total of 15 [18/ 21/ 24/ 27] [30/ 33/ 33/ 36] rows
5. Bind off

PART 3: Seam Sides
Place the front and back panels (WS up) on top of each other and turn to the side
1. Insert hook through the last St of both panels at the bottom corner of the row and draw up a loop, Ch 1 to secure
2. Sc each St of both panels together across,
3. Bind off and rep on the other side.
4. Do not bind off. Open up the underarm area to stitch the top portion in the round. Go to Part 4
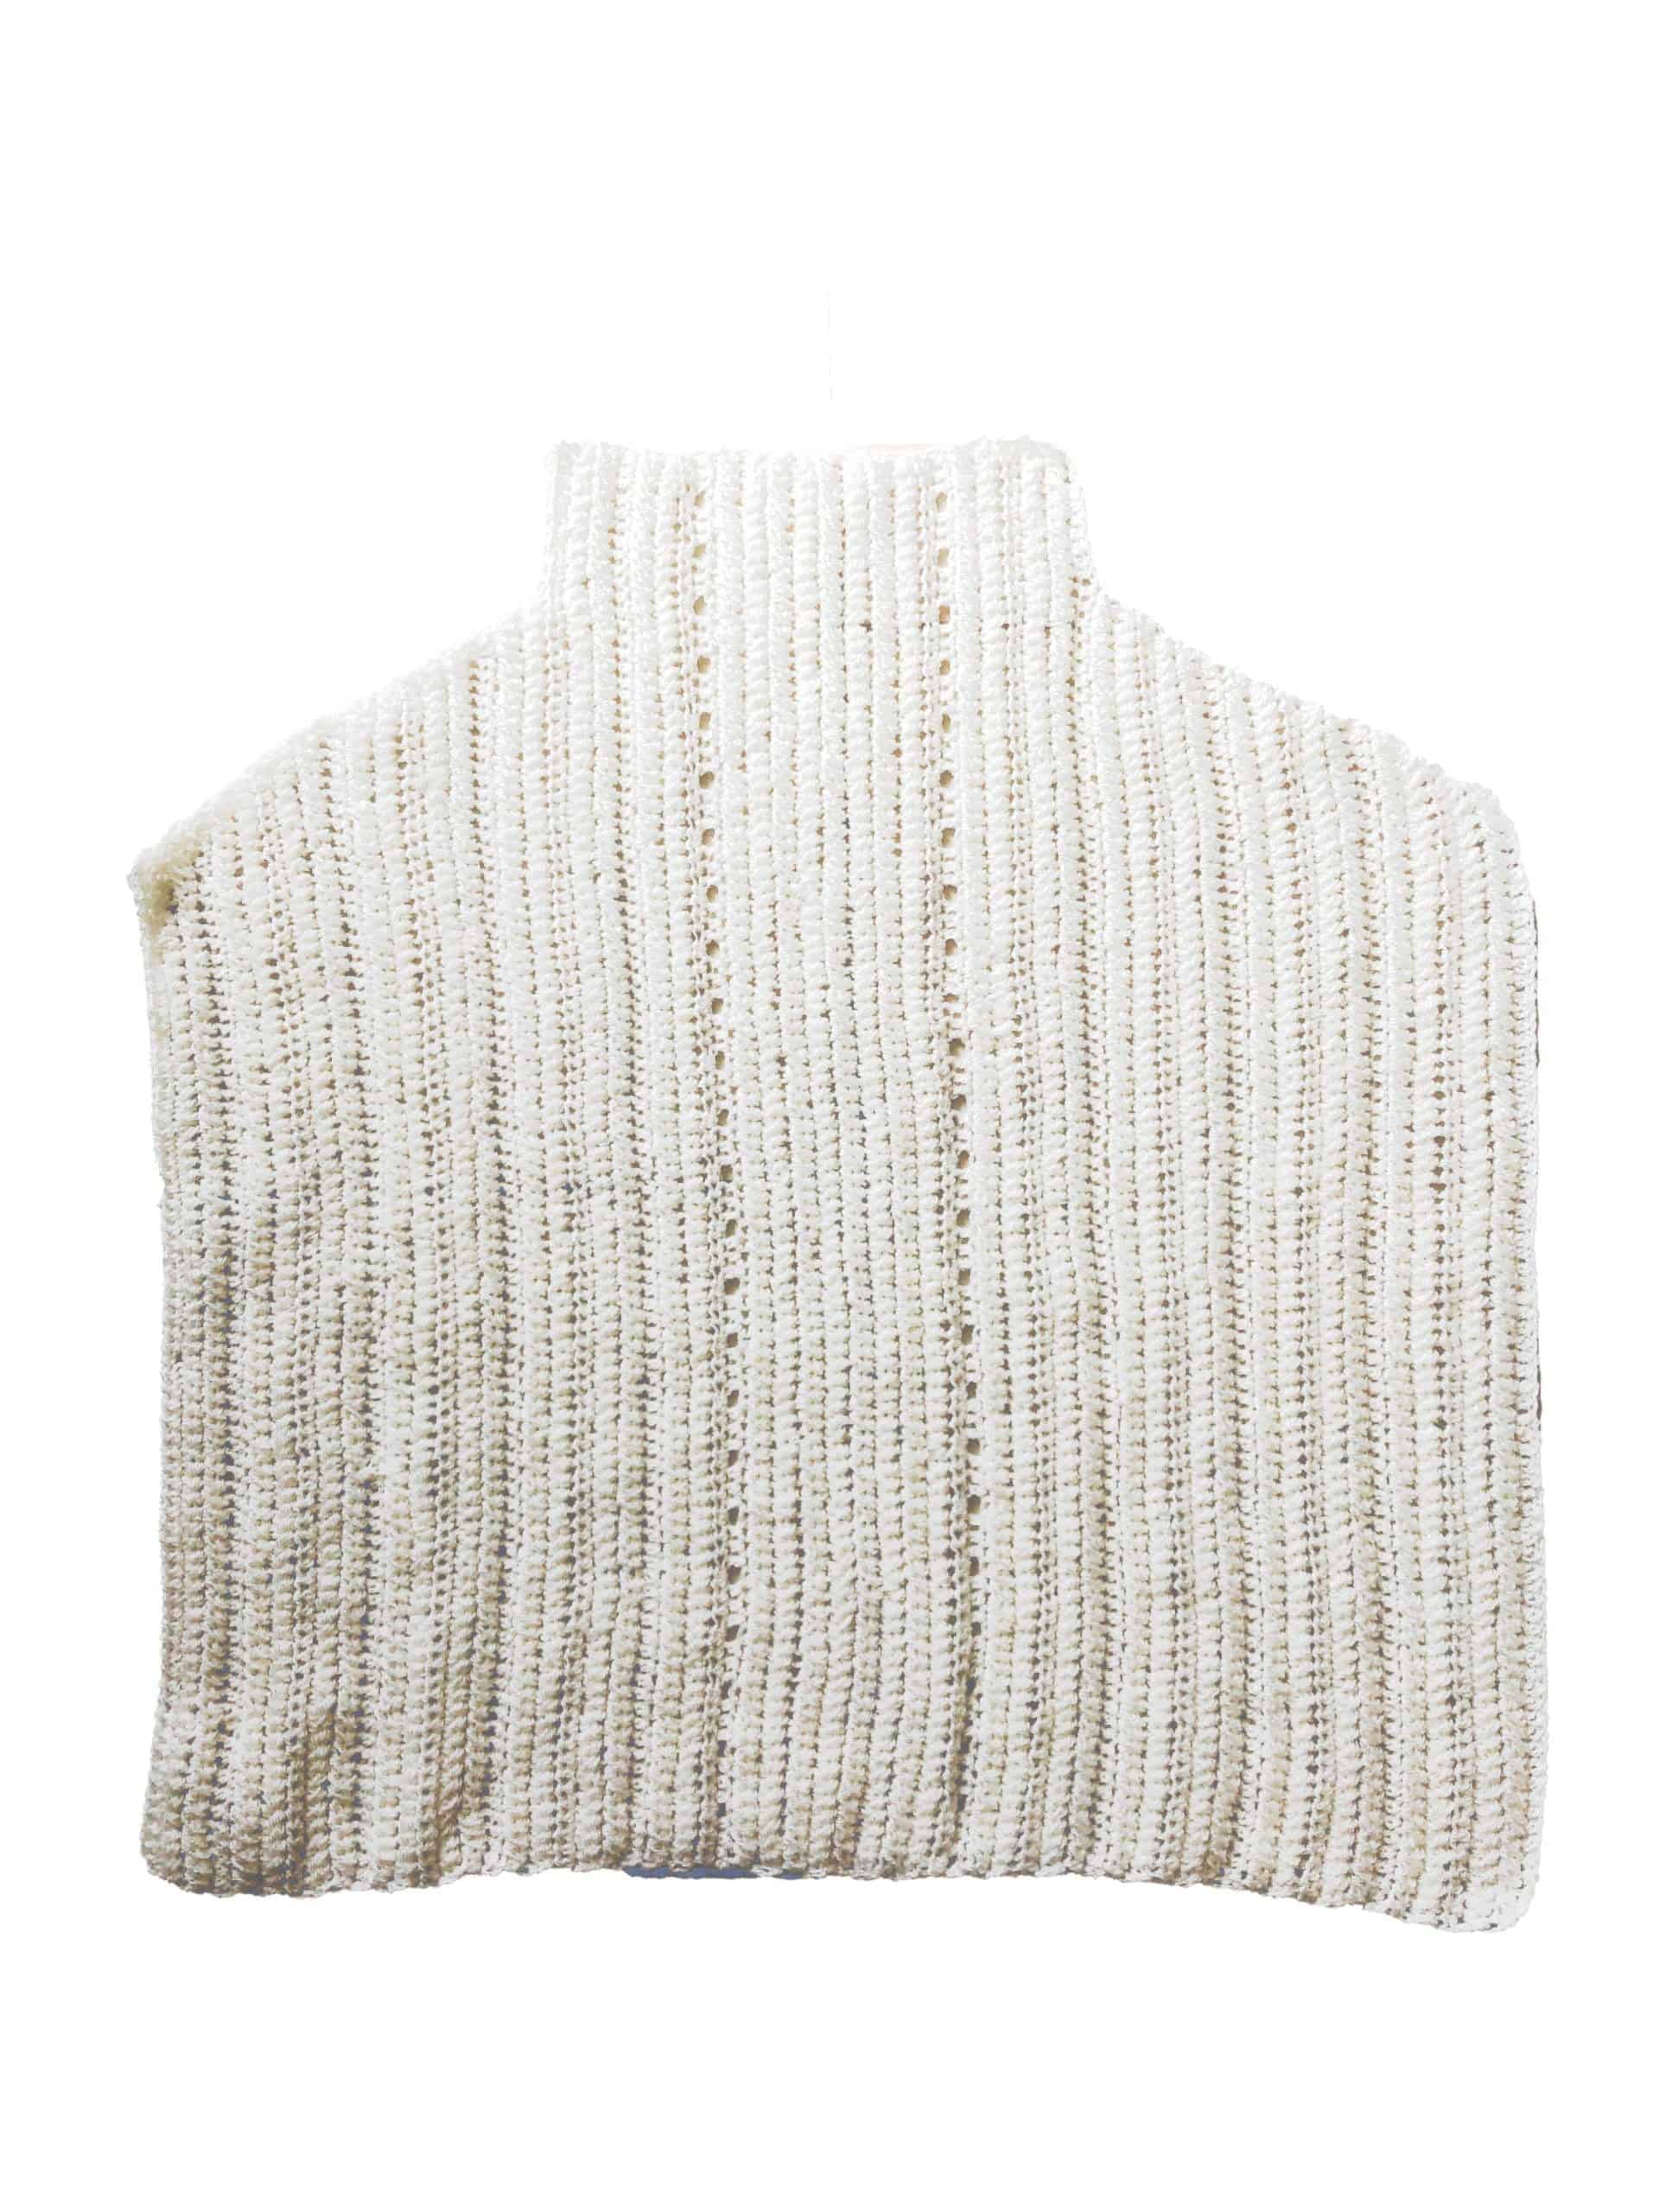
PART 4: Edging
Top Edging

1. From the last St, work 1 Hdc Sts on each row across.
2. On the neckline corner, Hdc on the 1st St, and cont to Hdc across
3. On the last St at the corner of the top neckline, work 3Hdc Sts
4. Cont to Hdc across, Rep Step 3 and Hdc across
5. Cont to Hdc on each Row and St across in the round.
6. Slst to the 1st St to close, Bind off
Strap
Turn work RS up
1. Insert hook through the corner St of the top left, back panels neckline and draw up a loop,
2. Rnd 1: Ch 10 (for all sizes or adjust accordingly). Slst on to the opposite front side (corner St of the top left, front panels neckline), Ch 1 and turn to the panel side
3. Rnd 2: Work the PSt. Hdc on the 1st St, Hdc the 1st and 3rd St together. Hdc 2nd and 4th St together, *(Hdc prev St and front St together) Rep (*) until you reach the 1st in the round, Slst on to the 1st St to close
4. Bind off
5. Rep steps 1 – 4 on the opposite side starting from the front right side instead.
Neckline

1. Insert hook through anywhere along the neckline and draw up a loop, Ch 1 to secure
2. Rnd 1: Work the PSt. Hdc on the 1st St, Hdc the 1st and 3rd St together. Hdc 2nd and 4th St together, *(Hdc prev St and front St together) Rep (*) until you reach the 1st in the round, Slst on to the 1st St to close,
3. Bind off
Bottom Hem
1. Insert hook through anywhere along the bottom of the hem row and draw up a loop, Ch 1 to secure
2. Rnd 1: Work 2 Sc in each Row in the round, Slst to the 1st St to close, Ch 1
3. Rnd 2: Work the PSt. Hdc on the 1st St, Hdc the 1st and 3rd St together. Hdc 2nd and 4th St together, *(Hdc prev St and front St together) Rep (*) until you reach the 1st in the round, Slst on to the 1st St to close.
4. Bind off
5. Weave in all loose ends
*********************
And don’t forget!: Sew on some padded bra inserts like these on the inside to avoid wearing a bra!
*********************
END!

Summer Crochet Halter Tank Top
$4.99


3 Responses
Hey Shaz
Another q! How much yarn do I need for the halter top please? Thanks
Ramya
Hi Ramya, if you scroll down you will be able to see the total number of yarns needed. And for size 32 inches, sizing up would be ideal. Just remember to always check your gauge. Happy crocheting and feel free to get in touch if you have any further questions. – Shaz
Hey
Love the halter neck pattern. Couple questions. Is there a gauge available for this pattern please?
Also I need to make this for a 32 inch bust,there’s only measurements fro 30,then 34. Please guide
Thanks so much
Ramya